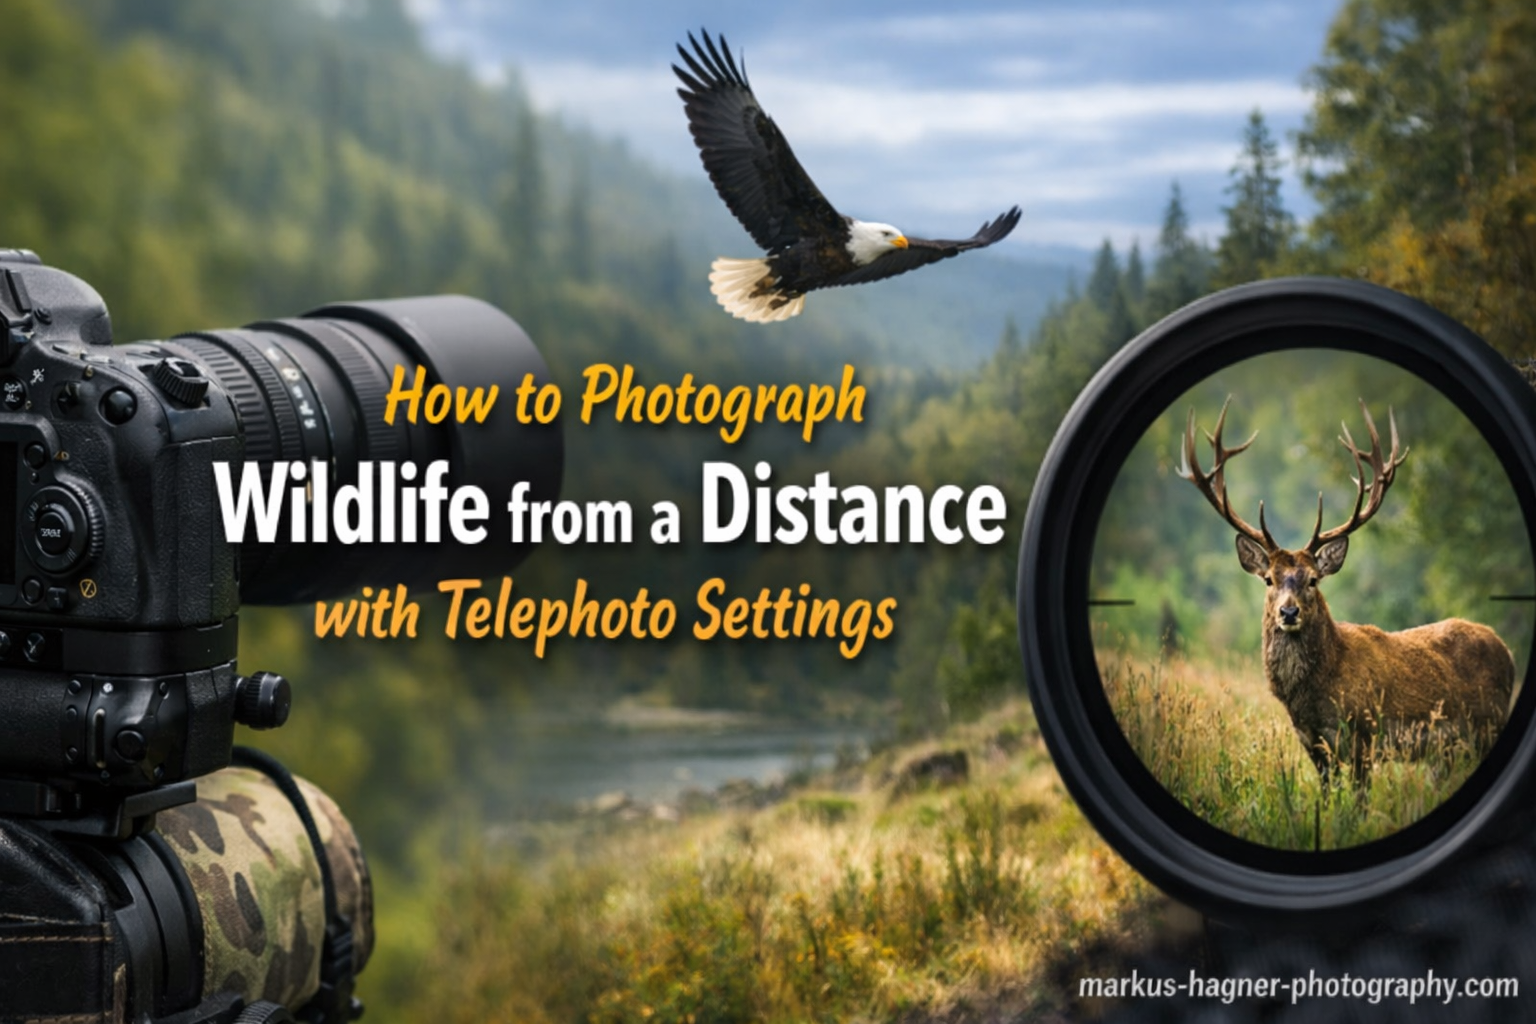
Photographing wildlife from a distance presents unique challenges that can frustrate even experienced photographers. The combination of long focal lengths, moving subjects, and unpredictable lighting creates a perfect storm of technical hurdles. Getting sharp images of animals in their natural habitat requires more than just owning a telephoto lens. You need the right telephoto wildlife photography settings, proper technique, and an understanding of how distance affects every aspect of your image.
In this guide, I will walk you through everything I have learned from years of shooting wildlife with telephoto lenses. We will cover the essential camera settings, stability techniques, and fieldcraft that separate blurry snapshots from tack-sharp wildlife portraits. Whether you are photographing birds in your backyard or tracking elk in remote wilderness, these principles will help you capture stunning images from a respectful distance.
Understanding the Unique Challenges of Telephoto Wildlife Photography
Before diving into specific settings, you need to understand why telephoto wildlife photography is so demanding. A 400mm or 600mm lens magnifies everything, including your mistakes. What works at 50mm fails completely at 500mm.
Magnification Amplifies Camera Shake
Every tiny movement of your camera gets multiplied at long focal lengths. A hand tremor that goes unnoticed with a wide-angle lens becomes image-ruining blur with a telephoto. This is why stability is the foundation of all other settings. I have watched photographers blame their autofocus or lens quality when the real culprit was simply not holding the camera steady enough.
Shallow Depth of Field at Distance
Telephoto lenses create a naturally shallow depth of field. Even at f/8, your depth of field might only be a few inches at 500mm. This means precise focus is absolutely critical. If your focus point lands on the animal’s nose instead of its eye, the entire portrait can look soft. Understanding depth of field behavior at different distances helps you make smarter aperture choices.
Subject Motion Becomes More Visible
At long distances, even slow animal movement appears faster through your viewfinder. A walking deer might seem stationary to your eye, but through a 600mm lens, that gentle movement requires faster shutter speeds than you might expect. Birds present an even greater challenge, as their wing beats and head movements happen at speeds that demand specific shutter speed strategies.
Atmospheric Conditions Affect Image Quality
Heat haze, humidity, and dust become significant factors when shooting at distance. The air between you and your subject acts like a filter, sometimes softening images regardless of your settings. Early morning and late evening typically offer the clearest atmospheric conditions. I have learned to schedule my wildlife photography sessions around these times whenever possible.
Essential Telephoto Wildlife Photography Settings
Getting your camera configured correctly is half the battle in wildlife photography. Let me break down each setting and explain exactly why it matters for telephoto work.
Shutter Speed: The Foundation of Sharp Images
Shutter speed is the most critical setting for telephoto wildlife photography. Without a fast enough shutter, nothing else matters. Your image will be blurry regardless of how perfectly you set everything else.
The reciprocal rule provides your starting point. If you are shooting at 400mm, use at least 1/400 second. At 600mm, use 1/600 second or faster. However, this rule assumes perfect technique and static subjects. For wildlife, I recommend doubling or even tripling this baseline.
For birds in flight, I rarely go slower than 1/2000 second. Fast action like running mammals or diving birds benefits from 1/2500 second or faster. These speeds freeze wing detail, leg movement, and water droplets with crisp clarity.
Static subjects allow more flexibility. A perched bird or resting mammal can be captured at 1/500 second if you have good stabilization and solid technique. I have gotten sharp results at 1/250 second with image stabilization when photographing cooperative, still subjects.
When light drops, resist the urge to drop shutter speed first. Instead, raise your ISO. A noisy but sharp image beats a blur-free but soft one every time. Modern cameras handle high ISO remarkably well, and noise reduction software can clean up grain later. Motion blur cannot be fixed in post-processing.
Aperture Selection for Wildlife Subjects
Aperture choice in telephoto wildlife photography involves balancing depth of field, sharpness, and light gathering. The right choice depends on your subject and creative goals.
For most wildlife situations, I recommend midrange apertures between f/5.6 and f/8. This range provides enough depth of field to keep your subject sharp from nose to tail while maintaining good lens sharpness. Most telephoto lenses perform best optically around f/8.
Wide apertures like f/4 or f/2.8 create beautiful subject isolation with creamy backgrounds. Use these when you want tight portraits with minimum depth of field. However, remember that extremely shallow depth of field makes focus more critical. At f/4 and 500mm, your depth of field might be less than an inch.
For environmental portraits showing the animal in its habitat, stop down to f/11 or f/16. This brings more of the background into focus. Just remember that diffraction starts affecting sharpness at smaller apertures, and you will need slower shutter speeds or higher ISO to compensate.
ISO Management and Noise Control
ISO often becomes the balancing factor in your exposure triangle. After setting shutter speed for action and aperture for depth of field, ISO fills the gap for proper exposure.
Do not fear high ISO settings. I regularly shoot at ISO 1600, 3200, and sometimes higher for wildlife. A sharp image at ISO 3200 is far more useful than a blurry one at ISO 400. Modern full-frame cameras produce usable images even at ISO 6400, and crop sensors handle ISO 1600 cleanly.
Auto ISO with a minimum shutter speed setting works excellently for wildlife. Set your camera to maintain at least your baseline shutter speed, letting ISO adjust as lighting changes. This approach lets you focus on the animal rather than constantly adjusting settings.
Pay attention to your histogram. Underexposing to keep ISO low creates more noise than properly exposing at a higher ISO. When in doubt, expose slightly to the right on your histogram and recover highlights in post-processing.
Autofocus Modes for Moving Wildlife
Your autofocus settings can make or break wildlife shots. Static subjects are relatively easy, but moving animals require continuous, accurate tracking.
Always use continuous autofocus (AF-C on Nikon and Sony, AI Servo on Canon) for wildlife. This mode continuously adjusts focus as your subject moves. Single-shot autofocus will lock onto your subject, then fail when the animal takes a step or flies away.
Focus point selection matters enormously. I prefer single-point or small cluster focus for precise control. This lets me place the focus point exactly where I want it, typically on the animal’s eye. Some photographers use zone or expanded focus points for erratic subjects, but I find these less precise for telephoto work.
Back-button focus transforms wildlife photography. By separating focus activation from the shutter button, you gain precise control over when focus locks and tracks. I hold the back button continuously for moving subjects, releasing it to lock focus for static moments. This technique alone improved my keeper rate significantly.
Modern cameras offer eye autofocus and subject recognition that can identify animals. These features work remarkably well for many situations. Test your camera’s capabilities to understand when to trust automatic tracking versus manual point selection.
Finally, learn to use your focus limiter switch if your lens has one. This switch restricts the focus range, preventing the lens from hunting through its full range when you only need distant subjects. For wildlife photography, set it to the farthest range to speed up autofocus acquisition.
Stability Techniques for Sharp Telephoto Images
Even perfect settings cannot overcome camera shake. Stability techniques are essential for telephoto wildlife photography, and your choice of support affects every other setting decision.
Tripod Usage for Heavy Telephoto Lenses
A sturdy tripod provides the ultimate stability for telephoto work. Heavy lenses like 500mm f/4 or 600mm f/4 practically require tripod support for extended shooting. The key is mounting the lens, not the camera body, using the lens collar. This balances the setup and prevents stress on your camera mount.
Not all tripods handle telephoto lenses equally. Look for a tripod rated for at least twice your setup’s weight. Carbon fiber absorbs vibration better than aluminum. A good ball head with a arca-swiss style clamp provides quick adjustment and solid locking.
For wildlife photography, consider a gimbal head. This specialized mount balances heavy telephoto lenses, allowing smooth panning and tilting with minimal effort. Once properly balanced, the lens floats, making it easy to track moving subjects for extended periods without fatigue.
Monopod Advantages for Mobile Wildlife Photography
When you need to move quickly or work in tight spaces, a monopod offers an excellent compromise between stability and mobility. A monopod provides significantly more stability than handholding while remaining quick to reposition.
I prefer monopods for hiking and situations where I need to change locations frequently. The support eliminates vertical camera shake while allowing easy panning for tracking subjects. Many wildlife photographers use monopods as their primary support for this reason.
For best results with a monopod, spread your feet shoulder-width apart and brace the monopod against your leg. This creates a stable triangle between you, the monopod, and the ground. Lean slightly into the setup for additional stability.
Handholding Techniques and Body Positioning
Sometimes tripods and monopods are not practical. Maybe you are hiking through dense brush, shooting from a vehicle, or reacting too quickly to set up support. Handholding telephoto lenses requires proper technique.
Stand with your feet shoulder-width apart, elbows tucked against your body. This creates a stable platform. Cradle the lens barrel with your left hand, supporting the weight near the balance point. Press the camera gently against your face for additional stability.
Your breathing matters. Take a breath, let half of it out, then squeeze the shutter gently. This moment of natural stillness improves sharpness significantly. Some photographers prefer shooting at the bottom of their exhale.
For lower angles, kneeling or sitting provides more stability than standing. I often sit on the ground with my knees up, resting the lens on my knees for support. This low angle also improves backgrounds by getting below the subject.
Image Stabilization Best Practices
Image stabilization (IS, VR, or OS depending on your brand) can provide 3 to 5 stops of shake reduction. However, using it incorrectly can actually reduce sharpness.
When handholding, always enable image stabilization. Mode 1 or Normal mode works for static subjects. Mode 2 or Active mode is designed for panning, ignoring shake in the direction of your pan while correcting perpendicular movement.
When using a tripod, the rules change. Older stabilization systems can actually create blur when mounted on a tripod because they try to correct vibration that does not exist. Most modern lenses detect tripod use automatically, but check your manual. Some lenses have a specific tripod mode.
In-body image stabilization (IBIS) works with any mounted lens. Some camera systems combine IBIS with lens stabilization for enhanced effectiveness. Test your specific combination to understand how they work together.
Remember that image stabilization only corrects camera shake. It does nothing for subject motion. A perfectly stabilized camera will still produce blurry images if your shutter speed cannot freeze a running deer or flapping bird.
Composition Approaches for Telephoto Wildlife Photography
Technical settings get you sharp images, but composition creates compelling photographs. Telephoto lenses offer unique compositional possibilities that wide-angle lenses cannot achieve.
Subject Isolation with Shallow Depth of Field
The shallow depth of field at telephoto ranges naturally isolates subjects from their backgrounds. This creates that classic wildlife photograph look: a sharp subject against a soft, creamy background. Use this to your advantage by positioning yourself so distracting elements fall outside the depth of field.
Background distance matters enormously. The farther your background is from your subject, the more blurred it becomes. A deer standing ten feet from a forest will show more background detail than one standing fifty feet away. Scout positions that maximize subject-background separation.
Low-Angle Shooting for Better Backgrounds
Getting low transforms your wildlife photography. A low angle places your subject against distant backgrounds rather than immediate foreground. This creates cleaner, more pleasing bokeh. It also creates a more intimate perspective, placing the viewer at eye level with the animal.
Low angles are particularly effective for birds on water or ground-dwelling mammals. The reflection and foreground blur add depth to the image. I often lie flat on the ground for shorebirds, getting my lens nearly touching the sand.
This technique requires getting dirty. Embrace it. The best wildlife photographs often come from photographers willing to crawl through mud and sand for the right angle.
Environmental Context versus Tight Portraits
Telephoto lenses excel at tight portraits, but environmental images tell more complete stories. Consider when to zoom in tight and when to pull back and show habitat.
Environmental portraits work well when the habitat is beautiful or adds context to the animal’s behavior. An elk in misty mountains tells a different story than a tight headshot. Including habitat requires smaller apertures and careful attention to background elements.
Tight portraits focus entirely on the animal. These work best for showing expression, detail, and character. The classic wildlife portrait frames the subject tight with minimal background, all attention on the animal.
Leading Space for Moving Subjects
When photographing moving wildlife, leave space in front of the animal. This gives the subject room to move within the frame and creates a more dynamic composition. A bird flying toward the edge of the frame feels cramped; the same bird with open sky ahead feels expansive and alive.
Apply the rule of thirds, but understand when to break it. Off-center compositions often feel more natural and dynamic. Place your subject at a power point for classic composition, or break rules intentionally for creative effect.
Fieldcraft for Distance Wildlife Photography
The best camera settings cannot compensate for poor fieldcraft. Understanding animal behavior and approaching respectfully determines whether you even get the opportunity to photograph wildlife.
Understanding Animal Behavior and Patterns
Wildlife follows predictable patterns. Animals feed, rest, and move at specific times. Learning these patterns dramatically increases your success rate.
Dawn and dusk are peak activity times for many species. Animals are more active in cooler temperatures and lower light. These golden hours also provide the most beautiful lighting for photography. I plan my sessions around these periods whenever possible.
Research your target species before heading out. Know their habits, preferred habitats, and seasonal behaviors. A bird that feeds at dawn in spring might sleep through that same hour during winter. This knowledge helps you position yourself in the right place at the right time.
Approach Strategies That Minimize Disturbance
Getting closer to wildlife requires patience and technique. Rushing toward an animal guarantees it will flee. Slow, deliberate movements allow animals to become comfortable with your presence.
Move when the animal is not looking at you. Stop completely when it notices you. Avoid direct eye contact, which many species interpret as threatening. Move diagonally rather than directly toward the animal, appearing less predatory.
Your clothing matters. Muted, natural colors help you blend into the environment. Avoid bright colors and whites that stand out against natural backgrounds. Some photographers use camouflage patterns, though simple earth tones work nearly as well.
Using Natural Cover and Blinds
Natural cover provides concealment without alarming wildlife. Trees, rocks, and vegetation break up your outline and hide your movement. Set up behind cover and wait for animals to approach you rather than chasing them.
Permanent or portable blinds take concealment further. A blind hides you completely, allowing animals to behave naturally nearby. Many wildlife refuges provide permanent blinds at strategic locations. Portable blinds set up quickly and pack down small for transport.
Vehicles make excellent blinds. Many animals ignore cars while fleeing from humans on foot. Photography from your vehicle often allows closer approach than walking. Use a beanbag or window mount for camera support.
Ethical Distance Photography Practices
Wildlife photography carries ethical responsibilities. Your presence should never alter animal behavior or cause stress. If an animal changes its behavior because of you, you are too close.
Learn the signs of stress in your subjects. Raised heads, frozen postures, and flight responses all indicate an animal feels threatened. Back away immediately if you observe these behaviors. No photograph is worth harassing wildlife.
Respect seasonal sensitivities. Nesting birds, young animals, and winter-stressed wildlife need extra space. During these periods, use longer telephoto reach and maintain greater distances. Your patience protects the animals you photograph.
Common Mistakes and Troubleshooting
Even experienced photographers struggle with telephoto wildlife photography. Understanding common problems helps you diagnose and fix issues in the field.
Why Images Appear Soft Despite Correct Settings
Soft images plague telephoto photographers. When your photos lack crispness despite using fast shutter speeds and proper focus, consider these culprits.
Heat haze creates softness that no setting can overcome. Shooting across hot ground on sunny days creates mirage effects that blur distant subjects. Early morning offers the clearest conditions before heat builds. If you must shoot during heat, get closer or wait for overcast conditions.
Atmospheric dust and humidity also reduce sharpness at distance. These conditions scatter light between you and your subject. Clean air after rain provides excellent clarity for telephoto work.
Lens calibration issues cause focus errors. If your lens consistently front-focuses or back-focuses, even perfect technique produces soft results. Most cameras offer autofocus micro-adjustment to correct these errors. Test your lenses and calibrate if needed.
Camera Shake versus Subject Motion Blur
Identifying blur type helps you correct the problem. Camera shake creates overall image softness or double-image effects. Subject motion blur shows movement in specific areas while stationary elements remain sharp.
Camera shake requires stability improvements. Use faster shutter speeds, better support, or image stabilization. Subject motion blur requires faster shutter speeds regardless of your stability.
Test by photographing a static subject at your typical settings. If the static image is sharp but wildlife shots are blurry, subject motion is your problem. If both show blur, address camera shake first.
Autofocus Issues and Solutions
When autofocus misses consistently, several factors may be responsible. Low-contrast subjects confuse autofocus systems. Backlit animals, subjects against similar-colored backgrounds, and animals in tall grass all challenge autofocus.
Solution: Focus on a higher-contrast area near your subject, then recompose. For back-button focus users, this technique becomes second nature. Lock focus on the edge of the animal where contrast is higher, then adjust composition.
Focus point size matters too. Larger focus points include more of the background, potentially grabbing focus on grass or branches instead of the animal. Switch to smaller focus points for precise placement on your subject.
Quick Reference Settings Guide
Use this table as a starting point for different wildlife scenarios. Adjust based on your specific equipment and conditions.
Static Wildlife (perched birds, resting mammals): 1/500s minimum, f/5.6-f/8, Auto ISO, Continuous AF, Single focus point
Walking/Trotting Animals: 1/1000s minimum, f/5.6-f/8, Auto ISO, Continuous AF, Single focus point
Running Animals: 1/2000s minimum, f/5.6-f/8, Auto ISO, Continuous AF, Zone or expanded focus
Birds in Flight: 1/2000s-1/3200s, f/5.6-f/8, Auto ISO, Continuous AF, Subject tracking or zone focus
Low Light Wildlife: 1/500s (with stabilization), f/4-f/5.6, ISO 1600-6400, Continuous AF, Single focus point
Frequently Asked Questions
What is the 20-60-20 rule in photography?
The 20-60-20 rule suggests spending 20% of your time planning shots, 60% actually shooting, and 20% reviewing and selecting your best work. For wildlife photography, this might mean scouting locations before your shoot, dedicating focused time to photography, and then carefully culling images afterward. The rule emphasizes that successful photography requires more than just pressing the shutter button.
What is the best lens for long distance wildlife photography?
For serious wildlife photography, lenses in the 400mm to 600mm range are ideal. A 100-400mm or 150-600mm zoom offers versatility for varying distances. Prime lenses like 500mm f/4 or 600mm f/4 provide maximum quality but cost and weigh significantly more. Crop-sensor cameras effectively increase reach, making a 300mm lens behave like a 450mm on many bodies. Consider your budget, weight tolerance, and typical subject distances when choosing.
Are telephoto lenses good for wildlife photography?
Yes, telephoto lenses are essential for wildlife photography. They allow you to photograph animals from safe, non-threatening distances while filling the frame with your subject. Telephoto lenses also create pleasing background blur that isolates subjects from distracting environments. Without telephoto reach, most wildlife appears as small dots in wide images. The compression effect of telephoto lenses also creates the intimate, detailed portraits that define great wildlife photography.
What is the best camera setting for wildlife photography?
There is no single best setting, but start with these fundamentals: Continuous autofocus (AF-C or AI Servo), shutter speed of at least 1/1000 second for action or 1/500 second for static subjects, aperture around f/5.6 to f/8 for depth of field and sharpness, and Auto ISO with a minimum shutter speed limit. Enable continuous shooting mode for action. Use back-button focus for precise control. Adjust these baselines based on your specific subject, lighting conditions, and equipment.
Conclusion
Mastering telephoto wildlife photography settings takes practice, but the fundamentals are straightforward. Prioritize shutter speed for sharp images, use continuous autofocus for moving subjects, and stabilize your gear appropriately. Understanding how to photograph wildlife from a distance with telephoto settings combines technical knowledge with fieldcraft and patience.
Start with the baseline settings provided here, then adjust based on your results. Every wildlife encounter presents unique challenges. The more you practice, the faster you will adapt your settings to each situation. Remember that even professional wildlife photographers miss shots constantly. The key is learning from each outing and gradually increasing your keeper rate.
Get out there and practice. The animals are waiting.