You point your camera at the moon, snap what you think will be an amazing photo, and get… a glowing white blob. No craters. No texture. No detail. Just disappointment. If this sounds familiar, you are not alone. I have been there, and so has practically every photographer who first attempted lunar photography.
The good news is that capturing sharp, detailed crater photos is entirely achievable once you understand a few fundamental principles. The moon is actually one of the easiest astrophotography subjects because it is bright, predictable, and requires no special tracking equipment. The secret lies in treating it like a daylight scene rather than a night scene.
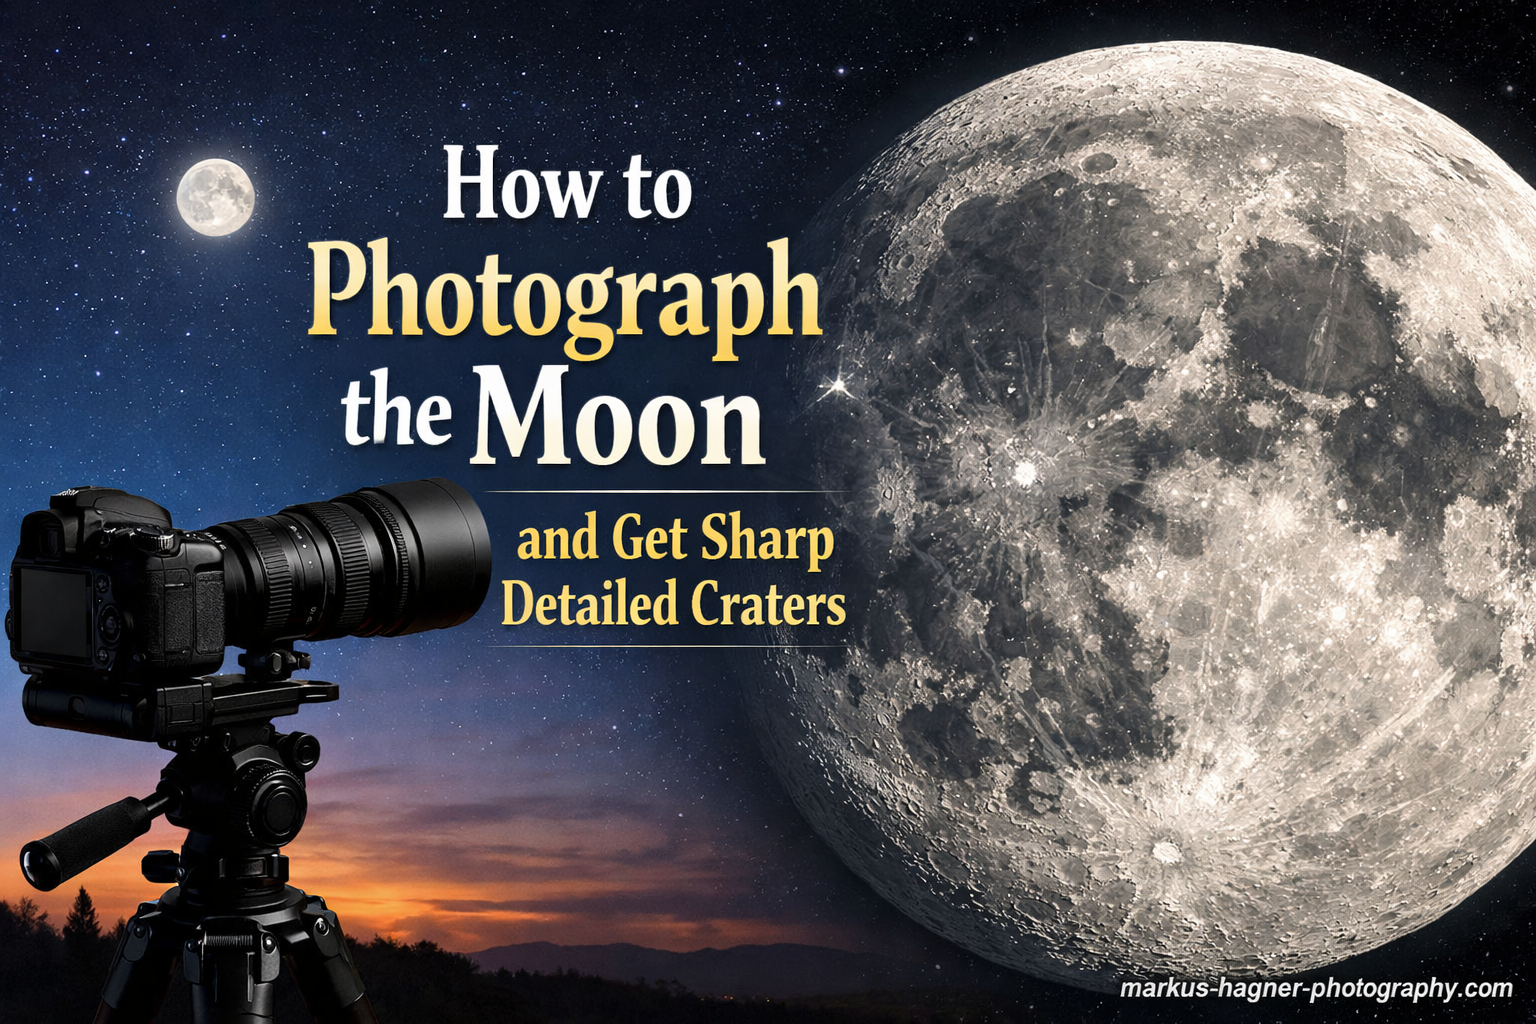
In this guide on how to photograph the moon and get sharp detailed craters, I will walk you through the exact camera settings, focusing techniques, and timing strategies that transformed my moon photos from disappointing white circles into detailed lunar landscapes. You will learn the Looney 11 rule, understand why lunar phases matter for crater visibility, and discover how to avoid the common mistakes that ruin most beginner moon shots.
Essential Equipment for Moon Photography
Before diving into settings, let’s cover what you actually need. The barrier to entry for moon photography is lower than you might think.
Camera Body
Almost any interchangeable lens camera will work for moon photography. DSLR or mirrorless cameras from Canon, Nikon, Sony, Fujifilm, or Panasonic all have manual mode capabilities essential for this type of shooting. Full-frame cameras give you wider field of view, while crop-sensor cameras effectively multiply your lens reach by 1.5x or 1.6x, which is actually an advantage for lunar photography.
The key requirement is manual control over aperture, shutter speed, and ISO. If your camera allows shooting in RAW format, that is a significant bonus for post-processing flexibility.
Lens and Focal Length
This is where most photographers run into limitations. The moon occupies a surprisingly small portion of the sky, roughly 0.5 degrees of angular diameter. To fill a significant portion of your frame, you need substantial reach.
Here is what different focal lengths produce on a full-frame camera:
- 200mm: Moon fills about 15% of frame height, good for moon-in-landscape shots
- 300mm: Moon fills about 22% of frame, decent detail possible with cropping
- 400mm: Moon fills about 30% of frame, beginning to show real crater detail
- 600mm: Moon fills about 45% of frame, excellent for detailed crater work
- 800mm+: Moon dominates frame, reveals fine lunar features
I recommend starting with at least 300mm of effective focal length. Many photographers use teleconverters to extend their reach affordably. A 1.4x teleconverter on a 400mm lens gives you 560mm with only one stop of light loss.
Tripod and Stability
A sturdy tripod is non-negotiable for sharp moon photos. At long focal lengths, even the slightest camera movement creates blur. Your tripod should be solid enough that a gentle tap on the legs does not cause visible vibration in live view.
If your lens has image stabilization or vibration reduction, turn it off when using a tripod. Some older stabilization systems actually introduce blur when the camera is perfectly still.
Remote Shutter or Self-Timer
Pressing the shutter button directly causes camera vibration that ruins sharpness at telephoto focal lengths. Use a remote shutter release, cable release, or your camera’s self-timer set to at least 2 seconds. This small detail makes a noticeable difference in final image sharpness.
Understanding the Looney 11 Rule
The Looney 11 rule is the foundational starting point for moon photography exposure. It is a variation of the Sunny 16 rule adapted for lunar shooting, and it works because the moon is illuminated by the same sun that lights our daytime scenes.
Here is the rule in its simplest form:
Set your aperture to f/11, your ISO to 100, and your shutter speed to 1/100 second.
That is it. This combination gives you a properly exposed moon with good detail as a starting point. The reciprocity works like this: at f/11 with ISO 100, use a shutter speed that is the inverse of your ISO (1/100s). If you increase ISO to 200, use 1/200s. If you open aperture to f/8, increase shutter speed to 1/200s to compensate.
Why This Rule Works
Many beginners assume moon photography requires long exposures because it is night. This assumption is wrong. The moon reflects sunlight and is surprisingly bright, about as bright as a sunlit scene on Earth. The average albedo (reflectivity) of the lunar surface is around 12%, similar to weathered asphalt.
Treating the moon like a daylight subject is the key insight. The Looney 11 rule accounts for this brightness while providing enough depth of field for the curved lunar surface to remain sharp across its face.
When to Adjust From the Baseline
The Looney 11 rule is a starting point, not a law. Adjust based on these factors:
- Thin atmosphere/haze: Open up 1/3 to 2/3 stop (f/9 or f/10)
- High altitude shooting: Moon appears brighter, may need faster shutter
- Crescent moon: Thin crescents are dimmer, open up 1-2 stops
- Atmospheric pollution: Can dim the moon, adjust as needed
- Supermoon: Slightly brighter due to closer proximity
I always take a test shot at the Looney 11 baseline, then review the histogram and adjust from there. The goal is to expose as far right as possible without clipping highlights.
Camera Settings for Sharp Moon Photos
Now let’s break down each setting and why it matters for capturing detailed craters.
Shooting Mode: Manual
Shoot in full manual mode (M). Auto or semi-auto modes will consistently overexpose the moon because your camera’s meter tries to make the dark sky medium gray, which blows out the bright lunar surface. Manual mode gives you complete control and consistent results.
Aperture: Sweet Spot for Sharpness
Most lenses are sharpest around f/8, not wide open and not fully stopped down. The Looney 11 rule suggests f/11, but I often shoot at f/8 for slightly better sharpness with my telephoto lenses.
The trade-off is depth of field versus lens performance. At f/8, you get peak lens sharpness but slightly less depth of field across the curved moon surface. At f/11, you gain depth of field but may introduce diffraction softening. Test your specific lens to find its sweet spot.
For most telephoto lenses, f/8 to f/11 is the ideal range for moon photography.
Shutter Speed: Freezing Motion
The moon moves across the sky faster than you might expect, completing a full rotation every 27.3 days. From our perspective, it moves approximately its own diameter every two minutes. At long focal lengths, this motion becomes visible as blur if your shutter speed is too slow.
As a general guideline:
- 300mm: Keep shutter at 1/250s or faster
- 400mm: Keep shutter at 1/320s or faster
- 600mm: Keep shutter at 1/500s or faster
The Looney 11 rule’s 1/100s baseline works well for shorter focal lengths. With longer lenses, boost ISO to maintain faster shutter speeds.
ISO: Balance Noise and Speed
Keep ISO as low as possible while maintaining adequate shutter speed. Base ISO (typically 100 or 200) provides the cleanest files with maximum dynamic range. However, a slightly higher ISO that allows a faster shutter is better than base ISO with motion blur.
Most modern cameras produce clean results up to ISO 800. The moon’s brightness allows you to stay at ISO 100-400 in most situations.
File Format: RAW Always
Shoot RAW files, not JPEG. RAW gives you the latitude to recover highlight detail, adjust white balance, and apply sharpening without degrading image quality. The moon’s high contrast between bright surface and black sky benefits enormously from RAW’s extended dynamic range.
Quick Reference Settings Table
</tr
| Scenario | Aperture | Shutter | ISO |
|---|---|---|---|
| Full Moon (standard) | f/11 | 1/100s | 100 |
| Full Moon (200mm) | f/8 | 1/200s | 200 |
| Full Moon (400mm+) | f/8 | 1/400s | 400 |
| Crescent Moon | f/8 | 1/60s | 200 |
| Supermoon | f/11 | 1/160s | 100 |
| Hazy conditions | f/8 | 1/100s | 100 |
How to Focus on the Moon for Sharp Craters In 2026?
Focusing is where most moon photos fail. Autofocus rarely works well on the moon because contrast detection systems struggle with the bright disc against black sky. Manual focus is essential for capturing sharp crater detail.
The Live View Magnification Method
This technique produces consistently sharp results:
Step 1: Switch your lens to manual focus mode (usually a switch on the lens barrel marked AF/MF).
Step 2: Enable live view on your camera’s rear LCD.
Step 3: Point at the moon and activate magnification (usually 5x or 10x zoom).
Step 4: Focus on the edge of the moon where the terminator line meets the limb. Craters along this edge provide excellent contrast for focusing.
Step 5: Rock focus slightly back and forth, settling on the sharpest point.
Step 6: Take a test shot and magnify to verify sharpness on the LCD.
Infinity Focus Considerations
Many photographers simply twist the focus ring to the infinity mark and assume they are done. This approach often fails because true optical infinity on most lenses is actually slightly before the hard stop. The infinity mark is a guideline, not a precision indicator.
Additionally, focus can shift slightly as the lens or camera temperature changes during a long night of shooting. Recheck focus periodically, especially if you notice softening in your images.
Focus Peaking (If Available)
Many mirrorless cameras offer focus peaking, which highlights in-focus edges with colored overlays. While useful, focus peaking sometimes highlights areas that are close but not critically sharp. I prefer using magnification and visual inspection for final verification.
Best Lunar Phases for Crater Detail
Here is a counterintuitive truth: the full moon is actually not the best phase for capturing crater detail. While the full moon is brightest and most dramatic, its direct lighting flattens the lunar landscape.
Why Full Moon Shows Fewer Craters
When the moon is full, sunlight hits it from nearly the same angle as our viewing perspective. This direct, flat lighting eliminates the shadows that give craters their three-dimensional appearance. The lunar maria (dark basaltic plains) show well, but crater rims and mountain ridges lose definition.
Full moon photos often look like a flat, textured ball rather than a rugged landscape with dramatic topography.
The Terminator Line Advantage
The terminator is the dividing line between the illuminated and dark portions of the moon. Along this line, sunlight strikes at a low angle, creating long shadows that emphasize every bump, ridge, and crater rim.
This is where crater photography truly shines. Large craters like Copernicus, Tycho, and Plato reveal incredible detail along the terminator that simply disappears under full illumination.
Best Phases for Crater Photography
- First Quarter (50% illuminated): Terminator runs through prime crater territory in Mare Imbrium and Mare Serenitatis
- Waxing Gibbous (65-85%): Terminator crosses the southern highlands with dense crater fields
- Last Quarter: Eastern limb craters come into relief, different features than first quarter
- Thin Crescent (3-5 days old): Earthshine can illuminate the dark portion for dramatic compositions
I have captured my most detailed crater photos during the first quarter and waxing gibbous phases, not during full moon. Plan your sessions around these phases for maximum texture and dimension.
Common Moon Photography Mistakes and How to Avoid Them In 2026?
After helping many photographers troubleshoot their lunar images, I see the same issues repeatedly. Here is how to identify and fix them.
Mistake 1: Overexposed White Blob
Symptoms: Moon appears as a featureless white disc with no surface detail.
Cause: Camera meter is fooled by the dark surrounding sky and overexposes.
Fix: Use manual mode. Start with Looney 11 settings (f/11, ISO 100, 1/100s) and check your histogram. The moon data should form a peak on the right side without touching the edge. If clipped, use a faster shutter or smaller aperture.
Mistake 2: Blurry Images
Symptoms: Moon edges are soft, craters lack definition.
Cause: Camera shake from handholding, tripod instability, or pressing the shutter button.
Fix: Always use a sturdy tripod. Enable mirror lockup (DSLR) or electronic first curtain shutter. Use a remote release or 2-second self-timer. Never handhold at focal lengths longer than 200mm.
Mistake 3: Soft Focus
Symptoms: Image looks slightly out of focus despite seeming sharp in live view.
Cause: Autofocus miss, infinity focus inaccurate, or focus shift during shooting.
Fix: Always use manual focus with live view magnification. Focus on the lunar terminator where contrast is highest. Recheck focus every 15-20 minutes as temperatures change.
Mistake 4: Atmospheric Distortion
Symptoms: Moon appears wavy, distorted, or lacking fine detail despite proper focus.
Cause: Turbulent atmosphere, especially when moon is low on horizon or heat waves are present.
Fix: Shoot when moon is higher in the sky (at least 30 degrees above horizon). Avoid shooting over heat sources. Wait for nights with stable atmospheric conditions. The “lucky imaging” technique of shooting many frames and selecting the sharpest helps combat this.
Mistake 5: Motion Blur from Moon Movement
Symptoms: Slight directional blur visible when pixel peeping.
Cause: Shutter speed too slow for focal length, allowing moon’s apparent motion to record.
Fix: Use the reciprocal rule adapted for lunar shooting: at 400mm, use 1/400s or faster. Increase ISO if necessary to maintain shutter speed.
How to Photograph the Moon with a Smartphone In 2026?
Smartphone moon photography has improved dramatically with newer devices, though limitations remain. Here is how to get the best possible results with your phone.
Use Pro/Manual Mode
Most modern smartphones include a Pro or Manual mode in their camera app. This gives you control over the same exposure triangle as a dedicated camera:
- ISO: Set to lowest available (typically 50-100)
- Shutter speed: Try 1/100s to 1/250s
- Focus: Set to manual and adjust to infinity
- EV compensation: Start at -2 to -3 stops
The key is underexposing significantly. Your phone’s automatic metering will almost always overexpose the moon.
Shoot During Twilight
Smartphones struggle with the extreme contrast between a bright moon and pitch-black sky. Shooting during early evening twilight reduces this contrast, giving your phone’s limited dynamic range a better chance of capturing detail.
The blue twilight sky also creates more aesthetically pleasing images than pure black backgrounds.
Telephoto Lens Add-Ons
Clip-on telephoto lenses for smartphones can extend your reach to 2x or 3x optical zoom. Quality varies enormously, but decent options exist in the $30-80 range. Look for multi-element glass lenses rather than cheap plastic attachments.
Realistic Expectations
Even the best smartphones cannot match the crater detail possible with a dedicated camera and telephoto lens. Small sensors and fixed apertures limit what is achievable. Focus on capturing the moon’s general appearance and phase rather than individual craters.
Post-Processing Tips for Enhanced Crater Detail
Capturing a sharp moon photo is only half the battle. Post-processing brings out the crater detail hidden in your RAW file.
RAW Processing Basics
Start by importing your RAW file into Lightroom, Capture One, or your preferred RAW processor. The goal is enhancing what you captured rather than creating something that was not there.
Exposure: Adjust to ensure highlights are not clipped. The moon’s brightest areas should be just below maximum.
Highlights: Reduce by 10-30 to recover any slightly clipped bright areas.
Shadows: Increase slightly to bring out detail in darker mare regions.
White Balance: Set to daylight (around 5500K). The moon reflects sunlight, so it should appear neutral white or slightly warm.
Enhancing Crater Detail
Clarity: Apply +15 to +30 clarity to emphasize texture and crater rims. Be careful not to overdo it, which creates artificial-looking halos.
Sharpening: Use moderate sharpening (Amount 50-80, Radius 1.0, Detail 25). Apply masking to limit sharpening to edges.
Contrast: Add local contrast through the tone curve. A gentle S-curve enhances the three-dimensional appearance of crater features.
Image Stacking for Ultra-Sharp Results
For the ultimate in sharpness, serious lunar photographers use image stacking. This technique combines multiple frames to reduce noise and increase detail.
The process involves shooting 50-200 frames rapidly, then using software like AutoStakkert! or Registax to align, analyze, and stack only the sharpest frames. Atmospheric turbulence varies moment to moment, and stacking captures the moments of best seeing.
Stacked moon images reveal detail impossible to capture in single frames, but this advanced technique requires significant additional effort and software.
Frequently Asked Questions
How to get sharp photos of the moon?
To get sharp moon photos, use manual mode with f/8-f/11 aperture, fast shutter speed (1/100s or faster at 200mm+), and ISO 100-400. Mount your camera on a sturdy tripod, use manual focus with live view magnification on the moon’s edge, and trigger the shutter with a remote or self-timer to eliminate vibration. The Looney 11 rule (f/11, ISO 100, 1/100s) provides an excellent starting point.
What is the 11 rule for moon photography?
The Looney 11 rule states that for proper moon exposure, set your aperture to f/11 and your shutter speed to match your ISO reciprocal. For example, at ISO 100, use 1/100 second shutter speed. This works because the moon reflects sunlight and is approximately as bright as a daylight scene. The rule provides a reliable baseline that you can adjust based on atmospheric conditions and lunar phase.
How to see craters on the moon in photographs?
Craters appear most visible along the terminator line, the boundary between light and dark on the moon’s surface. Shoot during first quarter, last quarter, or gibbous phases rather than full moon. During these phases, low-angle sunlight creates shadows that emphasize crater rims and mountain ridges. Large craters like Copernicus, Tycho, and Plato show exceptional detail when the terminator crosses them.
How to make moon photos less blurry?
Blurry moon photos usually result from camera shake, slow shutter speed, or focus issues. Fix these by: using a sturdy tripod, shooting at 1/100s or faster, applying manual focus with live view magnification, enabling mirror lockup or electronic shutter, and using a remote release or self-timer. Also shoot when the moon is high in the sky to minimize atmospheric distortion.
Conclusion
Learning how to photograph the moon and get sharp detailed craters transforms one of the night sky’s most accessible subjects into stunning images. The process comes down to a handful of key principles that anyone can master with practice.
Start with the Looney 11 rule as your exposure foundation: f/11, ISO 100, 1/100 second. Treat the moon like a daylight scene, not a night scene. Use manual focus with live view magnification, mount your camera on a sturdy tripod, and trigger the shutter remotely to eliminate vibration.
Remember that timing matters as much as technique. The full moon is dramatic but flattens crater detail. For maximum texture and dimensionality, shoot during first quarter or gibbous phases when the terminator line creates dramatic shadows across the lunar landscape.
Most importantly, expect some trial and error. Every photographer who now captures stunning moon images started with white blobs and blurry discs. Each failed attempt teaches you something about your equipment, your technique, and the unique challenges of lunar photography.
The moon waits patiently overhead every clear night. Grab your camera, head outside, and start practicing. Those sharp, detailed crater photos are waiting to be captured.