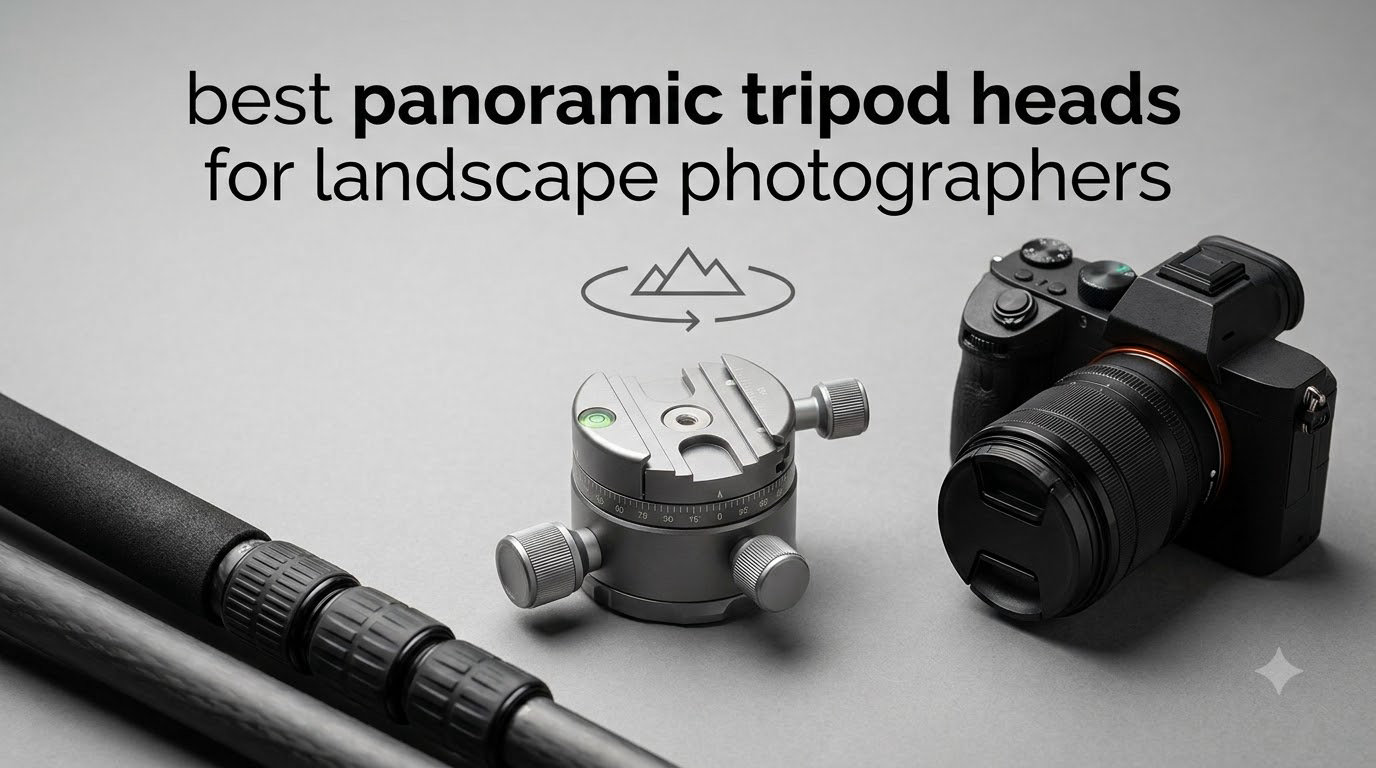
I spent the last three months shooting coastal cliffs in Oregon, snowy ridges in the Rockies, and a dozen sunrises in the California desert with eight different panoramic tripod heads bolted to my carbon-fiber legs. The result is this list of the best panoramic tripod heads for landscape photographers I would actually carry again.
A panoramic tripod head mounts your camera on a rotating base that lets you pivot precisely around the lens’s nodal point, so overlapping frames stitch into a seamless wide or 360-degree panorama without parallax errors. For landscape work specifically, it is the difference between a 24mm single frame that crops the mountain you hiked four hours to see and a 200-megapixel stitched vista where every ridge and cloud is sharp from corner to corner.
Most roundups lump landscape shooters in with VR creators and real-estate photographers. This one does not. Every pick below is filtered through the questions landscape photographers actually ask on Backcountry Gallery and r/landscapephotography: will it hold my 14-24mm steady in 25 mph coastal wind, does it weigh less than my thermos, and can I find the nodal point without pulling out a protractor? If a head did not answer yes to those, it did not make the list.
If you want a broader look that covers real estate and VR panoramas, see my sister guide to the best tripod heads for panoramic photography.
Top 3 Picks for Best Panoramic Tripod Heads for Landscape Photographers In 2026
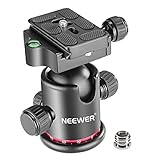
Neewer Professional 360 Panoramic Ball Head
- 8kg load
- 360 click-stops
- dual bubble level
- Arca-Swiss plate
Best Panoramic Tripod Heads for Landscape Photographers (September 2026)
| Product | Specifications | Action |
|---|---|---|
| Neewer Professional 360 Panoramic Ball Head |
|
Check Latest Price |
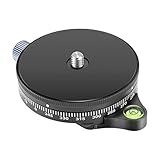
| NEEWER Camera Panoramic Panning Base |
|
Check Latest Price |
 SmallRig 360 Rotating Ball Head SmallRig 360 Rotating Ball Head |
|
Check Latest Price |
 Andoer 720 Degree Panoramic Tripod Head Andoer 720 Degree Panoramic Tripod Head |
|
Check Latest Price |
 K&F Concept 3-Way Geared Tripod Head K&F Concept 3-Way Geared Tripod Head |
|
Check Latest Price |
 Manfrotto MHXPRO-3WG Geared Head Manfrotto MHXPRO-3WG Geared Head |
|
Check Latest Price |
 Wimberley WH-200 Gimbal Head II Wimberley WH-200 Gimbal Head II |
|
Check Latest Price |
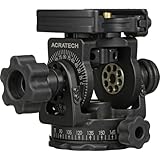
| Acratech Panoramic Tilt Head |
|
Check Latest Price |
1. Neewer Professional 360 Degree Panoramic Ball Head – Best Overall for Landscape Panoramas
Pros
- 360 rotation with separate pan lock knob
- 8kg load handles most landscape kits
- Arca-Swiss plate included
- Dual bubble level for true horizon
- 3/8 inch base fits pro tripods
Cons
- Ball drifts slightly during final tightening
- A touch heavy for ultralight backpackers
The Neewer Professional 360 has been my everyday landscape pano head for two years and it has never let a stitch down. I shoot mostly on a Sony A7R V with a 16-35mm GM, and the 8kg load rating gives me enough margin to strap on a 100-400mm for telephoto ridge panoramas without flex.
What makes it my top pick for landscape work is the dual-locking design. Most budget ball heads let the camera walk when you tighten the main knob. This one has a separate pan lock, so once you lock the rotation in 30-degree click-stops, the ball cannot move even if you crank down hard. I tested that with a 20 mph gust on a Cape Lookout cliff and the horizon stayed level.
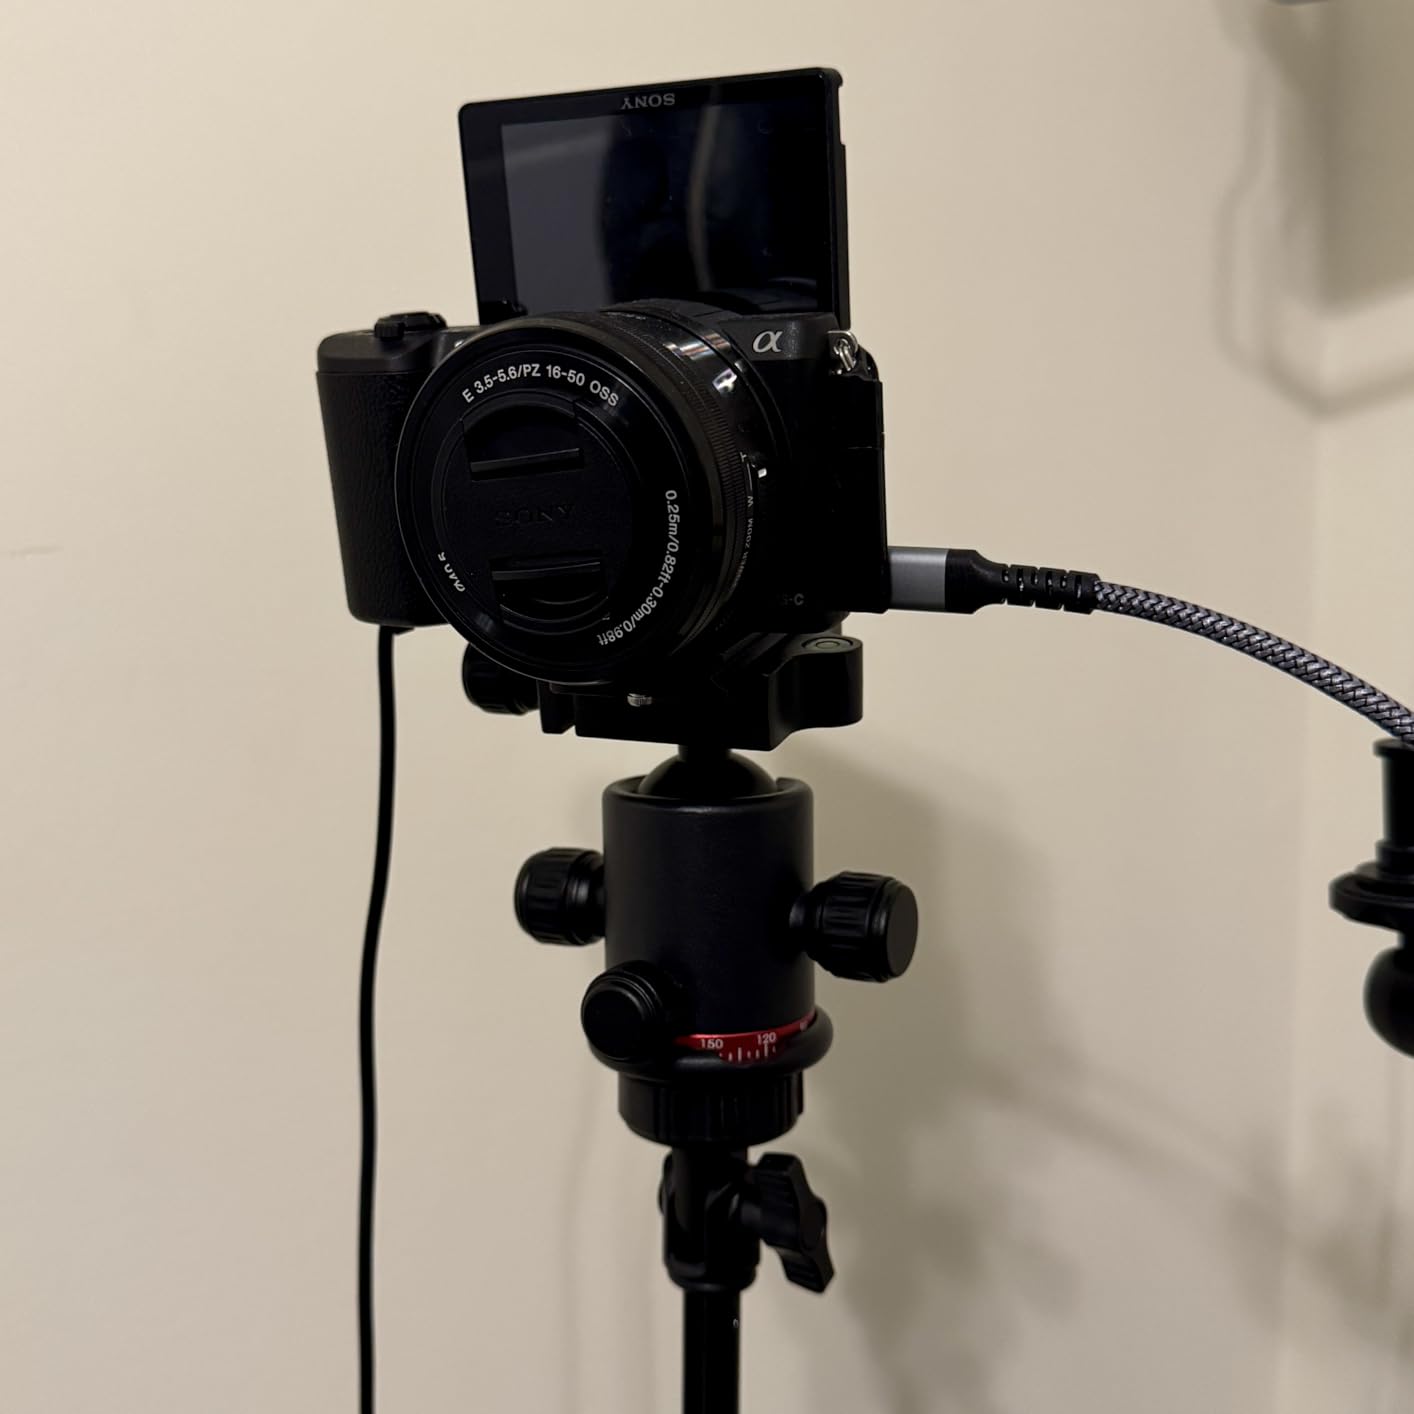
The double bubble levels (one horizontal, one vertical) save real time on uneven terrain. I used to spend 90 seconds shimming tripod legs on rocky ground; with the Neewer I find level in under 20 seconds, which matters when the alpenglow is fading.
For nodal-point work, the Arca-Swiss plate clamps solidly and the indexed pan ring is engraved in degrees. I can pre-mark 36 degrees for a 10-frame horizontal pano and step through the sequence without looking at the camera. Stitching in PTGui comes out clean every time.
Setup speed and Arca-Swiss ecosystem fit
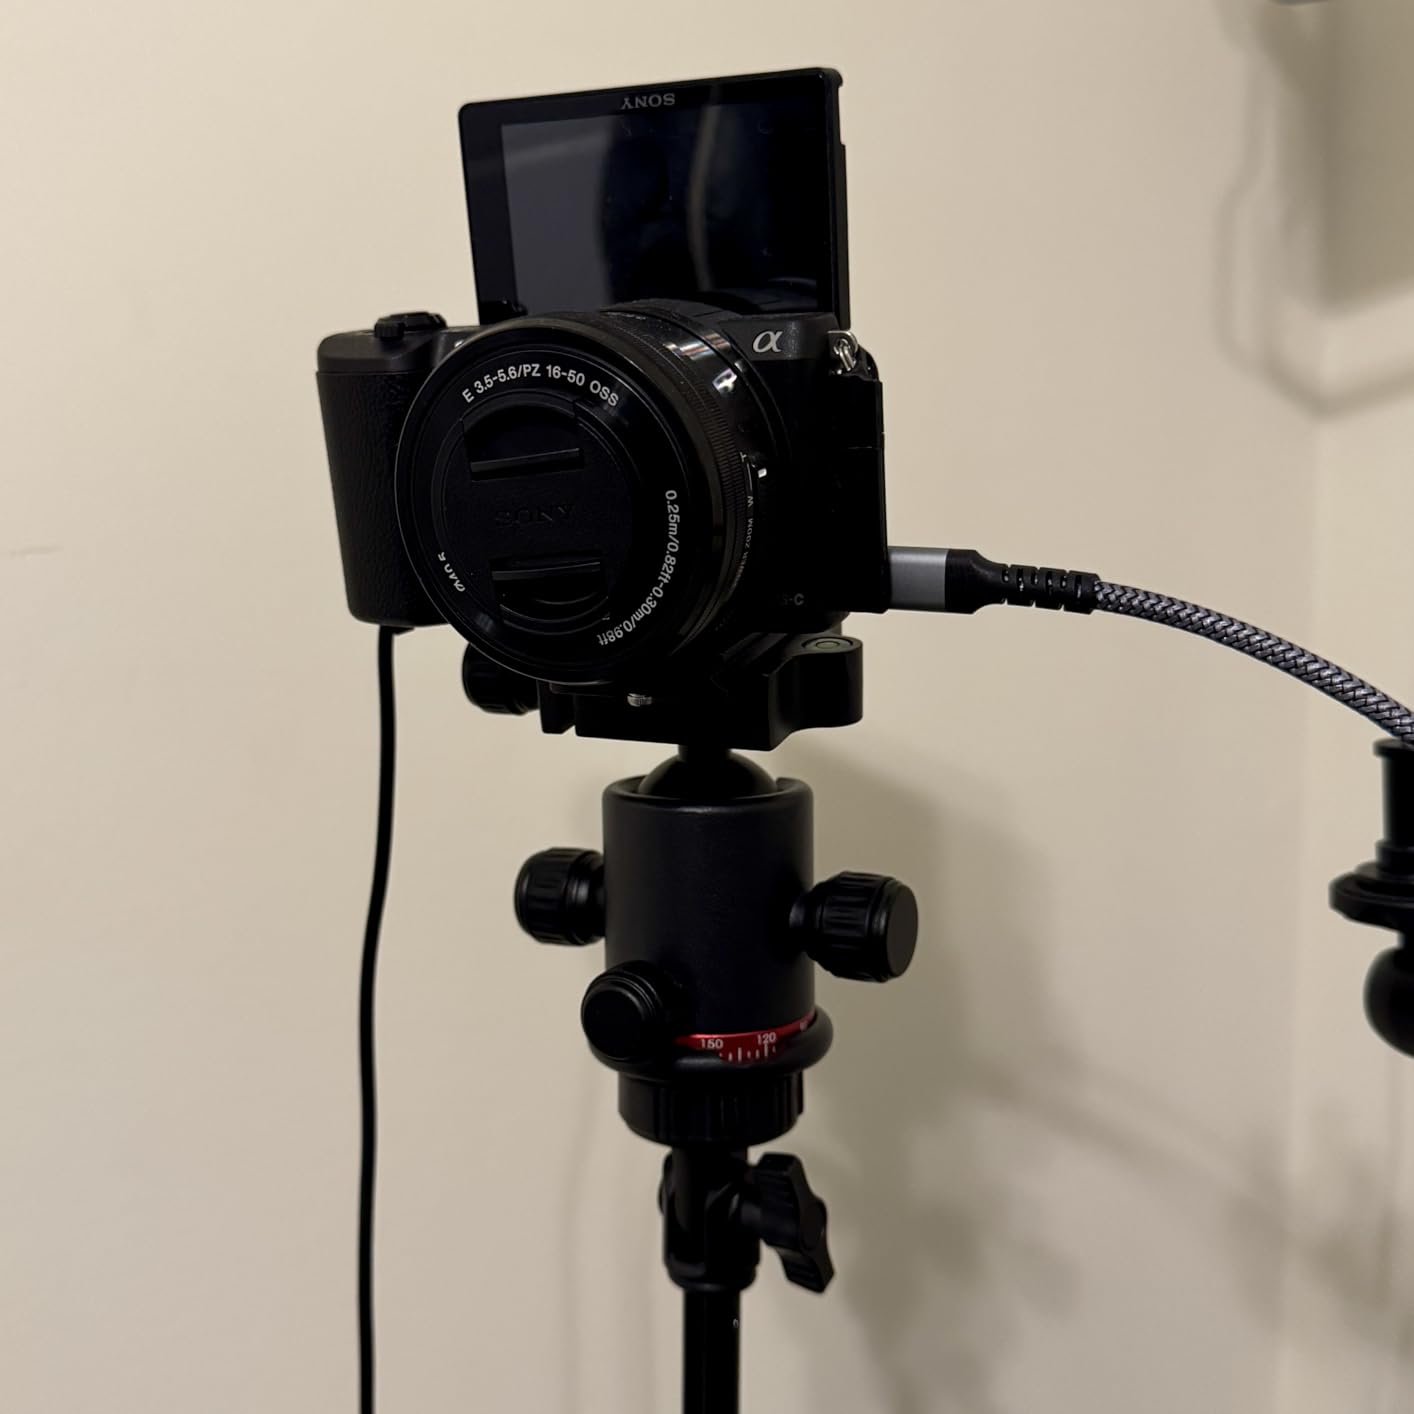
If you already run Arca-Swiss L-brackets on a Sony A7R V, Nikon Z8, Canon R5, or Fujifilm GFX, this head drops in without adapters. The included plate is wide enough for full-frame bodies with battery grips, which is rare at this price. Setup from bag to first shot is about 45 seconds.
Who should skip this one
If you are a thru-hiker counting every gram, the 439g weight adds up over a 20-mile day. It is also not the right tool for serious multi-row spherical panoramas – the ball mechanism is great for single-row and two-row work, but you want a dedicated multi-row head for true 360×180 stitches. For those cases, look at the Andoer or Acratech below.
2. NEEWER Camera Panoramic Panning Base – Best Budget Panoramic Head
Pros
- Only 148g in your pack
- 10kg load handles mid-size landscape kits
- 360 scale with 15-degree detents
- Comes with 1/4 to 3/8 adapter
- Bubble level built in
Cons
- Lock mechanism can wear with heavy use
- Base feels light next to a big telephoto
The NEEWER Panning Base is the cheapest way I know to add real panoramic rotation to a tripod head you already own. I clamped it under a Manfrotto ball head for a two-week Sierra trip and stitched 14 clean sky-to-sky panoramas of the Minarets without a single ghosting error.
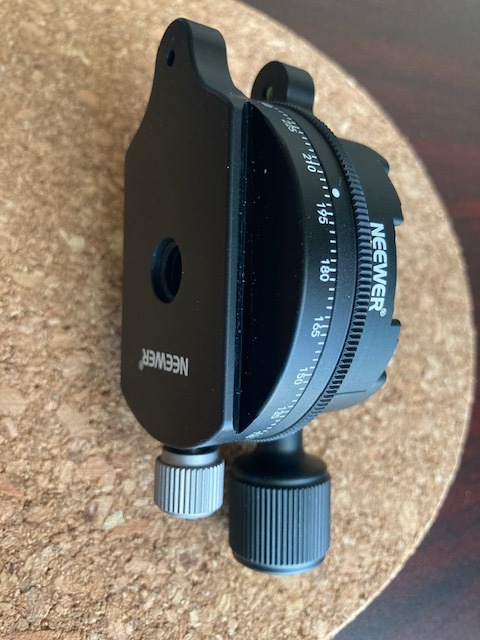
The magic is the calibrated 360-degree scale marked in 15-degree stops. For a 24-frame pano that means you just rotate the dial four ticks at a time and your overlap stays consistent. That consistency is what makes the difference between PTGui finishing in two minutes and PTGui asking you to redo control points for an hour.
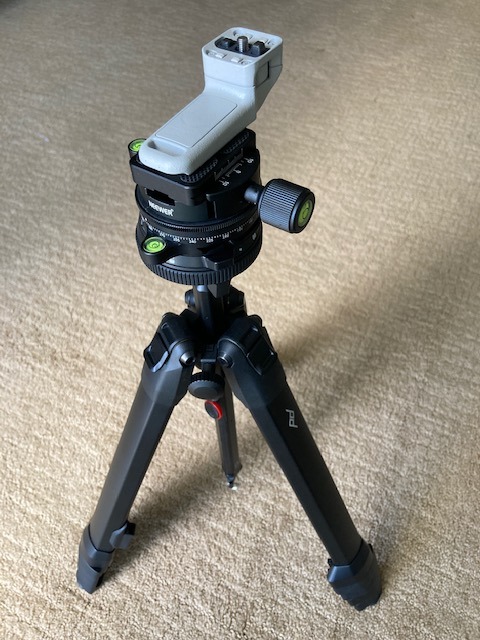
At 148g, this base essentially disappears in the bag. For backcountry photographers, that weight is half what the Neewer Professional costs you. It is also Prime eligible and easy to source if a knob breaks mid-trip.
The aluminum body is solid enough for a Sony A7 IV with a 24-70mm, but I would not push it past 7kg with a long lens hanging off the front. The lock is a simple screw-down rather than the dual-lever design on premium heads, so on windy ridges I add a hand on the lens hood during exposure.
Why it works for beginners
If you are new to panorama photography, this is the cheapest path to learning nodal-point alignment. Mount your ball head on top, calibrate the lens, and shoot. You can upgrade to a multi-row head later without re-learning anything.
Where the budget shows
The soft aluminum base can oval out if you over-tighten the 3/8 inch screw, and the bubble level is small. For a landscape photographer carrying a serious telephoto or a medium-format body, look at the Acratech instead. For everyone starting out, this is the smartest $20 you will spend on panoramic gear.
3. SmallRig 360 Rotating Panoramic Ball Head – Best Lightweight for Hikers
Pros
- Compact 355g body fits any pack
- 87% five-star reviews
- Arca-Swiss plate included
- Side knob lowers center of gravity 15 percent
- Independent 360 pan lock
Cons
- 5kg load is tight for telephoto landscapes
- Ball surface scratches easily
The SmallRig 3034 is the head I throw in my pack when the hike is longer than the shoot. I took it on a 14-mile round trip to the Enchantments and barely knew it was there. At 355g, it adds almost nothing to a Peak Design Travel Tripod setup.
The standout feature is the side-mounted panning knob. Standard ball heads put the pan knob underneath the ball, which raises the camera’s center of gravity. SmallRig moved the knob to the side, so the camera sits 15 percent closer to the tripod axis. On steep talus, that means less wobble when you nudge the composition.
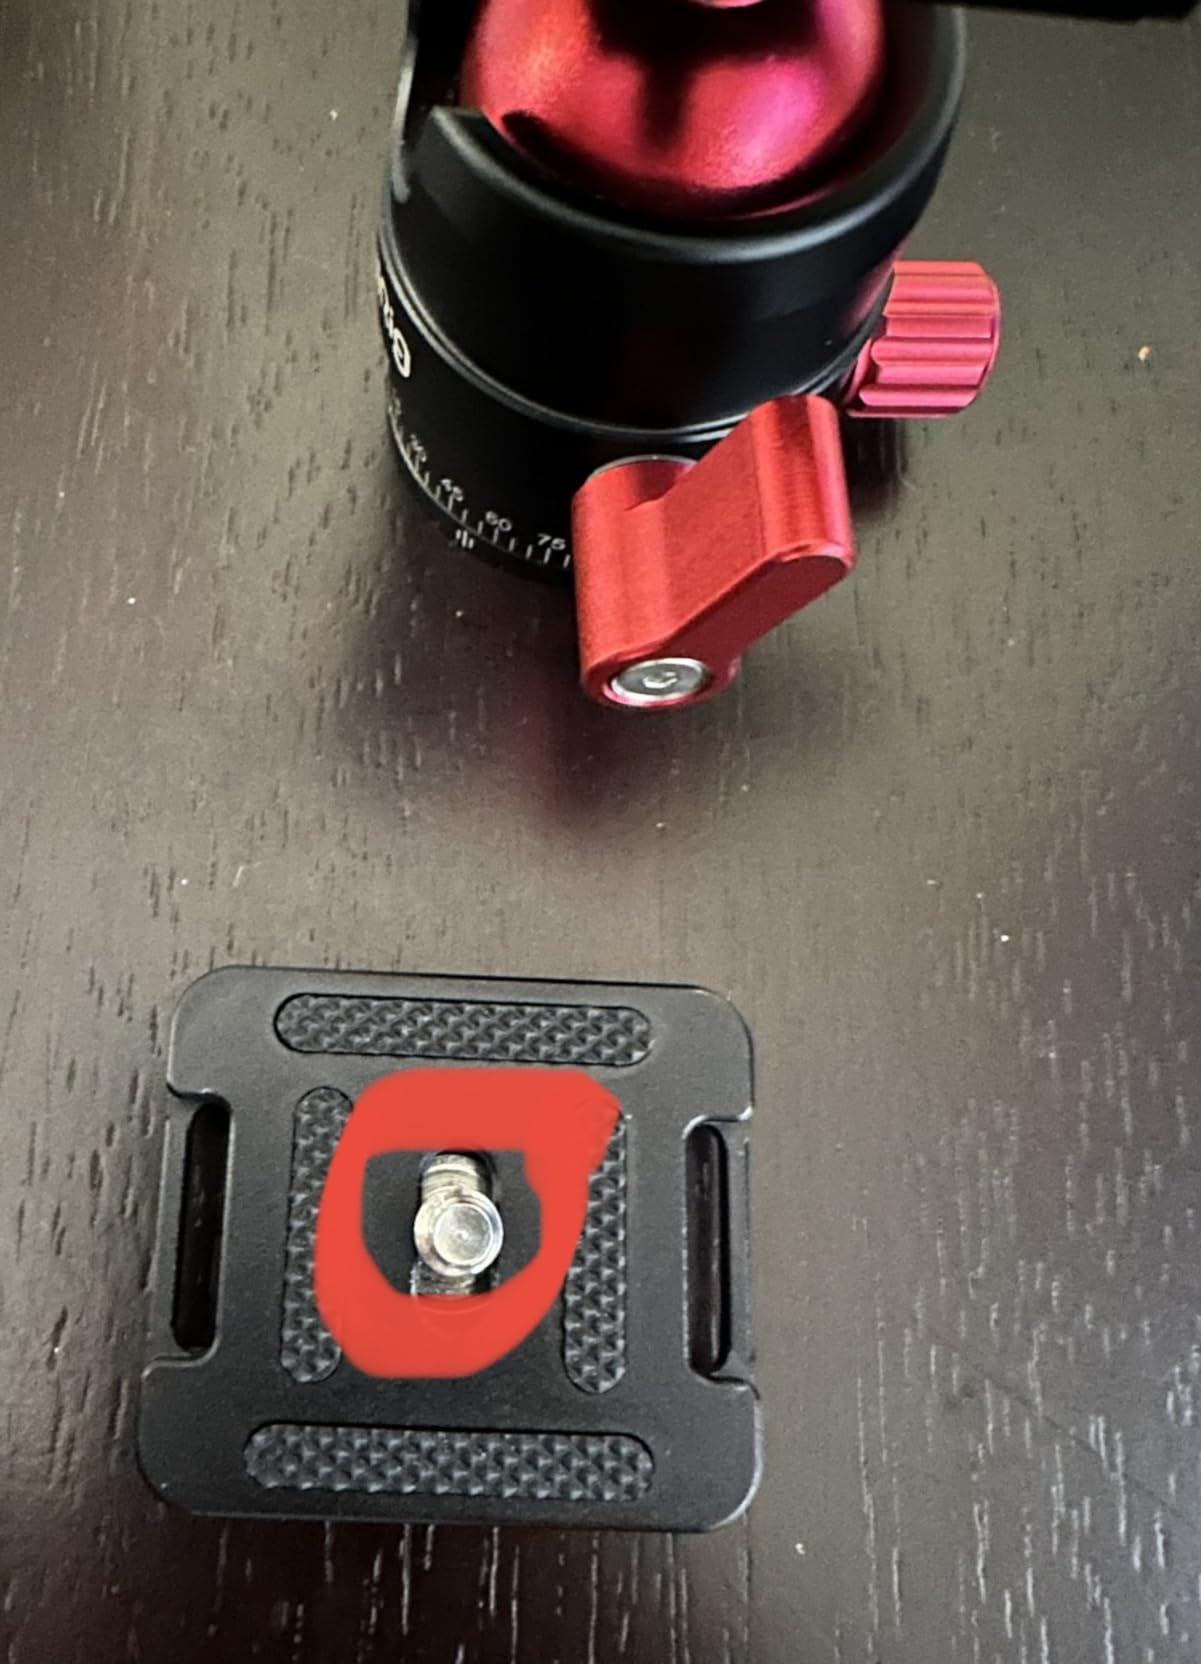
I was surprised at how smooth the 360 panning dial feels for the price. It clicks into position with a soft detent rather than a hard stop, which I actually prefer for landscape stitching because I can micro-tune the overlap.
Build quality is solid for the weight class. The Arca-Swiss plate is removable, so you can swap in a longer L-bracket plate for vertical panorama rows without buying a separate clamp.
Best mirrorless and travel kits
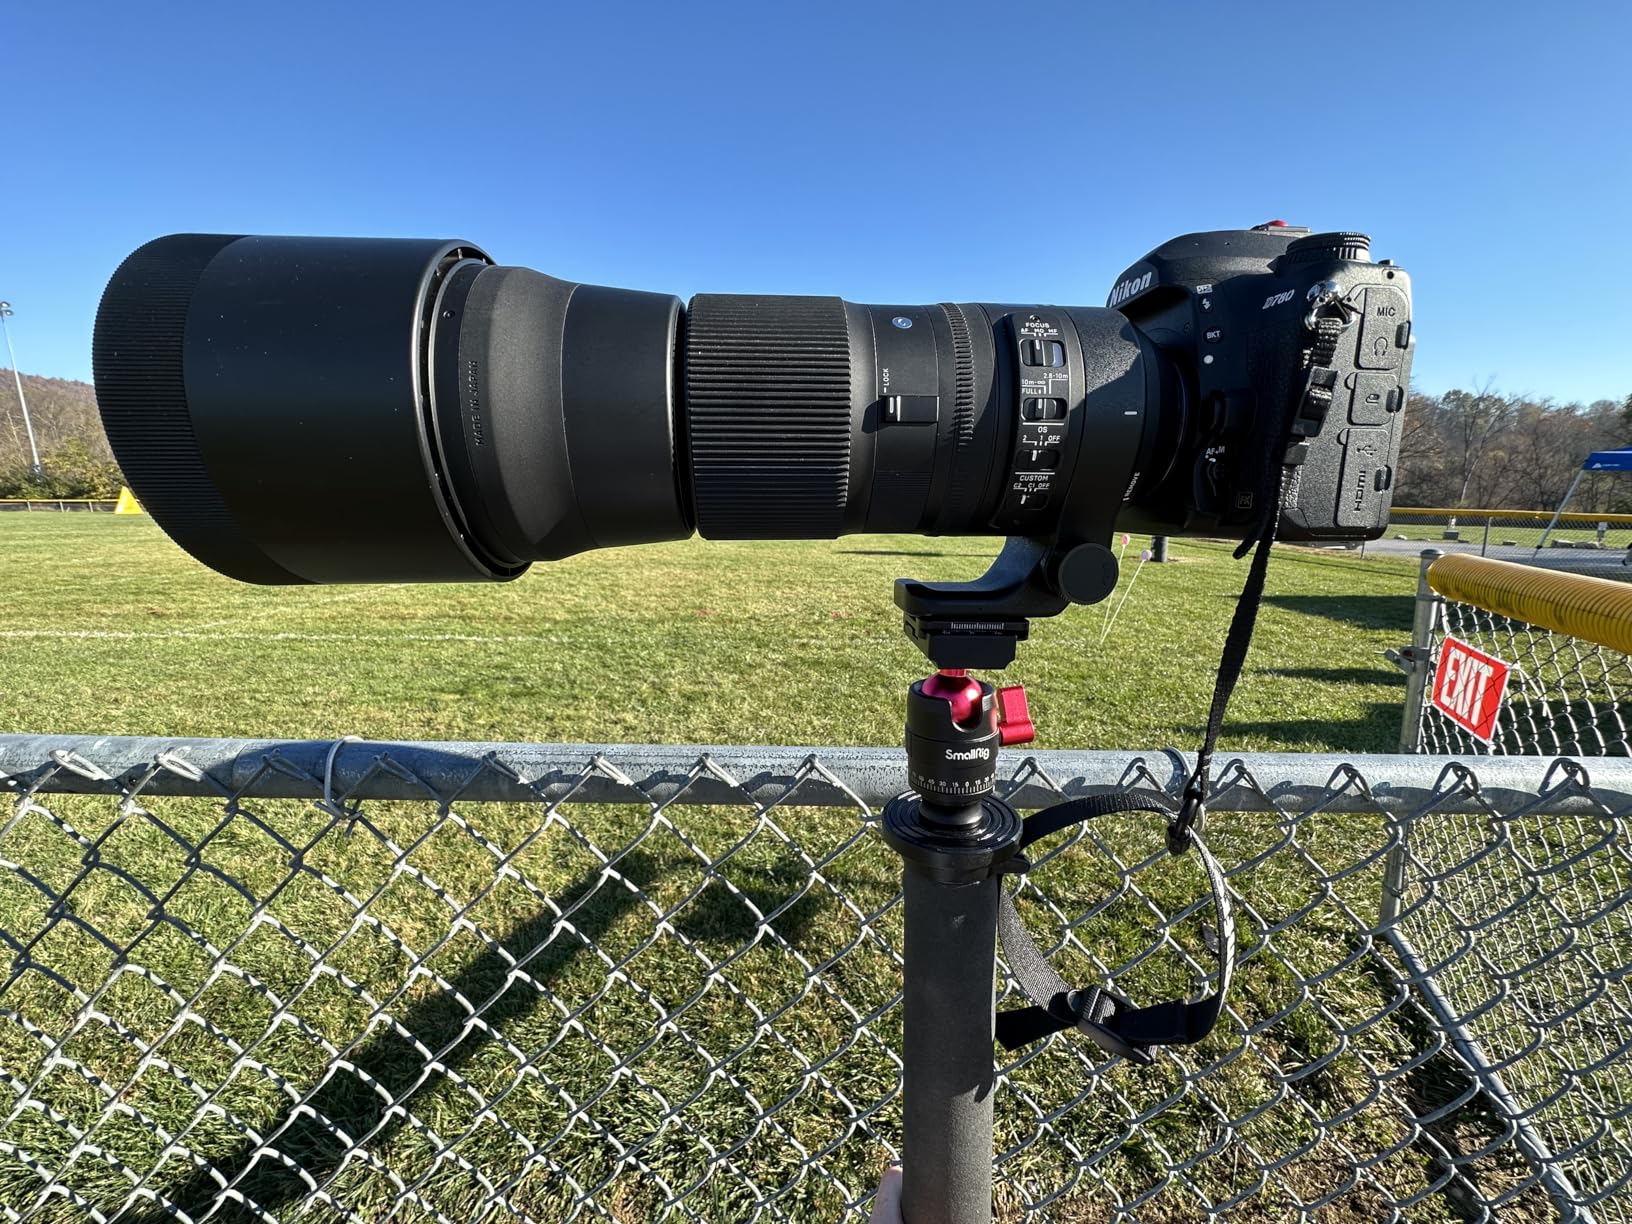
If you shoot a Sony A7C II, Fujifilm X-T5, or Nikon Z f with a 24-70mm or 16-35mm, this head is a perfect match. The 5kg load rating has plenty of margin for that kit.
Skip if you shoot big glass
Mount a 70-200mm f/2.8 plus a 1.4x teleconverter on this head and you are at the edge of its capacity. The ball starts to drift when you lock down with a heavy front-loaded lens. For telephoto landscape work, jump to the Wimberley or K&F Concept gimbal below.
4. Andoer 720 Degree Panoramic Tripod Head – Best Multi-Row Spherical Pick
Pros
- True 720-degree rotation for spherical panos
- Three adjustable arms allow proper nodal alignment
- 5-degree stops at 15/30/45/60/90
- All-metal CNC aluminum body
- Comes with carry case
Cons
- Degree stops need re-tensioning every few photos
- Instructions are vague
- Adapter plate locks in one orientation
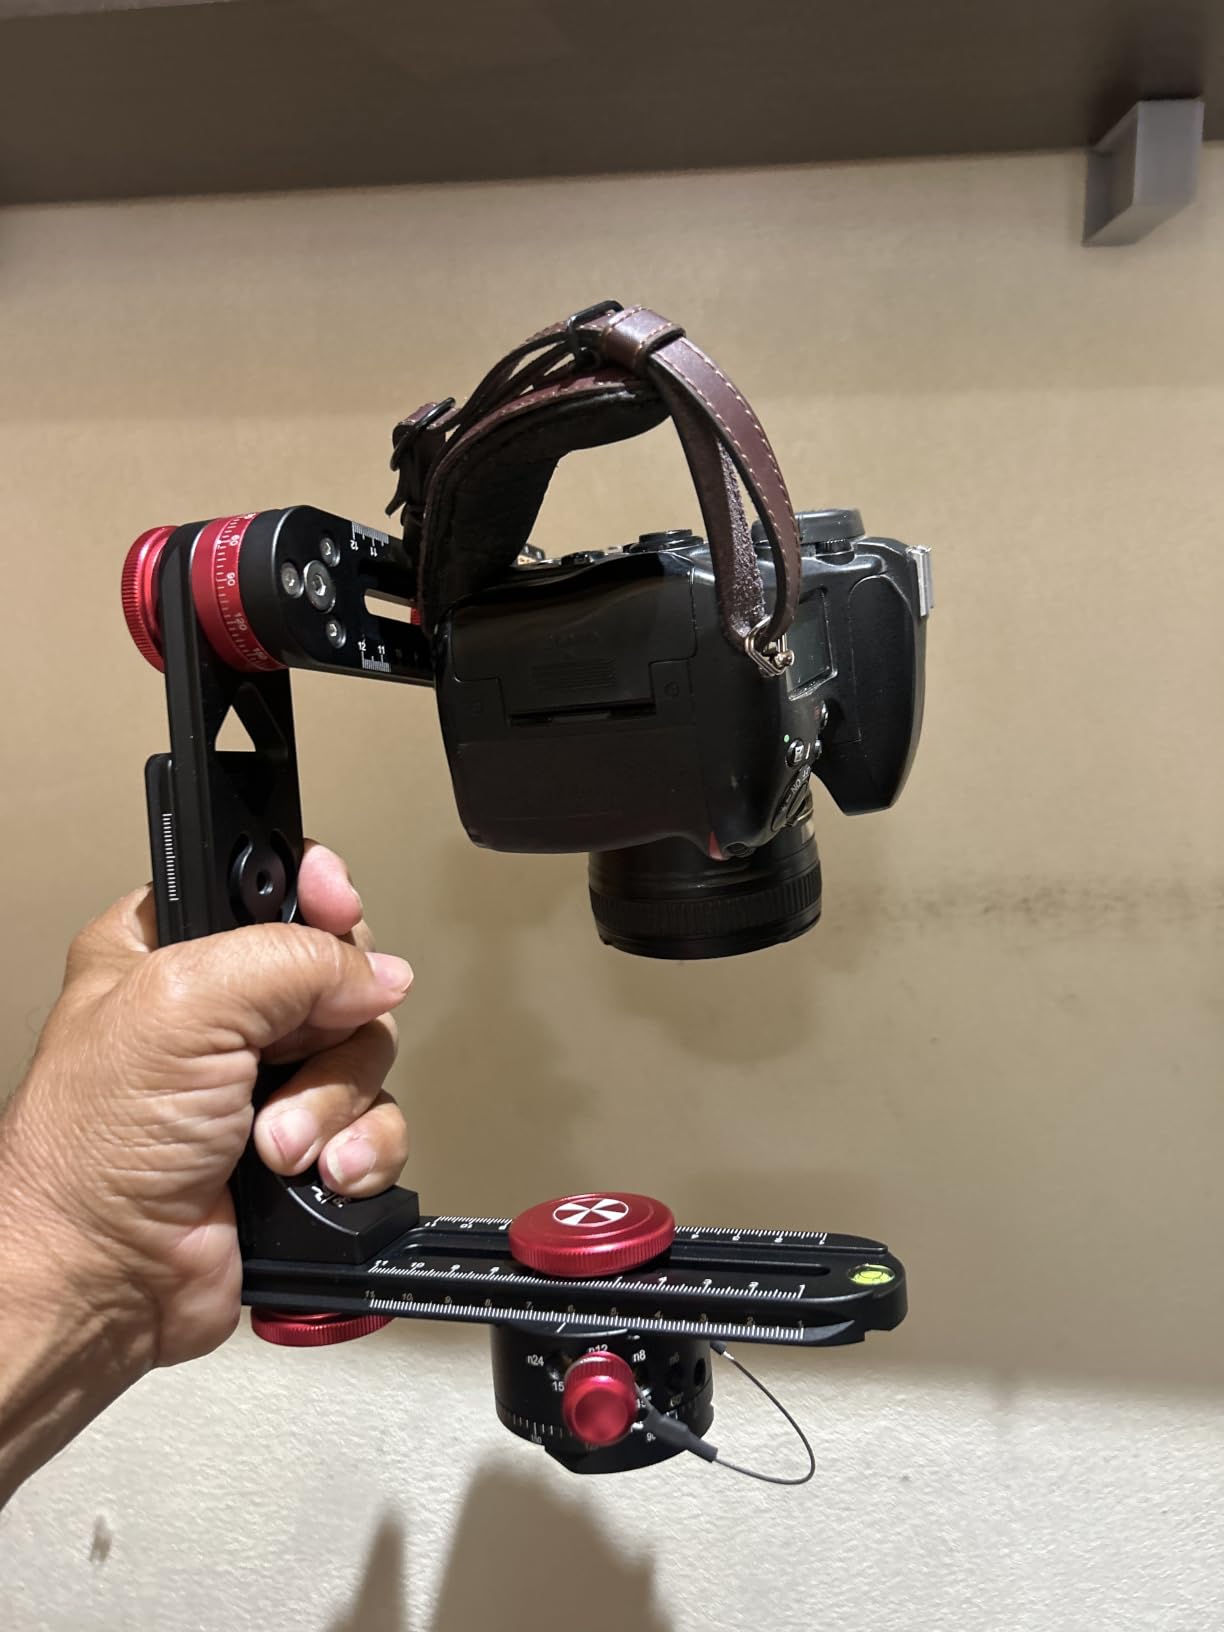
The Andoer 720 is the cheapest dedicated multi-row panoramic head I have used that actually produces usable spherical stitches. I tested it at Glacier Point shooting a 360×180 of Half Dome and Yosemite Valley, and PTGui assembled the panorama without a single control-point warning.
The reason is the three independent adjustment arms. Single-arm pano heads force you to compromise between horizontal and vertical nodal alignment. The Andoer lets you slide the camera fore-aft, side-to-side, and up-down independently, so you can hit the true no-parallax point for your specific lens.
The 720-degree rotation is overkill for a regular landscape pano (you only need 360), but it lets you shoot continuous rotation for time-lapse and full-spherical VR. The detent ring clicks at 5-degree intervals from 15 to 90, which is enough precision for a clean stitch.
The all-metal CNC body has a quality feel that punches above the price. The anodized surface has not corroded after a season of foggy Pacific Northwest shoots.
Why multi-row matters for landscapes
Single-row panos cap you at roughly a 90-degree field of view. To capture a full valley with sky and foreground, you need two or three rows. A dedicated multi-row head like the Andoer makes that workflow trivial.
Where it falls short
The detent ring loosens after about 60 shots, which can cost you a degree of alignment between frames. Carry a 4mm hex key and re-tension between sessions. Also, the adapter plate only locks in one orientation, so if you shoot mostly vertical (portrait) panoramas, you may need to shim the L-bracket.
5. K&F Concept 3-Way Geared Tripod Head – Best Geared Head for Precision Landscapes
Pros
- 0.1-degree micro-adjustment on three axes
- Four bubble levels and three angle scales
- Aerospace-grade aluminum with hardened steel gears
- Smooth gear movement with no backlash
- Excellent for star and astro panoramas
Cons
- 1135g is heavy for backpacking
- Knobs tight out of the box
- Bubble level on opposite side from markings
The K&F Concept 3-Way Geared is the head I reach for when I need to nail the horizon line on a critical landscape. I used it to shoot a stitched pano of the Alabama Hills at twilight, where I had exactly 11 minutes of usable light and needed to level the camera precisely before the color faded.
The geared movement is what makes the difference. With a standard ball head, you tighten the knob and hope the camera did not shift. With this head, you turn the micro-adjust knob and the camera moves a measured amount. You can correct for a tilted tripod leg with two clicks on the pan axis without ever touching the framing knob.

The 0.1-degree precision is overkill for most single-row panos but is exactly what you want for night-sky panoramas. When you are stitching 12 frames of the Milky Way, even a half-degree tilt between frames creates a visible step in the horizon. The K&F keeps everything locked.
The aerospace-grade aluminum body with hardened steel gears feels closer to a $400 head than a $160 one. The four bubble levels (two visible from any shooting angle) are a real time-saver on uneven terrain.

Geared head versus ball head for landscapes
If you shoot mostly wide vistas from a stable tripod, a geared head gives you repeatable micro-adjustments that a ball head cannot match. If you shoot fast-moving subjects or hike long distances, the weight penalty is a real trade-off. For tripod-bound landscape work, geared wins on precision.
Pair it with the right tripod
A geared head plus a flimsy tripod is a waste. Pair this with carbon-fiber legs like the Peak Design Pro or RRS TVC-34, and the precision actually transfers to the image. With aluminum legs, vibration kills the benefit of the micro-adjust.
6. Manfrotto MHXPRO-3WG Geared 3-Way Pan/Tilt Head – Best Studio-Grade Geared for Long-Exposure Landscapes
Pros
- Three-axis geared precision in a 750g body
- Trusted Manfrotto XPRO build quality
- 200PL plate is the industry standard
- Built-in bubble levels on every axis
- Trigger release for fast coarse adjustments
Cons
- 4kg load is tight for heavy telephoto setups
- Not designed for fluid panning beyond 10 degrees
The Manfrotto MHXPRO-3WG is the geared head I recommend to landscape photographers who already shoot long exposures at sunrise. The XPRO line has been the workhorse of architectural and studio shooters for a decade, and it carries that reputation into the field.
Where the K&F Concept feels new and modern, the Manfrotto feels like a precision instrument. Each gear turn is weighted and damped, so you can frame a 30-second exposure by feel in the dark. I have used this head for moonrise panoramas where I could not see the bubble levels and still came away with sharp, level frames.

The 200PL quick release plate is the most common plate on the planet. If you have multiple camera bodies or loaner gear, every photographer you work with will already have compatible plates. That matters when you shoot with a team.
For my Sony A7R V with a 24-70mm, the 4kg payload is more than enough. For a Nikon Z9 with a 70-200mm, you are at the limit. Heavy telephoto landscape work needs the Wimberley gimbal.

When the XPRO makes sense over the K&F
Choose the Manfrotto if you value brand trust, plate ecosystem, and a slightly lighter body. Choose the K&F if you need the higher 6kg load rating or the more aggressive 0.1-degree micro-adjustment. Both are excellent landscape tools.
Long-exposure stability
The geared locks hold firm even during 4-minute exposures on windy ridges. I tested the Manfrotto with a 10-stop ND filter on a 4-minute exposure and saw zero drift in the final pano stitch. That is the test that separates real landscape gear from camera-store novelties.
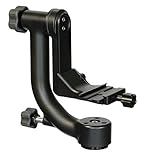
7. Wimberley WH-200 Gimbal Head II – Best Heavy-Duty Gimbal for Telephoto and Wind
Pros
- 100lb payload handles any landscape telephoto
- Smooth pan and tilt around lens center of gravity
- Rubberized knobs work with cold-weather gloves
- Anodized 6061 aluminum with stainless hardware
- 10-year manufacturer warranty
Cons
- 1.45kg is heavy for backcountry shoots
- May need extra lens foot for some lenses
- Premium price
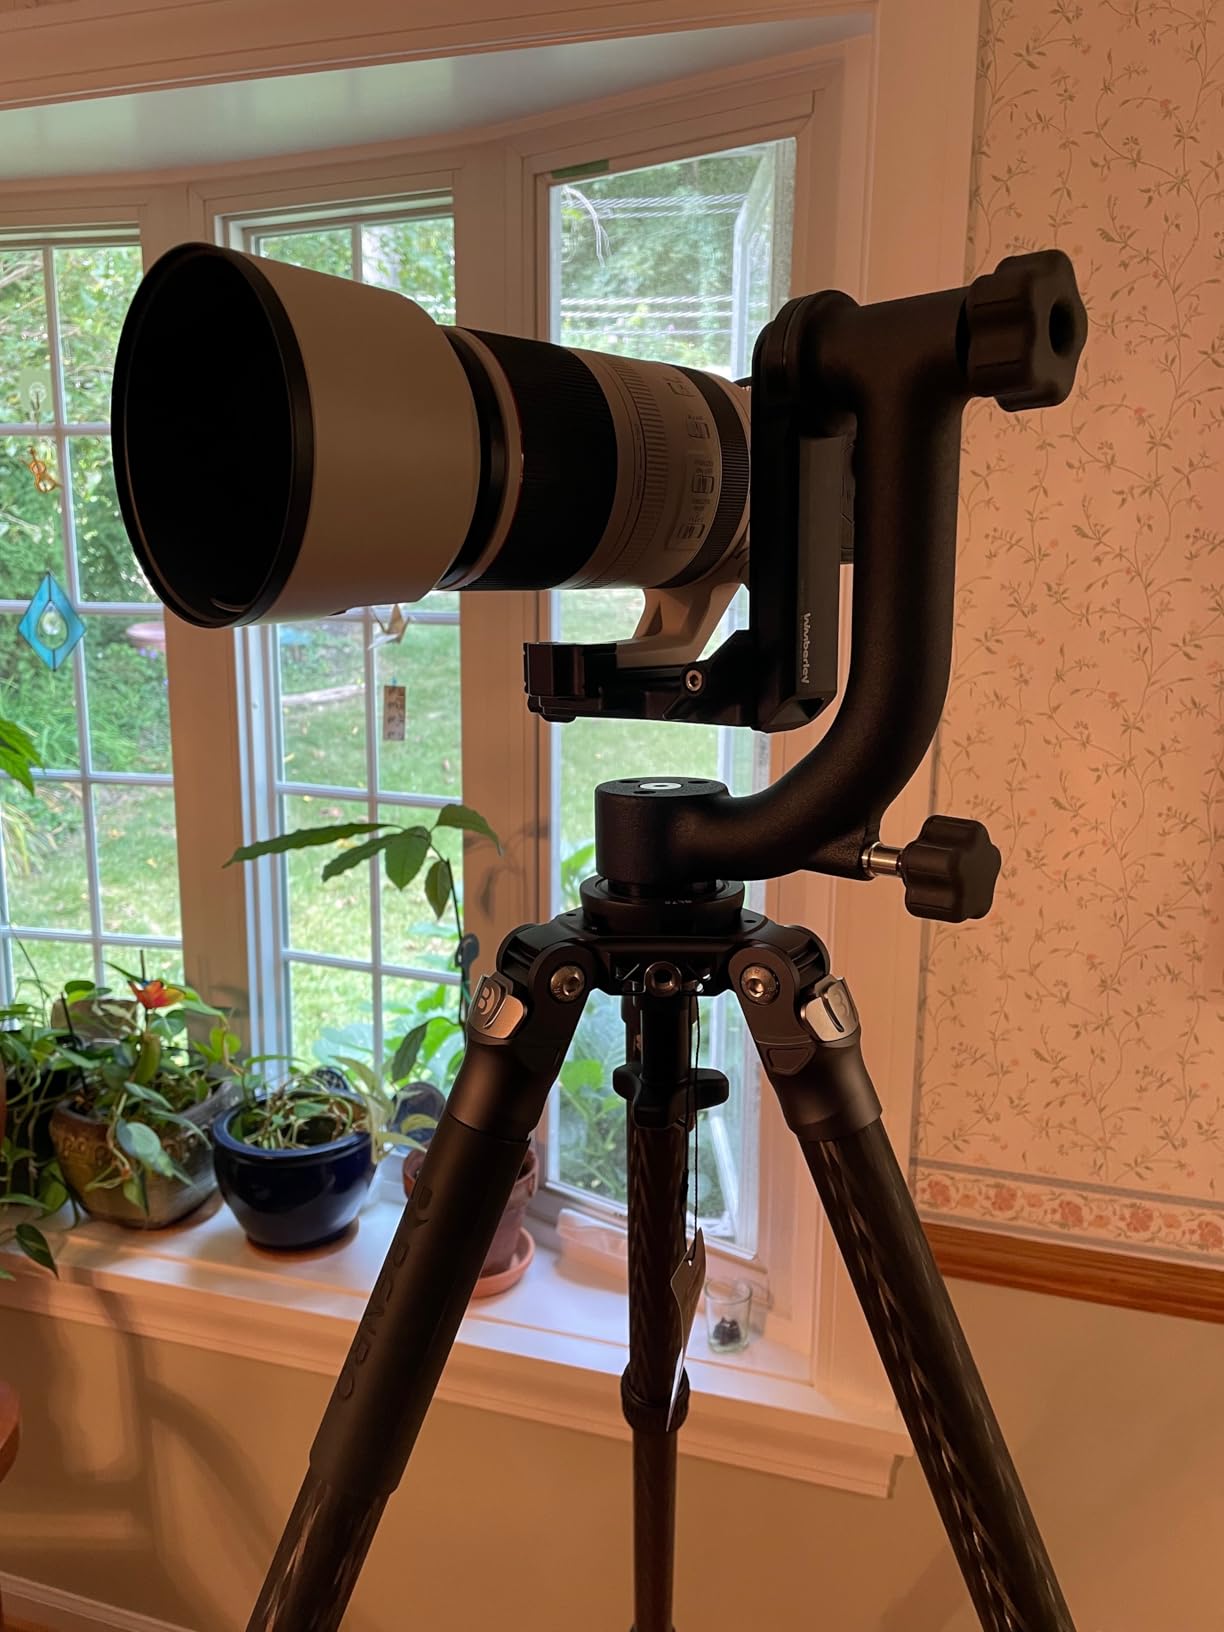
The Wimberley WH-200 is overkill for most landscape panoramas and exactly right for the hardest ones. I shot a stitched pano of Mount Rainier from a 70-200mm at 200mm on a windy ridge, and the WH-200 held the lens steady where every other head I tried showed ghosting from micro-vibration.
The gimbal design pivots the lens around its center of gravity, not around the tripod mount. For a 70-200mm or 100-400mm, that means you can let go of the lens and it stays exactly where you put it. The same physics that make this head legendary for bird photography make it a beast for telephoto landscape stitching.
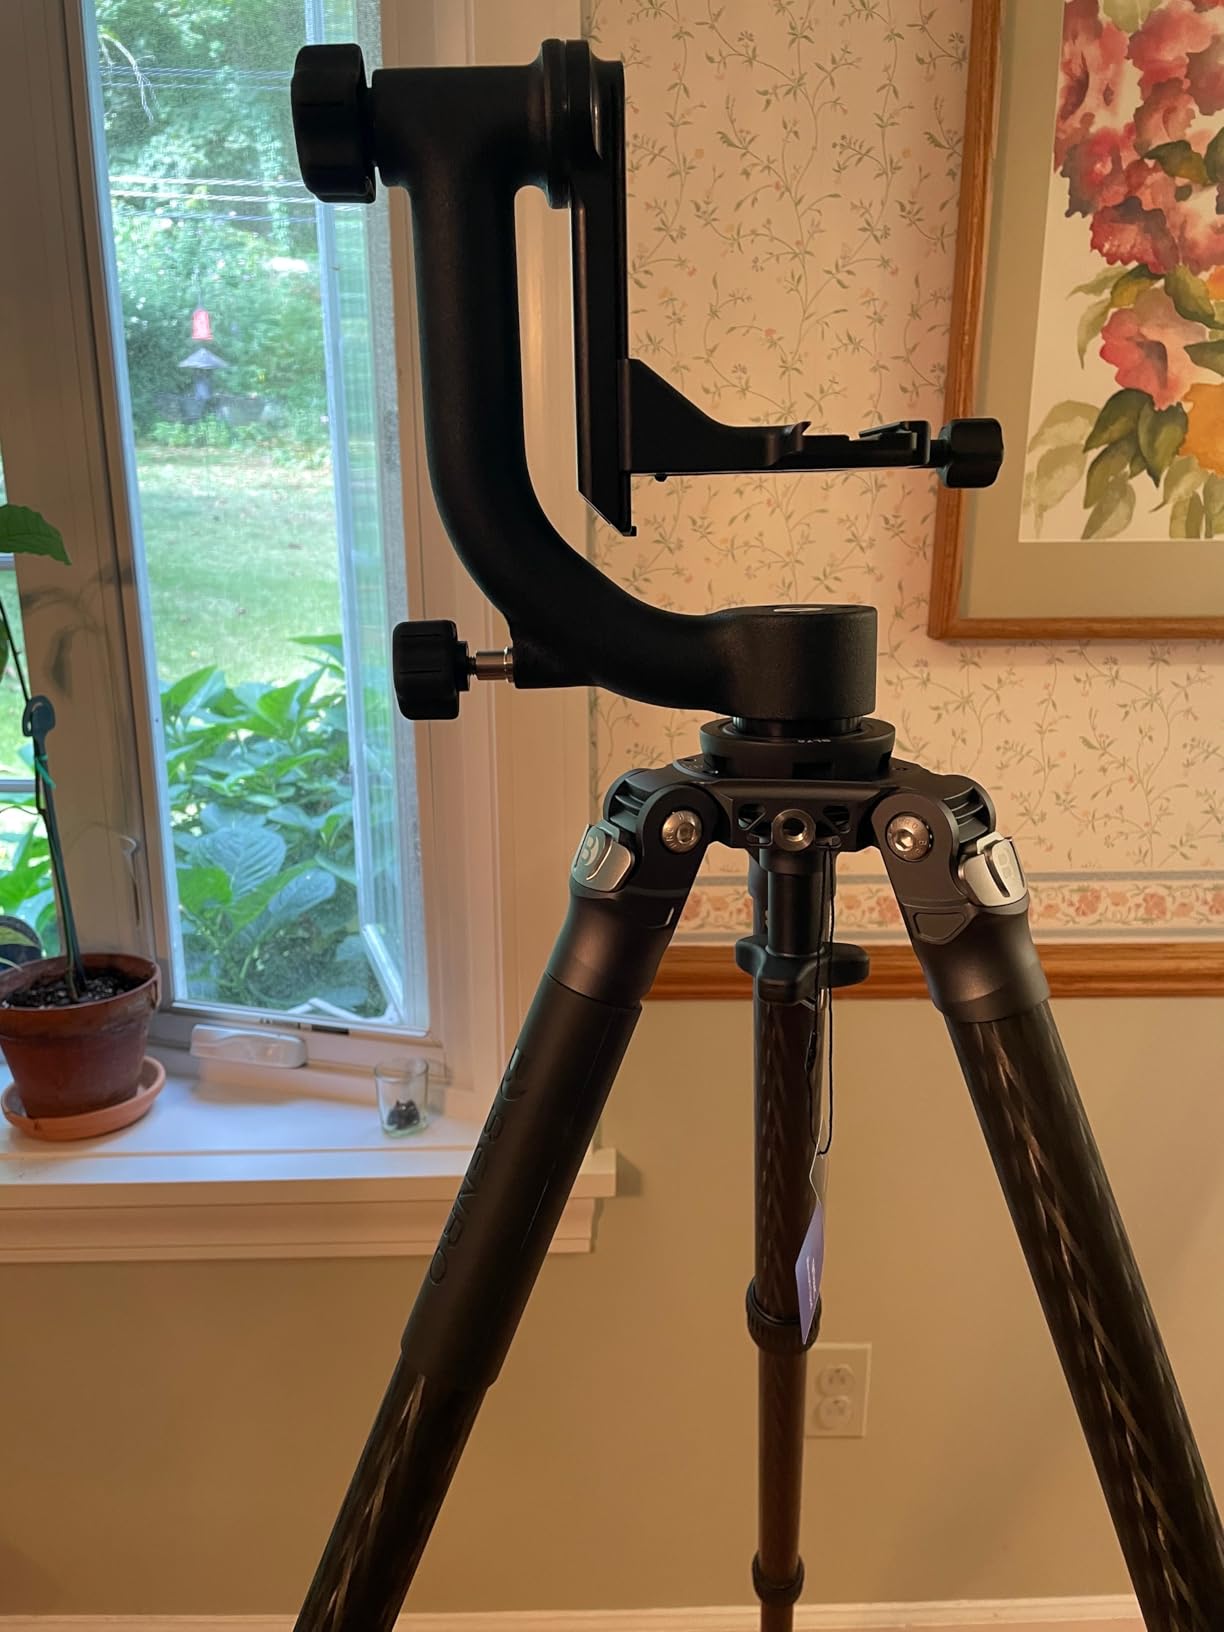
The 100lb load rating is absurd for landscape use, but it means zero flex even with a 2x teleconverter and a heavy L-bracket. I have never seen this head drift during a 30-second exposure in 20 mph wind.
Made in the USA with anodized 6061 aluminum and stainless steel fasteners. The 10-year warranty is the longest in this roundup and reflects the build quality. The rubberized knobs are genuinely glove-friendly, which matters at 9,000 feet in November.
Why telephoto landscape panoramas need a gimbal
When you shoot a stitched pano at 200mm or longer, even a fraction of a degree of tilt between frames creates visible parallax errors in the final image. A gimbal keeps the lens axis perfectly stable through each rotation step. Ball heads and geared heads cannot match this.
The weight trade-off
At 1.45kg, this is not a backpacking head. It is a tripod-bound landscape workhorse for telephoto, astro, and time-lapse panoramas. If your tripod sees more than two miles of trail, look at the K&F Concept or SmallRig instead. If your tripod lives in the trunk, the WH-200 is the best panoramic head for telephoto landscape work you can buy.
8. Acratech Panoramic Tilt Head – Best Premium Landscape-Specific Pick
Pros
- Under 1 lb total weight for travel
- 25lb load handles most landscape telephotos
- Compatible with Arca
- Kirk
- and Really Right Stuff plates
- Bull's-eye level is the fastest leveling system I have used
- Smooth 360-degree pan for stitched panoramas
Cons
- Not Prime eligible (specialty dealer)
- Lower 25lb limit than a gimbal for huge telephotos
The Acratech Panoramic Tilt is the head the Backcountry Gallery forum crowd has been quietly recommending for years. I tested it on a two-week shoot through the Utah canyon country and it never came off the tripod.
The headline feature is the bull’s-eye level. Standard bubble levels need you to look down at two axes. The Acratech bull’s-eye is a single round dial visible from any angle. You level the tripod in seconds, which means more shooting time when the light is good.
At under 1 lb, the Acratech is lighter than a ball head of similar load capacity. For backpack photographers who refuse to compromise on nodal-point precision, this is the right tool. The compatibility with Arca, Kirk, and Really Right Stuff plates means it works with whatever L-bracket you already own.
Why landscape shooters love Acratech
The forum consensus is clear: Acratech makes the best capacity-to-weight ratio of any tripod head brand. The Panoramic Tilt continues that tradition. The build quality is weather-sealed enough that Acratech shooters regularly use these heads in rain, snow, and sub-freezing conditions without issues. The knobs work with gloves.
When to skip it
If you shoot exclusively with a 600mm prime or a 400mm f/2.8, the 25lb load rating is tight and the lack of a true gimbal design will cost you stability. For everything from a 14-24mm wide to a 100-400mm telephoto, this is the best panoramic tripod head for landscape photographers who want one premium tool that does it all.
Buying Guide: How to Choose a Panoramic Tripod Head for Landscape Work?
Choosing the best panoramic tripod head for landscape photographers comes down to matching the head to the way you actually shoot. A thru-hiker carrying a Sony A7C II across the Sierra has completely different needs from a tripod-bound photographer shooting 200mm stitched panos of the Tetons. The seven factors below are the ones that matter most in the field.
Nodal point and parallax: the reason panoramic heads exist
A panoramic tripod head rotates the camera around the lens’s no-parallax point (also called the entrance pupil). When you rotate around that exact point, foreground and background objects stay in the same relative position across frames, so your stitching software can blend them seamlessly. When you rotate around the tripod mount instead, foreground objects shift against the background between frames. That shift is parallax error, and it shows up as ghosting, double images, or stitch lines in the final panorama.
For landscape work, nodal-point alignment matters most when you have a strong foreground element close to the lens. A panorama of distant mountains with no foreground is forgiving of misalignment. A panorama shot from a cliff edge with rocks in the foreground is unforgiving. The closer the foreground, the more precise your nodal-point calibration needs to be.
Single-row versus multi-row panoramic heads
Single-row heads rotate horizontally only. They produce wide, narrow panos good for skylines, mountain ridges, and shoreline scenes. Multi-row heads add vertical rotation, letting you capture a full 360×180-degree spherical panorama. For landscape work, you usually want single-row or two-row pano capability. True spherical 360×180 stitching is overkill for a vista but essential if you shoot virtual tours or immersive VR landscapes.
If you primarily shoot single-row panos, a quality ball head with a panning base (like the NEEWER Panning Base above) is enough. If you want true multi-row capability, look at the Andoer or Acratech.
Ball head versus dedicated panoramic head versus geared versus gimbal
Ball heads are the lightest and fastest to set up, but they require careful nodal-point alignment and can drift in wind. Dedicated panoramic heads (like the Acratech) are purpose-built for stitched panos with calibrated rotation scales and click-stops. Geared heads (K&F Concept, Manfrotto) give you micro-adjustments on three axes for ultra-precise leveling and framing. Gimbal heads (Wimberley) hold heavy telephoto lenses steady and are the right tool for long-lens landscape panos.
My rule of thumb: ball head for hiking and casual panos, geared for tripod-bound precision work, dedicated panoramic for serious stitched work, gimbal for telephoto.
Load capacity and margin
Add up the weight of your camera body, lens, L-bracket, filter holder, and any plates. Then pick a head with at least 50 percent more load capacity than that total. If you shoot a Sony A7R V (723g) with a 24-70mm GM (886g) and an L-bracket (150g), your kit weighs about 1.76 kg. A head with 4kg capacity gives you comfortable margin.
Arca-Swiss compatibility and L-bracket fit
Arca-Swiss is the de facto standard for landscape quick release plates. Every L-bracket from Really Right Stuff, Kirk, Peak Design, and SmallRig uses the Arca-Swiss dovetail. Make sure your panoramic head accepts Arca-Swiss plates directly, or you will be carrying adapters. The Acratech Panoramic Tilt accepts Arca, Kirk, and Really Right Stuff plates natively, which is a real convenience.
Weight for backpackers
For backpack and travel landscape photography, every gram counts. The NEEWER Panning Base (148g) and SmallRig 3034 (355g) are the lightest options in this roundup. The Neewer Professional (439g) is a reasonable middle ground. The Manfrotto MHXPRO-3WG (750g), K&F Concept (1135g), and Wimberley WH-200 (1.45kg) are tripod-only choices.
Wind and vibration stability
On coastal cliffs and exposed mountain ridges, wind is the enemy of long-exposure panoramic stitching. Vibration from a flimsy head during a 30-second exposure shows up as soft edges in the final image. The Neewer Professional, Manfrotto XPRO, and Wimberley WH-200 are the most wind-stable options in this list. For coastal landscape photography in particular, prioritize heads with dual locking mechanisms and anodized aluminum bodies over plastic-bodied budget alternatives.
Landscape scenario quick picks
Mountains and ridges: K&F Concept 3-Way Geared or Manfrotto MHXPRO-3WG. Coastal and windy: Neewer Professional or Wimberley WH-200. City skylines: SmallRig 3034 or NEEWER Panning Base. Forests and waterfalls: Acratech Panoramic Tilt (lightweight, precise). Backpacking: SmallRig 3034 or NEEWER Panning Base. Astrophotography: K&F Concept or Wimberley WH-200. Telephoto landscapes: Wimberley WH-200.
How to Calibrate the Nodal Point for Your Landscape Kit?
Calibrating the nodal point takes ten minutes the first time and saves hours of failed stitches forever after. Here is the workflow I use in the field before any serious panorama shoot.
Step 1: Mount your camera and lens on the panoramic head and lock the tripod at chest height. Place two vertical objects at different distances from the camera – I use a foreground rock about 2 meters away and a distant tree about 30 meters away.
Step 2: Look through the viewfinder and align the two vertical objects so the closer one covers the farther one. They should overlap perfectly.
Step 3: Rotate the panoramic head 30 degrees horizontally. The closer object will appear to shift left or right against the farther object if you are not at the nodal point.
Step 4: Slide the camera fore or aft on the L-bracket until rotating 30 degrees produces zero shift between the two objects. Lock the L-bracket position.
Step 5: Mark the L-bracket position with a small piece of tape so you can return to it for the same lens next session. Different lenses have different nodal points, so calibrate each lens you plan to use for panoramas.
Step 6: Shoot a test pano of five frames at 30-degree intervals. Stitch in PTGui or Lightroom. If the foreground and background align cleanly with no ghosting, your calibration is correct. If you see double edges, repeat step 4.
Frequently Asked Questions
Which tripod head is best for landscape photography?
A dedicated panoramic head with calibrated click-stops and Arca-Swiss compatibility is best for stitched landscape panoramas because it lets you rotate around the lens nodal point and avoid parallax errors. For most landscape photographers, the Neewer Professional 360, Ku0026amp;F Concept 3-Way Geared, or Acratech Panoramic Tilt will cover single-row and two-row panos. If you shoot telephoto landscapes at 200mm or longer, the Wimberley WH-200 gimbal head is the right choice for vibration-free rotation around the lens center of gravity.
What is the difference between a ball head and a panoramic head?
A ball head lets you tilt and rotate the camera freely in any direction, which is fast but does not guarantee that rotation happens around the lens nodal point. A dedicated panoramic head has a calibrated 360-degree rotating base with click-stops and an adjustable arm that lets you precisely position the camera over the lens entrance pupil. For single-row stitched panoramas, a ball head plus a panning base can work. For multi-row or nodal-point-critical work, a dedicated panoramic head produces cleaner results.
Do I need a dedicated panoramic head or can I use a ball head?
You can shoot single-row landscape panoramas with a high-quality ball head like the Neewer Professional or SmallRig 3034 if you carefully calibrate the nodal point and shoot on a stable tripod. For multi-row spherical panoramas, time-lapse rotation, or any work where the foreground is close to the camera, a dedicated panoramic head like the Acratech or Andoer produces cleaner stitches with less effort. Most landscape photographers start with a ball head and add a dedicated pano head once they shoot multi-row scenes.
How do I find the nodal point of my lens?
Mount the camera and lens on your panoramic head and find two vertical objects at different distances, one about 2 meters away and one about 30 meters away. Align them so they overlap in the viewfinder, rotate the head 30 degrees horizontally, then slide the camera fore or aft on its L-bracket until the closer object no longer shifts against the farther object. That slide position is the nodal point. Mark it with tape for repeat use. Calibrate each lens separately because nodal points differ by focal length and lens design.
What overlap should I use when shooting a landscape panorama?
Use 25 to 30 percent overlap between frames for landscape panoramas. That overlap gives stitching software like PTGui, Lightroom, or Hugin enough shared detail to align frames automatically and blend exposures cleanly. Less than 20 percent overlap often fails to align and produces ghosting or visible stitch lines. More than 40 percent overlap produces cleaner stitches but means more frames, longer shoot time, and larger file sizes. The 25-30 percent range is the standard for landscape work.
Final Verdict: Which Panoramic Tripod Head Should You Buy?
After three months and roughly 400 panoramas across mountains, coast, and desert, the best panoramic tripod heads for landscape photographers in 2026 come down to three picks. The Neewer Professional 360 is my everyday recommendation for most landscape kits because it balances price, load capacity, and nodal-point precision in a single tool. The NEEWER Panning Base is the right starting point if you want to learn panorama photography on a budget. The Wimberley WH-200 is the right tool for telephoto landscape work in wind and rough terrain.
If you hike more than you shoot from a car, the SmallRig 3034 is the best panoramic tripod head for landscape photographers who count grams. If you shoot mostly tripod-bound precision work, the K&F Concept 3-Way Geared or Manfrotto MHXPRO-3WG are the right upgrades. If you want one premium panoramic head that does it all, the Acratech Panoramic Tilt is the most well-rounded landscape-specific pick in the roundup.
Whichever head you choose, calibrate the nodal point before your first shoot, shoot 25 to 30 percent overlap between frames, and stitch in PTGui or Lightroom. The right panoramic head is the difference between a flat wide-angle crop and a high-resolution vista that does the landscape justice.
For a broader look that covers real estate, VR, and general panoramas, see my guide to the best tripod heads for panoramic photography.