Every portrait photographer eventually discovers the power of dramatic lighting. When I first started shooting portraits, flat, even lighting was my go-to approach. But once I learned Rembrandt lighting, everything changed. The technique transformed ordinary headshots into moody, dimensional portraits with real character. In this guide updated for 2026, I will show you exactly what Rembrandt lighting is, why it works so well, and how to set it up yourself in just a few simple steps.
Whether you are working with studio strobes, off-camera flash, or even natural window light, you can achieve this classic look. I have spent years refining my approach to this technique, and I will share the exact positioning, common mistakes to avoid, and pro tips that took me trial and error to discover.
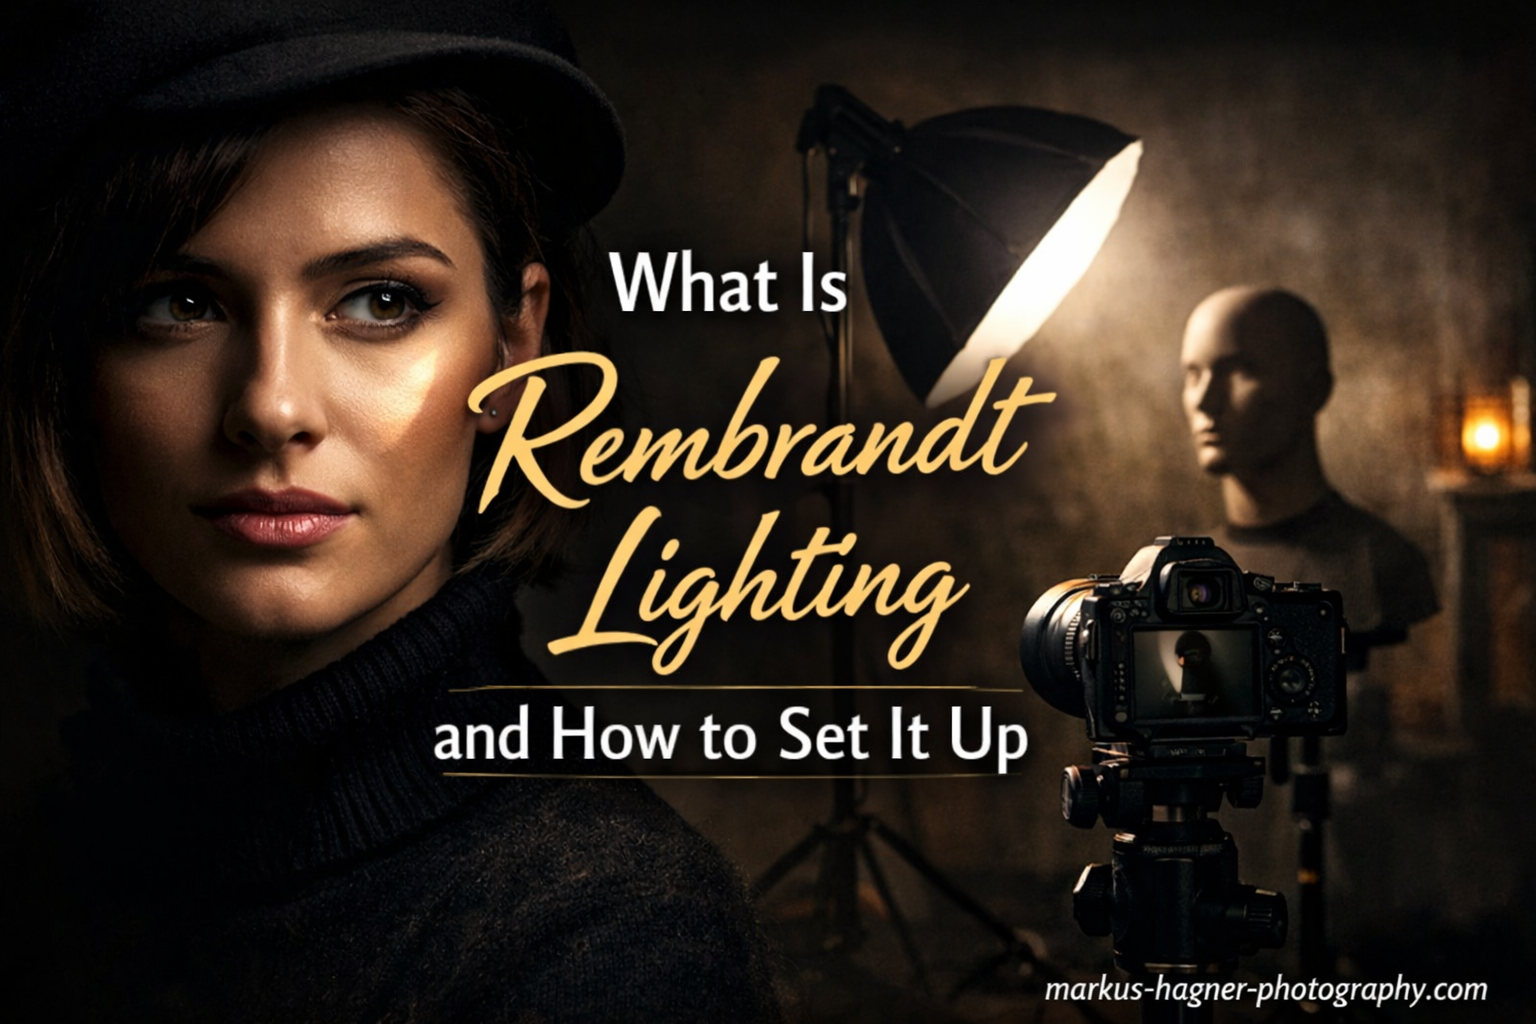
What Is Rembrandt Lighting?
Rembrandt lighting is a classic portrait lighting technique characterized by a distinctive inverted triangle of light on the shadow side of the subject’s face. Named after the Dutch painter Rembrandt van Rijn, who used this lighting pattern extensively in his paintings, the technique creates dramatic, moody portraits with strong contrast between light and shadow.
The signature element of Rembrandt lighting is that triangle of light. It appears below the eye on the shadowed cheek and is created when the nose shadow connects with the cheek shadow, leaving a small illuminated triangle. This triangle should be no longer than the nose and no wider than the eye.
The technique relies on a single key light positioned at a 45-degree angle from the camera-subject axis and approximately 45 degrees above the subject’s eye level. This positioning causes the nose to cast a diagonal shadow toward the cheek, creating the characteristic triangle. The effect produces what painters call chiaroscuro, the strong interplay of light and dark that gives portraits depth and dimension.
Rembrandt lighting works because it sculpts the face with shadow. The gradual fall-off from bright to dark areas creates three-dimensionality that flat lighting simply cannot achieve. The shadow side of the face adds mystery and mood, while the highlighted triangle draws attention to the eye and creates visual interest.
The History Behind the Technique
Rembrandt van Rijn, the 17th-century Dutch master, was famous for his dramatic use of light and shadow in paintings. He often positioned his subjects near windows or used single light sources to create the distinctive triangular highlight pattern. Photographers adopted this approach in the early days of studio portraiture, and it remains one of the five fundamental lighting patterns taught in 2026.
The technique embodies the chiaroscuro style that defined Baroque painting. By emphasizing the contrast between illuminated and shadowed areas, Rembrandt created portraits that felt alive with depth and emotion. Modern photographers use the same principles to add that timeless quality to their work.
Key Characteristics of Rembrandt Lighting
Several elements define true Rembrandt lighting. First, the inverted triangle of light must appear on the shadow side of the face, below the eye and above the mouth line. Second, the nose shadow should connect with the cheek shadow to form the triangle’s lower edge. Third, the triangle should be roughly equal in size to or slightly smaller than the eye.
The light side of the face remains well-illuminated, while the shadow side retains detail but shows significantly less exposure. This ratio typically falls between 2:1 and 4:1 depending on how dramatic you want the effect. A single light source creates the most authentic Rembrandt look, though fill cards or reflectors can open shadows slightly.
How to Set Up Rembrandt Lighting for Portraits In 2026?
Setting up Rembrandt lighting requires minimal equipment but precise positioning. I have broken this down into clear steps that work whether you use strobes, speedlights, or continuous lights.
Equipment You Need
You can achieve Rembrandt lighting with surprisingly basic gear. Here is what I recommend starting with:
Light source: A single strobe, speedlight, or continuous LED panel works perfectly. For beginners, an off-camera flash with a wireless trigger offers the most affordable entry point.
Light modifier: A softbox, umbrella, or even a bare flash with diffusion will work. A medium softbox (24-36 inches) provides excellent control and soft shadows ideal for portraits.
Light stand: You need a sturdy stand that extends at least 7 feet high to position your light above the subject’s eye level.
Optional reflector: A white or silver reflector can fill in shadows on the dark side of the face if you want less contrast.
Step-by-Step Setup Instructions
Step 1: Position your subject. Have your subject sit or stand facing the camera directly. They should be comfortable and able to hold their position for several minutes. Position them at least 4-6 feet from any background to avoid harsh shadows on the wall behind them.
Step 2: Place your light at 45 degrees horizontally. Starting from a position directly beside your camera, move your light 45 degrees to the left or right. If you imagine a clock face with your subject at the center and your camera at 6 o’clock, your light should sit at roughly 4:30 or 7:30.
Step 3: Raise your light to 45 degrees vertically. Position the light approximately 2-3 feet above your subject’s eye level, angled downward at about 45 degrees. This height is crucial. Too low, and the nose shadow will not connect with the cheek. Too high, and the triangle disappears entirely.
Step 4: Aim the light at your subject’s face. The center of your light beam should hit the face at an angle. This creates the diagonal nose shadow essential for the Rembrandt triangle.
Step 5: Check for the triangle. Look at your subject’s face on the side opposite your light. You should see an inverted triangle of light below the eye, created where the nose shadow meets the cheek shadow. The triangle should be no wider than the eye and no longer than the nose.
Step 6: Fine-tune the position. If the triangle is too wide, move your light slightly more to the side. If it is too narrow or nonexistent, bring the light closer to the camera axis. Small adjustments of just a few inches can make a significant difference.
Step 7: Set your exposure. Meter for the highlight side of the face. I prefer using spot metering on the illuminated cheek to ensure proper exposure on the most important area. The shadow side will naturally fall into darkness.
Setting Up Rembrandt Lighting with Natural Light
You do not need studio equipment to create Rembrandt lighting. A large window works beautifully as a single light source. Position your subject at a 45-degree angle to the window, with the window on one side of their face. Have them turn slightly toward the window until you see the triangle form on the shadowed cheek.
Window light produces softer, more gradual transitions than flash, which many photographers prefer. The key is timing. Overcast days or windows with indirect sunlight give you consistent, controllable light. Direct sun creates harsh shadows that are harder to work with.
Use a reflector or white foam core on the shadow side to control contrast. Place it close enough to fill shadows without eliminating the triangle entirely. This gives you the moodiness of Rembrandt lighting without losing too much shadow detail.
When to Use Rembrandt Lighting
Rembrandt lighting excels in specific situations. Understanding when to deploy this technique helps you make intentional creative choices rather than relying on it by default.
Best Subjects for Rembrandt Lighting
This lighting pattern works exceptionally well for subjects with strong facial features. Prominent cheekbones, defined jawlines, and distinctive noses all benefit from the sculpting effect of Rembrandt shadows. The technique adds character and gravitas to the face.
Male portraits particularly shine with this approach. The dramatic contrast creates a masculine, authoritative feel that complements business portraits, author photos, and actor headshots. I have found it ideal for executives, speakers, and professionals who want to project confidence and substance.
Character portraits benefit enormously from Rembrandt lighting. If you are photographing someone with an interesting life story, weathered features, or artistic personality, this technique adds visual weight to their presence.
Face Shape Considerations
Not every face works equally well with Rembrandt lighting. Here is what I have learned from experience:
High cheekbones: Ideal for Rembrandt lighting. The natural bone structure helps create a clean, defined triangle.
Round faces: Can work well. The shadows help slim the face and add definition that might otherwise be lacking.
Long or narrow faces: Proceed with caution. The shadow on one side can make an already narrow face appear even thinner.
Flat nose bridges: May struggle to form the classic triangle. The nose needs enough projection to cast a shadow that connects with the cheek.
Deep-set eyes: Work beautifully. The elevated light position reaches into the eye sockets while still creating the triangle below.
Rembrandt vs Loop vs Butterfly vs Split Lighting
Understanding how Rembrandt differs from other patterns helps you choose the right approach for each subject.
Rembrandt lighting creates the most drama with its connected nose shadow and triangle. Best for moody, character-driven portraits.
Loop lighting positions the light slightly lower and closer to the camera axis. The nose shadow creates a small loop shape pointing toward the corner of the mouth but does not connect to the cheek. This is more flattering for most faces and less dramatic.
Butterfly lighting places the light directly in front and above the subject. The nose shadow points straight down like a butterfly shape. This is flattering and glamorous but lacks the moodiness of Rembrandt.
Split lighting positions the light at 90 degrees to the subject, illuminating exactly half the face. Maximum drama but less dimensionality than Rembrandt.
Tips for Perfect Rembrandt Lighting
After years of using this technique, I have developed several strategies that consistently produce better results.
Getting the Triangle Right
The triangle is everything. If it is not visible or properly formed, you do not have true Rembrandt lighting. Here is how to nail it every time.
Start with your light too high rather than too low. It is easier to lower the light and see the triangle appear than to raise it and guess at the height. Watch the nose shadow as you adjust. When it starts connecting with the cheek shadow, you are in the zone.
The triangle should never extend below the nose. If it does, your light is too close to the camera. Move it further to the side until the triangle shortens. Conversely, if the triangle is too narrow or disappears, bring the light slightly forward.
Controlling Contrast
Contrast makes or breaks Rembrandt portraits. Too little contrast and the triangle loses impact. Too much and the shadow side becomes a black hole with no detail.
For classic low-key portraits, aim for a lighting ratio of 4:1 between the highlight and shadow sides. This means the highlight side receives four times more light than the shadow side, creating approximately two stops of difference.
Use a reflector or fill card to reduce contrast if needed. Position a white reflector just outside the frame on the shadow side. Move it closer to increase fill, further to maintain drama. Silver reflectors add more fill than white ones.
Metering for Rembrandt Lighting
Proper exposure is critical. I always use spot metering and take my reading from the highlight side of the face. This ensures the most important area of the portrait is properly exposed.
Your camera’s histogram becomes invaluable here. You want the highlight side to sit just left of the right edge without clipping. The shadow side will bunch up on the left, which is fine for low-key work. If you want more shadow detail, adjust your exposure slightly to the right.
Shooting RAW for Maximum Control
Always shoot RAW when working with dramatic lighting. The contrast between highlight and shadow pushes your dynamic range. RAW files give you the latitude to recover shadow detail or pull back highlights during post-processing without degrading image quality.
In editing, you can fine-tune the triangle’s visibility, adjust overall contrast, and enhance the chiaroscuro effect. JPEG files simply do not offer the flexibility needed for serious portrait work.
Common Rembrandt Lighting Mistakes and How to Fix Them
Even experienced photographers make these errors. Here are the problems I see most often and how to solve them.
The Triangle Will Not Form
If you cannot see the triangle, check your light height first. The most common cause is positioning the light at eye level rather than 45 degrees above it. Raise your light until the nose shadow starts connecting with the cheek shadow.
Subject positioning also matters. If your subject turns their head too far toward the light, the triangle disappears on the near side. If they turn away too much, the far side gets too dark. Have them face the camera directly, then make small head turns while you watch the triangle.
The Light Is Too Low
When photographers struggle with Rembrandt lighting, 90 percent of the time the light sits at eye level. This creates a loop lighting pattern instead of Rembrandt. The nose shadow points down but never connects with the cheek.
The fix is simple. Raise your light. Keep raising it until you see the shadow angle change. The nose shadow should travel diagonally across the cheek, not straight down.
The Triangle Is Too Wide or Too Narrow
A wide triangle usually means your light is too close to the camera axis. Move it further to the side in 6-inch increments until the triangle narrows appropriately.
A narrow or barely visible triangle indicates your light is too far to the side. Bring it closer to the camera until the triangle opens up. Remember, the triangle should be roughly the size of the eye.
Too Much Contrast
If your shadow side is completely black with no detail, you have too much contrast. Add a reflector or fill card on the shadow side to open up those areas. Move your subject further from any black backgrounds that might be absorbing light.
Alternatively, increase your ambient light or use a larger, softer light source. Small hard lights create more contrast than large softboxes.
Subject Has a Flat Nose Bridge
Some faces simply do not form the classic triangle because the nose does not project far enough to cast the required shadow. In these cases, do not force it. Try loop lighting instead, which works beautifully without requiring the triangle connection.
You can also experiment with slightly lower light positions that still create drama without demanding the perfect Rembrandt triangle. The goal is a great portrait, not rigid adherence to a formula.
Frequently Asked Questions
What is Rembrandt lighting and how does it work in photography?
Rembrandt lighting is a portrait technique that creates an inverted triangle of light on the shadow side of the subject’s face. It works by positioning a single light source at a 45-degree angle horizontally and 45 degrees above eye level, causing the nose shadow to connect with the cheek shadow and form the characteristic triangle.
How to set up lights for Rembrandt lighting?
Position your light 45 degrees to the side of your subject and approximately 45 degrees above their eye level, angled downward. The light should create a triangle of light on the shadow side of the face below the eye. Adjust the light position until the nose shadow connects with the cheek shadow to form the triangle.
What is the best lighting setup for portraits?
The best lighting setup depends on your subject and creative goals. Rembrandt lighting excels for dramatic, character-driven portraits. Loop lighting flatters most faces with less drama. Butterfly lighting creates glamorous, beauty-style portraits. For beginners, start with loop lighting, then experiment with Rembrandt as you gain confidence.
What is the 3 lighting rule?
The 3 lighting rule refers to the classic three-point lighting setup using key light, fill light, and hair or rim light. For Rembrandt lighting specifically, you can achieve beautiful results with just a single key light, though adding a reflector as fill or a hair light for separation adds polish to the final image.
Final Thoughts on Rembrandt Lighting
Rembrandt lighting remains one of the most powerful tools in portrait photography in 2026. The technique transforms ordinary sessions into memorable portraits with depth, mood, and timeless appeal. Once you master the 45-degree positioning and learn to see the triangle, you will find yourself reaching for this setup again and again.
The best way to learn is practice. Set up your light, grab a willing subject or even photograph yourself, and experiment with small adjustments. Watch how moving the light just a few inches changes the triangle’s shape and the overall mood. Before long, Rembrandt lighting will become second nature, and your portraits will have that dramatic quality that sets professional work apart.