Getting the exposure right is one of the most fundamental skills in photography. But what if I told you that the “correct” exposure on your camera screen might not actually give you the best image quality? That is where ETTR, or Expose to the Right, comes into play.
ETTR is a technique that can significantly improve your final image quality, especially if you shoot RAW and spend time in post-processing. In this guide, I will explain exactly what ETTR is, why it works, and when you should (and should not) use it in your photography.
Our team has tested this technique across countless shooting scenarios over the years. We have seen firsthand when it delivers exceptional results and when it simply is not worth the effort. By the end of this article, you will have a clear understanding of whether ETTR belongs in your workflow.
What Is ETTR (Expose to the Right)?
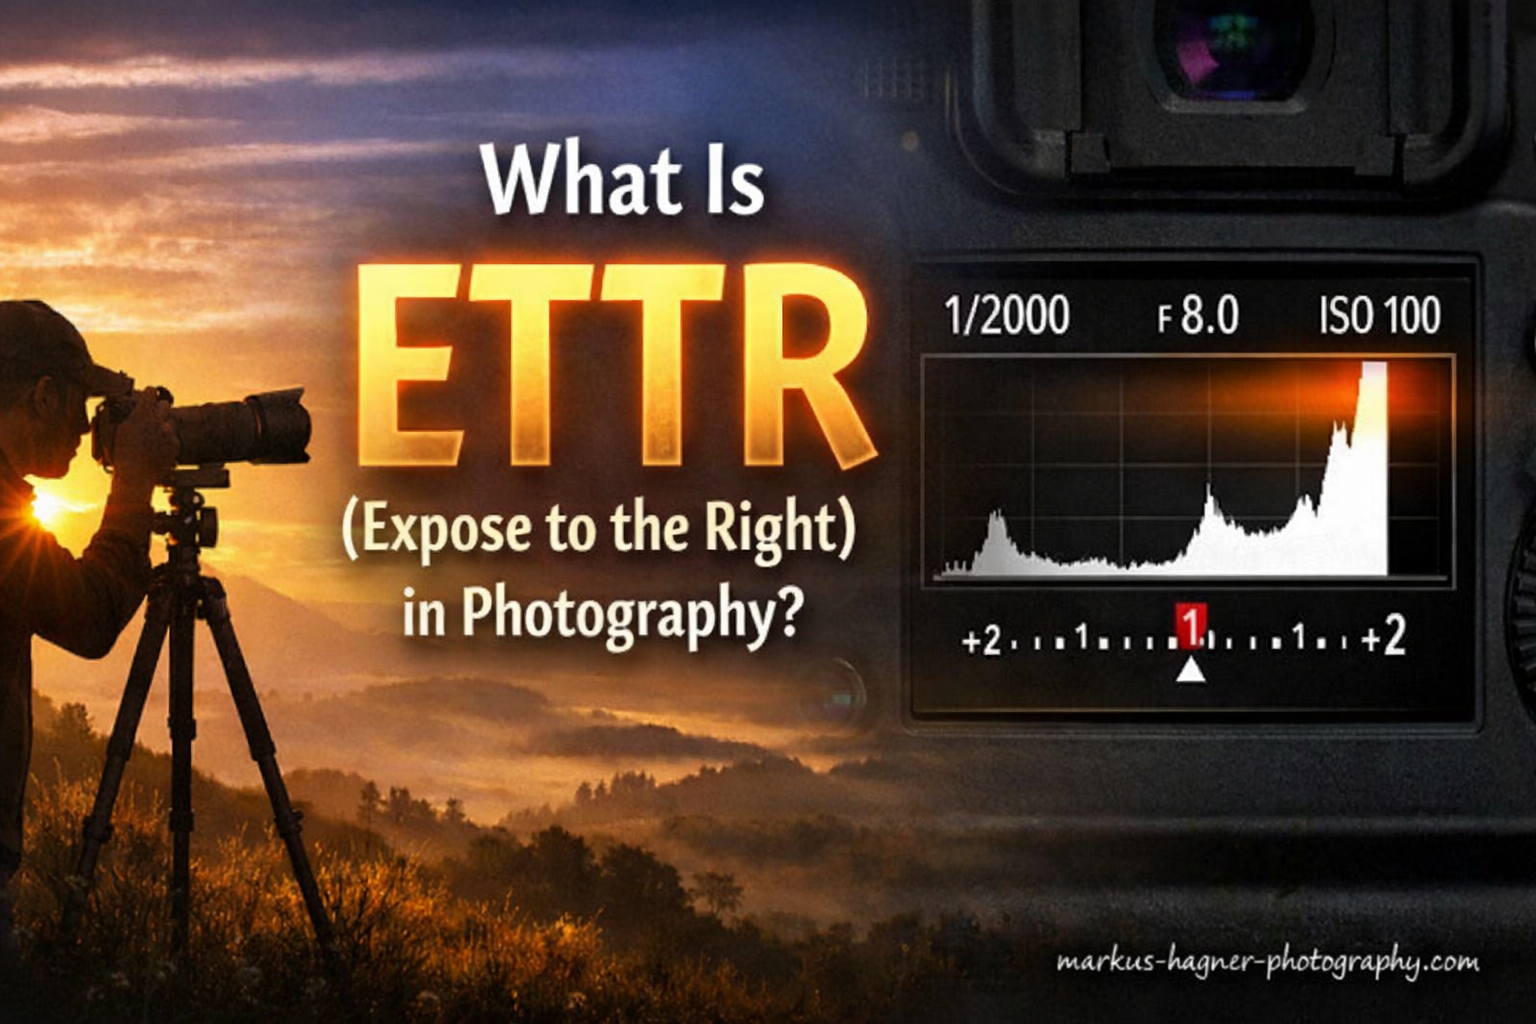
ETTR, which stands for Expose to the Right, is a digital photography technique where you intentionally overexpose your image to maximize data capture. The goal is to push your histogram as far to the right as possible without clipping any important highlights. You then darken the image during post-processing to achieve your final exposure.
The name comes from the appearance of the histogram when using this technique. A properly exposed ETTR image shows most of the data pushed toward the right side of the histogram graph. This right-side positioning indicates brighter exposure that captures maximum image data.
This technique emerged in the early 2000s as photographers began understanding how digital camera sensors actually capture information. Unlike film, which responds differently to light, digital sensors have a specific data distribution that makes ETTR valuable for certain shooting situations.
The core principle is simple: brighter parts of your image contain more data than darker parts. By intentionally overexposing (without blowing out highlights), you capture more information in your RAW file. This extra data translates to cleaner files with less noise when you adjust exposure in editing.
Think of it this way: a camera sensor is like a bucket collecting rain (light). A mostly empty bucket (underexposed image) gives you less to work with. A nearly full bucket (properly exposed ETTR image) gives you maximum flexibility to use that water however you need.
Understanding the Histogram
Before you can effectively use ETTR, you need to understand the histogram. This graph is your most important tool for evaluating exposure accuracy, far more reliable than judging brightness on your camera’s LCD screen.
A histogram is a visual representation of the tonal distribution in your image. The left side represents shadows (dark tones), the middle represents midtones, and the right side represents highlights (bright tones). The height of the graph at any point shows how many pixels exist at that particular brightness level.
When you look at a histogram, you are seeing exactly how your camera recorded the light in your scene. A properly exposed image typically shows a histogram with data spread across the graph without touching either edge. But for ETTR, we want that data pushed toward the right side.
How Camera Histograms Work?
Your camera’s histogram displays tonal information from 0 (pure black) on the left to 255 (pure white) on the right. Every pixel in your image falls somewhere along this scale. Understanding this scale helps you evaluate whether your exposure captures the full dynamic range of your scene.
A spike on the left edge means some pixels are completely black with no detail. A spike on the right edge indicates blown-out highlights that contain no recoverable information. These clipped areas represent lost data that no amount of post-processing can recover.
The ideal ETTR histogram shows data pushed toward the right side of the graph but stopping just before the right edge. You want the brightest important highlights to sit near the right side without actually touching it. This positioning indicates maximum data capture without highlight clipping.
JPEG vs RAW Histograms: A Critical Difference
Here is something many photographers do not realize: the histogram you see on your camera is based on a JPEG preview, not your actual RAW file. This creates a significant problem for ETTR practitioners.
Your camera processes RAW data into a JPEG for display purposes, applying contrast, saturation, and other adjustments. This processed JPEG has less dynamic range than your RAW file. As a result, the camera histogram shows clipping earlier than your RAW file actually experiences it.
This means you can often push exposure further to the right than your camera histogram suggests. Some highlights that appear clipped on your camera screen may still contain recoverable detail in your RAW file. Understanding this difference is essential for getting the most out of ETTR.
Advanced users sometimes use UniWB (Unity White Balance) to make the camera histogram more accurately represent RAW data. However, this adds complexity and is not necessary for most photographers learning ETTR.
Why ETTR Works: The Technical Explanation
The reason ETTR improves image quality comes down to how digital camera sensors actually capture and record light. This is not magic or speculation. It is physics and mathematics working in your favor.
Digital camera sensors capture light in a linear fashion. This means each stop of exposure captures twice as much data as the previous stop. If your camera records 12-bit or 14-bit RAW files, the brightest stop of light contains fully half of all available tonal levels in the entire image.
Consider a 12-bit RAW file with 4,096 total tonal levels. The brightest stop contains 2,048 levels. The second brightest stop has 1,024 levels. The third stop has 512 levels. This pattern continues, with each darker stop containing progressively less data.
Sensor Data Distribution Explained
This uneven distribution exists because sensors count photons linearly, but we perceive light logarithmically. Our eyes are much more sensitive to differences in dark tones than in bright tones. Camera engineers design sensors to match this perceptual pattern, but the underlying data capture remains linear.
What this means for photography is profound. An underexposed image wastes most of your camera’s recording capability. If your darkest stop only captures 64 tonal levels, you have very little data to work with when brightening shadows in post-processing.
By exposing to the right, you push more of your image data into those upper tonal ranges where the sensor captures more levels. When you later darken the image in processing, you redistribute that abundant data across the tonal range. The result is smoother gradients and cleaner shadows.
The Noise Reduction Benefit
Better data distribution directly translates to less visible noise in your final image. Noise is most apparent in shadow regions where less data was captured. When you underexpose and then brighten in post-processing, you amplify both the image data and the noise.
ETTR reduces noise by capturing more data in the first place. I have tested this extensively in my landscape photography. An image shot with proper ETTR technique can show 1-2 stops less noise in shadows compared to a standard exposure after both are processed to the same final brightness.
This noise reduction benefit is most visible at base ISO. At higher ISOs, the camera is already amplifying the signal, which introduces its own noise. This is why ETTR works best when you can achieve brighter exposure through aperture and shutter speed rather than ISO increases.
How to Use ETTR: Step-by-Step Methods
Now that you understand the theory, let me walk you through practical methods for implementing ETTR in your photography. These techniques range from simple approaches anyone can use to more advanced methods for precise control.
Before starting, ensure you are shooting in RAW format. ETTR provides minimal benefit for JPEG shooters because the additional data gets discarded during in-camera processing. You also need post-processing software capable of handling RAW files with exposure adjustments.
Method 1: Exposure Compensation Approach
This is the simplest method and works well for most situations. Start by taking a test shot at your camera’s metered exposure. Then review the histogram to see where your data sits.
Use your camera’s exposure compensation dial to add positive compensation in small increments. Start with +0.3 or +0.7 EV and take another shot. Check the histogram again. Continue adding compensation until your histogram shows data pushed to the right but not quite touching the edge.
I typically find that +1 to +2 EV compensation works for many scenes, but this varies significantly based on your camera, metering mode, and subject matter. The key is watching the histogram, not the image preview on your LCD.
Method 2: Spot Metering for Precision
For more controlled results, switch your camera to spot metering mode. This meters from a small area in the center of your frame, giving you precise control over exposure decisions.
Identify the brightest part of your scene where you want to preserve detail. This might be white clouds, bright skin tones, or reflective surfaces. Position your spot meter over this area and note the meter reading.
For most cameras, you want this brightest important highlight to meter at about +2 to +3 EV. This places it near the right edge of the histogram without clipping. Take a test shot and verify with your histogram and highlight warnings.
Method 3: Using Highlight Warnings (Blinkies)
Most cameras offer highlight warning displays that flash or blink in areas where highlights are clipping. These “blinkies” provide a quick visual check of whether you have pushed ETTR too far.
Enable highlight warnings in your camera’s playback menu. After taking a shot, review the image and watch for blinking areas. If you see blinkies in important highlight areas (not specular reflections or light sources), reduce your exposure slightly.
The goal with ETTR is to have blinkies appear only in unimportant bright areas like direct light sources or specular highlights on water. You want to avoid blinkies in sky, skin tones, or other areas where you need to preserve detail.
Finding Your Camera’s ETTR Limit
Every camera has different highlight recovery capabilities. Some sensors can recover 2-3 stops of apparently clipped highlights from RAW files. Others clip more abruptly with less recovery potential.
I recommend testing your specific camera to understand its limits. Find a high-contrast scene and shoot a series of images with increasing exposure. Process these files in your editing software and note where highlight recovery becomes impossible. This knowledge helps you push ETTR confidently without crossing into unrecoverable territory.
When to Use ETTR In 2026?
ETTR is not a technique you should apply blindly to every photograph. It shines in specific situations where the extra data capture provides meaningful benefits. Here are the scenarios where I consistently recommend using ETTR.
Landscape Photography
Landscape photography is perhaps the ideal use case for ETTR. You typically shoot from a tripod with time to carefully evaluate exposure. The scenes often contain important shadow detail that benefits from cleaner data capture.
Landscapes also frequently involve printing or large displays. The reduced noise and improved tonal smoothness from ETTR becomes clearly visible in large prints. I use ETTR for virtually all my landscape work where conditions permit.
Dawn and dusk scenes particularly benefit from this technique. The high contrast between bright sky and dark foreground creates challenging exposures. ETTR helps capture maximum shadow detail while protecting highlights.
Studio and Product Photography
Controlled lighting environments make ETTR straightforward to implement. You have complete control over light placement and intensity, allowing precise exposure optimization.
Product photography demands the highest image quality for catalog work and advertising. The clean files from proper ETTR technique ensure smooth gradients and minimal noise, even in shadow areas of products.
Portrait photographers working with studio lighting can also benefit. Skin tones contain subtle variations that show more clearly with the improved data capture of ETTR. Just be careful not to clip highlights on skin or bright clothing.
Print Preparation
If you print your photographs, especially at large sizes, ETTR becomes more valuable. Print media shows noise and banding more readily than screens. The additional data from ETTR exposures translates to smoother prints with better shadow detail.
Professional printers often request files with maximum quality. ETTR helps ensure your images hold up through the printing process, maintaining detail in both highlights and shadows. This is particularly important for gallery exhibitions and commercial print work.
When to Avoid ETTR?
While ETTR offers quality benefits, it is not appropriate for every shooting situation. Understanding when to skip this technique saves you frustration and potential image problems.
Why ETTR Fails at High ISO?
ETTR provides minimal benefit at high ISO settings and can actually degrade image quality. When you increase ISO, you are amplifying the signal from the sensor. This amplification applies equally to noise, so the signal-to-noise ratio does not improve.
The whole premise of ETTR is capturing more signal (light) relative to noise. At high ISO, you are not capturing more light. You are just amplifying what you captured. Pushing exposure at high ISO through wider apertures or slower shutter speeds might help, but increasing ISO for ETTR defeats the purpose.
I generally avoid ETTR when shooting above ISO 1600-3200. The noise reduction benefits become negligible compared to the risk of clipped highlights and the extra processing work required.
Fast-Paced Shooting Situations
Weddings, sports, wildlife, and event photography rarely allow time for careful exposure optimization. You need to react quickly to unfolding moments. The extra seconds spent checking histograms and adjusting compensation mean missing critical shots.
In these situations, I recommend standard exposure or even slightly conservative exposure to protect highlights. The small quality improvement from ETTR does not justify missing important moments or risking unrecoverable highlight clipping.
Many wedding photographers actually prefer ETTL (Expose to the Left) for reception and ceremony coverage. This conservative approach protects highlights in wedding dresses and other bright elements that cannot be recovered if clipped.
JPEG Shooters
If you shoot JPEG rather than RAW, ETTR provides almost no benefit. JPEG files contain 8 bits of data per channel versus 12-14 bits in RAW. The additional data you capture with ETTR gets discarded during in-camera processing.
JPEG shooters should focus on getting exposure correct in-camera rather than capturing extra data for post-processing. The limited editing flexibility of JPEGs makes ETTR counterproductive.
High Contrast Scenes with Critical Highlights
Some scenes contain bright elements that must not clip under any circumstances. White wedding dresses, bright sky through windows, and reflective surfaces on products fall into this category. The risk of pushing ETTR too far outweighs the quality benefits.
In these situations, bracket your exposures instead. Capture one frame at standard exposure and others at positive and negative compensation. This gives you options in post-processing without risking unrecoverable highlights.
Is ETTR Still Relevant in 2026?
This question comes up frequently in photography forums and discussions. Modern camera sensors have dramatically improved in dynamic range and shadow recovery capabilities. Does ETTR still matter with these advancements?
The short answer is yes, but with important caveats. Modern sensors do capture more dynamic range and recover shadows more cleanly than older equipment. However, the fundamental physics of linear data capture has not changed. Brighter tones still contain more data than darker tones.
What has changed is the magnitude of the benefit. Five years ago, ETTR could mean the difference between usable and unusable shadow detail. Today, modern sensors recover shadows so well that the practical difference is smaller.
Mirrorless cameras have made ETTR easier to implement. Electronic viewfinders show real-time exposure preview and live histograms. You can see exactly how your ETTR exposure looks before pressing the shutter. Some cameras even offer zebras and RAW histogram approximations.
AI-powered noise reduction tools like those in Lightroom, DxO, and Topaz have also changed the equation. These tools can clean up noisy shadows remarkably well. However, starting with cleaner data still produces better final results, even with AI assistance.
My recommendation for 2026 is to use ETTR when shooting conditions allow and maximum quality matters. Skip it when speed is essential or when shooting at high ISOs. The technique remains valid, but its importance has diminished for many photographers.
ETTR vs ETTL: What Is the Difference?
ETTL (Expose to the Left) is essentially the opposite approach to ETTR. Instead of pushing exposure brighter, you intentionally underexpose to protect highlights. Both techniques have their place in photography.
ETTL philosophy prioritizes highlight preservation above all else. The thinking is that blown highlights cannot be recovered, while shadow detail can often be lifted. This approach works well for high-contrast scenes where highlights are critical.
ETTR philosophy prioritizes data capture and noise reduction. By capturing more light, you get cleaner files with better shadow detail. The trade-off is increased risk of highlight clipping.
Neither approach is universally correct. Your choice should depend on your subject, your camera’s capabilities, and your post-processing workflow. Many experienced photographers use both techniques depending on the specific shooting situation.
Common ETTR Mistakes and How to Avoid Them
Even photographers who understand ETTR theory often make implementation errors. Here are the most common mistakes I see and how to prevent them.
Clipping important highlights is the most serious ETTR error. Remember, ETTR means exposing to the right without clipping highlights that matter. If you blow out white clouds or bright skin tones, you have gone too far. Always verify with highlight warnings and check for blinkies in critical areas.
Increasing ISO to achieve ETTR defeats the purpose. ETTR works because you capture more light, not more amplification. If your exposure is too dark, open your aperture or slow your shutter speed instead of raising ISO.
Relying solely on the camera histogram without understanding its JPEG basis leads to conservative ETTR. Your RAW file has more headroom than the histogram suggests. Test your camera to learn how much extra recovery you actually have.
Not bracketing while learning ETTR can result in lost images. When you are still developing your technique, capture multiple exposures. This safety net ensures you always have a usable file while you learn the optimal ETTR approach for your camera.
Forgetting to adjust exposure in post-processing leaves your images looking too bright. ETTR captures extra data, but your final image needs proper exposure adjustment. Remember to darken your images in editing to achieve the look you want.
Frequently Asked Questions
What does expose to the right mean in photography?
Expose to the right (ETTR) means intentionally overexposing your image to push the histogram toward the right side without clipping highlights. This technique captures more data in your RAW file, resulting in cleaner images with less noise when you darken the exposure during post-processing.
How do I use ETTR on my camera?
To use ETTR, start with your camera’s metered exposure, then add positive exposure compensation in small increments (+0.3 to +1 EV at a time). Watch your histogram and highlight warnings as you adjust. Stop when your histogram shows data pushed to the right but not touching the edge, and when highlight warnings appear only in unimportant areas like light sources.
Is exposing to the right still relevant in 2026?
Yes, ETTR remains relevant in 2026, though its importance has diminished. Modern sensors offer better shadow recovery, and AI noise reduction tools have reduced the practical impact. However, the fundamental physics of data capture has not changed, so ETTR still provides quality benefits for landscape, studio, and print photography when conditions permit careful exposure control.
What is the difference between ETTR and ETTL?
ETTR (Expose to the Right) intentionally overexposes to capture maximum data, prioritizing noise reduction and shadow detail. ETTL (Expose to the Left) intentionally underexposes to protect highlights from clipping. ETTR works best for controlled situations with time for careful exposure. ETTL works better for high-contrast scenes where preserving highlights is critical.
When should I avoid using ETTR?
Avoid ETTR when shooting at high ISO (above 1600-3200), in fast-paced situations like weddings or sports, when shooting JPEG instead of RAW, and in high-contrast scenes with critical highlights that cannot be recovered if clipped. The technique requires time and careful attention that is not available in all shooting scenarios.
Do I need to shoot in RAW for ETTR?
Yes, shooting RAW is essential for ETTR to provide meaningful benefits. JPEG files contain only 8 bits of data per channel, and the extra data captured through ETTR gets discarded during in-camera processing. RAW files preserve the additional tonal information that makes ETTR worthwhile, allowing you to adjust exposure in post-processing while maintaining quality.
Does ETTR work with high ISO?
ETTR provides minimal benefit at high ISO and can be counterproductive. High ISO amplifies the sensor signal, which also amplifies noise without improving the signal-to-noise ratio. ETTR works by capturing more light, not more amplification. If you need brighter exposure at high ISO, use wider aperture or slower shutter rather than increasing ISO further.
How much should I overexpose for ETTR?
The amount of overexposure varies by camera, scene, and metering mode, but typically ranges from +0.5 to +2 EV. The key is watching your histogram rather than following a specific number. Push exposure until your histogram shows data toward the right side without touching the edge. Test your specific camera to learn how far you can push before highlights become unrecoverable in RAW processing.
Conclusion
ETTR remains a valuable technique for photographers who prioritize maximum image quality and have the time to implement it carefully. By capturing more data in the brighter tonal ranges, you create files with less noise, better shadow detail, and more flexibility in post-processing.
The technique works best for landscape photography, studio work, and any situation where you shoot from a tripod at base ISO. It requires shooting RAW and understanding how to read your histogram. Mirrorless cameras with electronic viewfinders make ETTR easier than ever to implement.
However, ETTR is not universally applicable. Skip it when shooting at high ISO, in fast-paced situations, or when shooting JPEG. The quality benefits do not justify the risk of clipped highlights or missed moments in these scenarios.
Understanding ETTR expose to the right technique adds another tool to your photography skillset. Use it when conditions allow, but do not feel obligated to apply it to every image you create. The best exposure technique is the one that serves your specific creative goals and shooting situation.