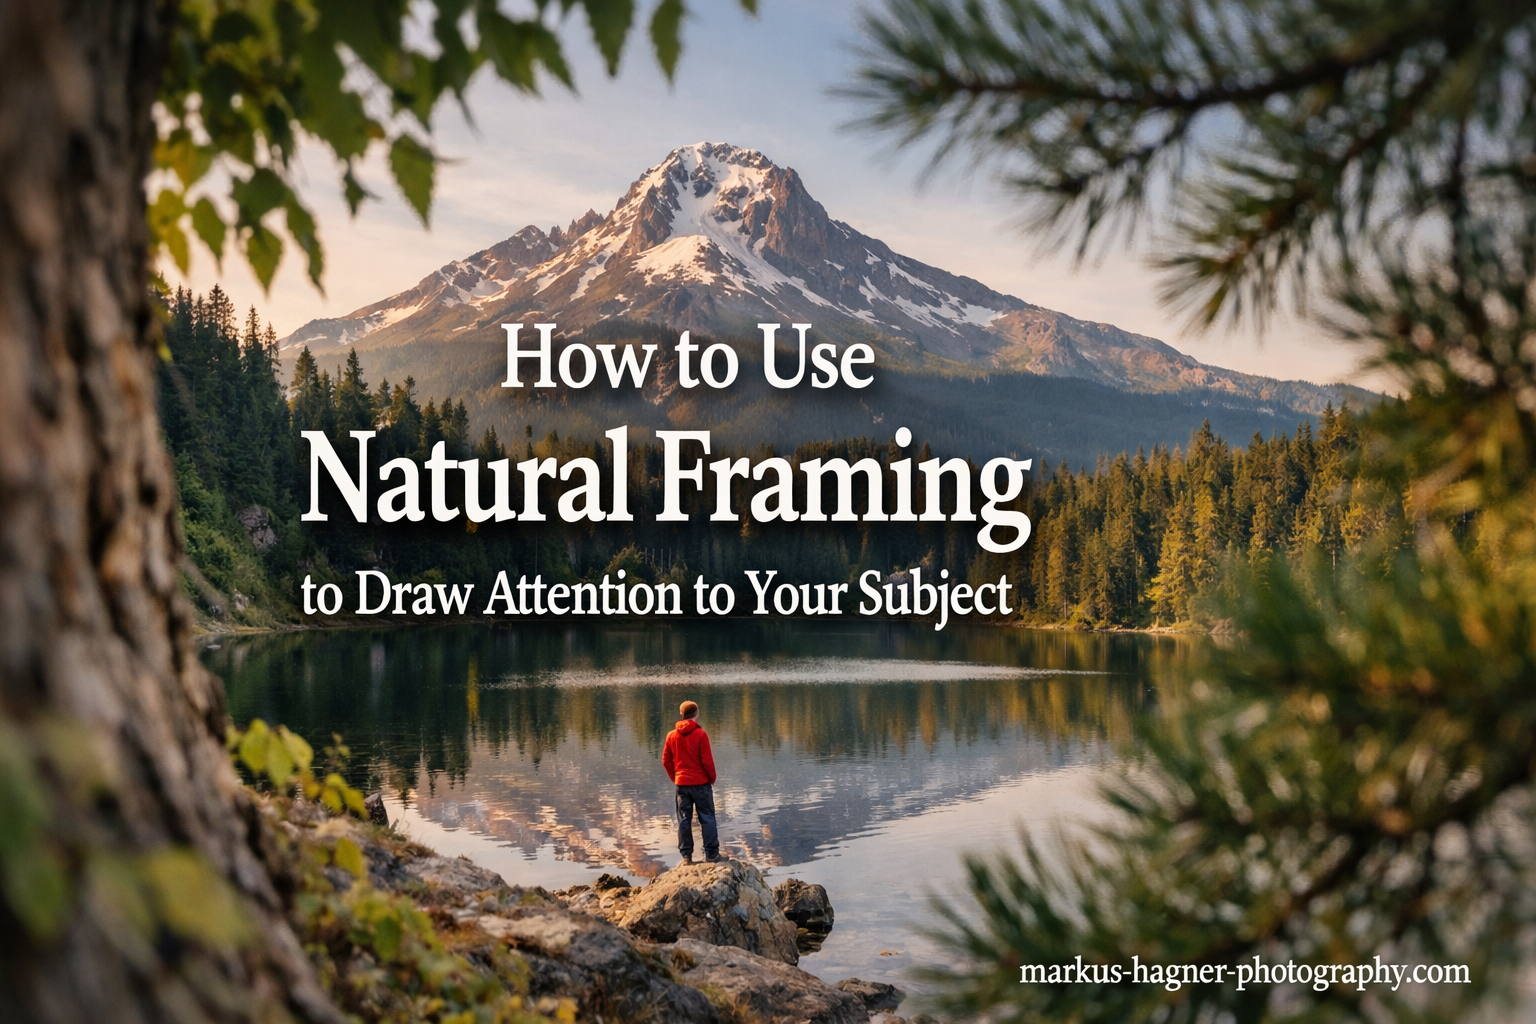
Every photograph tells a story, but some images pull you in immediately while others leave you scanning for the main subject. The difference often comes down to composition. Natural framing is one of the most powerful techniques I use to guide the viewer’s eye exactly where I want it. When you position elements within your scene to surround your subject, you create an instant focal point that feels organic rather than forced.
In this guide, I will show you exactly how to use natural framing to draw attention to your subject. You will learn what natural framing is, why it works so effectively, the types of frames available in almost any environment, and practical tips you can apply on your next shoot. Whether you shoot portraits, landscapes, street photography, or wildlife, this composition technique will transform how you see and capture scenes.
What is Natural Framing in Photography?
Natural framing is a composition technique where you use elements within your scene to create a frame around your main subject. Think of it as creating a picture within a picture. Instead of relying on post-processing borders or artificial additions, you work with what already exists in your environment: windows, doorways, tree branches, arches, shadows, and countless other possibilities.
The concept draws from the broader “frame within a frame” approach, but natural framing specifically focuses on organic or pre-existing elements rather than manufactured ones. When I compose a shot using natural framing, I am essentially telling the viewer, “Look here.” The frame acts as a visual pathway that leads directly to the subject.
This technique works because our eyes naturally follow boundaries and edges. When something creates a border around part of an image, we instinctively look at what is inside that border. Natural framing takes advantage of this perceptual tendency to make your subject the undeniable star of the photograph.
Why Natural Framing Works?
The effectiveness of natural framing comes down to how our brains process visual information. Here is what this technique accomplishes:
Directs attention instantly: The frame creates a clear boundary that separates your subject from the rest of the scene. Viewers do not have to search for what matters most in your image.
Adds depth and dimension: By establishing foreground elements around your subject, you create layers in your photograph. This transforms a flat two-dimensional image into something that feels three-dimensional and immersive.
Provides context and storytelling: The frame itself tells part of the story. A subject framed by ancient stone arches suggests history and permanence. A portrait framed by autumn foliage evokes a specific season and mood.
Isolates subjects from distractions: Busy backgrounds can overwhelm a subject. Natural framing creates separation, allowing your subject to stand out clearly against its surroundings.
Creates visual interest: Even simple subjects become more compelling when surrounded by thoughtful framing elements. The technique adds complexity without cluttering the composition.
Types of Natural Frames You Can Use
Once you start looking for natural frames, you will find them everywhere. Here are the most common and effective options:
Architectural Elements
Buildings offer some of the most obvious and dramatic framing opportunities. Windows work exceptionally well, especially when you position your subject inside looking out or outside looking in. Doorways create natural rectangular frames that draw the eye inward. Arches, whether in classical architecture or modern design, provide elegant curved frames that soften the overall composition.
Tunnels and passageways create powerful frames that also add a sense of mystery and depth. The converging lines naturally pull the viewer toward whatever waits at the end. Bridges and walkways can frame subjects from above or below, offering unique perspectives that stand out from eye-level shots.
Organic Elements
Nature provides endless framing possibilities. Tree branches create organic, irregular shapes that feel authentic and unposed. Overhanging leaves can form a partial frame that suggests intimacy and closeness. I often position subjects between two trees, using the trunks as vertical frame edges while branches create the top border.
Flowers and tall grass work beautifully for close-up portraits. By shooting through foreground foliage with a wide aperture, you create soft, colorful frames that blur into bokeh while keeping your subject sharp. Rock formations and caves offer more dramatic framing for landscape and adventure photography.
Shadow and Light
Sometimes the most effective frames are made of nothing but light and shadow. A subject positioned in a patch of sunlight surrounded by shadow is naturally framed without any physical elements. The contrast between bright and dark areas creates an invisible but powerful boundary.
Shadows cast by buildings, trees, or other objects can create geometric frames on the ground or walls. These temporary frames change throughout the day, so timing matters. I often scout locations at different times to see how shifting shadows create new framing opportunities.
People and Objects
In street photography, other people can become frames. A crowd with a gap that reveals your main subject creates an effective frame. Vehicles, bicycles, street furniture, and everyday objects all offer framing potential when you position yourself correctly.
Fences, gates, and railings create linear frames that work particularly well for outdoor portraits. The repetitive vertical or horizontal lines add structure while directing attention to your subject.
How to Find Natural Frames
Finding natural frames becomes easier with practice. Here is my step-by-step approach:
Step 1: Look for holes and gaps. Scan your environment for openings of any kind. These could be literal openings like windows and doors, or spaces between objects like the gap between two buildings or the space under a bridge.
Step 2: Change your position. A frame that does not work from one angle might become perfect from another. Move left, right, higher, or lower. Sometimes crouching or climbing reveals framing opportunities invisible from standing eye level.
Step 3: Consider distance. Your distance from both the frame and your subject affects how the frame appears in the final image. Moving closer to a foreground frame makes it larger and more prominent. Stepping back allows the frame to become more subtle.
Step 4: Check the background. A great frame means nothing if the background behind your subject is cluttered or distracting. Ensure the area within your frame supports rather than competes with your subject.
Step 5: Think about light. Frames work best when there is some contrast between the frame and what is inside it. A dark frame around a well-lit subject creates drama. A bright frame around a shadowed subject creates a different mood entirely.
In urban environments, I look for architectural features, reflections in windows, and geometric patterns created by streets and buildings. In natural settings, I search for vegetation, rock formations, and the interplay of light filtering through trees.
Practical Tips for Effective Natural Framing
Knowing about frames is one thing. Using them well requires attention to several technical and creative details.
Camera Settings for Natural Framing
Your aperture choice significantly impacts how frames appear. A wide aperture (f/1.8 to f/2.8) blurs foreground frames into soft bokeh while keeping your subject sharp. This works beautifully when the frame is close to your lens. A smaller aperture (f/8 to f/11) keeps both frame and subject in focus, which works better when the frame itself is interesting or adds important context.
For portraits with natural framing, I typically use aperture priority mode with an aperture between f/2.8 and f/5.6. This provides enough depth of field to keep the subject sharp while allowing foreground elements to blur slightly.
Frame Tightness
How tightly should your frame surround the subject? There is no single answer, but here is what I consider. Tight frames create intimacy and intensity. They work well for emotional portraits or when you want to emphasize the subject strongly. Loose frames feel more casual and environmental. They show more context and work well for storytelling or travel photography.
Avoid frames that cut awkwardly through your subject. If a branch frames a face, ensure it does not slice through eyes or the mouth. Reposition yourself or your subject until the frame complements rather than interferes.
Focus on the Frame
Should the frame be sharp or blurred? This creative decision depends on your intent. A sharp frame works when the frame itself is visually interesting or meaningful. Architectural details, interesting textures, or symbolic elements deserve focus. A blurred frame keeps all attention on the subject. This works when the frame serves purely as a compositional tool.
For wildlife photography, I often blur foreground vegetation while keeping the animal sharp. This creates the feeling of observing the subject from within its habitat without distracting details.
Combining with Other Techniques
Natural framing becomes even more powerful when combined with other composition techniques. Leading lines within your frame guide the eye even more directly to your subject. The rule of thirds helps you position your subject within the frame for maximum impact. Negative space inside your frame can create mood and breathing room.
I rarely rely on framing alone. The best compositions layer multiple techniques to create images that feel both structured and natural.
Common Mistakes to Avoid
Natural framing is powerful, but it can backfire when used poorly. Here are mistakes I see often:
Frames that distract rather than enhance: If viewers notice the frame more than the subject, something is wrong. The frame should support the subject, not compete with it. Avoid frames that are overly colorful, busy, or dramatic unless that contrast serves your creative vision.
Overusing the technique: Not every photograph needs a frame. Some subjects stand better on their own. Using framing in every shot makes your portfolio feel repetitive and formulaic.
Frames that feel forced: A frame should feel like a natural part of the scene. If you have to contort yourself or your subject into awkward positions to create a frame, the result often looks staged and uncomfortable.
Ignoring subject prominence: The subject must remain the star. If the frame overwhelms the subject or makes it difficult to see clearly, simplify or choose a different approach.
Cluttered frames: Too many competing elements within the frame create confusion rather than focus. A clean, simple frame directs attention effectively. A busy frame fragments attention.
Forgetting about the edges: Check all four edges of your frame. Partially visible elements that jut into the frame from the edges can be distracting. Either commit to including them fully or exclude them entirely.
Frequently Asked Questions
How can you use framing to draw attention to your subject?
You can use framing to draw attention to your subject by positioning elements in your foreground (windows, arches, branches, or other objects) to create a border around your main subject. This technique guides the viewer’s eye directly to what matters most, creates depth by establishing foreground and background layers, isolates the subject from distracting surroundings, and adds context that enhances the story your image tells.
What is natural framing?
Natural framing is a photography composition technique that uses existing elements within your scene, such as windows, doorways, trees, arches, or shadows, to create a frame around your main subject. This creates a frame within a frame that draws attention to your subject while adding depth, context, and visual interest to your photograph.
What is the best way to draw your viewer’s attention?
The best way to draw your viewer’s attention is to use composition techniques that create a clear focal point. Natural framing works exceptionally well because it surrounds your subject with a visual boundary that guides the eye. Combine this with contrast between the frame and subject, leading lines that point toward your subject, and strategic subject placement using the rule of thirds. The key is eliminating distractions so nothing competes with your main subject.
Conclusion
Natural framing transforms ordinary compositions into compelling images that guide viewers exactly where you want them to look. By using elements already present in your environment, you create depth, add context, and isolate your subject from distracting backgrounds. The technique works across all photography genres, from intimate portraits framed by foliage to dramatic landscapes framed by rock formations.
The key is developing your eye to see frames wherever you go. Start practicing in familiar locations. Look for windows, doorways, branches, and shadows. Experiment with different apertures to control how frames appear. Most importantly, remember that framing should enhance your subject, not compete with it. When used thoughtfully, natural framing elevates your photography by making every image feel intentionally composed and visually engaging.
Next time you raise your camera, pause and look for the frames hiding in plain sight. They are everywhere once you start seeing them.