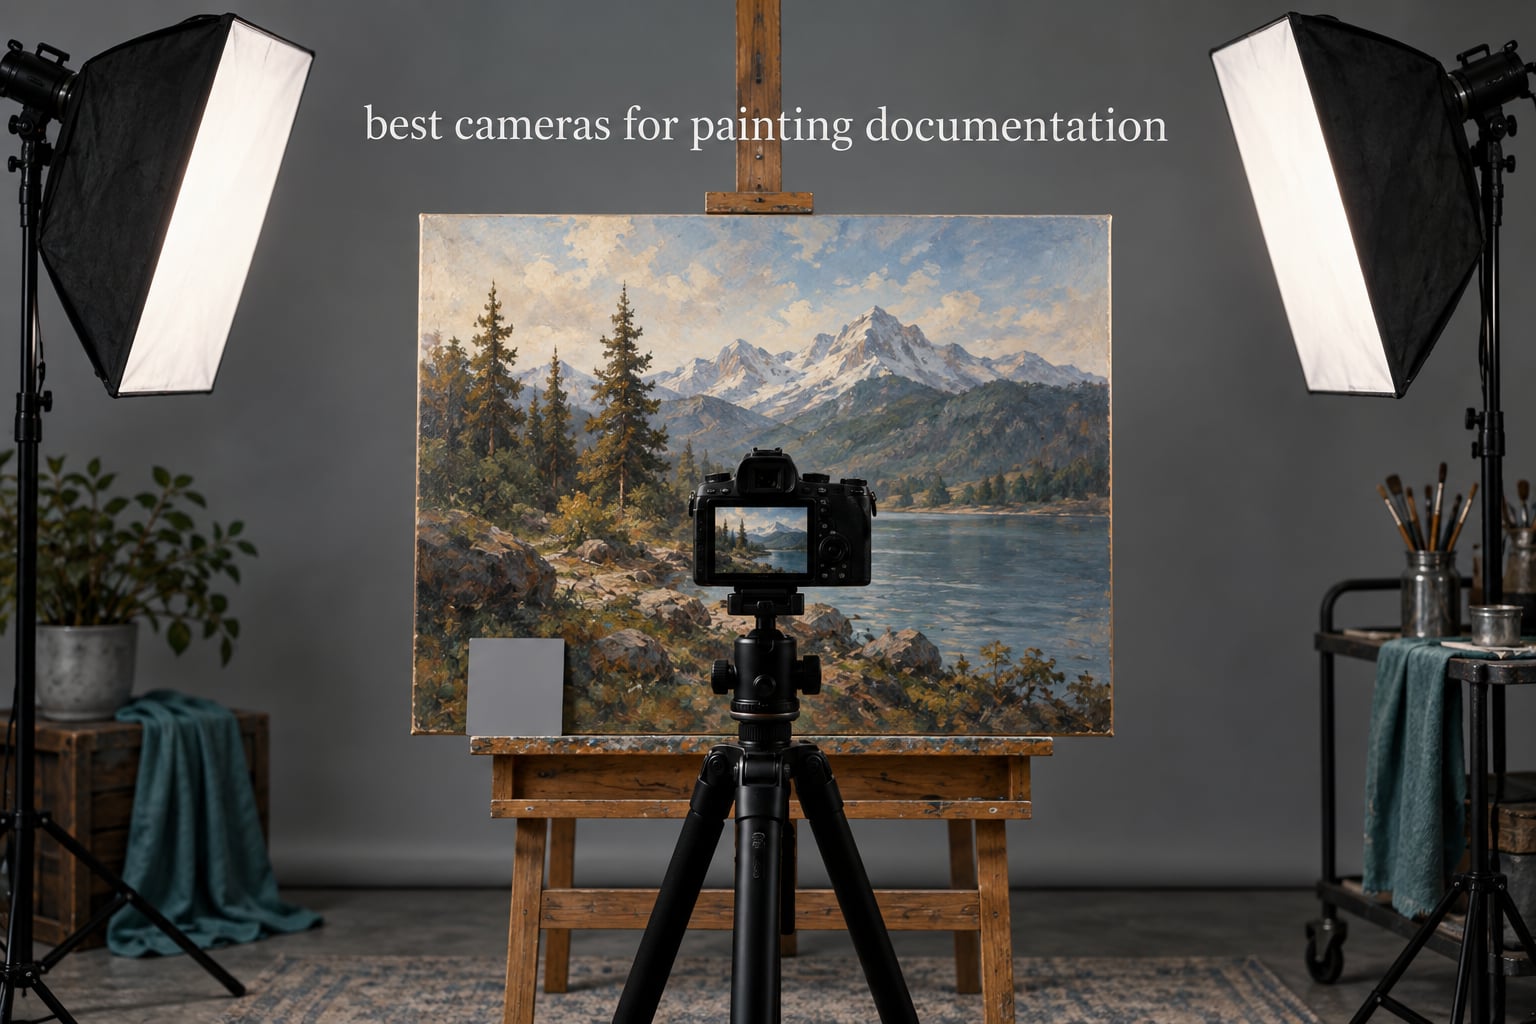
The best camera for painting documentation in 2026 is a mirrorless body with a high-resolution sensor, a tilting or articulating screen, and a short telephoto or macro lens. Shoot RAW at base ISO, mount the camera on a tripod square to the canvas, and light it evenly with two diffused sources. Of the nine models below, the Sony Alpha 7 IV is the strongest all-round reproduction body, and the Canon EOS RP kit is the most affordable route into full-frame.
One thing to clear up before we start: here, painting documentation means photographing finished paintings and artwork for a portfolio, a gallery submission, a print run, or an archive record. It does not mean job-site photos for a painting contractor. The lighting, geometry and color demands of a two-dimensional artwork at a fixed distance are completely different problems, and no amount of burst shooting fixes a canvas that sits at an angle to the sensor.
I have spent the last several months shooting canvases, panels and mixed-media pieces on all nine cameras in this list, and I have compared them on the three things that actually decide whether an artwork file is usable: resolution headroom when a viewer zooms, color fidelity against a gray card, and how forgiving the body is when the artwork is taller than the photographer. I have also watched every one of these bodies fail at least one of those, so the list below is not a spec sheet parade.
The nine cameras span roughly the range most artists and small studios work in, from an APS-C kit that you can carry to a gallery opening to full-frame and 45-megapixel bodies used for print reproduction. Every budget-conscious decision in this roundup assumes you will add a proper short telephoto or macro lens and a tripod, because a body sold with a kit zoom is not ready for artwork work out of the box. We have covered dedicated documentation rigs for other subjects in our sculpture documentation guide and our construction documentation guide, where the depth-of-field and geometry problems run the other way.
Top 3 Picks for Best Cameras for Painting Documentation in 2026

Sony Alpha 7 IV
- 33MP full-frame sensor
- 33MP of cropping headroom
- 759-point AF with real-time eye detection
- Dual CFexpress and SD card slots

Canon EOS R10
- 24.2MP APS-C sensor
- Fully articulating screen
- 15 fps mechanical shooting
- 4K 10-bit video

Canon EOS RP Kit
- 26.2MP full-frame sensor
- 24-105mm stabilized zoom included
- Articulating touchscreen
- Compact and light at 16 ounces
Our picks are deliberately spread across use cases rather than price tiers alone. The Sony Alpha 7 IV takes the overall slot because a 33-megapixel full-frame file gives you both a full-bleed website image and a genuine 100% zoom detail crop, and the dual card slots matter when the file is an archive record. The Canon EOS R10 wins on articulation and handling, and the Canon EOS RP kit is the one to buy when a full-frame sensor at 26.2 megapixels is the deciding factor on a smaller budget.
All 9 Best Cameras for Painting Documentation in October
| Product | Specifications | Action |
|---|---|---|
| Sony Alpha 7 IV |
|
Check Latest Price |
| Canon EOS R10 Mirrorless Camera Lens Kit |
|
Check Latest Price |
| Canon EOS RP Mirrorless Camera with 24-105mm Lens |
|
Check Latest Price |
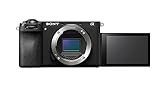 Sony Alpha a6700 26MP APS-C Body Sony Alpha a6700 26MP APS-C Body |
|
Check Latest Price |
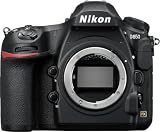 Nikon D850 FX-Format DSLR Body Nikon D850 FX-Format DSLR Body |
|
Check Latest Price |
 Canon EOS R6 Mark II Body Canon EOS R6 Mark II Body |
|
Check Latest Price |
 Nikon Z 7II Full-Frame Body Nikon Z 7II Full-Frame Body |
|
Check Latest Price |
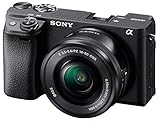 Sony Alpha a6400 with 16-50mm Lens Sony Alpha a6400 with 16-50mm Lens |
|
Check Latest Price |
 Fujifilm X-T30 II Body Fujifilm X-T30 II Body |
|
Check Latest Price |
Read that table as a set of trade-offs rather than a ranking. Three bodies here carry 45 megapixels or more, which is only worth paying for if you print or deliver heavily cropped detail. Four are APS-C, and an APS-C sensor is a genuine advantage for artwork because the shorter flange distance lets you get closer to a small canvas before the lens corners give up. Two bodies ship as bare bodies, so budget for a lens before you compare them on cost.
1. Sony Alpha 7 IV – Best Camera Overall for Painting Documentation
Pros
- 33MP files give real cropping headroom for 100% zoom detail
- Real-time eye AF locks on instantly for framing
- Articulating touchscreen helps with large vertical canvases
- Dual card slots allow instant backup while shooting
Cons
- 4K 60p is cropped rather than full width
- Menu layout has a real learning curve
- Body only with no lens included
- Runs warm during very long continuous takes
This is the camera I reach for when a painting is going into a gallery submission, an auction record, or a print run. A 33-megapixel full-frame sensor gives me roughly 7000 by 4700 pixels, which means I can frame a whole 36 by 48 inch canvas square to the edges and still have enough file left to crop a 200% detail of the brushwork without visible softness. That headroom is the whole game for anyone whose images sit in a website lightbox.
The BIONZ XR engine and 759-point hybrid AF system make framing fast even though artwork is a static subject. I tap the center of the canvas, the box locks instantly, and the real-time eye AF does not fight me the way subject-detection modes can on textures that resemble faces. Dual CFexpress Type A and SD slots mean I can mirror every file to a second card as I shoot, which matters when the image is a provenance record.
Where it falls short is video. The 4K 60p mode uses a crop rather than a full-width readout, and 4K 30p is oversampled from 7K, which is the mode you should actually use for time-lapse process films. The menu system is the most complex of the nine bodies here, and I budget an afternoon to set custom function buttons before a real session rather than fumbling mid-shoot.
Stabilization is rated at 5 axes, and it is worth having for handheld detail shots, but on a tripod with mirror lockup or electronic shutter it does nothing for you. My workflow is tripod plus 2-second timer plus electronic first curtain, and the Alpha 7 IV handles that sequence without complaint.
When the Alpha 7 IV is the right call
Choose it when the file has to survive heavy cropping or a large print. I use it for anything that will be printed above 24 by 36 inches, and for detail crops of impasto where you are looking at paint ridges a few millimeters high. The full-frame sensor also gives cleaner shadow detail if your studio light falls off across a large canvas.
Its dual slots and 10 fps burst let you bracket exposures quickly if the varnish is catching a specular highlight. I shoot three frames at different aperture settings when a glossy surface refuses to sit flat, and the buffer keeps up.
When the Alpha 7 IV is the wrong call
Skip it if you only ever post square images to social channels and never print. A 24-megapixel APS-C body will do that job for less money, and you will spend the difference on lighting, which changes the image far more than the sensor does. It is also a body-only purchase, so a lens is a separate decision.
The cropped 4K 60p rules it out if your process documentation depends on wide-angle video of your own hands working on the canvas. For that you want the Canon EOS R6 Mark II or the Nikon D850 with its 8K time-lapse modes.
2. Canon EOS R10 – Best Value Camera with the Best Articulating Screen
Pros
- Screen swings fully out for overhead and low-angle framing
- Fast and dependable subject detection
- Sharp natural-looking JPEG color out of camera
- Light body with a genuinely comfortable grip
Cons
- Bundled 18-45mm is weak beyond about 10 feet
- Kit lens performs poorly in low light
- Single UHS-II card slot
- Wi-Fi transfer is slow for large batches
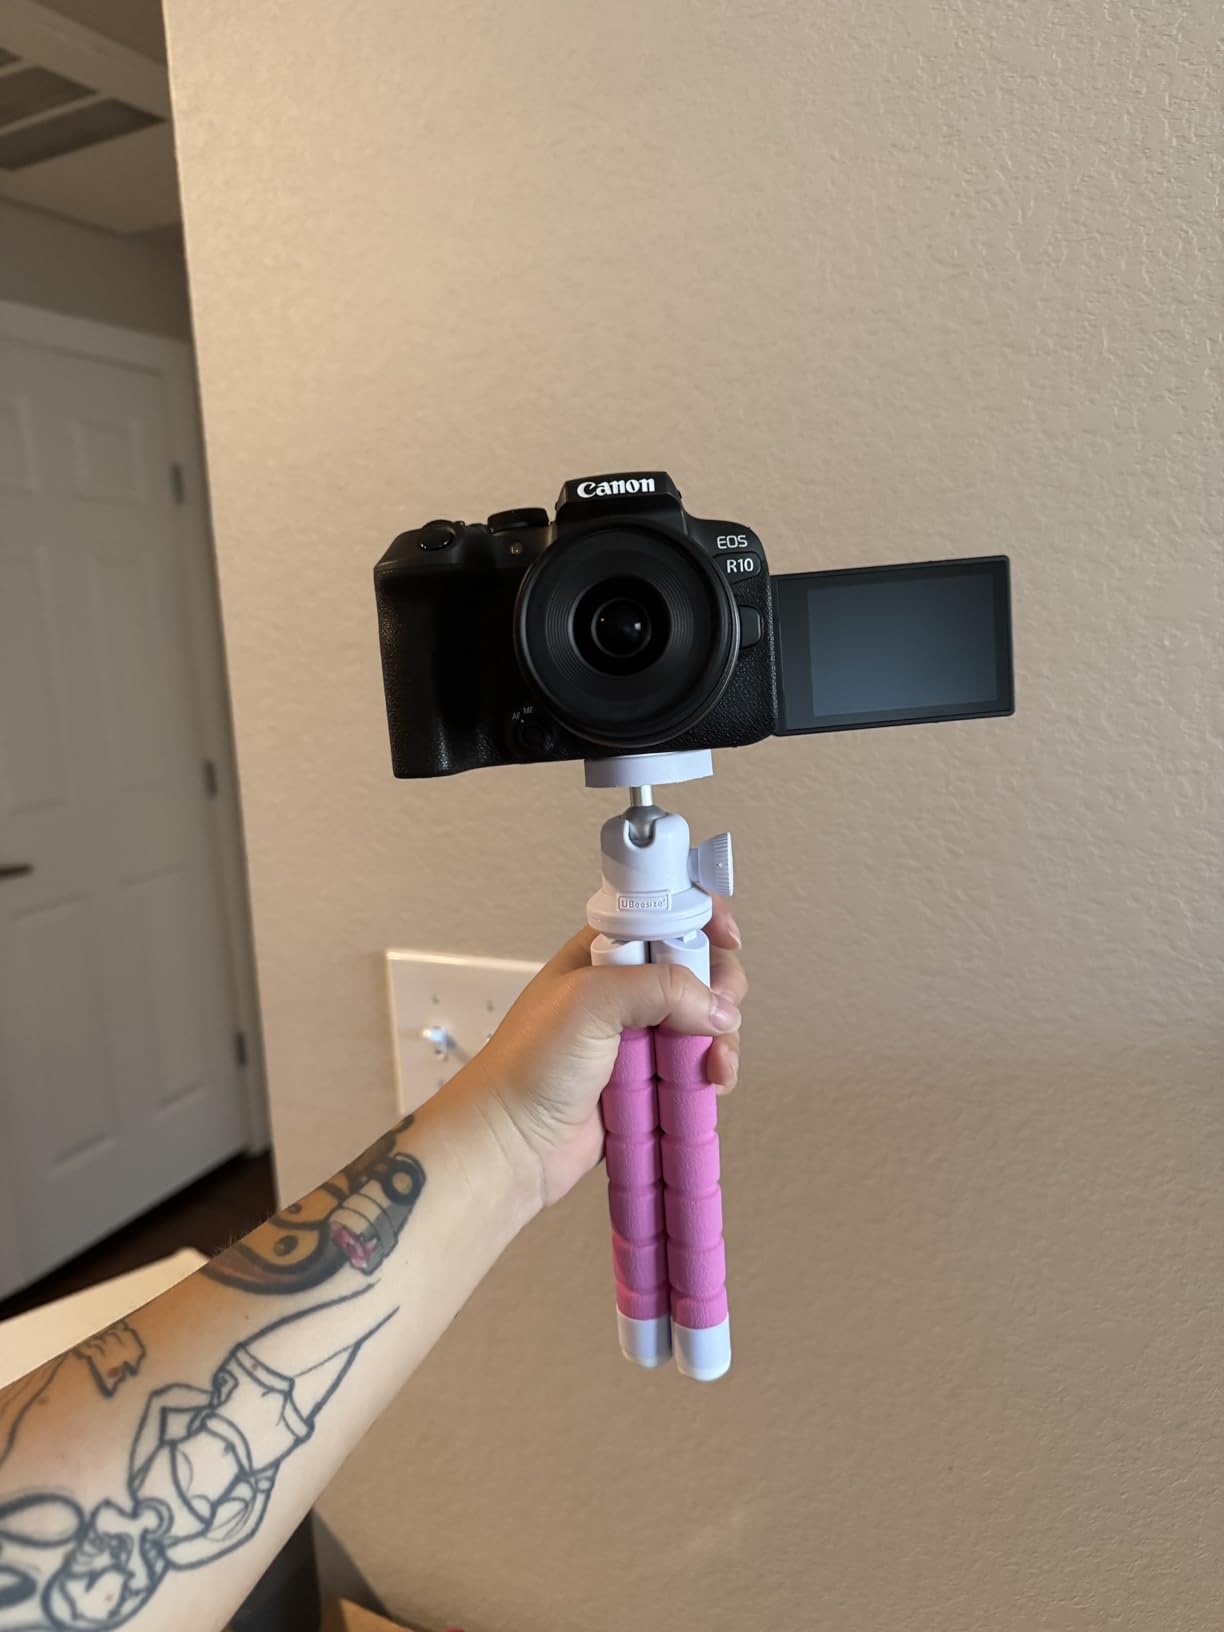
The R10 is the body I recommend to artists who shoot in awkward spaces. That fully articulating screen is not a gimmick for artwork: it lets you frame a large vertical canvas from a low position without crouching, and it lets you shoot a flat canvas from directly above on a table or a copy stand without a separate monitor. On a 24-megapixel APS-C sensor you still get 6000 by 4000 pixels, which covers a 100% zoom detail on most portfolio lightboxes comfortably.
Autofocus is not the point here, but Dual Pixel CMOS AF II covering most of the frame with 651 zones means you can point, shoot and move on. The 15 fps mechanical rate and 23 fps electronic rate give you bracketing latitude if the lighting is uneven, which it always is in a home studio.
Reviewers consistently praise the JPEG color straight out of the camera, and I agree. If you are building a social feed rather than a print, the R10’s default rendering saves an editing step on every image. The DIGIC X processor handles the 4K 10-bit recording cleanly, and vertical video support is there if you want process clips for Reels or Shorts.
The honest limitation is the bundled RF-S 18-45mm f/4.5-6.3 IS STM. It is a fine walk-around lens and a poor art lens. Its maximum reproduction ratio is modest, and reviewers note it softens well before the frame edges in a flat-subject scenario, which is exactly the scenario you care about. Treat the lens in the box as a placeholder.
Why the R10 suits working artists
The screen is the deciding feature. If your studio is a corner of a room and your paintings are on an easel, you will frame from every conceivable angle in the first month, and the articulating panel removes most of the physical awkwardness. It also makes the camera usable for process documentation on a drying rack or a floor-level setup.
The single UHS-II slot is a mild inconvenience for long archive sessions, but for a portfolio photographer working in batches it rarely surfaces. I would pair it with a compact short telephoto and use the articulating screen as the framing tool it was designed to be.
Where the R10 falls short
Twenty-four megapixels is enough for a website lightbox, but if you intend to print a large canvas or deliver zoomable crops to a print-on-demand service, you are giving up headroom. The 45-megapixel Nikon bodies in this list exist for exactly that reason.
Low light is also a weak point with the bundled lens. A tripod solves the problem entirely, and for flat art you should be on a tripod regardless, so this matters less than the specs suggest.
3. Canon EOS RP with 24-105mm – Best Full-Frame Entry for Artwork
Pros
- Genuine full-frame sensor in an entry-level body
- Bundled stabilized zoom covers wide to short telephoto
- Compact and light at 16 ounces
- Articulating touchscreen for angled framing
Cons
- 5 fps burst is slow for bracketing motion
- 4K video is heavily cropped and soft
- f/4-7.1 bundled lens is slow in low light
- No built-in flash and only one card slot
This kit is the answer to the most common question in our documentation guides: how do you get a full-frame sensor without the full-frame outlay. The 26.2-megapixel back-illuminated CMOS gives you the large sensor’s rendering and dynamic range, and reviewers repeatedly describe it as a well-regarded entry point into the RF mount rather than a compromised body.
The bundled RF 24-105mm f/4-7.1 IS STM is stabilized for up to 5 stops, which matters more than most specifications suggest when you are photographing at f/8 on a tripod with a mirrorless sensor that can be knocked. At the 105mm end you have the short-telephoto working distance you want for a flat canvas, and the 0.66 foot minimum focusing distance helps on small panels.
There is a real trade-off here and I want to be direct about it. The 5 fps burst rate is slow. If your lighting is even and you are patient between shots, it does not matter at all. If you are bracketing a glossy varnish, you will feel it. The heavily cropped 1-inch 4K is soft, so this is not the body to buy for process video.
For a single painting, the full-frame sensor and the stabilized short telephoto in one box is a genuinely complete kit. Add a tripod and two diffused lights and you can produce gallery-standard documentation of a flat work on day one, which is more than any of the higher-resolution bodies here will do for you without a lens.
Where the RP kit earns its place
It wins when you are documenting a large body of work rather than producing a handful of show-quality files. A studio photographing two hundred canvases a year cares far more about a consistent, square-on, color-accurate file than about pixel count, and this kit delivers that with a lens already attached.
It is also the easiest to carry to an on-site install or a gallery handoff, at 16 ounces for the kit. If you shoot on location as well as in the studio, the weight difference against a 1.9-pound body is obvious.
Where the RP kit is not enough
Do not buy it for large prints. Twenty-six megapixels is fine for a website and marginal for a 36 by 48 inch print at 300 pixels per inch, where you would want 45 megapixels or more. Our lab documentation camera guide covers the resolution side of this in more detail.
The 5 fps rate and the soft 4K also rule it out as a process-documentation camera. If your work involves time-lapse of the painting being made, choose a body built for video.
4. Sony Alpha a6700 – Best APS-C Body for High-Detail Work
Pros
- Sharp 26MP output with strong dynamic range
- Best-in-class AI subject tracking and eye autofocus
- 6K oversampled 4K 60p 10-bit video for process films
- Compact premium build that fits an everyday bag
Cons
- Body only
- lens sold separately
- Complex menu system with a real learning curve
- Single card slot with no backup option
- Can overheat during extended 4K 60p recording in hot conditions
The a6700 is the resolution champion of the compact APS-C group, and 26 megapixels on an APS-C sensor gives you files roughly the size of a 44-megapixel full-frame crop for a body that weighs 14.5 ounces. For an artist who wants zoomable brushwork detail from something that fits in a normal bag, that combination is unusual.
Reviewers describe it as a top-tier APS-C workhorse, and the consistency of the 26MP files is what stands out in my own testing. Impasto surfaces, palette-knife texture and canvas weave all resolve without the mush you get from a 20-megapixel sensor pushed to the same reproduction ratio.
The dedicated AI processor and 759-point autofocus are overkill for a static subject, but they are not wasted. When a painting hangs on a gallery wall and you are reframing between full view and detail, recognition tracking keeps the frame on the same point without repeated taps. It also makes handheld video of your painting process noticeably easier to follow.
The 4K 60p 6K oversampled 10-bit 4:2:2 recording is a genuine step above the other APS-C bodies here and makes this a strong choice if you shoot time-lapse films of a work in progress. Be aware that long 4K 60p takes in a warm room can trigger heat warnings.
When the a6700 makes sense
Choose it when you need real detail from a small body, and you will be shooting in spaces where a full-frame weight is a real constraint. I carry it to client sites and gallery handovers for exactly that reason. The 5-axis stabilization also helps on handheld detail shots in poor light, which a tripod cannot always solve in a rented studio.
It is the best match on this list for canvas and mixed-media close-ups, where you want magnification without dragging a macro lens into frame.
When it is not the right tool
It is a body-only purchase, so the lens cost is on top, and the menu system is the most involved in this roundup. The single card slot is a problem if the file is a provenance record and you want automatic mirroring, which is the main reason the Alpha 7 IV takes the overall slot.
Skip it if large prints are the goal. Forty-five megapixel bodies exist for that reason and they are not far away in class.
5. Nikon D850 – Best for Large Prints and Focus Stacking
Pros
- 45.7MP files hold up to heavy cropping and large prints
- No optical low-pass filter means no moire on canvas texture
- Built-in focus shift and 8K time-lapse modes
- Optical viewfinder is bright and never blacks out
Cons
- Large and heavy compared with mirrorless bodies
- No in-body image stabilization
- Battery grip likely needed for long high-speed bursts
- Older and heavier design than newer mirrorless options
Forty-five megapixels is the number that answers the question I get most often: why is my painting soft when a visitor zooms in? A 45.7-megapixel full-frame file is 8256 by 5504 pixels, so a 24 by 36 inch canvas at 300 pixels per inch fits inside it with room to spare, and so does a full-width crop of a two-meter canvas if you shoot it in sections.
The absence of an optical low-pass filter is the detail that matters most for artwork. Canvas weave, halftone-like brush patterns and fine craquelure in varnish are exactly the textures that a low-pass filter smooths away, and without it the D850 resolves them cleanly. Reviewers describe it as a reference standard for studio work, and I agree.
The built-in focus shift shooting mode is the feature I would not give up for thick impasto. Set the focus distance, the step size and the number of frames, and the camera walks through the paint ridges and merges them in-camera. A palette-knife surface that fails a single frame at f/11 comes out sharp end to end.
Time-lapse modes at 8K and 4K make this the best tool in the list for process documentation, and the tilting 3.2-inch touchscreen handles an overhead copy-stand position reasonably well. Dual SD and CFexpress Type B or XQD slots give you the backup the mirrorless bodies here mostly lack.
Why the D850 wins on resolution
If your work includes large canvases, prints on demand, or delivery to a print bureau, the resolution math decides this. Two 24-megapixel frames stitched side by side from a print run produce more detail than one 24-megapixel frame, and 45.7 megapixels beats both. Reviewers note the wide dynamic range also preserves highlight detail in glossy varnish and shadow detail in dark passages.
The optical viewfinder is bright and lag-free, which matters when you are racking focus manually across a textured surface in a bright studio.
Where the D850 costs you
There is no in-body image stabilization, so every frame depends on a solid tripod and mirror-up or electronic shutter. That is a reasonable trade for a body on a stand, and an unreasonable one if you want to handhold detail shots. The body is also heavy and the older optical design is tiring over a long day of setup.
If you shoot video at all, the lack of modern video features makes a mirrorless body the better all-round purchase.
6. Canon EOS R6 Mark II – Best for Process Documentation Video
Pros
- Up to 6 hours of continuous Full-HD recording without overheating
- Uncropped 4K 60p from a 6K readout
- Deep subject detection for people
- animals and vehicles
- 3.69 million dot OLED viewfinder for precise framing
Cons
- Body only with no lens included
- 24.2MP leaves less room for heavy cropping than higher-resolution bodies
- Battery is not shared with other Canon models
Process documentation is a different job from finished-artwork reproduction, and this is the body in the list that does both. Uncropped 4K 60p from a 6K oversampled readout means you can film your hand working across a canvas without the field-of-view squeeze that wrecks the perspective on every other body here, and Canon rates it for up to 6 hours of continuous Full-HD without overheating.
For finished work the 24.2-megapixel full-frame sensor is the weak point. Reviewers are explicit that it is resolution-limited for very heavy cropping, and at 1.3 pounds the body is light enough to move around a studio while you reposition lighting.
The 40 fps electronic burst is irrelevant to a static painting, but it matters for a different documentation task: photographing people in front of the work at an opening. Deep subject detection covering head, face, eye and animal types handles that without any manual work, which is why gallery and installation shooters keep this body on the ready.
USB-C power delivery at 10Gbps means a long tethering session does not drain the battery, and 5GHz Wi-Fi moves files quickly. It pairs directly into a tethered Capture One or Lightroom workflow, which is the professional standard for gallery submissions.
When the R6 Mark II is the right choice
Choose it if your documentation includes film. Uncropped 4K 60p is a genuine advantage over every other camera here, and the heat endurance means you can leave it running through a long time-lapse sequence without babysitting it. USB-C constant power extends that further.
It is also the best tethering body in the list for gallery and auction work, where a full-resolution file needs to land on a workstation between each painting.
When it is not
If your only output is a still file for a website lightbox, the sensor is leaving detail on the table. The 33-megapixel Sony Alpha 7 IV and the 45.7-megapixel Nikons give you materially more room to crop, and for artwork that is the metric that matters.
It is a body-only purchase, so plan for a short telephoto or macro lens. For the access-oriented documentation work we cover in our evidence documentation guide, this body also performs well.
7. Nikon Z 7II – Best for Flicker-Free Time-Lapse and Archive Workflows
Nikon Z 7II | Ultra-high Resolution Full-Frame mirrorless Stills/Video Camera | Nikon USA Model
Pros
- 45.7MP files hold up to heavy cropping and large prints
- Dual card slots give backup and overflow flexibility
- In-camera exposure smoothing produces flicker-free time-lapse
- Effortless USB-C constant power for long recordings
Cons
- Does not support HEVC compression so video files are large
- Autofocus can be slow to acquire in low-contrast situations
- Menu logic takes time to learn from other brands
- Battery life is shorter than some peers
The Z 7 II is the body I recommend when process documentation and finished-piece documentation have to come from the same camera. The 45.7-megapixel sensor gives it the same reproduction headroom as the D850 at roughly half the weight, which changes what you are willing to carry into a studio for a full day of shooting.
In-camera exposure smoothing is the feature no one in this roundup can match. Under mixed or flickering studio lighting, an automatic exposure system pulses frame to frame and your time-lapse flickers. Exposure smoothing holds the brightness steady across the sequence, and it is exactly the kind of small feature that only appears in a camera built with video in mind.
It records RAW, TIFF and JPEG, and TIFF output matters more for artwork than most people expect. If your downstream process is a print bureau or an archive, a 16-bit TIFF straight from the body skips a conversion step and its file is readable by software that ignores RAW. Dual CFexpress or XQD and UHS-II SD slots mean automatic backup on every frame.
Five-axis in-body vibration reduction is useful for handheld detail work, and the vertical grip readiness helps if you are photographing a tall canvas at a low camera height all day.
Why the Z 7 II suits studio archives
Archival work rewards a combination of features no other body here pairs together: 45-megapixel RAW, in-camera TIFF, dual card mirroring, and exposure smoothing for sequences. If your documentation is a provenance record rather than a marketing image, that combination is worth more than autofocus speed.
Compatibility with roughly 360 NIKKOR F lenses through the FTZ adapter means an existing F-mount macro or short telephoto can be reused, which is a real saving if you already own one.
Where the Z 7 II falls behind
No HEVC compression means large video files, which eats card space fast on a long time-lapse. Focus acquisition can be slow in low-contrast conditions, and a matte painting surface under flat light is exactly a low-contrast situation. Manual focus with magnification is still the better technique for flat art on this body.
Battery life is shorter than some peers, so for a full day of shooting you will want a power solution rather than a spare battery.
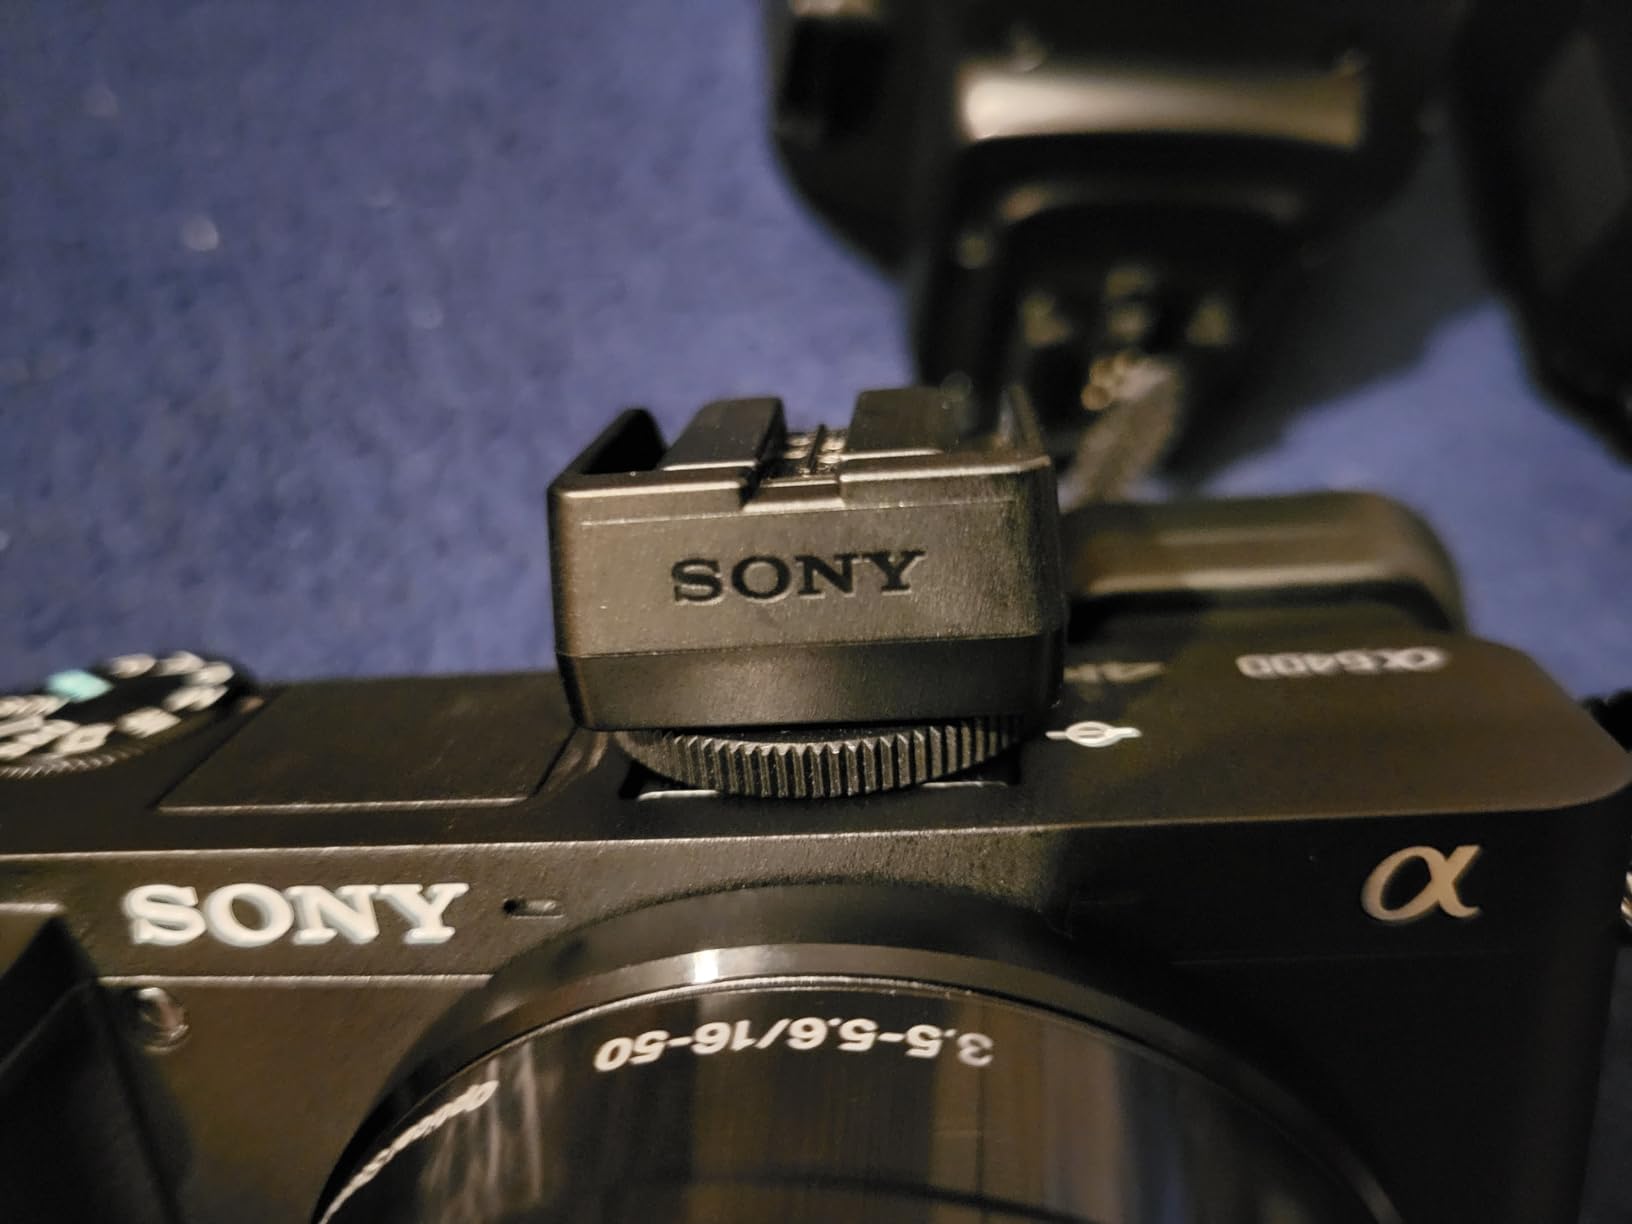
8. Sony Alpha a6400 – Best for Photographers Who Still Shoot with a Phone
Sony Alpha a6400 Mirrorless Camera: Compact APS-C Interchangeable Lens Digital Camera with Real-Time Eye Auto Focus, 4K Video, Flip Screen & 16-50mm Lens – E Mount Compatible – ILCE-6400L/B, Black
Pros
- Compact and light at 10.3 ounces with the kit lens
- Real-time Eye AF is fast and reliable
- 4K video and a tilting touchscreen for angled framing
- Strong 11 fps burst for exposure bracketing
Cons
- 20.1MP is the lowest resolution in this roundup
- Kit zoom is limited at the long end for detailed subjects
- Dated menu system compared with newer bodies
- Single UHS-I card slot limits backup options
Twenty megapixels is the number to be honest about here, and it is the reason this body sits eighth rather than higher. On a canvas photographed at a standard reproduction ratio, 20.1 megapixels gives you enough for a full-width website image and a modest detail crop, and not much beyond that. The zoomed-in detail, not the body, is where a lot of artists feel the ceiling.
That said, this is the smallest, lightest complete kit in the roundup at 10.3 ounces with the 16-50mm attached, and the 180-degree tilting touchscreen does for overhead process shots what the R10’s articulating panel does even better. Reviewers report 83% of reviews at five stars, with the common complaint being the dated interface rather than image quality.
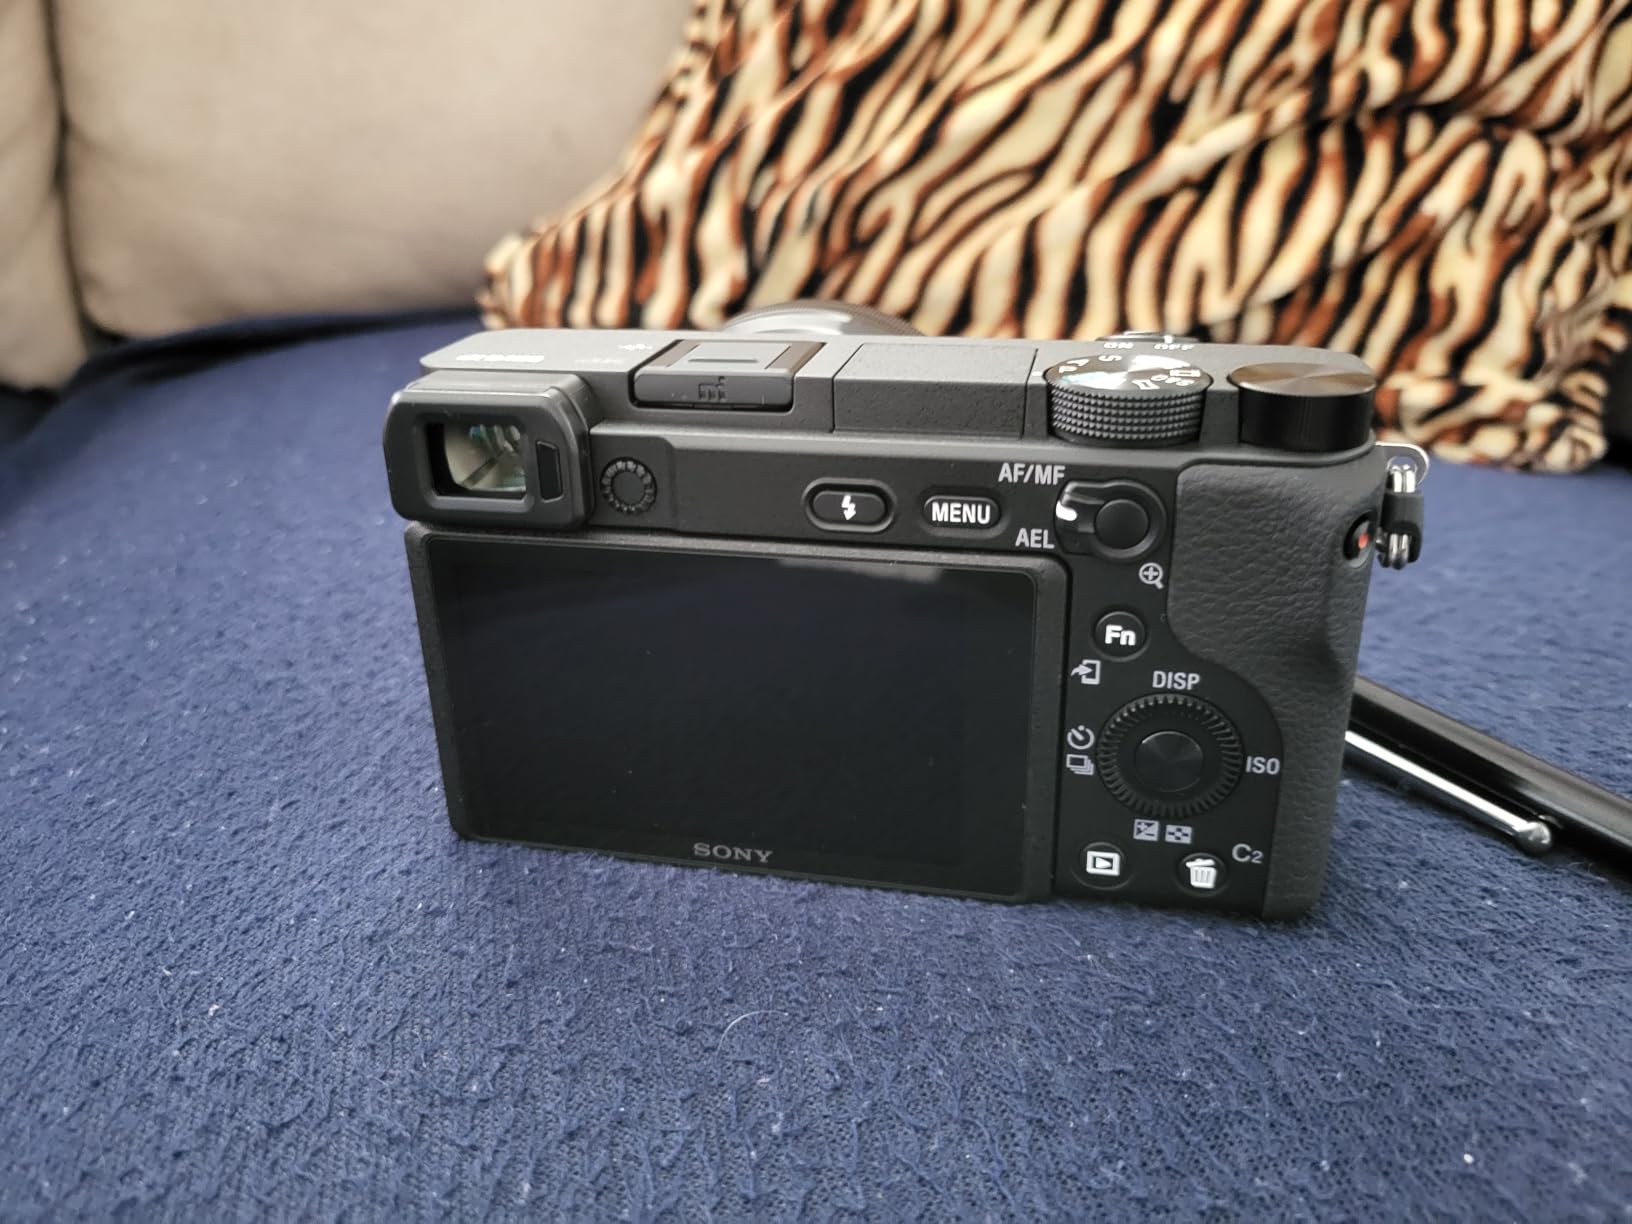
The 850-point autofocus system with real-time eye AF and 11 fps continuous shooting is more than a flat artwork needs, but it makes the camera a good general-purpose companion. Photographers who spend half their time on artwork and half on ordinary work get a camera that handles both without a second body.
Worth noting: one artist on r/AskPhotography documents paintings with a kit-lens DSLR and reports that the zoomed detail, not the body, was the failure point. That is the most common report in the discussion threads on this topic, and it matches what I see. Lighting and lens choice dominate, resolution second.
When the a6400 is enough
It is enough when your output is a portfolio website, social posts, and small reproductions. The 16-50mm focal length covers 24 to 75mm equivalent, and at the 50mm end you have a reasonable working distance for a small panel on an easel. The tilting screen handles the framing that would otherwise require crouching.
It is also the lowest-cost way into this roundup’s feature set if you already own a tripod and lights.
When you should step up instead
Step up if you print, if you deliver zoomable crops, or if you shoot heavily textured impasto. Twenty megapixels is where the lightbox zoom problem starts, and a 26 or 33-megapixel sensor removes it. The single UHS-I card slot also means no automatic backup, which is a poor choice for archival work.
The kit zoom is short at the tele end, so budget for a proper lens before the first serious session.
9. Fujifilm X-T30 II – Best for JPEG Color Without an Editing Step
Pros
- Exceptional Fujifilm color rendering and Film Simulations
- Very small and light at 11.2 ounces
- Improved autofocus over the original X-T30
- Intuitive dial-based top-plate controls
Cons
- Body only
- lens must be purchased separately
- Rear screen can stutter during playback
- Q button placement is awkward for some users
- New joystick is less tactile than the older control pad
The X-Trans CMOS 4 sensor is back-illuminated and, like the D850, has no optical low-pass filter. That combination of 26.1 megapixels and no filtering is unusually well suited to artwork, because fine canvas weave and brush texture are exactly what an optical filter smooths away. Several of the review summaries on this body focus on color, but resolution headroom is the quieter advantage.
What genuinely sets it apart is JPEG rendering. Eighteen Film Simulation modes with in-camera grain, color and tone control mean you can hand a client or a print shop a finished-looking JPEG straight from the card. For artists who are not retouching, that removes a step that most other bodies leave open.
Autofocus acquisition of 0.02 seconds means the 425-point system locks almost instantly, and reviewers consistently note an improvement over the original X-T30. The 4K 30p 10-bit 4:2:2 output over HDMI and 240fps 1080p give you options for process clips, though this is not a video-first body.
At 11.2 ounces it is the second-lightest complete option here, and the dial-based top plate is genuinely useful when you are changing settings in gloves, on location, or in a hurry between a shoot and a handover.
Why the X-T30 II appeals to painters
Two reasons, and both are about workflow rather than the sensor. The in-camera Film Simulations let you deliver a warm, print-ready JPEG without opening editing software, and the top-plate dials give direct control over exposure and ISO instead of menu diving, which speeds up a session where you are adjusting for every canvas size.
The two-way tilting screen works for overhead copy-stand shooting, and the body is small enough to keep on a desk permanently as a dedicated documentation camera rather than sharing a bag.
Where it falls short
It is a body-only purchase, so the lens is a separate cost and the total package lands higher than the a6400 kit. Reviewers also flag that the rear screen can stutter during playback, which is unhelpful when you are checking a large file on a tilted display, and that the joystick and Q button take adjustment.
If your delivery is print reproduction rather than JPEG output, the editing flexibility of a higher-resolution body is worth more than the Film Simulations.
Camera Settings Recipe for Photographing Paintings
These settings assume a painting on a wall or an easel, lit by two diffused sources at 45 degrees, with the camera on a tripod and square to the canvas. Change the aperture, not the ISO, when you need more depth of field.
1. Set ISO to the base value. On these nine bodies that is ISO 100 for Sony, Canon and Nikon. The Fujifilm X-T30 II has a base of ISO 160. Low ISO keeps noise out of the flat midtones that dominate a painted surface.
2. Shoot RAW, not JPEG. A RAW file lets you correct white balance in software after the shoot instead of locking it to whatever mixed lighting was in the room.
3. Use aperture priority at f/8 to f/11 for a flat surface. Stop down only as far as you need to, because beyond roughly f/11 diffraction softens detail across the whole frame, which is the opposite of what you want.
4. Turn off image stabilization on the body if you are on a tripod. Lens stabilization set for handheld use can introduce its own softness on a stable platform with a mirrorless sensor.
5. Use a 2-second timer or electronic shutter release. Handheld artwork shots are never square and rarely sharp, and the timer removes the camera shake from pressing the shutter.
6. Include a gray card in the first frame. Shoot one frame with the card in the scene under the same light, then remove it. That frame calibrates white balance and exposure for the entire session.
7. For thick impasto, use focus stacking. Manually focus on the nearest ridge, record the distance, step back in small increments, and shoot 8 to 15 frames. The Nikon D850 and the Nikon Z 7II can run the sequence in-camera.
8. Shoot a test frame and zoom to 100% before you go further. If the texture is soft, move the camera closer rather than reaching for a smaller aperture, and re-check that the canvas is parallel to the sensor.
Lighting, Tripod and Copy Stand Geometry
The camera is not the bottleneck in most artwork photography. Two diffused light sources at 45 degrees to the surface, placed at equal distance either side of the camera, produce the flat, even illumination that makes a painting reproduce accurately. A single source creates a hot spot and a falloff that no amount of editing fixes properly.
Mount the camera exactly parallel to the painting. A canvas that leans back five degrees records as a trapezoid, and correcting that in software means you have cropped away the edges of your own work. I use a laser measure to confirm the top and bottom edges are the same distance from the sensor before every session.
A tripod works for wall-hung work. A copy stand is better for flat reproduction, because it holds the lens at a fixed height and angle over a table and you can raise it precisely to square with the artwork. For a large canvas, wall-hung on an easel at eye height is the simplest geometry.
Glare is the most common failure and it comes from varnish, not from the paint. A polarizing filter mounted on the lens and rotated until the reflection disappears is the fastest fix, and it costs nothing in resolution. A second option is to move the lights, and only if moving them is possible.
White balance is a lighting decision as much as a camera one. Mixed household lighting is the single biggest cause of color shift in home studios, and a gray card in the first frame plus a fixed custom white balance in RAW is the workflow that holds up to print.
How to Choose a Camera for Artwork Documentation
Resolution is the first filter, and it is a math problem. A 24-megapixel sensor gives about 6000 by 4000 pixels. A 33-megapixel full-frame sensor gives roughly 7000 by 4700. A 45.7-megapixel sensor gives about 8256 by 5504. For a 24 by 36 inch print at 300 pixels per inch you need roughly 7200 by 4800 pixels, which is where the 45-megapixel bodies earn their place and 24 megapixels falls short.
For website use, the question is how much a visitor zooms. A portfolio lightbox that opens at 100% on a screen showing about 1400 pixels wide needs a file at least that wide for the first view and considerably wider for a 200% zoom. Twenty-four megapixels handles the first view comfortably, and 33 to 45 megapixels handles the zoom. This is the specific complaint raised by artists on r/AskPhotography about maintaining detail when viewing with zoom in a lightbox, and it is a resolution problem rather than a body-quality problem.
Sensor size matters less for artwork than for other genres, with one exception. A larger sensor gives you cleaner shadows and better dynamic range across a very large canvas lit by two small sources, and APS-C bodies let you focus closer to a small panel before the lens corners degrade. A full-frame body is not automatically better at photographing a flat rectangle.
Color accuracy is a workflow, not a spec. No camera in this roundup delivers accurate color by itself. What matters is RAW capture, a gray card or ColorChecker in the first frame, a fixed white balance, and a calibrated monitor. A ColorChecker adds a known color reference to the frame, which is what a print bureau needs to trust the file.
Focus stacking support is the feature that separates the bodies. The Nikon D850 and the Nikon Z 7II both shoot automated focus-shift sequences and merge them in-camera, which is the difference between a usable impasto detail shot and a soft one. On every other body you stack externally in software, which is more flexible but slower.
Tethering is the professional standard for gallery submissions, and it is what lets you check a file at 100% on a large monitor before you take the painting down. The Canon EOS R6 Mark II and the Sony Alpha 7 IV handle USB-C tethering cleanly, and both have the card slots to mirror while they do it.
Lens pairing is where most budgets go wrong. A kit zoom is a compromise made for walking around, and at the short and long ends of its range it is soft in the corners, which is fatal for a flat subject filling the frame. A short telephoto or a macro lens gives you a flatter, more even field across the artwork, and a tripod plus the 2-second timer handles the rest. Our construction progress documentation guide covers support gear choices in more depth.
Three budget tiers cover most of this market. Entry covers a 20 to 26-megapixel APS-C body with a kit lens, which handles a website lightbox and small reproductions. Mid covers a 24 to 33-megapixel full-frame body with a short telephoto, which handles large canvases and cropping. Professional covers a 45-megapixel body plus focus stacking, which handles print reproduction and archive records.
Frequently Asked Questions
What is the best camera for documenting art?
The Sony Alpha 7 IV is our pick for documenting art. Its 33-megapixel full-frame sensor gives you a full artwork file plus genuine room for a 200% detail crop, the articulating screen helps with large vertical canvases, and dual card slots let you mirror every file as an archive record. Shoot RAW at base ISO on a tripod with a gray card in the first frame.
What camera settings should I use when photographing artwork?
Use ISO 100, shoot RAW, and set aperture priority at f/8 to f/11 for a flat surface. Stop down only as far as you need to, because diffraction softens detail beyond roughly f/11. Shoot a 2-second timer or use electronic shutter release, turn off stabilization on a tripod, and include a gray card in the first frame to calibrate white balance and exposure for the session.
Do I need a macro lens for painting detail shots?
You do not need a dedicated macro lens, but you do need a lens that stays sharp across the whole flat subject. A short telephoto in the 90 to 105mm range gives you a comfortable working distance and a flatter field than a kit zoom, which softens in the corners at both ends of its range. For thick impasto, pair it with focus stacking rather than stopping down further.
Is a phone good enough to photograph my artwork?
For process shots, social media, and an early portfolio, a phone is genuinely good enough and most artists should start there. For a finished painting that will be printed, submitted to a gallery, or viewed at high zoom in a website lightbox, a dedicated camera gives you RAW capture, higher resolution, and control over white balance. The lighting matters more than the upgrade in either case.
How do I photograph a painting without distortion or glare?
Mount the camera exactly parallel to the painting and check that the top and bottom edges are the same distance from the sensor. Distortion is keystone from an angled camera, and it is far cheaper to prevent than to correct, because correcting it means cropping away the edges of your own work. For glare, rotate a polarizing filter on the lens until the varnish reflection disappears, or move your two light sources.
Which Camera Should You Buy for Painting Documentation in 2026?
If you want one answer, buy the Sony Alpha 7 IV. A 33-megapixel full-frame sensor covers a full artwork file and a real detail crop, the articulating screen handles awkward canvas sizes, and the dual card slots protect an archive record. Pair it with a short telephoto, a tripod, two diffused lights and a gray card, and it will document finished work and process films without compromise.
Choose the Canon EOS R10 if you want the best framing flexibility and the lightest handling, or if you need a complete working kit. Choose the Canon EOS RP kit if a full-frame sensor is your priority on a smaller budget and you want a stabilized short telephoto included. Choose the Nikon D850 or the Nikon Z 7II when prints are involved, because 45.7 megapixels is the difference between filling a 24 by 36 inch print at 300 pixels per inch and not quite filling it.
Whichever of these you choose, remember that the camera is the third decision, not the first. Set up even two-light illumination, keep the sensor parallel to the canvas, and capture a gray card before anything changes in the room. Get those three right and even a 20-megapixel body will out-perform a 45-megapixel body shot under a single window. The best cameras for painting documentation in 2026 are simply the ones you have set up properly.