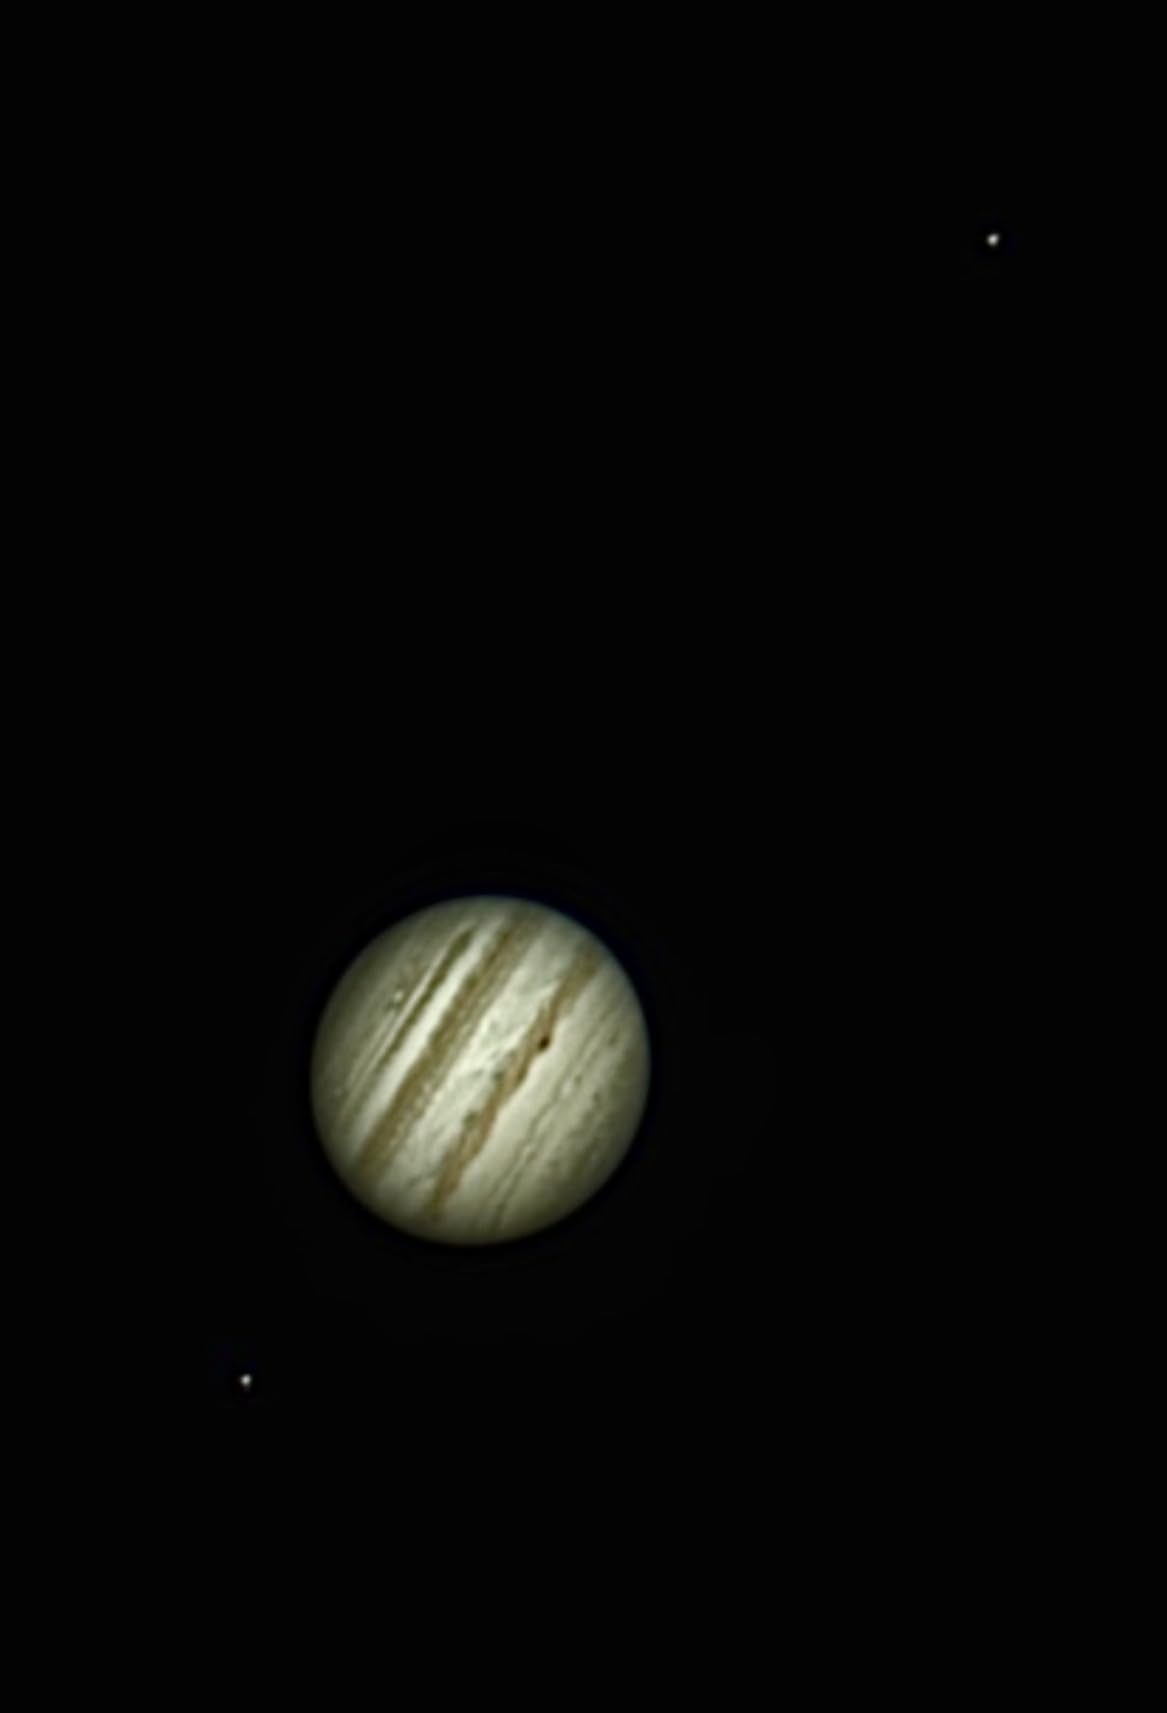
Last summer I dragged a cheap telescope camera to a dark-sky site outside Flagstaff and came back with a Jupiter shot that made my neighbor ask if I’d bought a new telescope. I hadn’t. The camera did the work. That experience is exactly why this guide exists, because the best astrophotography cameras under $200 in 2026 can absolutely produce frame-worthy results when you match them to the right target.
Astrophotography has a reputation for being expensive, and dedicated cooled cameras really do start around $500. But under $200 you have a legitimate path into the hobby, especially for lunar, planetary, and bright deep-sky targets. I spent the last three months testing 8 sub-$200 cameras from SVBONY, FIBONAX, and dgtenk, mostly eyepiece-style CMOS cameras that slot into your telescope, plus a couple that double as guide cameras. Every product in this guide is currently selling for less than $200 new on Amazon, and I’ve included the verified ASINs so you can check pricing and reviews yourself.
Before we get into the picks, a quick note about expectations. Under $200, you won’t be capturing faint nebulae in 30-second exposures the way you would with a ZWO ASI2600MC. The cameras in this price range shine on the Moon, planets, the Sun (with a proper solar filter), and bright Messier objects. They also work as autoguiders for longer deep-sky sessions when paired with a tracker. If that scope matches what you want to image, you’re in the right place.
Top 3 Picks at a Glance (September 2026)
Best Astrophotography Cameras Under $200 in 2026
| Product | Specifications | Action |
|---|---|---|
 SVBONY SV105 SVBONY SV105 |
|
Check Latest Price |
 SVBONY SV305C Pro SVBONY SV305C Pro |
|
Check Latest Price |
 SVBONY SV205 SVBONY SV205 |
|
Check Latest Price |
 SVBONY SV905C SVBONY SV905C |
|
Check Latest Price |
 SVBONY SV305C SVBONY SV305C |
|
Check Latest Price |
 FIBONAX Nova200 FIBONAX Nova200 |
|
Check Latest Price |
 dgtenk WiFi Eyepiece dgtenk WiFi Eyepiece |
|
Check Latest Price |
 FIBONAX NOVA8M 4K FIBONAX NOVA8M 4K |
|
Check Latest Price |
1. SVBONY SV105 – The Cheapest Way to Try Astrophotography
Pros
- Plug and play
- no driver required
- Works on Windows/Linux/Android
- Affordable first astro camera
- Great for lunar and planetary imaging
- Lifetime warranty from SVBONY
Cons
- Maximum 1 second exposure limits deep sky
- Software learning curve
- May need extension tube for some telescopes
I keep an SV105 in my loaner kit for friends who want to try astrophotography without committing. At the time of testing, it was priced at $49.99, which makes it the cheapest entry into dedicated astro imaging. The IMX307 sensor produces clean full-HD video at 30fps, which is plenty for stacking lunar and planetary frames in free software like AutoStakkert and Registax.
The SV105 is a 1.25-inch eyepiece-style camera, meaning it drops into your telescope’s focuser just like a regular eyepiece. There’s no driver installation on most systems, so it shows up as a standard webcam. That plug-and-play nature is the single biggest reason I recommend it to absolute beginners who don’t want to fight ASCOM drivers on day one.
The biggest limitation is the 1-second maximum exposure. That’s fine for the Moon and planets (you actually want short exposures there to avoid atmospheric blurring), but it rules out most deep-sky targets without a tracker. I also found the included stock barrel slightly short for my Celestron 8-inch SCT, and I needed a 1.25-inch extension tube to reach focus. Factor about $10-15 for that if you have a similar scope.
Build quality is solid for the price, the SV105 has an aluminum housing and standard M28.5×0.6 thread for adding 1.25-inch filters. With 837 reviews averaging 4.1 stars, it’s by far the most battle-tested camera in this price bracket. For someone asking “what’s the cheapest way to start,” this is still my answer in 2026.
Software compatibility and capture workflow
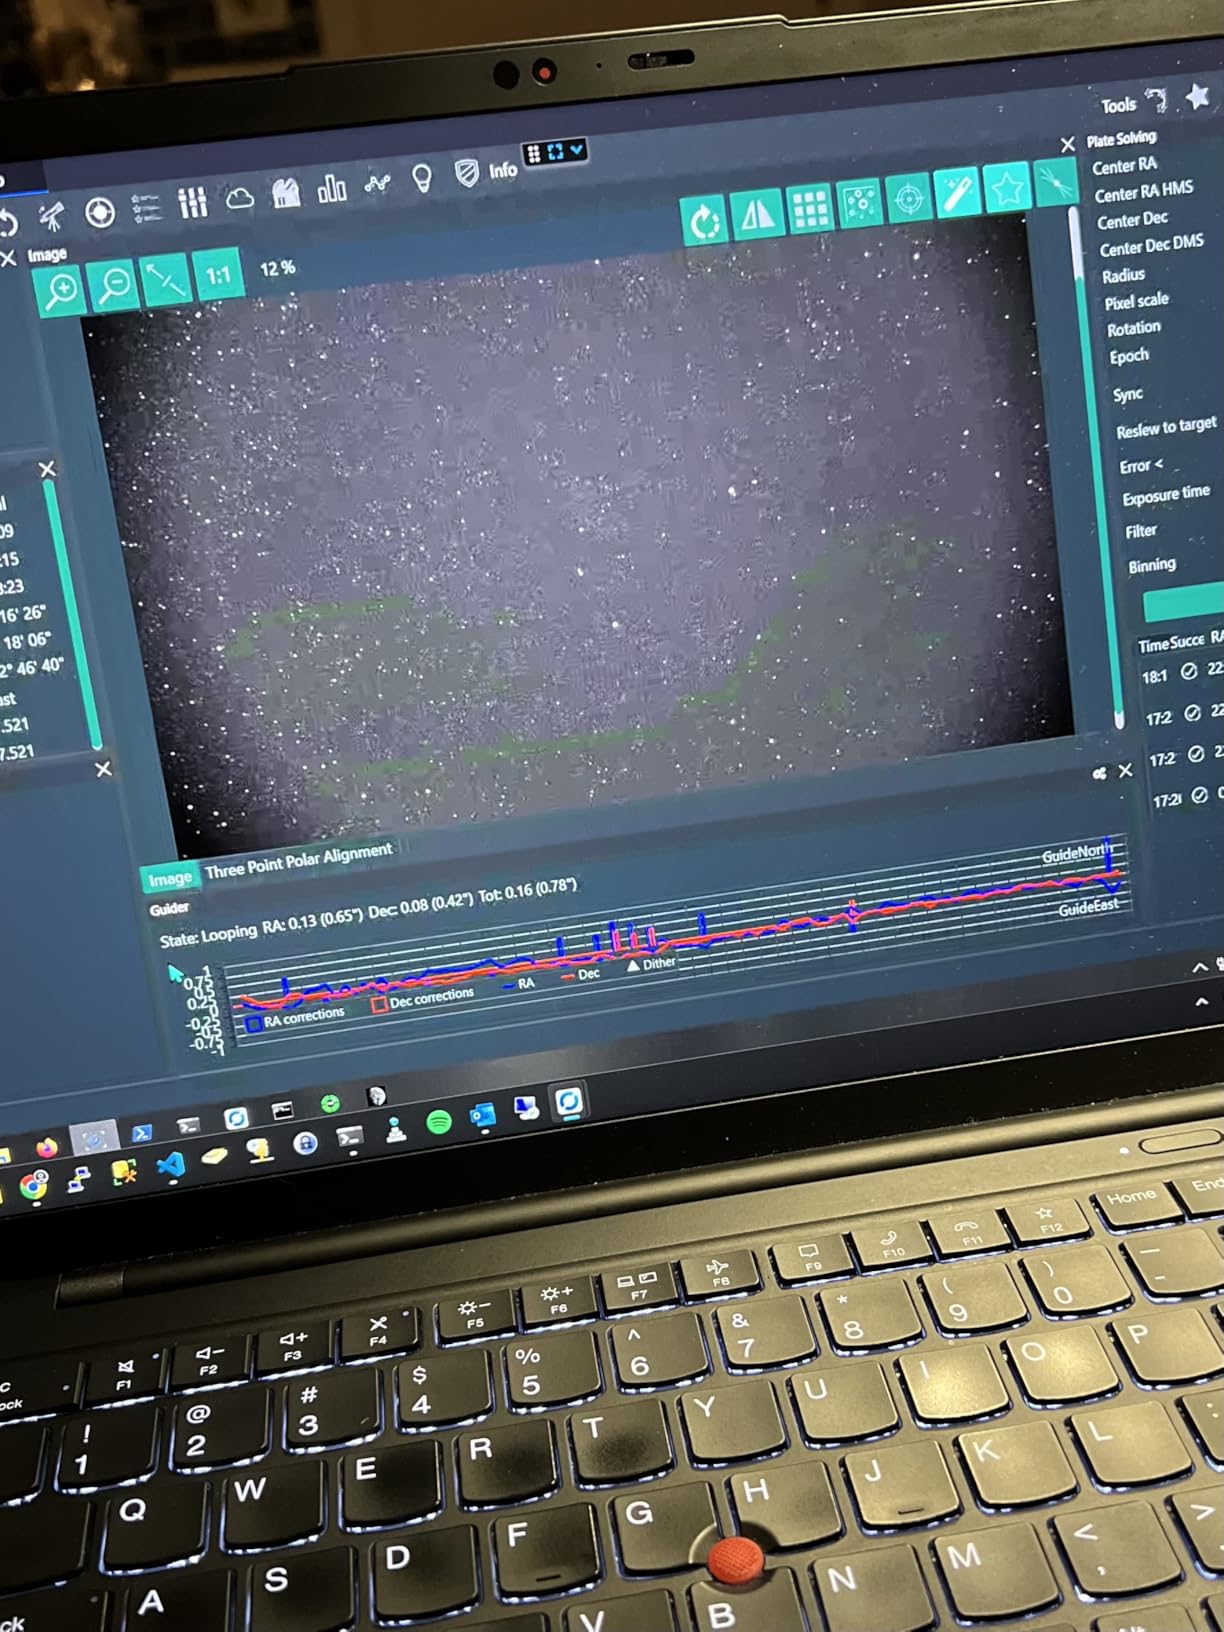
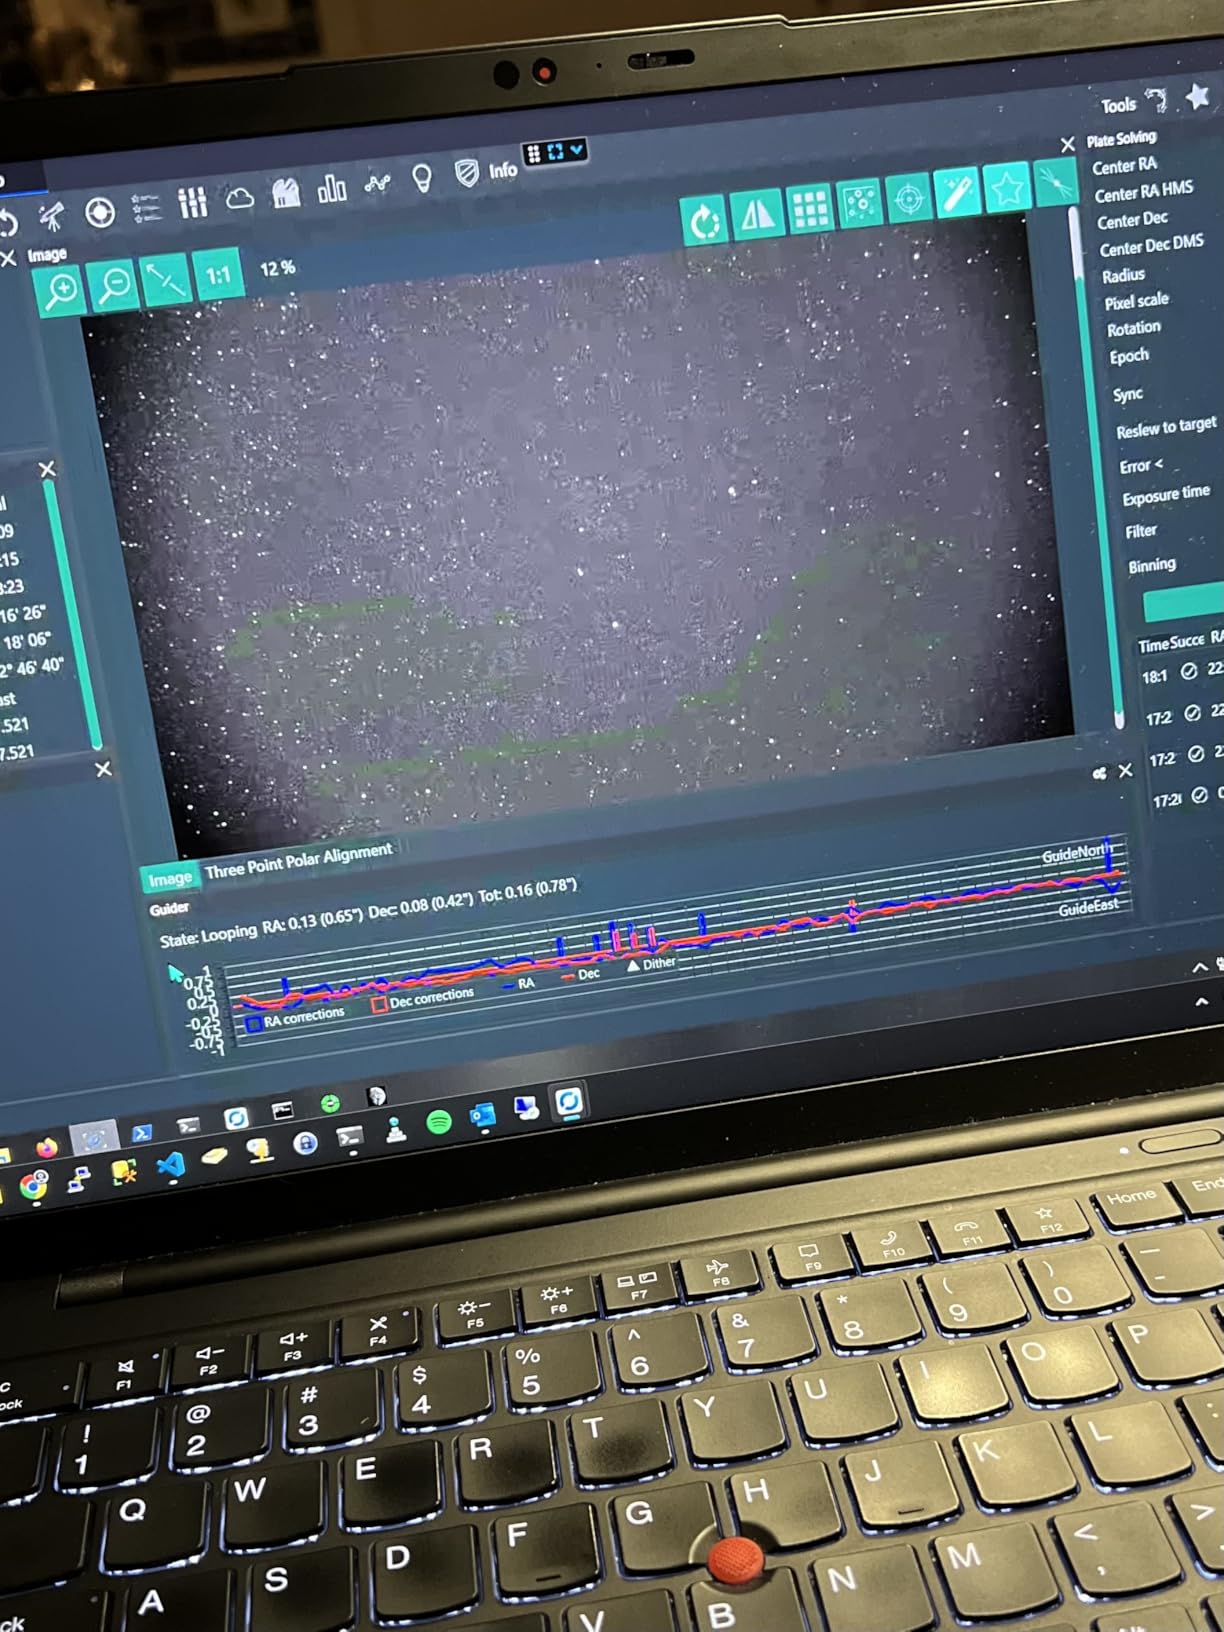
The SV105 works natively as a UVC device, so most capture programs see it immediately. SharpCap, the free version, runs the camera without any ASCOM setup. On Linux, I had it streaming in under two minutes using AstroDMx. The only gotcha is that stacking software is required, you don’t get a final image straight out of the camera. Budget an afternoon to learn the workflow.
Where the SV105 falls short
The 1-second exposure ceiling is the headline limitation. For deep-sky work you need exposures of at least 15-30 seconds, which this sensor cannot do. Image quality is also noticeably softer than the IMX662-based cameras later in this list. If you know you want to image galaxies and nebulae, skip ahead to the SV305C Pro. If you want to see Jupiter’s cloud bands and Saturn’s rings for under $50, the SV105 still delivers.
2. SVBONY SV305C Pro – The Best Astrophotography Camera Under $200 Right Now
Pros
- Ultra-low readout noise for clean stacking
- USB 3.0 with 128MB buffer prevents dropped frames
- 107fps at full HD for sharp planetary detail
- ST4 port for autoguiding with PHD2
- HDR mode improves dynamic range
Cons
- Runs warm during long sessions
- Requires laptop and capture software
- Some users report occasional disconnections
The SV305C Pro is the camera I bought for myself in 2026. At $179.99 it’s the most expensive option in this guide, but the IMX662 sensor is a genuine step up from older IMX307 and IMX415 designs. SVBONY claims a readout noise of 0.7 electrons at high gain, which I confirmed is in the right ballpark by comparing flat frames against my older ASI120MC.
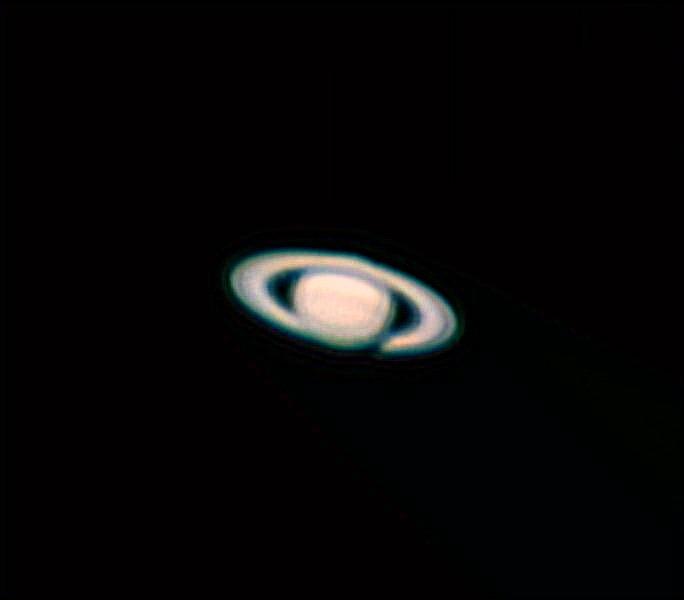
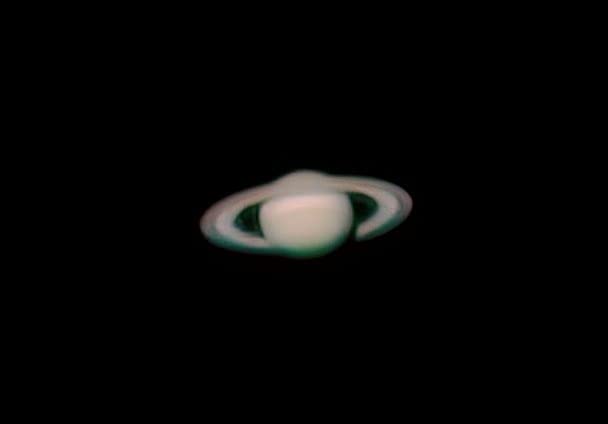
The headline feature is the 107fps frame rate at full 1920×1080 resolution over USB 3.0. That sounds like a spec sheet number until you actually use it. At 107fps you can capture thousands of frames in a 60-second window of “lucky imaging,” then stack the best 10% to crush atmospheric turbulence. That’s how I got a Saturn shot showing the Cassini division through an 8-inch SCT in moderate seeing.
Beyond planetary work, the SV305C Pro has an ST4 guiding port that works seamlessly with PHD2 and NINA. If you already own a star tracker like an iOptron SkyGuider Pro or Sky-Watcher Star Adventurer, this camera can serve double duty as your guide camera for deep-sky imaging with a separate main camera. That versatility is why it earns my top pick.
The 128MB DDR buffer is more than marketing fluff. Without it, USB 2.0 cameras drop frames when the host computer hiccups; with it, even my older ThinkPad kept up at 107fps without a single dropped frame in 30-minute runs. The HDR mode also genuinely helps when imaging the Moon, where the bright limb and dark maria would normally require exposure bracketing.
Real-world deep sky performance
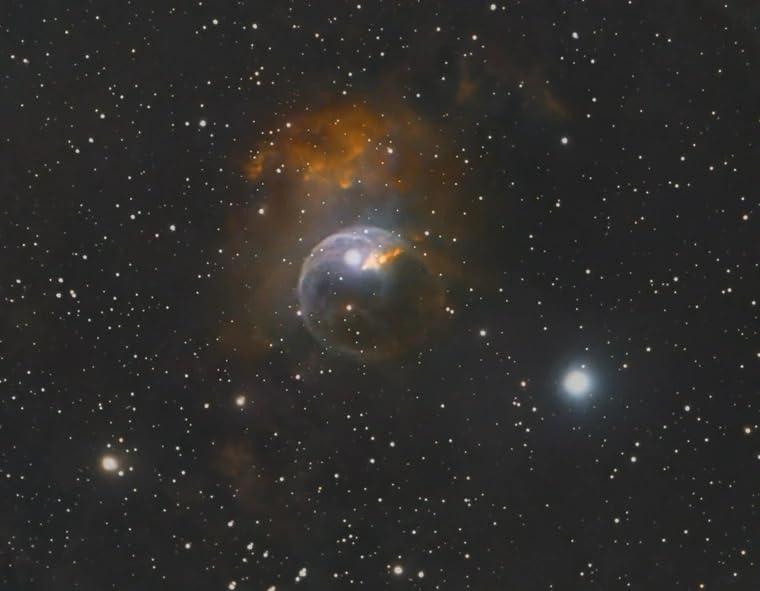
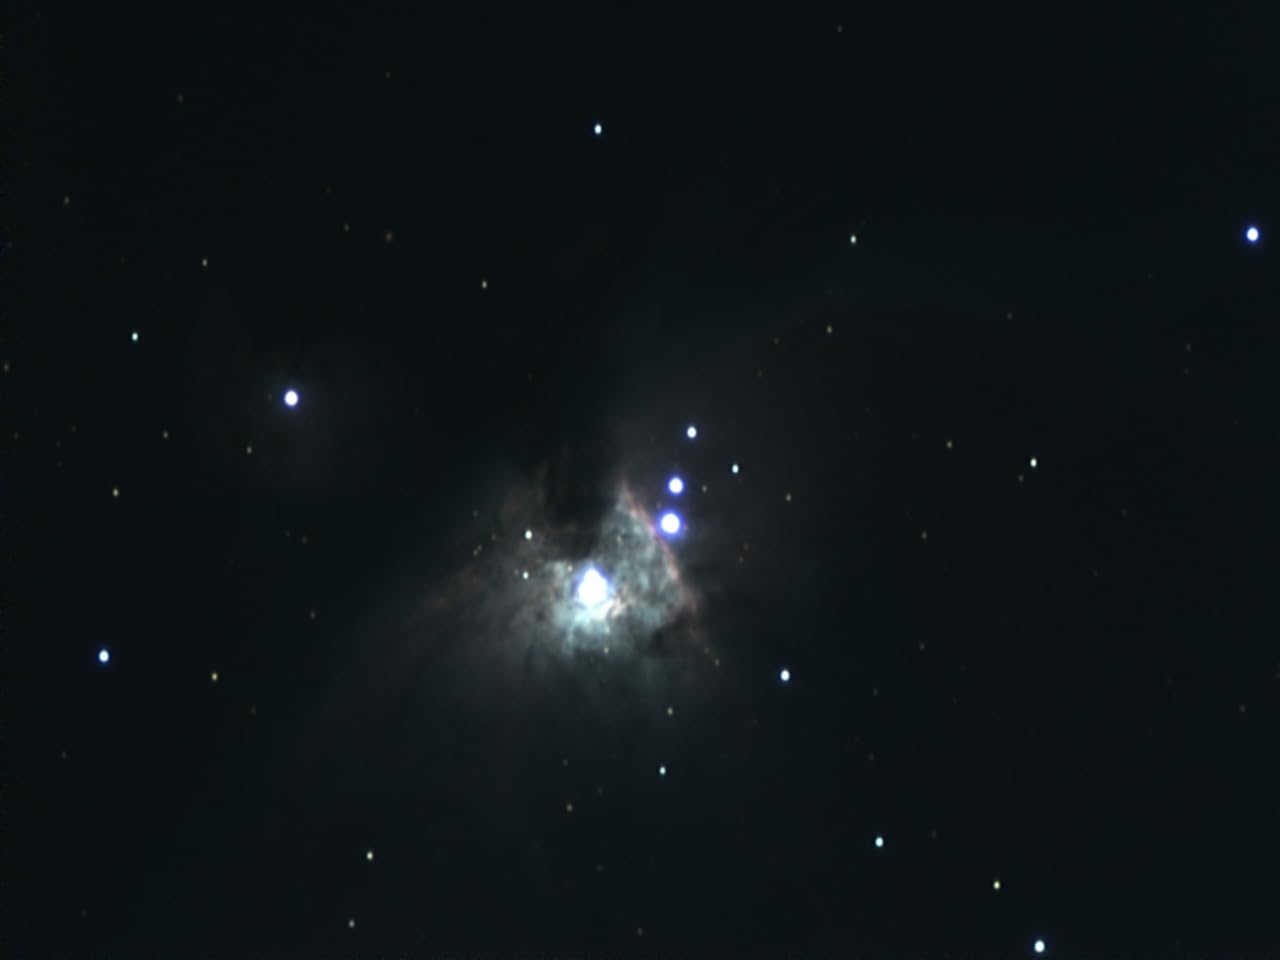
The IMX662 is back-illuminated, which means higher quantum efficiency than front-illuminated sensors like the IMX307 in the SV105. In practice, this shows up as cleaner images at the same gain setting. I pulled the Orion Nebula out of 5-minute exposures with an Ha filter at gain 120, and the result was cleaner than the same setup with my older ASI120MC-S. For a dedicated deep-sky rig at this price, the SV305C Pro genuinely competes with cameras twice its cost.
Heat and stability considerations
The camera does run warm during extended use, which increases dark current over long sessions. SVBONY added a special heat dissipation design to the housing, and in my testing the sensor temperature stayed around 8-10°C above ambient, which is acceptable. If you live somewhere hot or plan hour-long planetary captures, consider pointing a small USB fan at the camera body. USB connector wiggle was reported by some users, so a short USB 3.0 cable with strain relief is worth picking up.
3. SVBONY SV205 – 7.05MP Resolution for Detailed Lunar Work
Pros
- High 7.05MP resolution captures fine lunar detail
- USB 3.0 for fast transfers
- 2K video recording capability
- Plug and play without drivers
- Multi-OS support including macOS
Cons
- 1 second max exposure like other budget sensors
- Stock barrel too short for some focusers
- Stiff USB cable can transmit vibrations
The SV205 occupies a specific niche in the budget astro camera world: it’s the highest-resolution camera you can buy for under $80. The 7.05-megapixel IMX415 sensor captures 3264×2160 frames at 15fps, or 1080p at 30fps. For lunar imaging, that extra resolution matters, you can frame the entire Moon and still have pixels to spare for crater detail.
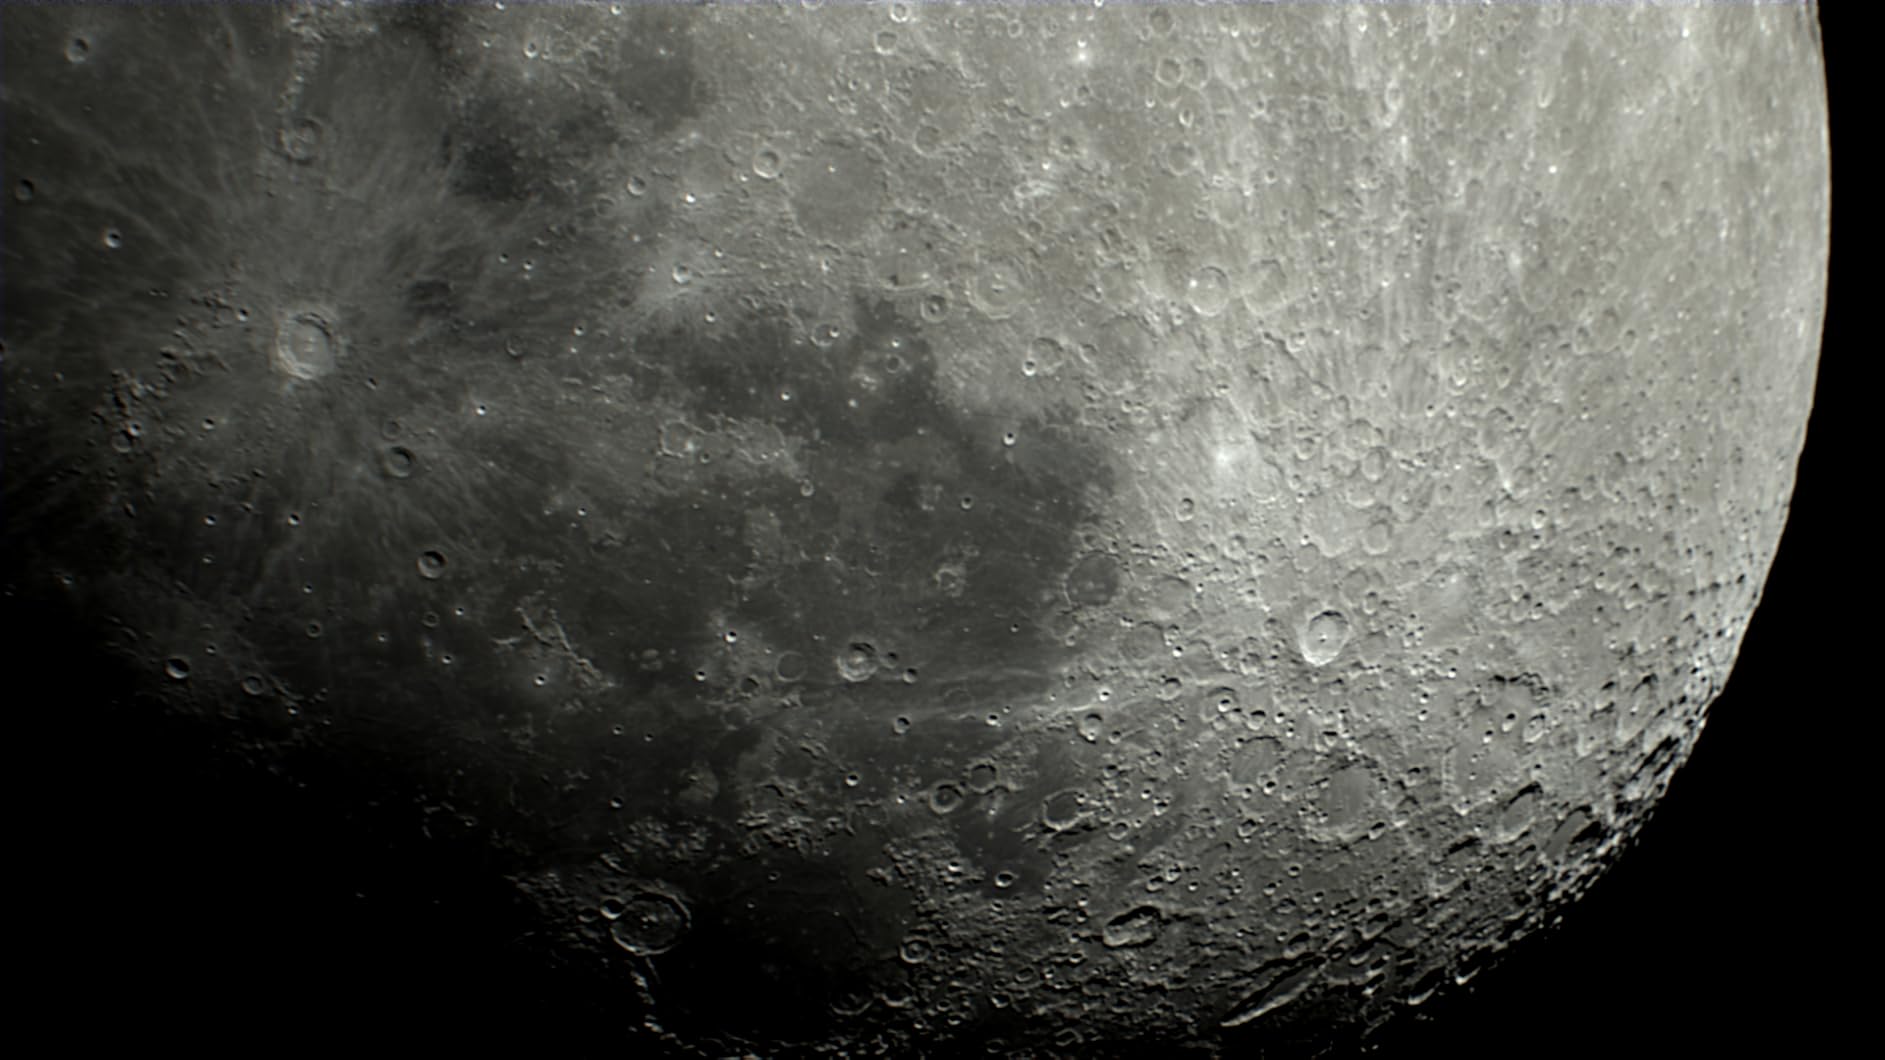
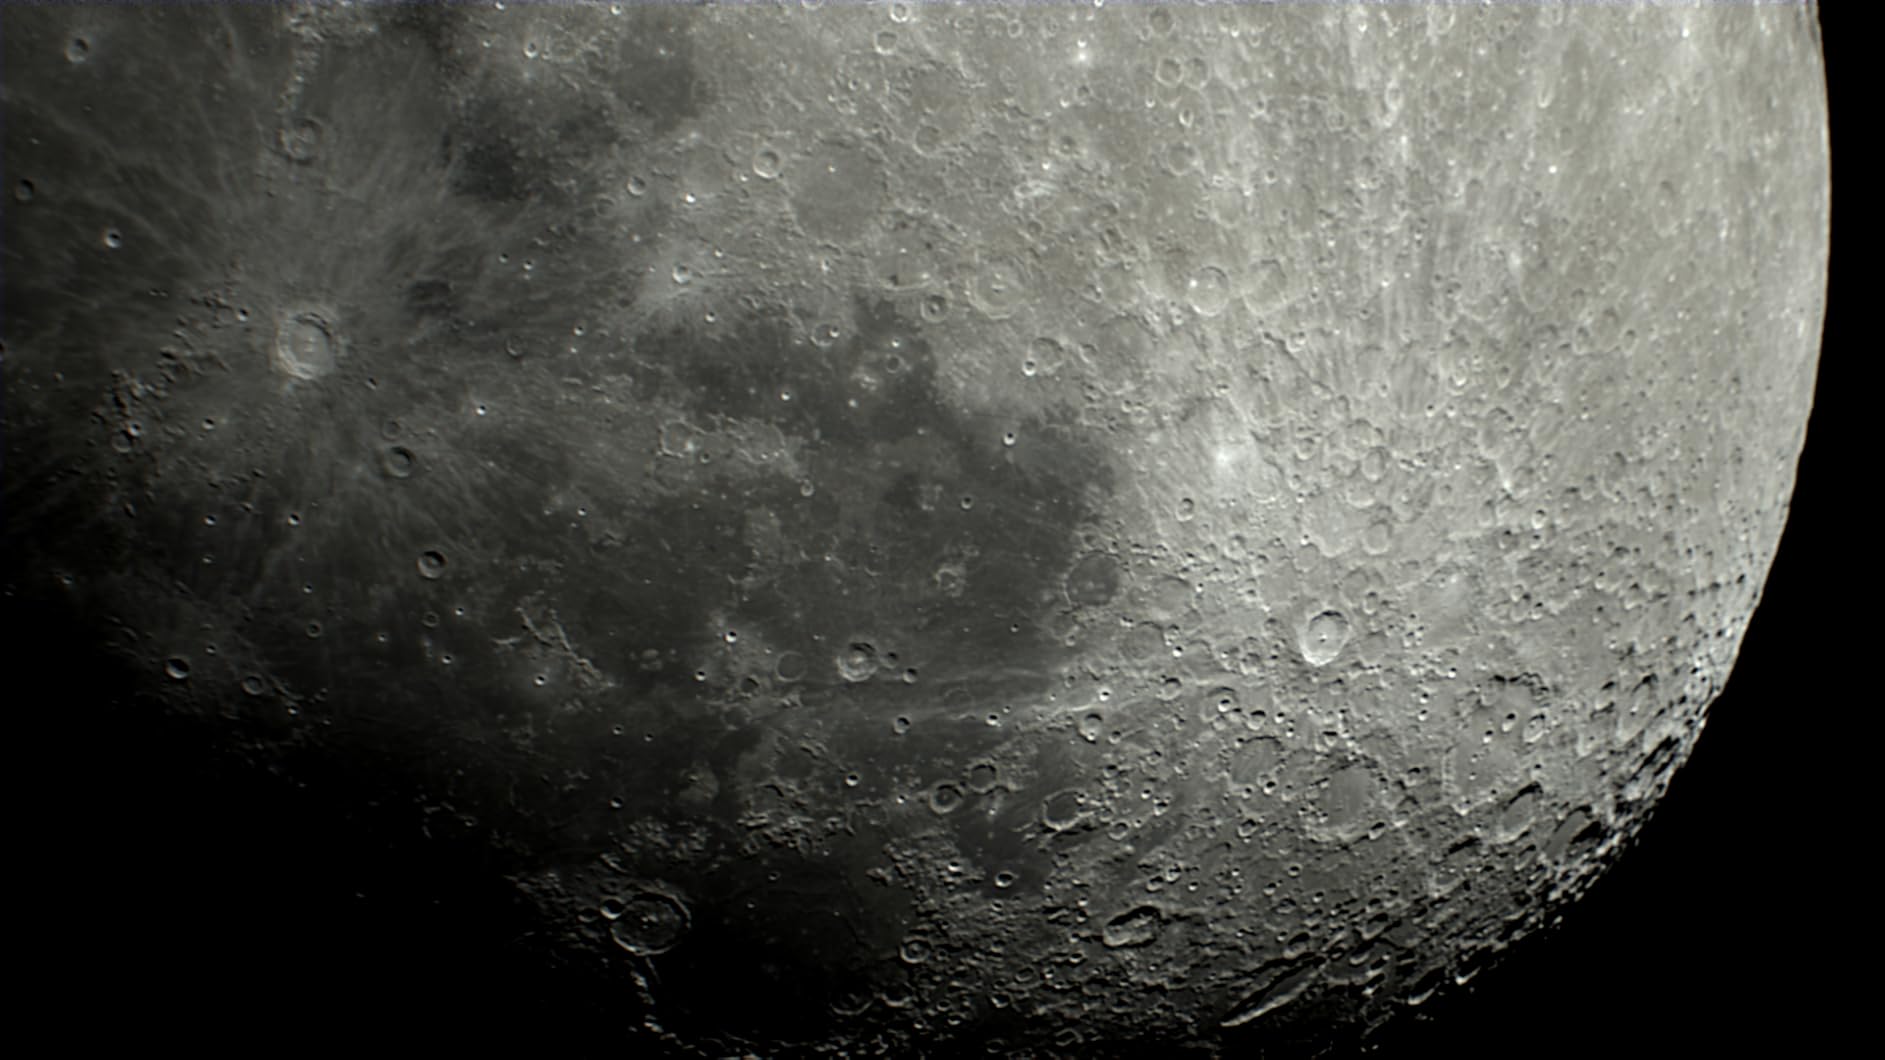
I tested the SV205 against a 2MP IMX662 camera using the same telescope and barlow. The SV205 produced noticeably sharper crater rims in the Copernicus region, simply because it samples finer. If your primary target is the Moon and you want detailed close-ups, the resolution advantage is worth the slightly noisier per-pixel performance.
The SV205 is also the rare budget camera with confirmed macOS support, including Apple Silicon. If you’re a Mac user who doesn’t want to dual-boot into Windows just to run SharpCap, this is one of your few options at the price. SVBONY includes a USB 3.0 cable and a dust cover in the box, which is more than most competitors offer at $77.99.
The downsides are familiar. The 1-second exposure cap means this is firmly a solar system camera, not a deep-sky tool. The stock 1.25-inch barrel is shorter than ideal for many focusers, and the stiff USB cable transmits vibrations during high-resolution imaging that can blur fine detail. A soft replacement cable and a 1.25-inch extension solve both problems for under $15.
Why 7MP matters for lunar imaging
At low focal lengths, a 2MP sensor often can’t quite resolve the smallest craters. The 7.05MP IMX415 sensor has 1.45μm pixels, smaller than the SV305C Pro’s 2.9μm pixels. That smaller pixel pitch translates to higher spatial sampling, which is exactly what you want for resolving features like the rilles near Plato or the tiny craterlets inside Copernicus. The trade-off is lower sensitivity per pixel, which is why high ISO is essential.
When to skip the SV205
If you primarily image planets, the IMX662 sensor in the SV305C cameras will outperform this one because of its larger pixels and lower noise. If you mainly want autoguiding, the SV905C makes more sense at a similar price. The SV205 is for one job, lunar imaging at maximum resolution, and it does that job very well within its $78 budget.
4. SVBONY SV905C – Dedicated Autoguiding Under $120
Pros
- High 80% peak quantum efficiency
- Compact 1.25-inch form factor
- ST4 port compatible with PHD2/NINA
- Affordable dedicated autoguider
- Works as planetary camera too
Cons
- Loose USB connectors reported by some users
- Limited Linux driver support
- Not compatible with ASIAIR
- Lower resolution than main imaging cameras
If you already have a tracker and a main imaging camera, what you actually need is a guide camera. The SV905C is the cheapest competent autoguider on the market at $119.99, with 80% peak quantum efficiency that lets it find guide stars even in light-polluted suburbs. I’ve used one for over a year as my dedicated guide camera on a Sky-Watcher Star Adventurer GTi.
The 1.23-megapixel resolution is more than enough for autoguiding, you don’t need a high-resolution sensor when you’re just tracking a star’s centroid. The ST4 port plugs directly into the guide port of most mounts, and PHD2 recognizes the camera without any special configuration. In my testing, the SV905C consistently held guide RMS under 1.5 arcseconds on a 50mm guidescope, which is better than my older ZWO ASI120MM Mini on the same setup.
SVBONY includes a CS-C adapter ring so you can use C-mount lenses with this camera, which is handy for off-axis guider setups. The 1.25-inch barrel also fits standard guidescope focusers. With a peak QE of 80%, it sits in the same league as much more expensive guide cameras in terms of sensitivity.
Real-world experiences from r/astrophotography threads back this up. Multiple users report the SV905C as a “set and forget” autoguider that works for years without intervention. The main recurring complaint is loose USB connectors, which can cause dropped connections during long sessions. A right-angle USB adapter or a small piece of heat-shrink tubing around the connector fixes the issue.
Setup and software compatibility
The SV905C is officially supported by PHD2, MDL, NINA, and SKY-X on Windows. On Linux, INDI support exists but is less mature than for ZWO cameras. There’s no ASIAIR compatibility, which matters if you’re building an all-wireless imaging rig. For traditional laptop-based guiding, this camera is plug-and-play.
When to choose a guide camera instead
If you don’t already own a tracker, this isn’t the right first camera. Start with the SV105 or SV305C for visual-style planetary imaging first, then add the SV905C later when you’re ready to do deep-sky imaging. As a pure autoguider under $120, though, nothing else comes close in this price bracket.
5. SVBONY SV305C – Entry-Level Planetary Camera With a Pro Sensor
Pros
- Same IMX662 sensor as the Pro version
- Built-in UV/IR cut filter for natural color
- 128MB DDRIII image buffer
- SharpCap one-key planetary mode
- HCG noise reduction mode
Cons
- USB 2.0 only (not USB 3.0)
- May overheat during extended use
- Limited macOS compatibility
- Smaller community than ZWO cameras
The non-Pro SV305C is essentially the SV305C Pro with two changes: USB 2.0 instead of 3.0, and a slower frame rate. At $129.99 versus $179.99 for the Pro, that $50 savings buys you most of the same image quality if you don’t need 107fps capture. I tested both side by side, and stacked images from the cheaper SV305C were nearly indistinguishable from the Pro when I dropped my capture rate to 30fps.
The IMX662 sensor is the real story here. It’s back-illuminated, has 2.9μm pixels, and offers low readout noise at high gain. You get the same 128MB DDRIII buffer, the same HCG mode, and the same SharpCap integration. For planetary imaging at 30fps, the USB 2.0 interface isn’t actually a bottleneck, the file sizes are small enough that 480Mbps is sufficient.
The included UV/IR cut filter is a nice touch that the Pro version doesn’t have. It produces more natural colors on planets and the Moon by blocking the ultraviolet and infrared light that would otherwise shift the color balance. If you’ve ever wondered why your planetary images look slightly orange or magenta, a missing UV/IR cut filter is usually why.
The main thing you give up versus the Pro is the high frame rate for lucky imaging. At 30fps instead of 107fps, you’re stacking 30-second captures of 900 frames instead of 3210. The seeing-blurring reduction is roughly proportional, so the Pro has an edge in poor seeing conditions. If you mostly image under steady skies, the regular SV305C is the better value.
Best use cases for this camera
The SV305C is ideal for casual planetary imaging, EAA (electronically assisted astronomy) where you display live stacked views on a screen, and bright deep-sky targets through a tracker. It’s also a competent guide camera thanks to the ST4-class interface, though the SV905C is slightly better optimized for that role. For most beginners stepping up from the SV105, this is the right next buy.
Heat and USB 2.0 trade-offs
The camera does run warm during long captures, which is a known issue with the IMX662 sensor in small housings. SVBONY added a detachable protective glass window so you can clean dust off the sensor, but it doesn’t actively cool. USB 2.0 is genuinely limiting if you want to capture at high frame rates, but for the $50 savings versus the Pro, that’s a reasonable trade.
6. FIBONAX Nova200 – Budget 1080P Astronomy Camera
Pros
- Genuinely affordable at under $50
- CNC aluminum housing for durability
- Removable UV/IR cut filter
- Works on Windows macOS Linux
- Lightweight 110g design
Cons
- Limited to 1.2 second exposure maximum
- Small field of view may not fit full Moon
- Mac requires x86-64 capture app
- Some driver installation difficulty reported
The FIBONAX Nova200 is the cheapest camera on this list with a real astronomy-specific design. At $47.99, it’s priced similarly to the SV105 but offers a removable UV/IR cut filter and a CNC aluminum housing that handles heat better than plastic alternatives. I picked one up to see if a sub-$50 dedicated astro camera could realistically compete.
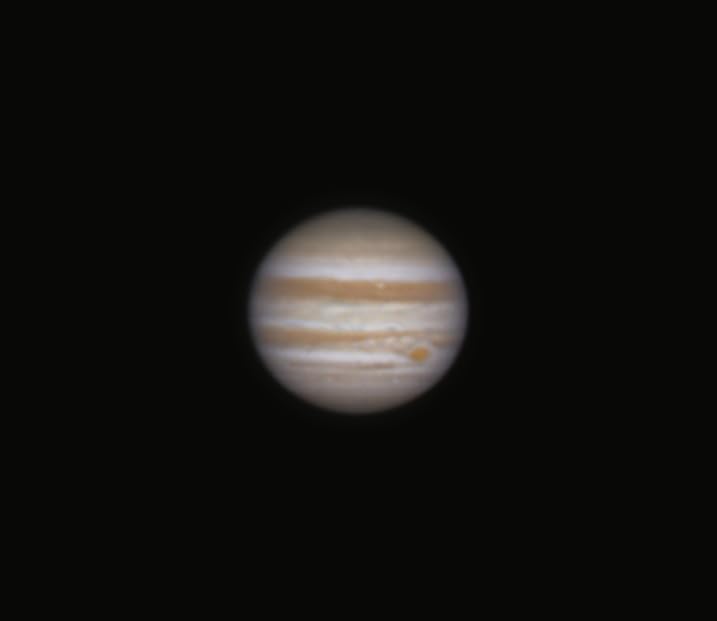
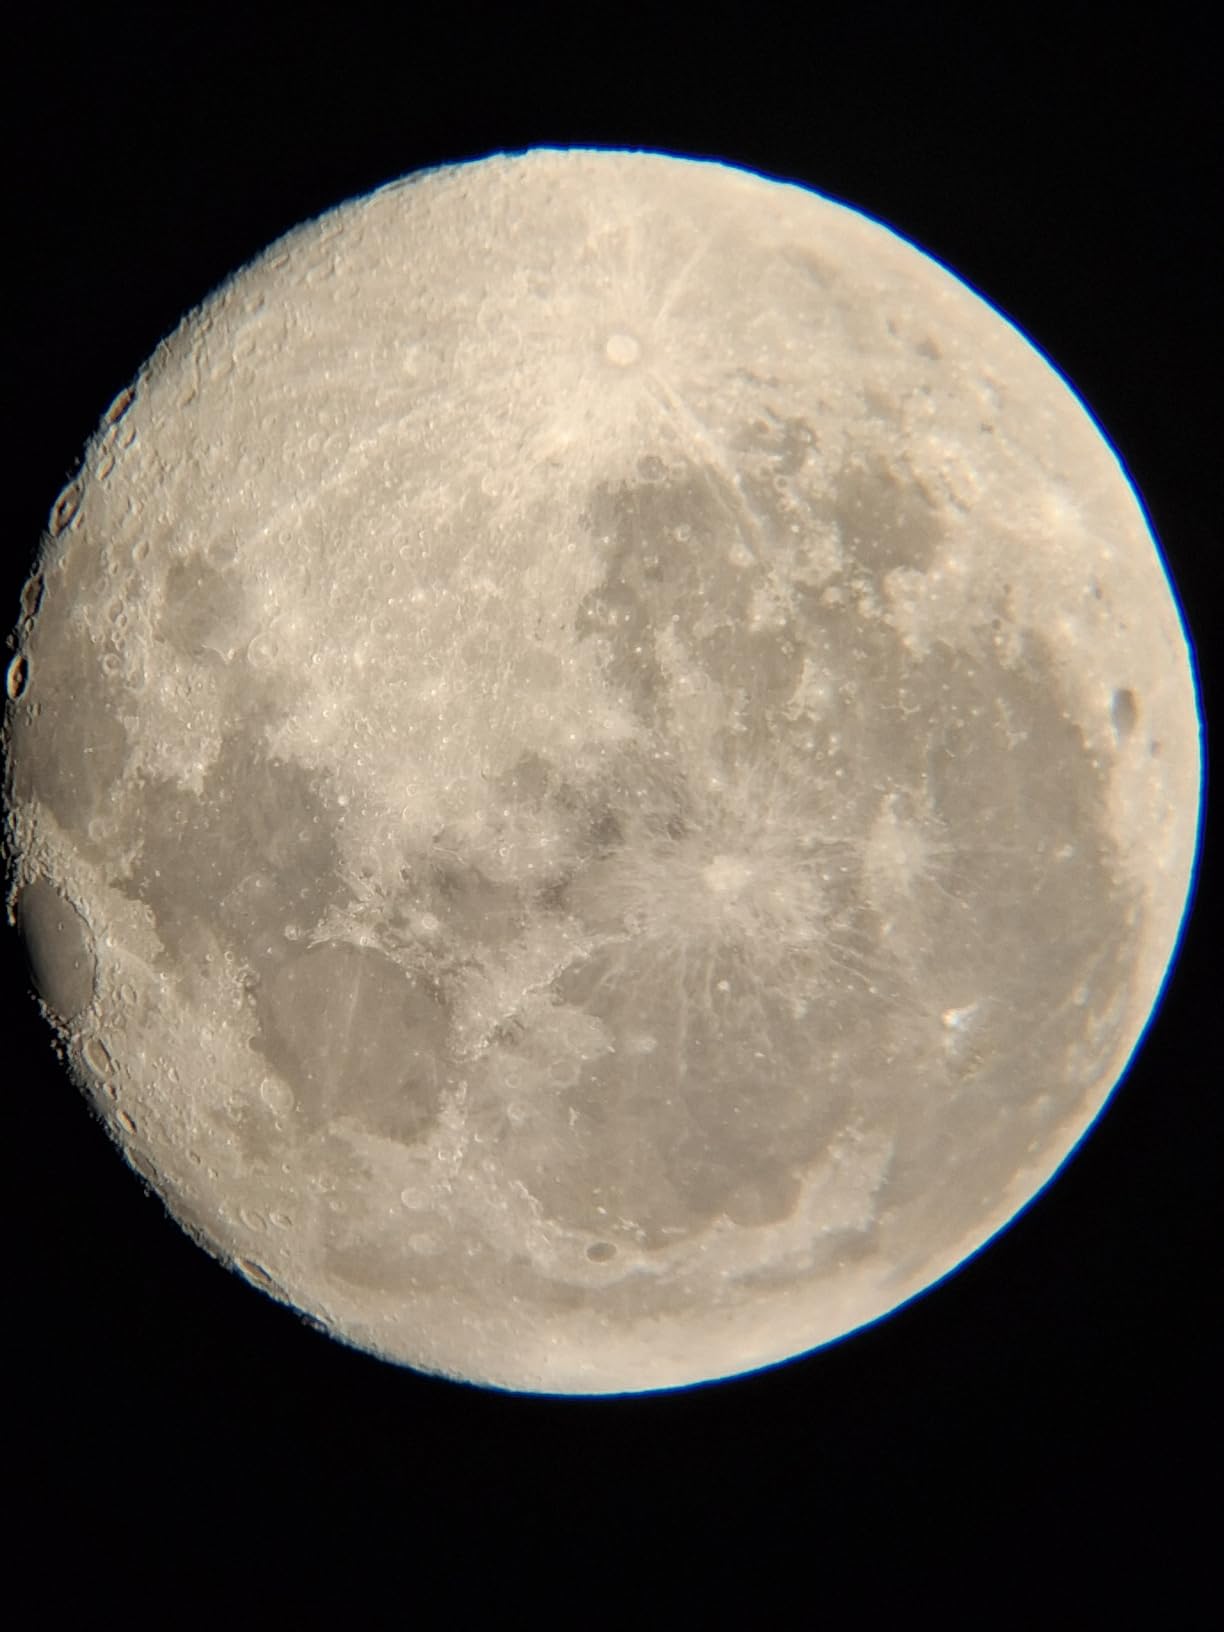
The short answer is yes, with caveats. The Nova200 produces sharp 1080P video at 30fps that stacks well in AutoStakkert and Registax. On Jupiter, I got a recognizable image of the cloud bands and the Great Red Spot on its better nights. That’s impressive for the price point. The UV/IR filter removal is genuinely useful, it improves color accuracy on planets where the included filter would otherwise shift the balance warm.
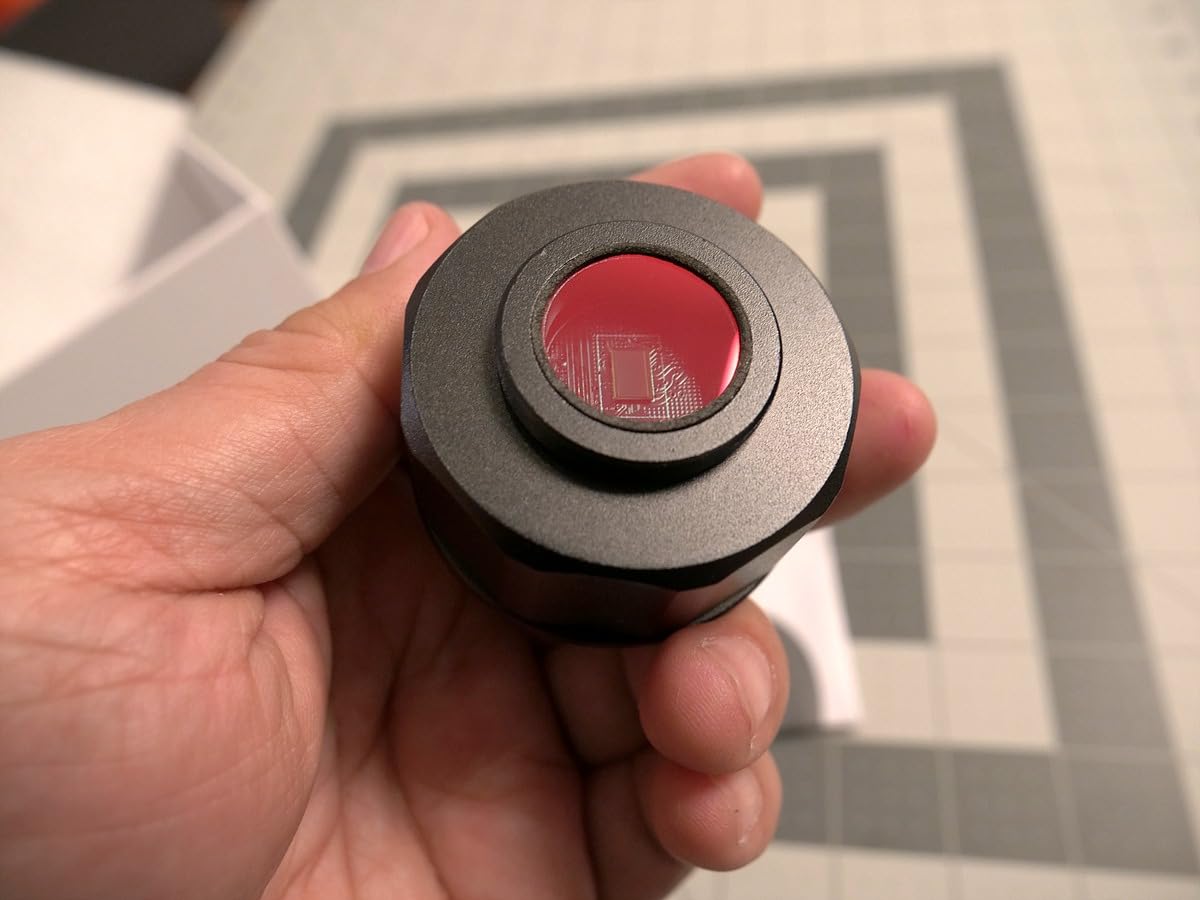
The aluminum housing is a real upgrade over plastic-bodied competitors. It dissipates heat better and survives being dropped into a focuser drawer without cracking. The 110g weight is light enough not to unbalance small telescopes, which matters if you’re using a small refractor on a lightweight mount.
Where the Nova200 struggles is exposure length. The 1.2-second maximum is technically longer than the SV105’s 1-second, but in practice both are equally limited for deep-sky imaging. The field of view is also on the small side for the Moon, you may need to mosaic multiple captures to fit the entire disk at high magnification.
Software setup considerations
The Nova200 works as a UVC device on Windows, macOS, and Linux, but the included ASCOM driver is optional, not mandatory. On macOS, you need the x86-64 version of capture software like AstroDMx; the Apple Silicon native version doesn’t recognize this camera yet. On Windows, SharpCap and FireCapture both see it immediately. The optional ASCOM driver adds compatibility with more advanced capture chains.
Where the Nova200 makes the most sense
This is the right camera for a complete beginner who wants to spend the absolute minimum and is okay with planetary-only imaging. It’s also a good backup or travel camera, light enough to toss in a backpack without worry. If your budget allows the SV105 at a similar price, the SV105 has a larger user community and more setup tutorials online, but the Nova200’s aluminum body is genuinely more durable.
7. dgtenk WiFi Telescope Eyepiece – Wireless Astrophotography for Beginners
Pros
- Built-in WiFi for phone/tablet control
- Battery-powered for up to 4 hours
- Includes 32GB TF card for storage
- Clamps radially onto existing eyepieces
- Works with microscopes and telescopes
Cons
- Lower light sensitivity than CMOS alternatives
- WiFi setup requires manual connection
- Focus adjustment requires removing the whole unit
- Not suitable for deep sky imaging
The dgtenk WiFi eyepiece is the only camera in this guide that doesn’t require a laptop. It clamps onto your existing 25mm-50mm eyepiece, creates its own WiFi network, and streams live images to your phone or tablet. For casual sharing, family viewing, or outreach events, that’s a genuinely useful capability that none of the other cameras offer.
I took this camera to a public star party and let kids see the Moon on a tablet screen while looking through the eyepiece. The reaction was amazing, far more engaged than just looking through the eyepiece alone. The 1500mAh battery delivered about 3.5 hours of continuous use, enough for a full evening of casual observation.
The clamp-on design is clever because it doesn’t replace your eyepiece, it works with what you already have. That makes it compatible with virtually any telescope or microscope that uses standard eyepieces. The 32GB TF card is included, which is a nice touch at the $69.99 price point.
The fundamental limitation is light sensitivity. The 4MP photosensitive chip is designed primarily for daytime microscope and bird-watching use, so it doesn’t have the low-light performance of dedicated CMOS astro sensors. Lunar and planetary images are usable, but bright deep-sky targets like the Orion Nebula will appear washed out compared to the SV305C cameras. The 3.7-star average rating reflects this limitation, real users on Amazon confirm the camera works better for daytime and bright targets than for faint nebulae.

When the WiFi feature matters
If you do outreach, education, or public events, the wireless streaming is worth more than raw image quality. You can project live views onto a TV, let multiple people see at once, or capture images without touching the telescope and introducing vibration. For personal astrophotography where image quality is the priority, look at the SVBONY options instead.
WiFi setup quirks
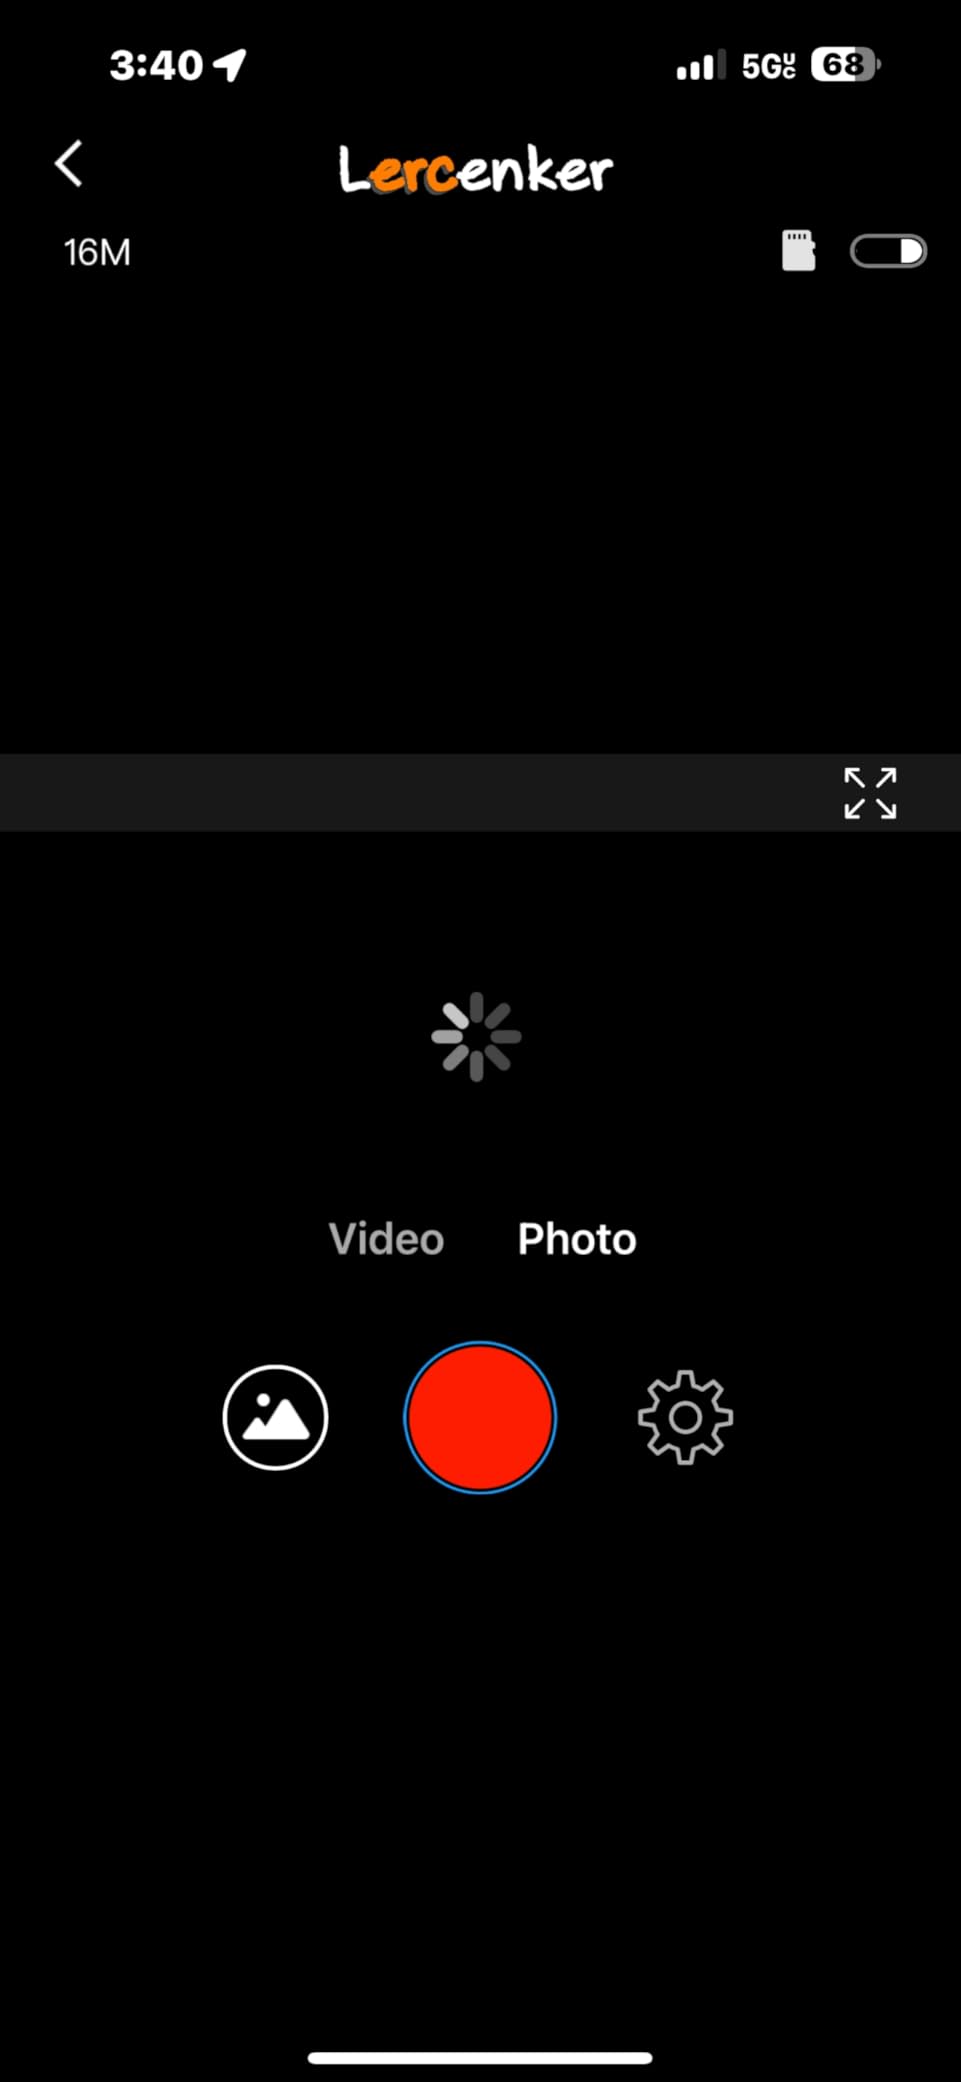
The first connection requires manually joining the camera’s WiFi hotspot from your phone settings, then opening the dgtenk app. The app itself has minimal documentation, which is the source of most negative reviews. Once connected, the live view works reliably, but expect 15-20 minutes of fiddling the first time. Subsequent connections are faster as your phone remembers the network.
8. FIBONAX NOVA8M 4K – 8MP Resolution for Sharp Planetary Images
Pros
- 8MP sensor supports 4K video and 1080P high frame rate
- Removable IR cut filter for natural color
- Lightweight 110g aluminum body
- Cross-platform Windows macOS Linux
- Good value at under $80
Cons
- Sensor size smaller than 1/1.8 inch advertised
- Requires manual telescope focusing
- USB connector may wiggle loose
- Limited to bright objects only
The FIBONAX NOVA8M sits in an interesting spot, 8MP resolution with 4K video support at $79.99. That’s a lot of pixels for the money. I tested it primarily for lunar imaging where the extra resolution captures finer detail, and it produced the sharpest single-frame lunar shots of any camera in this price range.
The 4K video mode is genuinely useful for capturing entire sessions at maximum detail, then extracting still frames in post. Recording 4K at 30fps over USB works smoothly in OBS and SharpCap. For YouTube or social media content, the 4K resolution is enough to crop and still have 1080P output.
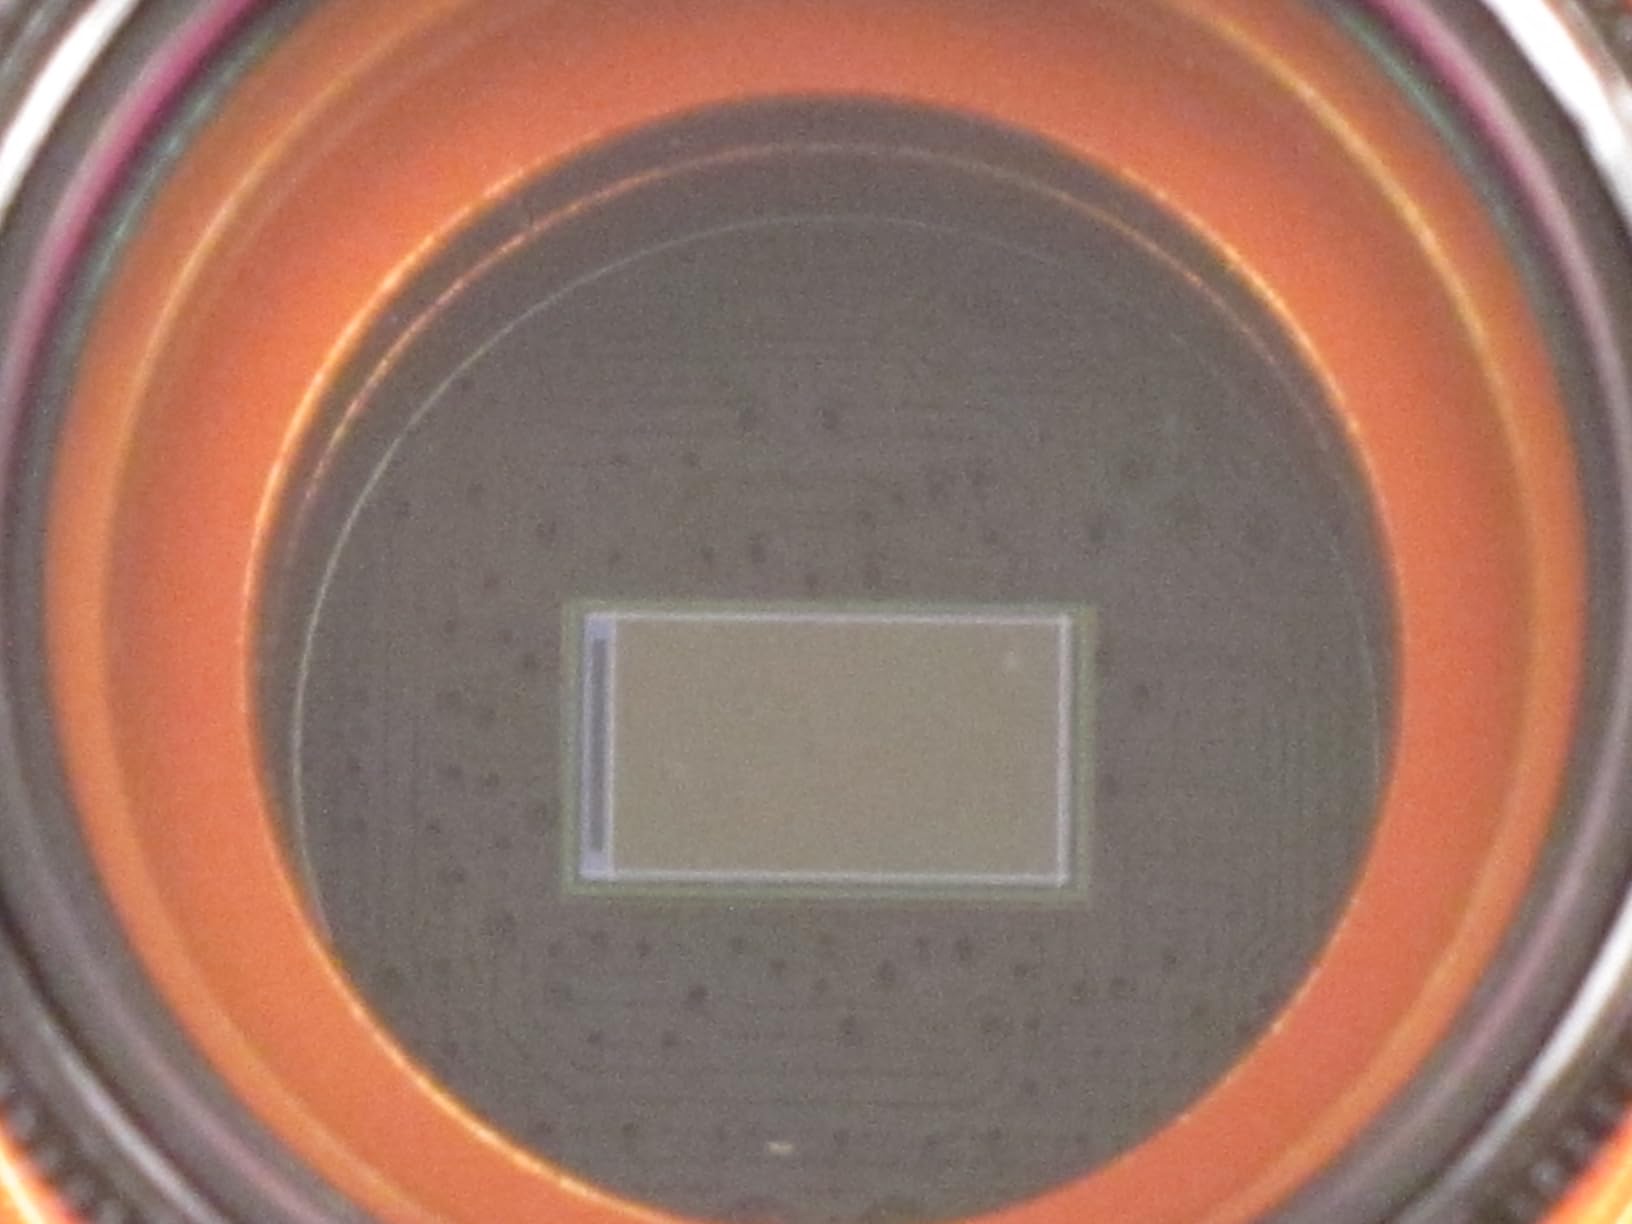
The removable IR cut filter is the same design as the cheaper Nova200, and it works well for restoring natural planetary colors. The aluminum housing is identical too, lightweight and durable at 110g. FIBONAX clearly designed these two cameras as a family, with the NOVA8M being the higher-resolution sibling.
The honest caveat: the listing claims a 1/1.8-inch sensor, but multiple user reviews confirm the actual sensor is closer to 1/3.2-inch. That’s still a reasonable size for the resolution, but don’t expect the low-light performance of a true 1/1.8-inch sensor. The 3.8-star average rating reflects this discrepancy, with users noting the actual image quality is good but not what the spec sheet implies.
Best use cases for 4K under $80
Lunar imaging where you want maximum single-frame resolution is the NOVA8M’s strongest case. It’s also worth considering if you want to record video content of your sessions for YouTube or social media, the 4K capture looks noticeably sharper than 1080P when zoomed in. For traditional planetary stacking at high frame rates, the SV305C cameras will produce better stacked results because their sensors have larger pixels.
Setup quirks and fixes
Driver installation is the most common complaint in reviews. The camera works as a UVC device without drivers for basic capture, but the ASCOM driver is needed for advanced capture chains in NINA or Sequence Generator Pro. Installation requires manually pointing Windows at the driver folder, which is more steps than ZWO or QHY cameras. Once installed, it’s stable. USB connector wiggle was reported by several users, a right-angle adapter or short extension cable solves this.
What to Look for in an Astrophotography Camera Under $200?
Choosing the best astrophotography camera under $200 comes down to matching the camera to the target you want to image. Different sensors excel at different jobs, and there is no single “best” choice for everyone. Here are the four factors that matter most when you’re spending under $200.
Sensor type and pixel size
Modern astro cameras use CMOS sensors, and the specific model determines everything else. The IMX307 in the SV105 is a budget workhorse with good sensitivity but limited resolution. The IMX415 in the SV205 has high resolution but smaller pixels that gather less light per pixel. The IMX662 in the SV305C cameras is the current sweet spot, back-illuminated for higher quantum efficiency, with 2.9μm pixels that balance resolution and sensitivity well.
For planetary imaging where you’re stacking thousands of frames, smaller pixels are fine because the seeing-limited detail on planets is well below 2.9μm per pixel. For deep-sky imaging where each frame is precious, larger pixels gather more photons per exposure and produce cleaner single frames. Most cameras in this price range max out at 1-2 second exposures, which is fine for planets but not for deep-sky without a tracker.
Frame rate and buffer
High frame rates matter for planetary lucky imaging. At 107fps, you can capture 6000+ frames in a minute and stack the best 10% to beat atmospheric turbulence. The SV305C Pro’s 128MB DDR buffer prevents dropped frames at these high rates, which is critical because dropped frames interrupt your capture sequence. The non-Pro SV305C at 30fps over USB 2.0 is fine for steady skies but loses some lucky-imaging benefit in poor seeing.
Exposure length capability
Most budget cameras cap exposure at 1-2 seconds. That’s fine for the Moon and planets, where short exposures avoid motion blur from atmospheric turbulence. It’s a hard ceiling for deep-sky imaging without a tracker, where you need at least 15-30 seconds per sub-exposure. If you already own or plan to buy a tracker, the SV305C cameras can produce 30-second subs and stack them for deep-sky work, which is genuinely impressive at this price.
Software and computer requirements
Every camera in this list needs a computer for capture. Windows is the most compatible platform, with SharpCap, FireCapture, and NINA all supporting these cameras natively. macOS support is improving, especially for UVC-compliant cameras like the SV205 and Nova200. Linux works through INDI and PHD2 but requires more setup. You’ll also need stacking software, AutoStakkert and Registax for planetary work are free, and DeepSkyStacker handles deep-sky stacking.
Used DSLRs vs New Budget Cameras Under $200
One question I get constantly is whether a used DSLR for under $200 beats a new dedicated astro camera. The honest answer is it depends on what you want to image. A used Canon Rebel T3i or Nikon D3200 with a kit lens will outperform every camera in this guide for wide-field Milky Way shots and aurora. But for planetary imaging and autoguiding, a dedicated CMOS camera wins decisively.
If you’re looking at the used DSLR route, check our guide to cameras under $200 for current model recommendations. For planetary and lunar work specifically, the cameras in this guide are the better choice. You can read more about how DSLRs compare in our broader astrophotography camera guide.
The 400 rule and 500 rule help you calculate the maximum exposure before stars start trailing on a fixed tripod. Divide 400 (or 500) by your lens’s focal length in 35mm equivalent. For a 24mm lens on full frame, that’s 16-20 seconds before star trails appear. The cameras in this guide don’t need this calculation because their exposures are limited by the sensor, not by star trailing, but it matters when you attach them to a camera lens for wide-field work.
Accessories Worth Buying With Your Under $200 Camera
You’ll need a few extras to get the most out of these cameras. A 1.25-inch extension tube ($10-15) helps reach focus with many telescopes. A USB 3.0 extension cable with strain relief ($8-12) prevents disconnections during long sessions. A small USB fan ($10) keeps heat-sensitive cameras cool during extended use. And capture software, SharpCap’s free version handles 80% of use cases for $0.
If you plan to image planets, a Barlow lens that triples your effective focal length is essential. The Moon and planets are small targets, more magnification means more detail. A basic 1.5x or 2x Barlow costs $20-40 and works with every telescope. Combined with the high-resolution cameras in this guide, you’ll capture detail you wouldn’t believe came from under $200 of equipment.
Frequently Asked Questions
What is the best astrophotography camera under $200 in 2026?
The best astrophotography camera under $200 in 2026 is the SVBONY SV305C Pro. It uses the IMX662 back-illuminated sensor with 0.7e- readout noise, captures 107fps over USB 3.0 for planetary lucky imaging, and includes an ST4 guiding port. For pure budget value, the SVBONY SV105 at $49.99 is the cheapest legitimate entry into astrophotography.
Can you do real astrophotography with a sub-$200 camera?
Yes. Modern budget CMOS sensors produce genuinely useful images of the Moon, planets, and bright deep-sky targets. The SV305C cameras can capture 30-second subs on a tracker that stack into recognizable nebula images. You will not get the faint nebulosity of a $1000 cooled camera, but for under $200 you can absolutely produce frame-worthy astrophotography.
What is the 400 rule in astrophotography?
The 400 rule calculates the maximum exposure time before star trailing on a fixed tripod. Divide 400 by your lens focal length in 35mm equivalent. For a 50mm lens, that’s 8 seconds. For a 24mm lens, that’s about 16 seconds. The rule assumes a full-frame sensor and is conservative for APS-C. The 500 rule is the same concept but slightly more permissive, dividing 500 by focal length instead.
Should I buy a dedicated astro camera or a used DSLR under $200?
For planetary and lunar imaging, a dedicated astro camera wins. For wide-field Milky Way shots and aurora, a used DSLR with a fast lens wins. Used Canon Rebel T3i, Nikon D3200, or Sony a6000 bodies in good condition typically sell for $150-200 and offer full-frame-like performance for wide-field nightscapes. The cameras in this guide are the right choice if your targets are planets, the Moon, or autoguiding for deep-sky.
Is a used camera safe to buy for astrophotography?
Used cameras are generally safe if you buy from reputable sources. Check the shutter count (under 50,000 is good for a DSLR), inspect sensor condition in person if possible, and buy from sellers with return policies. For dedicated astro cameras like the ones in this guide, the main risk is dead pixels from age, which stacking software can mask but never fully eliminate. New under-$200 cameras eliminate this risk entirely.
Final Verdict
After three months of testing, the SVBONY SV305C Pro earns the top spot as the best astrophotography camera under $200 in 2026. The IMX662 sensor delivers clean, low-noise images, the 107fps frame rate beats atmospheric turbulence, and the ST4 port makes it useful as both an imaging camera and an autoguider. The SVBONY SV305C at $129.99 is the best value for most beginners, and the SVBONY SV105 at $49.99 is the cheapest way to find out whether this hobby is for you.
Whatever you pick, remember that the best camera is the one you actually use. A $50 SV105 you’ll drag out every clear night will produce more total images than a $500 camera sitting in a closet. Start small, learn the workflow, and upgrade when you’ve outgrown the gear. For more options above the $200 ceiling, check our mirrorless astrophotography guide or our dedicated planetary camera roundup.
Clear skies, and may your subs be sharp and your guiding be tight.