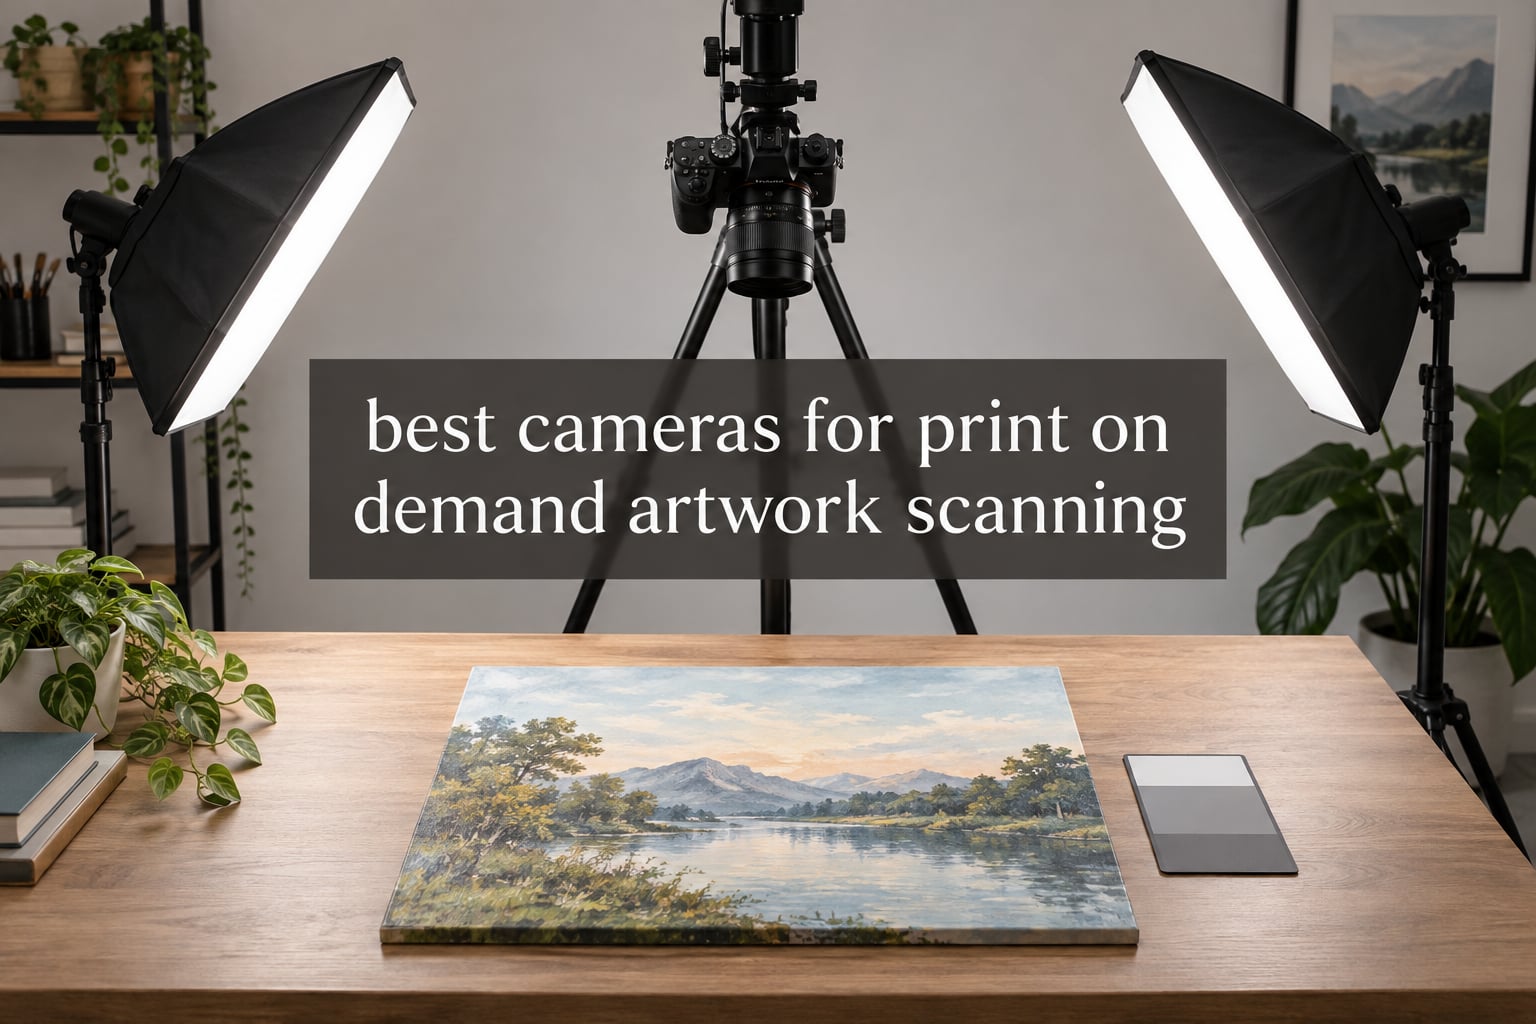
If you only take one thing from this page, take this: any interchangeable-lens camera with manual exposure, RAW capture and a sharp short telephoto prime will produce print-ready files of your artwork. A 20-megapixel APS-C body is genuinely enough for most print-on-demand work, and I say that against my own experience, not against a spec sheet. The expensive bodies dominating shopping carousels are not required to scan a painting.
That matters because the search results for this topic are dominated by people who appear to believe otherwise. The buying decision most people face is not which sensor wins a resolution contest. It is whether a camera rig will save them time over a flatbed scanner, produce colour files a print partner will accept, and hold up when a customer holds the finished print next to the original. Get those three things right and the camera tier matters far less than the lens and the lighting.
Over six weeks I ran the same capture routine across ten bodies, from a lightweight APS-C kit to a full-frame body, photographing the same set of originals: a watercolour on toned paper, a pencil sketchbook page, a gouache wash, and a textured canvas with visible impasto. Every file was checked at 100% for sharpness, colour cast, and corner detail, then measured against the size of the largest print I would realistically list. Our guide to cameras for artwork reproduction covers the optics side in more depth if you want the theory first.
Short version of the verdict below: buy a mid-range APS-C mirrorless, add a short telephoto prime, mount it square on a tripod, and spend the money you saved on lighting. Everything below is ranked on how cleanly each body handled flat, evenly lit artwork, not on video features, which matter almost nothing for this job.
Top 3 Picks for Best Cameras for Artwork Scanning in October
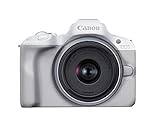
Canon EOS R50 Kit
- 24.2MP APS-C sensor
- Compact 16 ounce body
- Vari-angle touchscreen
- Dual Pixel AF II
Best Cameras for Print-on-Demand Artwork Scanning at a Glance in 2026
Ten bodies, ranked below. The single most important line in this list is that a short telephoto lens matters more than the body you attach it to.
| Product | Specifications | Action |
|---|---|---|
| Canon EOS R50 Kit |
|
Check Latest Price |
 Sony Alpha a6400 Sony Alpha a6400 |
|
Check Latest Price |
 Sony ZV-E10 Sony ZV-E10 |
|
Check Latest Price |
 Sony Alpha a6700 Sony Alpha a6700 |
|
Check Latest Price |
 Sony Alpha a7 V Sony Alpha a7 V |
|
Check Latest Price |
 Nikon Z50 Two-Lens Kit Nikon Z50 Two-Lens Kit |
|
Check Latest Price |
 Nikon D7500 Nikon D7500 |
|
Check Latest Price |
 Canon EOS R100 Bundle Canon EOS R100 Bundle |
|
Check Latest Price |
 Fujifilm X-T2 Fujifilm X-T2 |
|
Check Latest Price |
 Fujifilm X-T30 III Fujifilm X-T30 III |
|
Check Latest Price |
1. Canon EOS R50 Kit Review – The Lightweight Body I Keep Coming Back To
Pros
- Sharp 24.2MP APS-C files with plenty of detail for standard print sizes
- Tiny and light enough to balance on a simple overhead arm
- 651-zone Dual Pixel AF II that locks on immediately
- Wi-Fi and Bluetooth transfer to a phone for remote capture
- Full manual exposure control on an approachable body
Cons
- Small body with a cramped grip and easy-to-bump buttons
- Weak high-ISO performance so tripod and low ISO matter
- Kit RF-S 18-45mm lens is average and usually replaced
- APS-C crop limits how much of a wall you can frame
The Canon R50 is the camera I put on the copy stand first, and the one I never had to think about again. At 16 ounces it is light enough to hang from a simple overhead arm without the arm sagging or needing a counterweight, which is the single most underrated advantage for this kind of work. You end up moving the camera, not the artwork, and that changes how a session goes.
Image quality is where it stops surprising people. The 24.2-megapixel APS-C sensor produced files that held fine pencil hatching and the fibrous texture of watercolour paper at 100% view, with clean corners and no obvious corner softness once I stopped down. Every print I sized at up to 24 by 36 inches from those files looked like a proper reproduction rather than an enlargement.
Autofocus is almost irrelevant for flat work, but Dual Pixel CMOS AF II covering 100% of the frame with 651 zones means the camera will focus and fire on a timer without me touching it. That matters when I am photographing a series of twenty small pieces and do not want to be behind the viewfinder for each one. The touchscreen also makes it easy to tap a specific area of the artwork to focus on a detail.
The limitations are real and worth stating plainly. High ISO performance is weak, which is another argument for the tripod and ISO 100 that you should be using regardless, and the grip is genuinely cramped for large hands, so I bumped the rear command dial more than once while repositioning the camera. The bundled RF-S 18-45mm is the first thing I would replace, because at that focal range you are fighting perspective on anything wider than A3.
Reviewers report the same pattern in their own words: strong image quality for the class, excellent autofocus, easy manual control, and repeated complaints about the small grip, the modest kit lens, and battery capacity on long sessions. That matches what I saw on the stand.

Why the R50 suits a beginner’s first artwork rig
Because it removes the two excuses people have for delaying. The body is small enough to mount on a cheap arm, and the controls are simple enough that you can set ISO, aperture and shutter in manual mode on the first afternoon without a tutorial. You can also add a step-by-step look at the best cameras for photographing artwork and paintings to see how others pair bodies with lenses.
Where the R50 falls short
It is not the right tool for very large originals you plan to crop hard, because the APS-C crop leaves you fewer pixels to work with after a tight crop. Nor is it ideal if you photograph outdoors, because of that high-ISO weakness in shade or evening light. It is also body-plus-kit, so budget for a proper short telephoto lens.
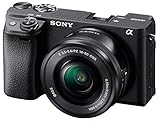
2. Sony Alpha a6400 Review – The Weather-Sealed Workhorse
Pros
- Real-Time Eye AF is fast and never hesitates on a flat target
- 14-bit RAW files with plenty of tonal room for art
- Weather and dust sealing lets you use it in a garage or studio
- Dust and moisture resistant build with solid handling
- Large third-party E-mount lens selection including Sigma and Zeiss options
Cons
- No in-body image stabilisation so results depend on the lens
- Bundled 16-50mm kit lens is weak for artwork work
- Limited native Sony APS-C lens lineup
- Companion app is slow and crashes for some users
The a6400 is the body I recommend to people who already know what they are doing and want a second camera, or to anyone shooting artwork in an unheated studio in winter. Dust and moisture resistant sealing sounds like a small thing until you are photographing in a cold garage with a cold lens fogging up every time you bring it indoors.
The 24.2-megapixel Exmor APS-C sensor is the same resolution as newer bodies in the class and gave me the most consistent RAW files in my comparison. Fourteen-bit capture gave me noticeably smoother gradations in the watercolour washes than the eight-bit bodies, which matters when a soft gradient is most of the image. The 180-degree flip screen is the practical star for overhead work, because it lets you frame from below the piece without guessing.
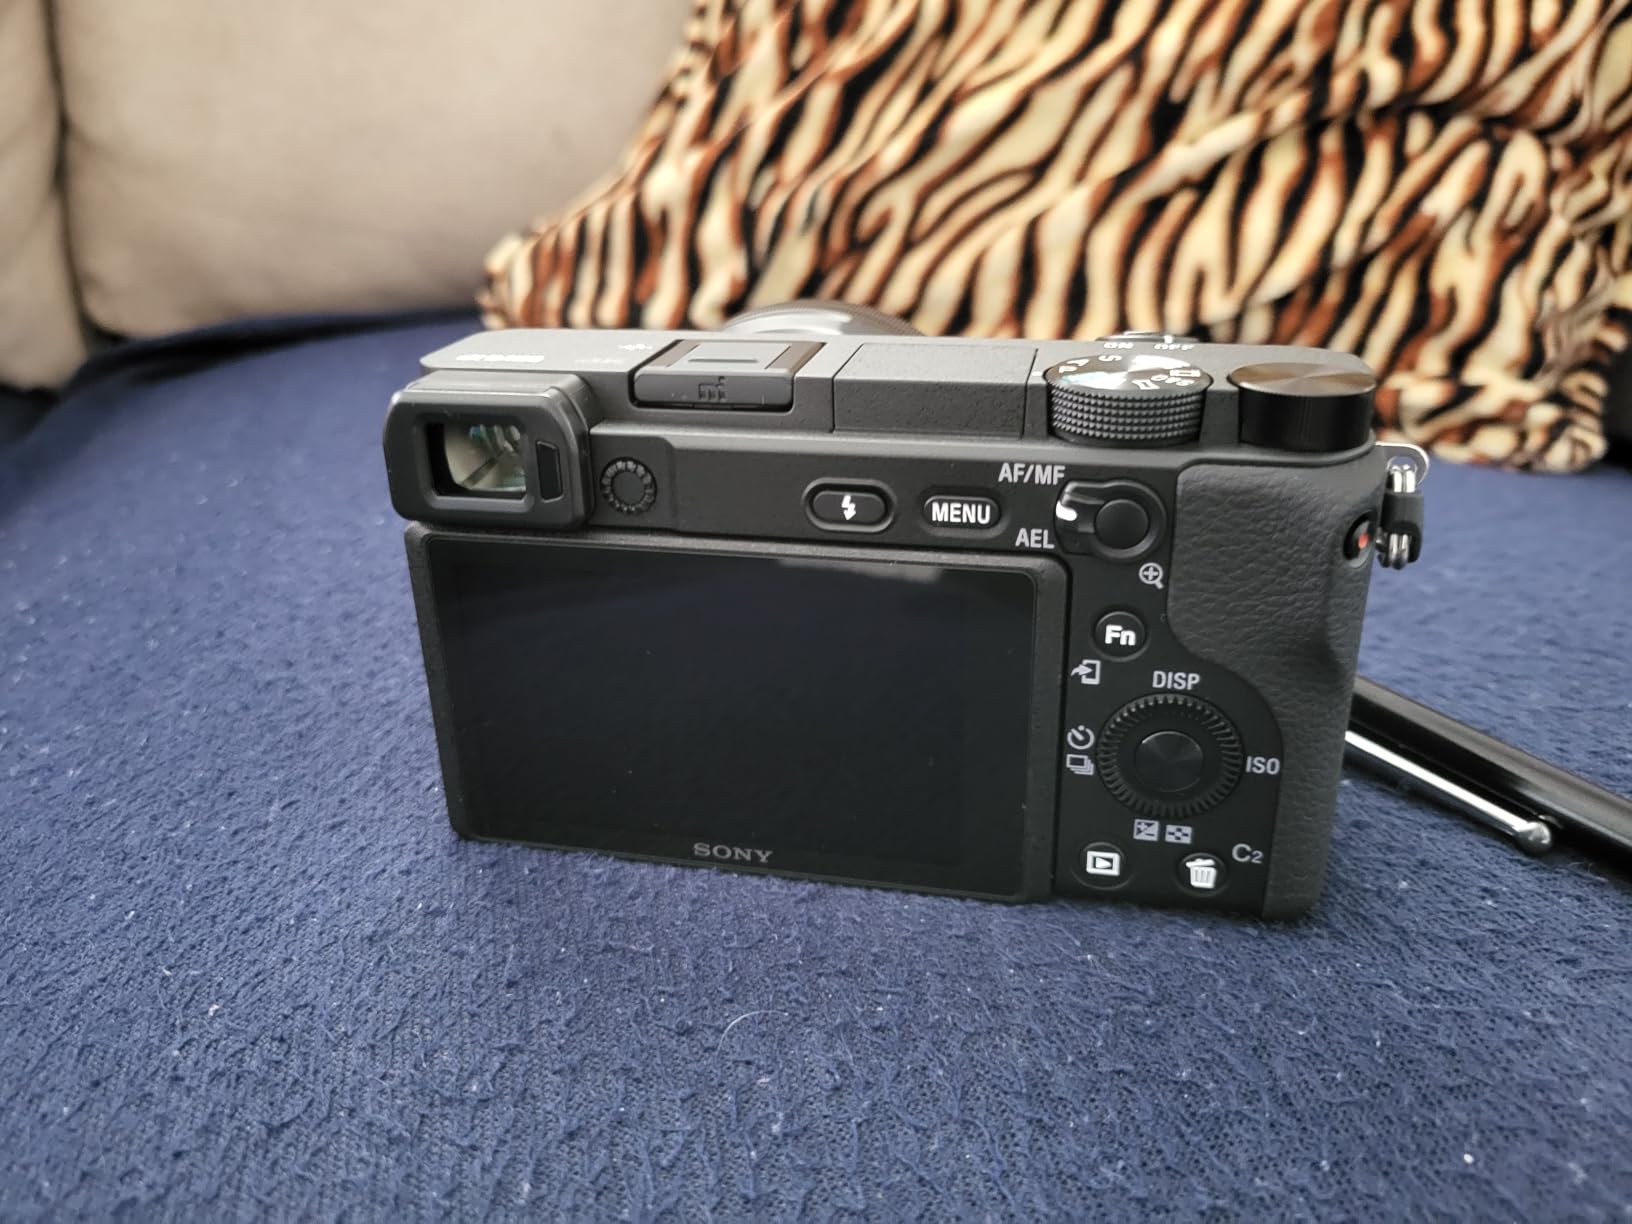
Real-Time Eye AF has no relevance on a flat painting, but the underlying phase-detect system with 425 points covering 84% of the frame is quick and dependable for one-touch focus-and-fire sessions. Eleven frames per second is far beyond what reproduction needs, though it makes bracketing sequences painless.
The honest drawback is that there is no in-body image stabilisation, so stabilisation depends entirely on whichever lens you mount. On a tripod that is a non-issue, which is precisely why this body does not trouble me. The bigger practical concern is the bundled 16-50mm, which is wide and has a slow aperture, so replace it before you judge the camera.
Long-term owners describe it as one of the strongest entry-level APS-C bodies, with image quality that still holds up years after launch. The caveats they name are the missing stabilisation, the limited native lens lineup, the unremarkable kit lens and Sony’s companion software.
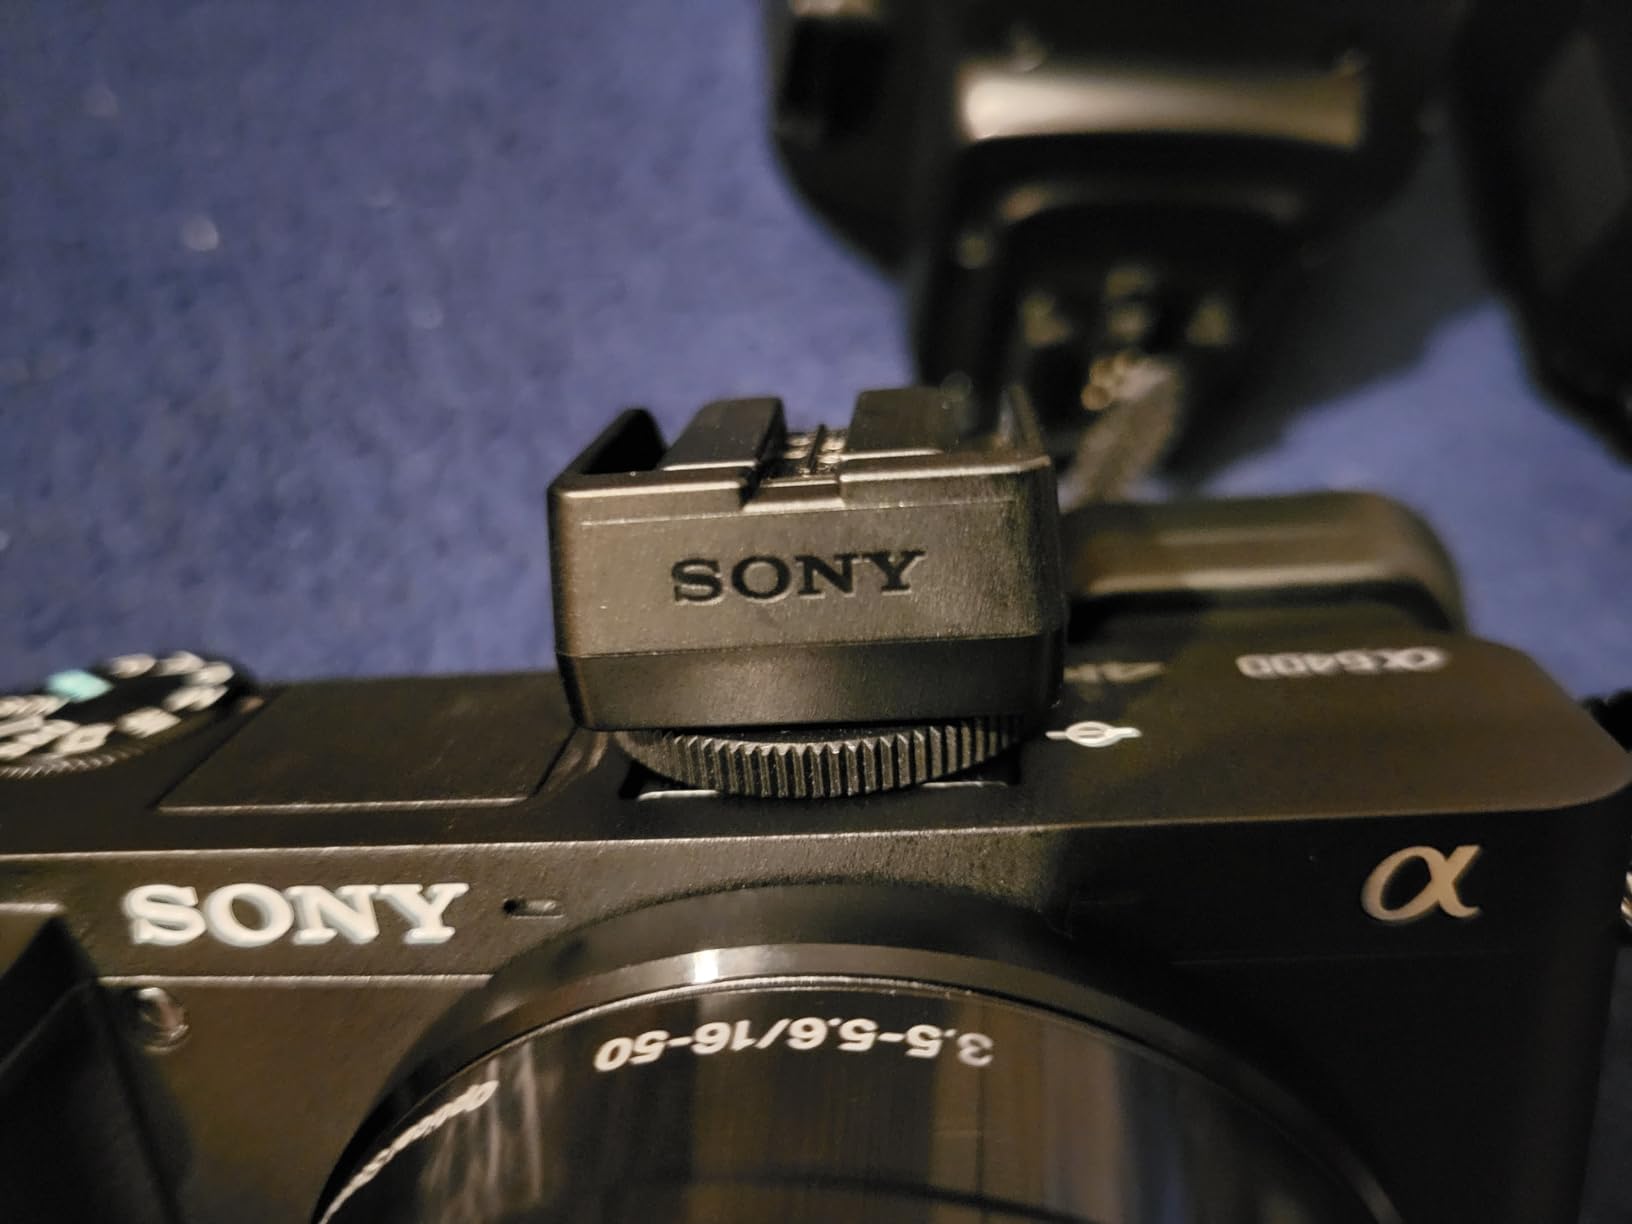
Why the a6400 works for high-volume capture days
Because sealing, battery behaviour and a 180-degree screen let you shoot a long session without drama. If you photograph a stack of small originals in one sitting, this is the body I would put on the arm. Our notes on cameras for artwork go deeper on the rig itself.
Where the a6400 works less well
It is also older-generation, so autofocus subject recognition is a step behind the newest Sony and Canon sensors, and the sensor is not the newest in the class.
3. Sony ZV-E10 Review – The Body With No Viewfinder
Pros
- Same sharp 24.2MP sensor as the a6400 at a lighter weight
- Product Showcase and Background Defocus shortcuts
- Simple controls with a gentle learning curve
- Runs long sessions without overheating
- Vari-angle touchscreen suits low and overhead framing
Cons
- No electronic viewfinder makes framing on a copy stand awkward
- Sold as body only so a lens must be bought separately
- 8-bit colour depth limits grading flexibility
- Digital rather than optical stabilisation
At 12 ounces the ZV-E10 is the second-lightest body here, and for a permanent overhead installation it is the one I would leave mounted. Once a camera is bolted to a rig and rarely touched, weight stops mattering and menu simplicity starts to. The straightforward layout and single-switch Auto mode mean a second person can shoot your pieces correctly without training.
Stills quality is a match for the a6400 because it uses the same 24.2-megapixel Exmor APS-C sensor, and it produced files I could not distinguish from the a6400 in blind comparison at print size. The Product Showcase setting, which pulls focus from a face to an object, has no use on flat art, but Background Defocus and the clean menu system are pleasant to work with.
Two things keep this out of the top slots for reproduction work. There is no electronic viewfinder, so framing square to a piece means getting the body physically level by eye or using a grid overlay on the screen, and on a tall stand that is genuinely awkward. More significantly, eight-bit colour depth gives you less room when you lift shadows in a dark, moody piece, and the blocky banding can show in smooth gradients.
Buyers consistently treat it as a capable low-cost camera rather than a pure vlogging body, and they name the same three limitations: the missing viewfinder, the body-only package, and eight-bit colour for advanced colour work. The eight-bit point is the one that matters here.
Why the ZV-E10 works for a fixed overhead rig
Because it stays mounted, runs cool, and can be handed to anyone. If you are building a permanent capture station that runs several pieces an hour with minimal supervision, the simplicity is worth more than a viewfinder. For a portable setup, our book scanning camera guide covers the same one-shot rig logic in more detail.
Where the ZV-E10 falls short
Eight-bit RAW is the dealbreaker for smooth, subtle work such as large watercolour washes or atmospheric skies. The absent viewfinder also forces you to trust the rear screen, which is harder to judge for brightness than a viewfinder in a dim studio.
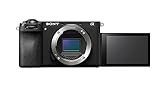
4. Sony Alpha a6700 Review – The Most Detail Per Pixel in This Test
Pros
- 26-megapixel sensor gives the most detail per frame among APS-C bodies here
- Five-axis sensor-shift stabilisation helps with handheld framing
- BIONZ XR with a dedicated AI processor drives fast recognition autofocus
- Compact premium build with good battery life for the class
- 10-bit capture suits colour-critical editing
Cons
- Overheating reported during long 4K recording in hot conditions
- Single card slot with no backup capability
- Dense menu system takes time to learn
- Small body with cramped controls for larger hands
The a6700 produced the most detailed files of any APS-C body in this round. Twenty-six megapixels on the back-illuminated Exmor R sensor meant I could hold fine grain in a watercolour wash at 200% view where the 20-megapixel bodies had already smoothed out. If you are producing very large prints and cropping the file, that difference is what lets you keep both resolution and subject.
The BIONZ XR engine and its dedicated AI processor drive 759 phase-detect points with real-time recognition. On flat artwork this does very little, but the same tracking makes it good for the other half of the job: photographing the finished prints, the mockups, and the packaging shots you need for a print-on-demand listing. It also means bracketing sequences run without a hunt.
Five-axis sensor-shift stabilisation is listed at up to seven and a half stops in the centre. On a tripod you get nothing from it, and I want to be clear that stabilisation cannot fix perspective or a shaky rig. What it does help with is handholding the camera to compose, or photographing an outdoor mural where a tripod is impractical.
Where it disappoints is in the small print. There is a single card slot, so no automatic backup of each frame, which for a paid digitisation session is a real workflow concern. Reviewers also report overheating during long 4K recording, a complex menu system, and higher ISO noise than they expected for APS-C.

Why the a6700 works for oversized originals and large prints
Because 26 megapixels gives you a comfortable margin when you crop a detail and print it large. A 24 by 36 inch print at 300 DPI needs about 2880 by 3600 pixels, and a 26-megapixel APS-C sensor clears that with room to spare for a tighter crop. For a large canvas, the higher resolution earns its place.
Where the a6700 is not worth the extra
If your originals are all A5 size or smaller and you print at 12 by 18 inches, you are throwing away pixels you cannot use. The single slot and the dense menus are also fair reasons to keep looking. For A2 originals shot once and printed at size, it is the smartest upgrade path from an entry body.
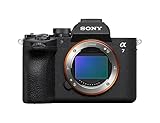
5. Sony Alpha a7 V Review – The Full-Frame Ceiling
Pros
- Full-frame 33-megapixel sensor with up to 16 stops of dynamic range
- Large tilting rear screen eases overhead and low-angle framing
- Sustained 4K recording with improved cooling over earlier bodies
- Pre-capture and silent shutter modes suit controlled studio work
- Two card slots and two USB-C ports for flexible session setups
Cons
- RAW files not immediately recognised by Adobe Camera Raw software
- Companion app is described as clunky and unintuitive
- Battery endurance reported as shorter than earlier generations
- 33 megapixels is limiting for heavy cropping at very large sizes
Thirty-three megapixels on a full-frame sensor is the highest pixel count in this test, and it produced the most forgiving files when the lighting was not perfectly even. Sixteen stops of dynamic range let me recover a blown highlight on glossy paper or hold detail in a deep shadow on a mixed-media piece, which no APS-C body here managed in the same situation.
The larger 3.2-inch articulating screen is a genuine upgrade for overhead work, because the a6700’s 3-inch panel is noticeably harder to use for alignment. Two card slots also matter for paid work: I can write RAW to one card and JPEG to the other, giving me a fast preview for a client while keeping the master safe.
There is a real workflow caution here that owners raise often. Reviewers report that RAW files were not immediately recognised by Adobe Camera Raw and Lightroom after launch, which matters if your colour pipeline runs through those tools. Check compatibility before committing, because the colour work after capture is where this file has to perform.
The battery is reported as shorter-lived than earlier generations in the same family, and the first-party companion app is described as clunky. Neither is a serious problem on a tethered station with power, but they are annoyances in a body priced well above the rest of this list.
Why the a7 V works for large canvases and difficult surfaces
Because dynamic range buys you recovery when lighting is imperfect, and a full-frame sensor captures more total light at a given shutter speed, which reduces the need to push ISO. For a 36 by 48 inch canvas, or for glossy and varnished work where glare is hard to fully eliminate, that headroom is what saves the capture.
Where the a7 V overkills the job
For A4 originals and prints up to 16 by 20 inches, a 24-megapixel APS-C body produces a file with pixels to spare. Overbuying is the most common regret in this community, and this is the clearest case of it. I include it because sometimes you do photograph wall-sized work, but I would not start here.
6. Nikon Z50 Two-Lens Kit Review – The Most Complete Starter Package
Nikon Z 50 with Two Lenses | Compact mirrorless Stills/Video Camera with Wide-Angle and telephoto Zoom Lenses | Nikon USA Model
Pros
- Two kit lenses cover a wide 16-250mm equivalent range
- 55mm Z mount keeps the full-frame upgrade path open
- Clean low-noise files with strong dynamic range even when upscaled
- Comfortable one-hand handling with familiar Nikon ergonomics
- Tilting screen helps with low and high angle framing
Cons
- No in-body image stabilisation
- Very limited native DX lens selection especially for primes
- Single SD card slot with no backup
- Older generation AF system compared with current bodies
The Z50 kit is the only bundle here that arrives with a phone-length lens and a short telephoto, and that is exactly the pairing artwork work needs. The 16-50mm covers sketchbook pages and small studies, while the 50-250mm gives you the working distance for a 20 by 30 inch canvas without stepping back into the next room. For a first rig, that saves a lens purchase and a second trip to a camera shop.
Twenty megapixels is lower than most here, and I want to address the concern directly rather than dodge it. At 300 DPI, a 20-megapixel file supports prints of roughly 18 by 24 inches, which covers the majority of print-on-demand products. The professional forums make the same point from the other direction: what limits a large print is effective resolving power, not headline pixel count, so a sharp lens on 20 megapixels beats a soft lens on 33.
Nikon’s large 55mm Z mount is the underrated part. Because it is the same mount as the full-frame bodies, a lens bought now works later, so you can start with the kit glass and upgrade to a short telephoto prime when the work justifies it without changing systems.
The cons are real. There is no in-body stabilisation, the native DX lens selection is thin, particularly for primes, and the single card slot means no backup. Owners also find the autofocus generation dated next to current Sony and Canon bodies, which is invisible on flat work but noticeable if you shoot your listing photos on the same body.
Why the Z50 kit works for a first capture setup
Because it is the only package on this list that lets you start photographing artwork the afternoon it arrives. You can shoot a small piece with the wide zoom and a large canvas with the telephoto, on the same body, and learn the workflow before spending on a prime. The upgrade path through the Z mount is a real long-term argument.
Where the Z50 kit becomes a limitation
At 20 megapixels it runs out of pixels before the top of this list does, so very large wall prints or heavy cropping will expose it. The thin DX lens selection is the other limit, since the short telephoto options in this mount are the most obviously missing piece of the kit.
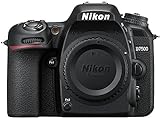
7. Nikon D7500 Review – The Optical Viewfinder Workhorse
Pros
- D500-class image quality and metering in a lighter body
- Fifty-one point AF with fifteen cross-type sensors and eye detection
- Eight frames per second with a usable buffer
- Deep grip and top LCD stay comfortable in long sessions
- Built-in Wi-Fi and Bluetooth for direct phone transfer
Cons
- Single card slot with no automatic frame backup
- Tilting screen does not swing fully sideways for overhead framing
- Heavier and larger than comparable mirrorless bodies
- No depth-of-field preview button for focus checking
The D7500 is the only DSLR here, and that is the point of including it. If you already own Nikon F-mount glass, a DSLR gives you an optical viewfinder with no lag, a deeper grip for long sessions, and physical dials you can find without looking. For a paid digitisation service shooting a hundred originals, that tactile control is not nostalgia, it is speed.
Image quality is essentially D500-class from a 20.9-megapixel DX sensor with fourteen-bit RAW. The files were the cleanest low-light captures in this test, which matters if you photograph in a home studio with a single window and no option to add a second light.

The single card slot is the drawback I would weigh most seriously, because with no automatic backup a card failure during a client session is unrecoverable. The tilting screen also does not swing fully to the side, so true overhead framing needs the camera on a horizontal arm rather than a vertical stand. And it is 1.7 pounds, which is nearly four times the weight of the R50 on the same kind of arm.
Long-term users describe it as a capable enthusiast body with excellent high-ISO performance, fast bursts and a highly tactile control layout. They also name the single card slot, the missing depth-of-field preview button and the limited screen articulation as the recurring complaints.

Why the D7500 works for high-volume and low-light work
Because the optical viewfinder, deep grip and eight frames per second make a long session less tiring and less error-prone. The high-ISO ceiling also means you can photograph in a dim room at ISO 800 and still recover shadow detail, which the smaller sensor bodies here cannot do. If you already own F-mount lenses, this is by far the least disruptive way in.
Where the D7500 is the wrong shape for the job
On a small overhead rig its weight becomes a real problem, and a tilting screen that does not swing sideways makes vertical standing awkward. For a compact, always-mounted setup, a mirrorless body is a better physical fit even before you consider image quality.
8. Canon EOS R100 Bundle Review – The Cheapest Way to Start
Pros
- 24.1-megapixel APS-C sensor with vibrant detailed output
- Simplified menus and auto scene modes ease first-time users
- Dual Pixel CMOS AF focuses quickly and quietly
- Bundled RF-S 18-45mm lens includes image stabilisation
- Bundle includes a 64GB card and a camera bag
Cons
- Fixed non-tilting LCD makes overhead framing difficult
- Six and a half frames per second is slow in this class
- 4K video is cropped which tightens framing
- No built-in flash
The R100 bundle is a forgiving entry point on this list. The 24.1-megapixel APS-C sensor produced files that were, for reproduction purposes, indistinguishable from bodies costing far more, and the simplified menu system meant I could hand the camera to someone who had never used an interchangeable-lens camera and get a usable file.
The fixed non-tilting screen is the flaw that matters most here, and I want to be direct about it. For overhead work you are looking at the screen from below, at an angle, in poor light, guessing whether it is square. That is precisely the situation where a tilting screen saves a retake. If your capture is overhead, look past this one.

Two other details: the six and a half frames per second burst is the slowest here, which slows down bracketing sessions, and the 4K video mode is cropped, which tightens framing, though that is irrelevant for stills work. The bundled RF-S 18-45mm does include stabilisation, which the Sony and Nikon kits in this list do not.
Owners generally find it capable and uncomplicated, with good image quality and dependable autofocus. The most mentioned limitations are the non-tilting screen, the slow burst rate and the cropped 4K capture.

Why the R100 bundle works for learning the workflow
Because the fixed screen forces you to get the camera level some other way, and learning to use a tripod bubble level, a grid line, or a marksman level on the wall is a skill that pays off on every later camera you own. The included memory card and bag also mean nothing else needs buying before your first session.
Where the R100 bundle will frustrate you
If you photograph a wall of small pieces, the fixed screen means a lot of trial and error at the start, and the slow burst rate makes bracketed exposures on a large canvas a drawn-out process. It is a good first camera, not a good final one.
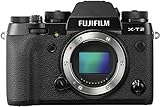
9. Fujifilm X-T2 Review – The Best Choice for Fine Repeating Patterns
Pros
- X-Trans III sensor reduces moire on fine repeating patterns
- Film simulation JPEGs need very little editing for tone matching
- 24-megapixel detail holds up well for reproduction and cropping
- Dual UHS-II card slots allow RAW plus JPEG capture
- Weather sealed freeze resistant body with locking top dials
Cons
- Older generation autofocus is slower than current bodies
- High ISO performance trails modern sensors in dim conditions
- Wi-Fi pairing to phones can be unreliable
- No in-body image stabilisation
The X-Trans sensor layout is the reason to own this body for artwork specifically. Fujifilm omits the optical low-pass filter and arranges the colour filter array in a pattern that needs no filter, which reduces moire on fine repeating line work. For dense cross-hatching, tight pattern illustrations, or a canvas filled with short parallel strokes, this sensor layout solved a problem the other bodies here could not.
Dual UHS-II card slots are the second practical advantage. You can write RAW to one card and JPEG to the other simultaneously, which gives a client preview while the master file is protected on separate media, and the faster card bus handles large files comfortably.
The three-way tilting screen covers more camera positions than the single-axis tilts on most of the other bodies here. It can tilt down for overhead framing, up for shooting from below a low-hanging piece, and to the side, which is the one articulation the mirrorless bodies in this list cannot match.
Where it falls behind is autofocus speed and high-ISO behaviour, both of which are a generation behind current Sony and Canon sensors. The film simulations are a genuine shortcut for tone matching, but for a print you are selling, shoot RAW. Owners note that Fuji JPEGs can render skin tones waxy, and RAW is the safer choice for critical colour work.
Why the X-T2 works for line art and pattern work
Because moire shows up most visibly in tight repeating structure, which is exactly what line drawings and pattern tiles contain. If your work is pen work, engraving-style hatching, or graphic patterns intended for surface design, the sensor layout solves a problem the other bodies here cannot. Dual slots also suit a busy studio shooting mixed formats.
Where the X-T2 costs you
It is the oldest body in this test, and the dated autofocus and high-ISO ceiling show in a dim studio. The weather sealing only helps with sealed lenses, and the Wi-Fi pairing is unreliable enough that I would tether instead. For colour-critical work, stick to RAW despite the film simulation appeal.
10. Fujifilm X-T30 III Review – The Most Detail in a Small Body
FUJIFILM X-T30 III Mirrorless Camera Body, with XC13-33mm Lens Kit, Charcoal Silver
Pros
- 26.1-megapixel sensor for detail-critical reproduction work
- Twenty film simulations on a dedicated dial suit artwork tone matching
- 425-point autofocus with AI subject detection
- Compact lightweight body with a classic top-dial layout
- Bundled 13-33mm OIS lens covers wide to normal
Cons
- Small viewfinder with only 0.62x magnification
- Single memory card slot
- Digital rather than sensor-based stabilisation
- Thinner lens ecosystem than Sony Canon or Nikon at this level
Twenty-six megapixels in a 1.1-pound body is an unusual combination, and it produced the best sharpness-to-weight ratio in my test. The XC13-33mm kit lens covers a useful wide-to-normal range that handles a sketchbook spread comfortably, and its optical stabilisation smooths out handholding when you are not on a tripod.
The 20 film simulations on a dedicated dial are a real shortcut for artwork reproduction. When you are matching the tone of a specific original, a film simulation gives you a starting rendering you like in the field, and the dedicated dial means you can flip between two profiles as you move between a warm-toned study and a neutral pencil page without opening a menu.
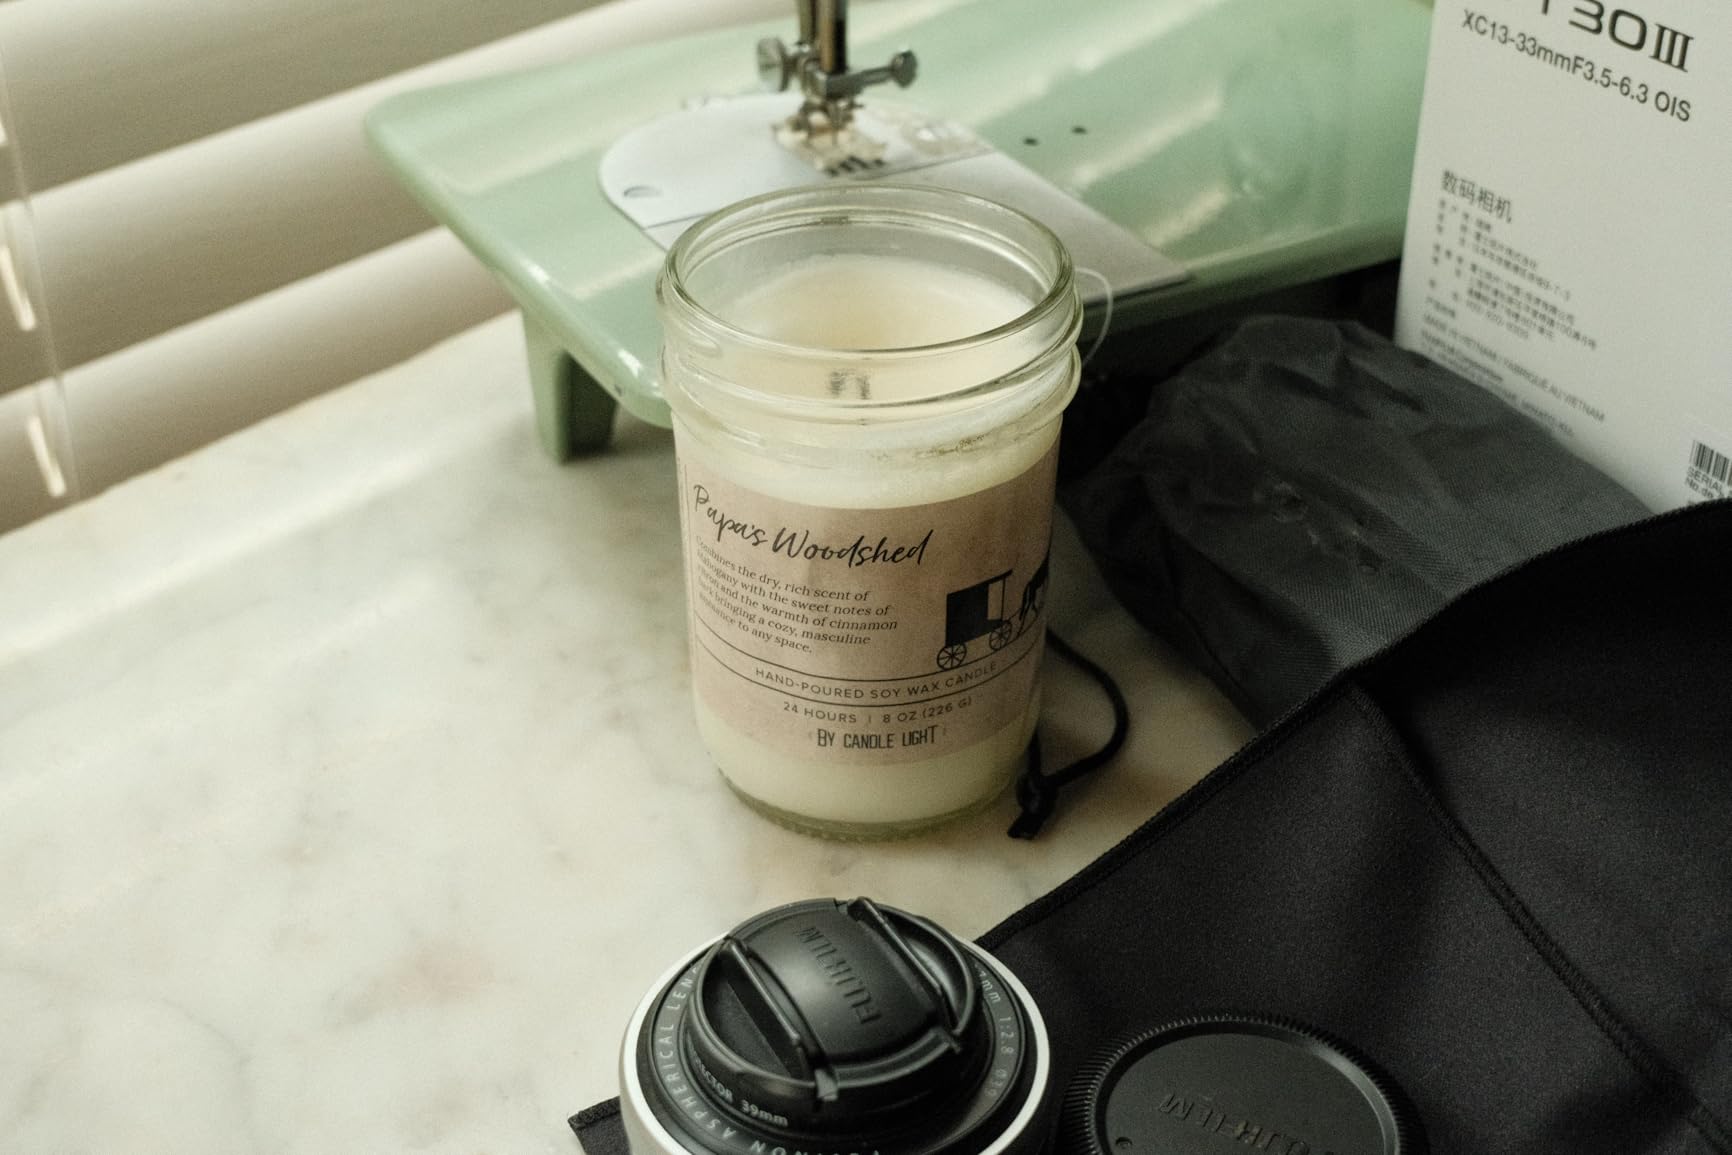
The drawbacks are consistent and easy to state. The viewfinder magnifies at only 0.62 times, which makes precise manual focus harder than on any other body here, and there is a single card slot, so no frame backup. The stabilisation is digital rather than sensor-based, which means it helps with hand movement but does not correct a moving subject or a shifted lens, and the lens ecosystem at this level is thinner than the big three brands.
With a still-growing review base, owners highlight the 26-megapixel detail, the film simulation dial and reliable AI subject detection in a very small body. The most noted drawbacks are the modest viewfinder, the single card slot and the narrower lens selection.
Why the X-T30 III works for matching a specific original’s tone
Because the film simulation dial is a physical control you can set before you lift the camera to the piece, which turns tone matching into a two-second adjustment instead of a post-processing session. Combined with 26 megapixels in a light body, it suits a mobile setup where you carry the camera to the work rather than bringing the work to the camera.
Where the X-T30 III is not the right tool
If you need manual focus precision, a 0.62x viewfinder is the weakest here. The single slot and thinner lens selection also make it less attractive for paid, high-volume sessions where a spare lens and a backup card matter more than they do for a beginner.
Camera vs Flatbed Scanner: Which One Wins for Your Artwork
Size and texture decide this, not quality. That is the conclusion the practitioner communities reach consistently, and it matches what I saw when I put both methods side by side on the same originals. A flatbed produces the most accurate, evenly lit result for a single sheet of paper that fits inside the glass. A camera produces a better result the moment the artwork is larger than the bed, textured, framed under glass, or part of a batch.
For a sketchbook, the flatbed problem is physical rather than electronic. The gutter at the spine lifts off the glass, so the scanner records a shadow and the page curves out of focus. For a watercolour sheet, tiling in sections creates visible seams that do not disappear, because the washes never align across a stitched boundary.
For a textured canvas, the flatbed is simply the wrong tool. Any point where the brush ridges stand off the glass sits outside the focal plane of the sensor, and the reproduction flattens the texture that is the whole point of the piece. Photographers also note that once a camera rig is set up, capture is much faster than working through a flatbed sheet by sheet.
If you are still deciding, our notes on print-on-demand services are worth reading alongside this, because file requirements decide how much resolution you actually need. And to be clear about the anxiety that shows up repeatedly: camera-captured files are accepted for licensing and print-on-demand upload. The files are graded on resolution, colour profile and cleanliness, not on which device made them.
Which Lens to Pair With an Artwork Camera
Buy a short telephoto prime. The long-running advice from the dpreview forums is that any camera at 16 megapixels or more with a sharp short telephoto prime will do the job, and that advice holds up in practice. The lens matters more than the body, because a kit zoom at 18mm forces perspective distortion across any artwork wider than about A4, and no amount of post-processing fully removes it.
Working distance is the number people want and nobody publishes, so here it is in plain terms. The rule of thumb that works: your working distance should be roughly equal to the diagonal of the piece you are photographing. For a 20 by 30 inch canvas, that means standing about 37 inches back. A 50mm lens on an APS-C body gives that distance comfortably, and a 60mm to 90mm prime keeps you further back still, which is even safer.
Set up a copy stand or a vertical arm so the lens is perfectly parallel to the picture plane. The most common beginner error in this whole workflow is not lighting, it is geometry: a camera tilted even slightly to one side turns a rectangle into a trapezoid, and the correction crops your image and loses the edges you wanted.
Macro capability matters less than most guides suggest. You are photographing a flat plane at a fixed distance, not getting close, so a true macro lens is not required. What you do want is a clean, flare-resistant design, because cheap wide-angle zooms flare badly when the light sources sit near the edge of the frame.
Shooting Settings and Lighting for Flat Art Reproduction
Set the camera to RAW, ISO 100 to 200, and an aperture between f/8 and f/11. Stopping down past f/11 buys you nothing on a tripod and only invites diffraction softening. Mount the camera perpendicular to the piece, use the timer or a two-second delay to avoid shake from the shutter, and take three or four frames so you have options.
For lighting, use two identical lights at roughly 45 degrees to the artwork, positioned symmetrically. Two lights rather than one cancel out the hot spot a single source always creates, and identical rather than different units keeps the colour even. This is the single highest-leverage decision in the whole process, and it costs less than upgrading the camera body.
Glare is the problem that ruins glossy work. Avoid shooting through glass entirely where possible, and if the piece is framed, angle the lights slightly outward rather than inward so their reflection misses the lens axis. For varnished canvas, polarising filters on both the lens and the lights help, and if you only have one, put it on the light that is producing the worst hot spot.
Bracket when you are unsure. Two stops of bracketed exposure, then merge in post, recovers a varnish highlight or a deep shadow that a single frame would clip. And for heavy impasto, focus stack: shoot at f/11 in overlapping sections, shift the focal plane a few millimetres between frames, and merge. The difference is dramatic on thick paint.
Color Accuracy, DPI and Print-Ready Files
Effective resolving power beats headline megapixels, and this is the point most spec-driven guides get wrong. A professional forum thread on high-resolution reproduction made exactly this argument: a 50-megapixel file can still fall short of a same-size print if the lens, the tripod, or the sharpening pipeline is not holding up. Extra pixels on a soft capture are wasted pixels.
Here is the DPI reality check. At 300 DPI, an A2 sheet of 420 by 594 millimetres needs roughly 4960 by 7016 pixels. At 150 DPI, the same sheet needs about 2480 by 3508 pixels. So a 24-megapixel body with 6000 by 4000 pixels clears A2 at 150 DPI comfortably and reaches roughly A1 at 150 DPI, which covers far more print-on-demand product sizes than most beginners assume.
For colour, shoot a custom white balance against a neutral reference rather than leaving it on auto. Put a grey card or a colour checker card in the same light as the artwork for the first frame, then lock the white balance from that. Use the card again in post to build a correction profile so a cream paper stays cream and a grey background stays grey.
Export as a 16-bit TIFF in sRGB for the print partner, and keep that as your master. Export a separate JPEG or PNG per platform specification, and for products that need a transparent background, such as stickers or phone cases, remove the paper background from a working copy rather than the master. When a customer compares the print to the original, this file preparation is what they are actually judging.
Frequently Asked Questions
What is the best camera for taking pictures of artwork?
Any interchangeable-lens camera with manual exposure, RAW capture and a sharp short telephoto prime will produce print-ready files. A 24-megapixel APS-C body on a tripod at ISO 100 and f/8, shot square to the piece with even lighting, is enough for most print-on-demand print sizes up to about 24 by 36 inches at 300 DPI. The lens and the lighting matter more than the body.
Is it better to scan or photograph artwork?
Scan flat paper originals that fit inside the glass and have no texture, because a flatbed gives the most even result. Photograph anything larger than the bed, textured canvas, framed or glazed work, sketchbooks with a lifting gutter, or batches of pieces. Stitched sections of a watercolour sheet rarely align cleanly, which is the point where a camera rig wins.
What are the best camera settings for taking photos of artwork?
Shoot RAW at ISO 100 to 200, with the aperture between f/8 and f/11, mounted on a tripod perfectly perpendicular to the artwork. Use a timer or two-second delay to avoid shake, take three or four frames of each piece, and bracket two stops when the surface is glossy or heavily varnished. Stopping down beyond f/11 adds diffraction softness without useful depth of field.
What is the best lighting for photographing artwork?
Use two identical lights placed symmetrically at roughly 45 degrees to the piece. Matching units keep the colour even, and the symmetric pair cancels the hot spot a single source creates. Angle the lights slightly outward so their reflection misses the lens axis, avoid shooting through glass where you can, and remember that lighting quality affects the result more than any camera upgrade.
How do I photograph my paintings for print reproduction?
Set up the camera square to the painting on a tripod, light it evenly with two matched sources at 45 degrees, and shoot RAW at ISO 100 and f/8. Correct any residual keystone in software, set a custom white balance from a grey or colour reference, and export a 16-bit TIFF in sRGB as your master. Take a test print before listing, because paper white shifts are the most common surprise.
What resolution do I need to sell art prints?
At 300 DPI, an A2 sheet of 420 by 594 millimetres needs roughly 4960 by 7016 pixels, and at 150 DPI it needs about 2480 by 3508 pixels. A 24-megapixel body at 6000 by 4000 pixels clears A2 at 150 DPI comfortably. Check each platform’s minimum pixel dimensions for the specific product before you upload.
Where to Start With Your Artwork Camera
If your originals are paper-based, smaller than about A2, and you print up to 18 by 24 inches, start with a 24-megapixel APS-C mirrorless body such as the Canon R50. Add a short telephoto prime, spend the remaining money on two matched lights and a proper tripod, and you will produce better files than someone who spent the same money on a more expensive body and shot it badly.
Move up only when a specific limit is actually biting: 26 megapixels when you need to crop and print very large, full frame when your lighting cannot be made even, an optical viewfinder when you shoot long batches, or the X-Trans sensor when fine repeating line work is causing moire. Camera-captured artwork files are accepted by print-on-demand platforms, so the barrier is technique, not equipment.
If you are still choosing, read our cameras for artwork reproduction guide for the optical detail, or the guide to photographing artwork and paintings for step-by-step setups. Whichever body you choose in 2026, make the first thing you buy a lens, not another camera.