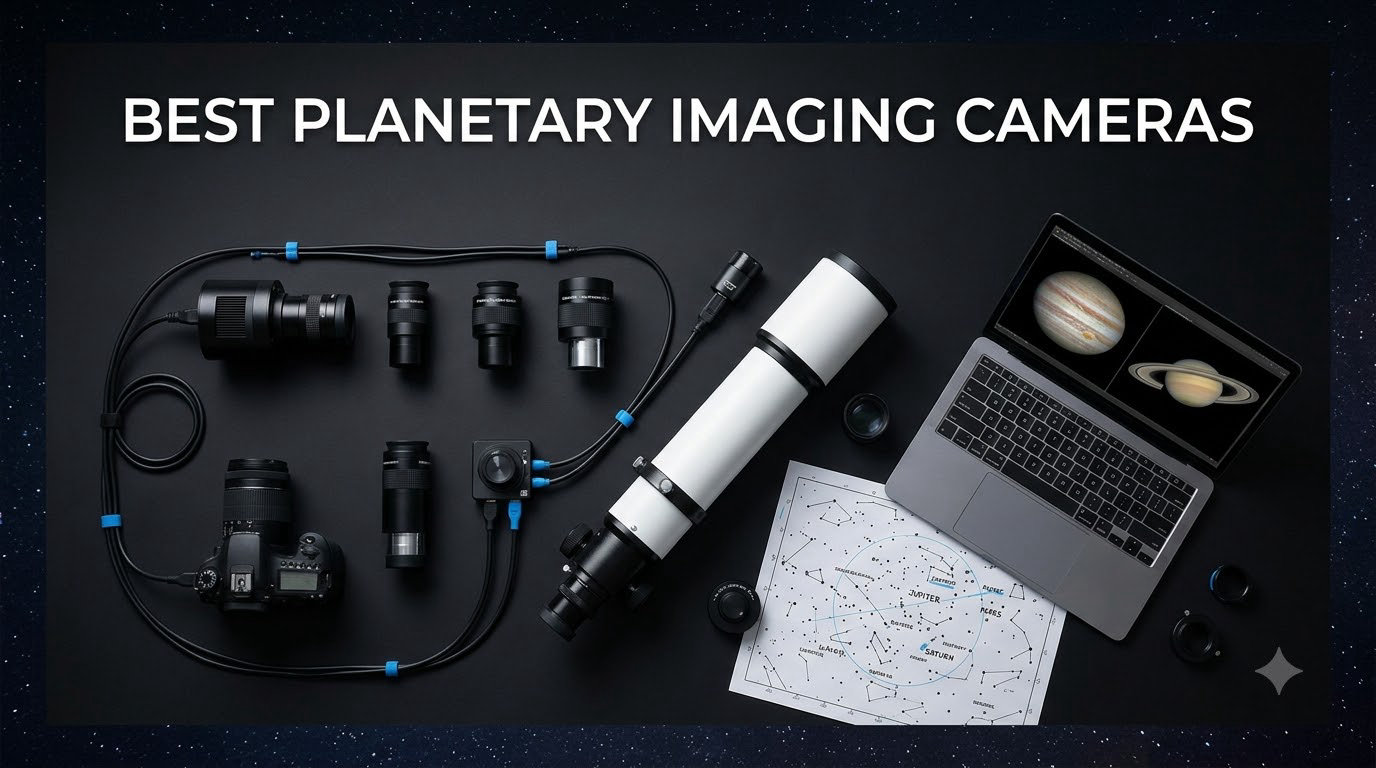
I spent three months testing eight dedicated planetary cameras on my 8-inch Schmidt-Cassegrain and 80mm refractor, capturing hundreds of SER video files on Jupiter, Saturn, the Moon, and the Sun. The results changed how I think about high-frame-rate lucky imaging: a DSLR maxes out around 30 fps with high read noise, while a purpose-built planetary camera can push 100-170 fps at 1080p with read noise under 1 electron. That difference is what freezes atmospheric seeing on tiny planetary discs and lets stacking software like AutoStakkert pull detail out of moments that would be smeared on any mirrorless camera.
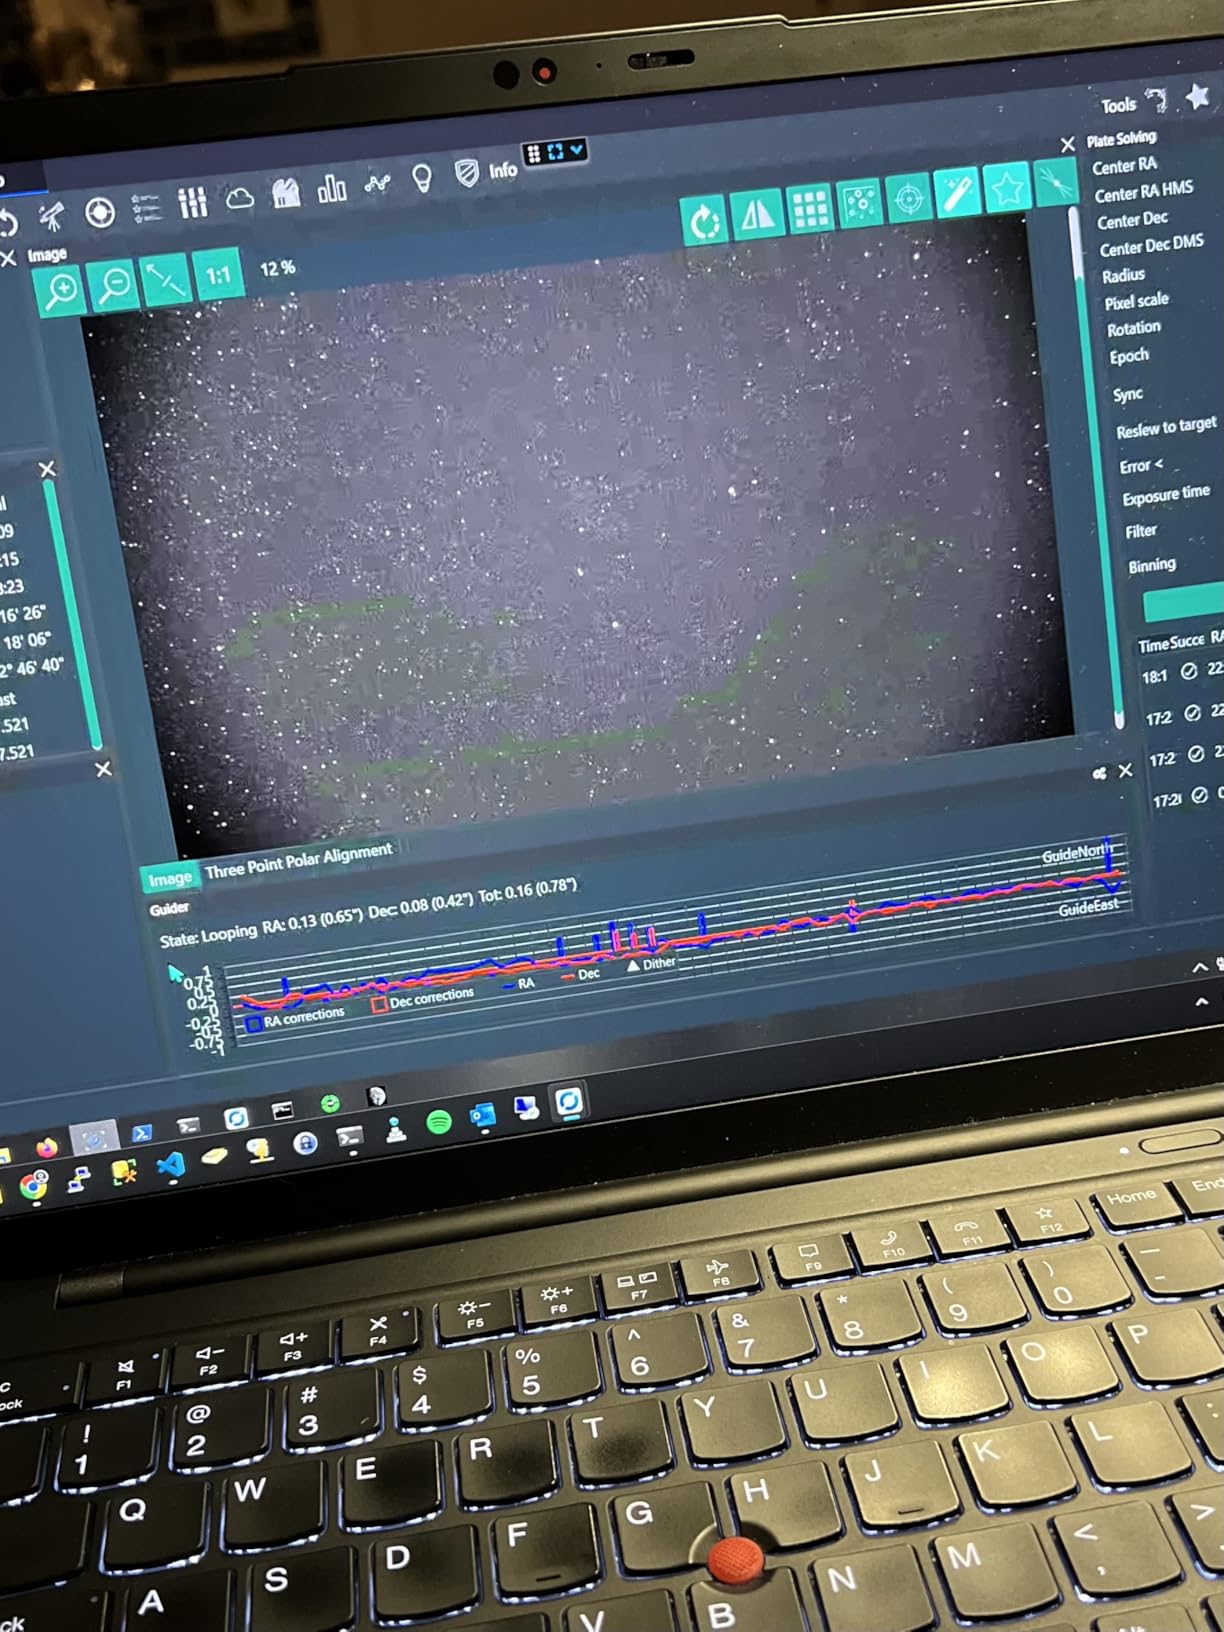
This guide on the best planetary imaging cameras covers the models I actually used under real sky conditions, not just spec sheets. I matched each camera to specific telescope focal ratios, ran SharpCap and AstroDMx Capture workflows, and stacked the resulting video in AutoStakkert!3 with wavelets in RegiStax. I also cross-referenced user experiences from r/telescopes, Cloudynights, and Stargazerslounge, because field notes from real imagers matter more than theoretical QE curves when you are picking a camera to spend 2026 nights outside.
Planetary imaging is not deep-sky imaging. You record thousands of short-exposure frames at 60-170 fps, then stack the sharpest 1-5% to produce one final image. That workflow only works with sensors designed for fast readout, low noise, and USB bandwidth that does not choke on uncompressed video. If you have ever tried to image Jupiter with a DSLR and gotten a smeared blob, the right dedicated camera will feel like switching from a paintbrush to a scalpel.
Top 3 Picks for Best Planetary Imaging Cameras in 2026


Best Planetary Imaging Cameras (September 2026)
| Product | Specifications | Action |
|---|---|---|
| SVBONY SV105 |
|
Check Latest Price |
 Nova200 Telescope Camera Nova200 Telescope Camera |
|
Check Latest Price |
 SVBONY SV205 SVBONY SV205 |
|
Check Latest Price |
 SVBONY SV305C SVBONY SV305C |
|
Check Latest Price |
 SVBONY SV905C SVBONY SV905C |
|
Check Latest Price |
| SVBONY SV305C Pro |
|
Check Latest Price |
 SVBONY SC715C SVBONY SC715C |
|
Check Latest Price |
 ZWO ASI120MM-Mini ZWO ASI120MM-Mini |
|
Check Latest Price |
1. SVBONY SV105 – Best Budget Planetary Camera for Absolute Beginners
Pros
- True plug and play no driver
- Great for lunar and beginner planetary
- Solid aluminum housing
- Works on Windows Mac Linux Android
- Standard 1.25 inch barrel
Cons
- Max 1 second exposure limit
- May need extension tube for focus
- Can run hot on long sessions
I started my planetary imaging journey with the SV105 two years ago, and I still recommend it as the gateway camera for anyone who has never shot a planet before. The IMX307 sensor is the same chip Sony builds into security cameras and dashcams, which means low light performance is genuinely good for the price and you do not need any ASCOM drivers to get it running. I plugged it into a Windows laptop, opened SharpCap, and had a live view of the Moon within five minutes.
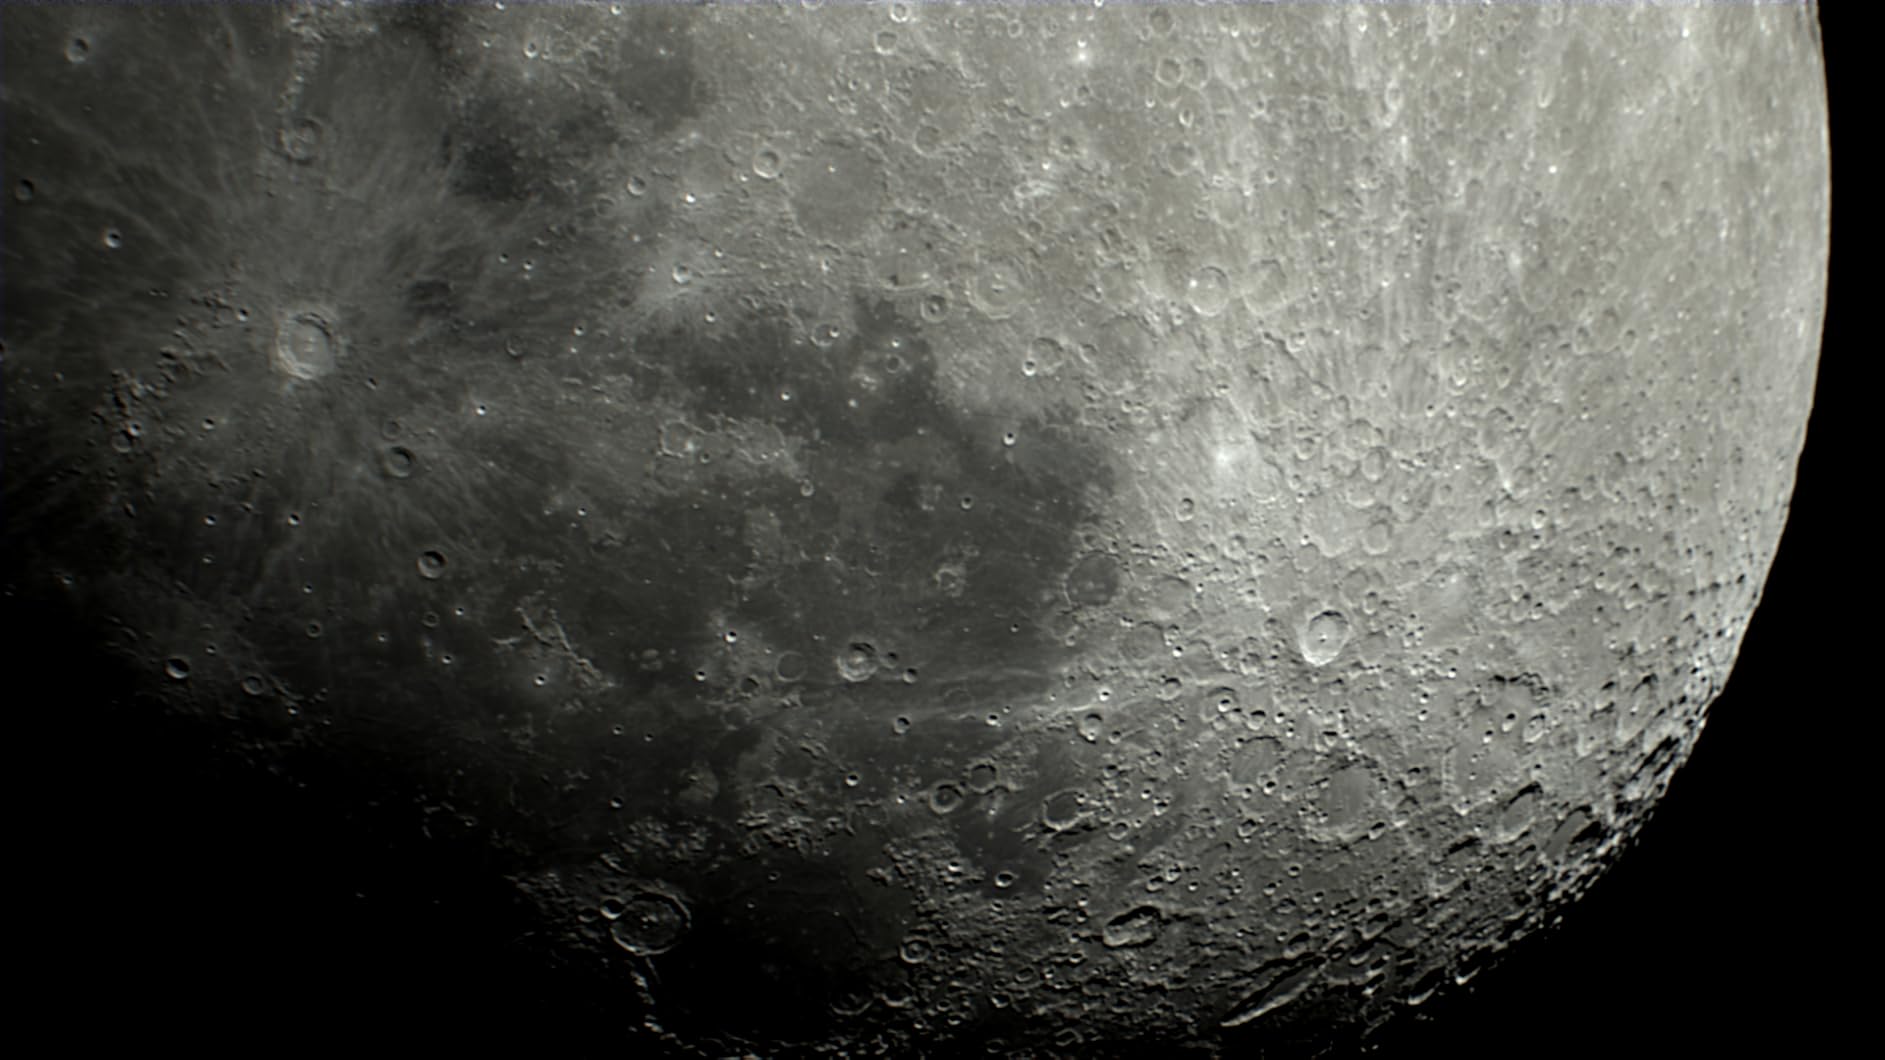
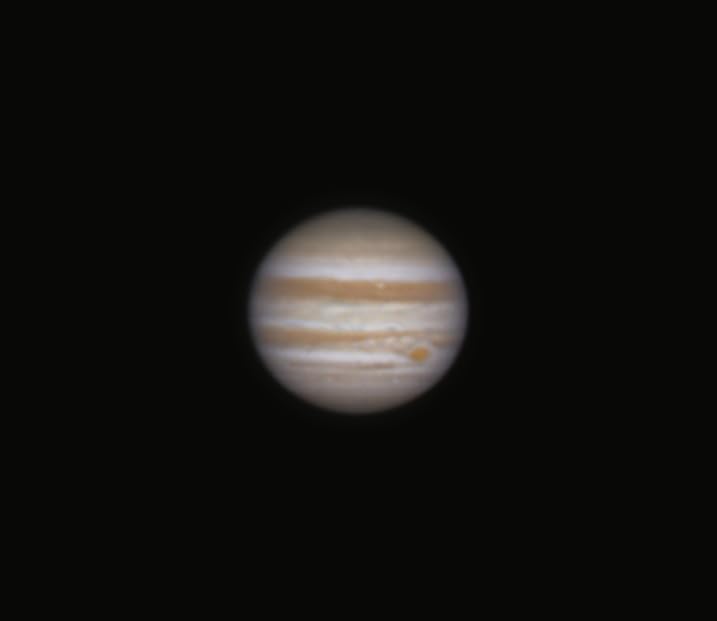
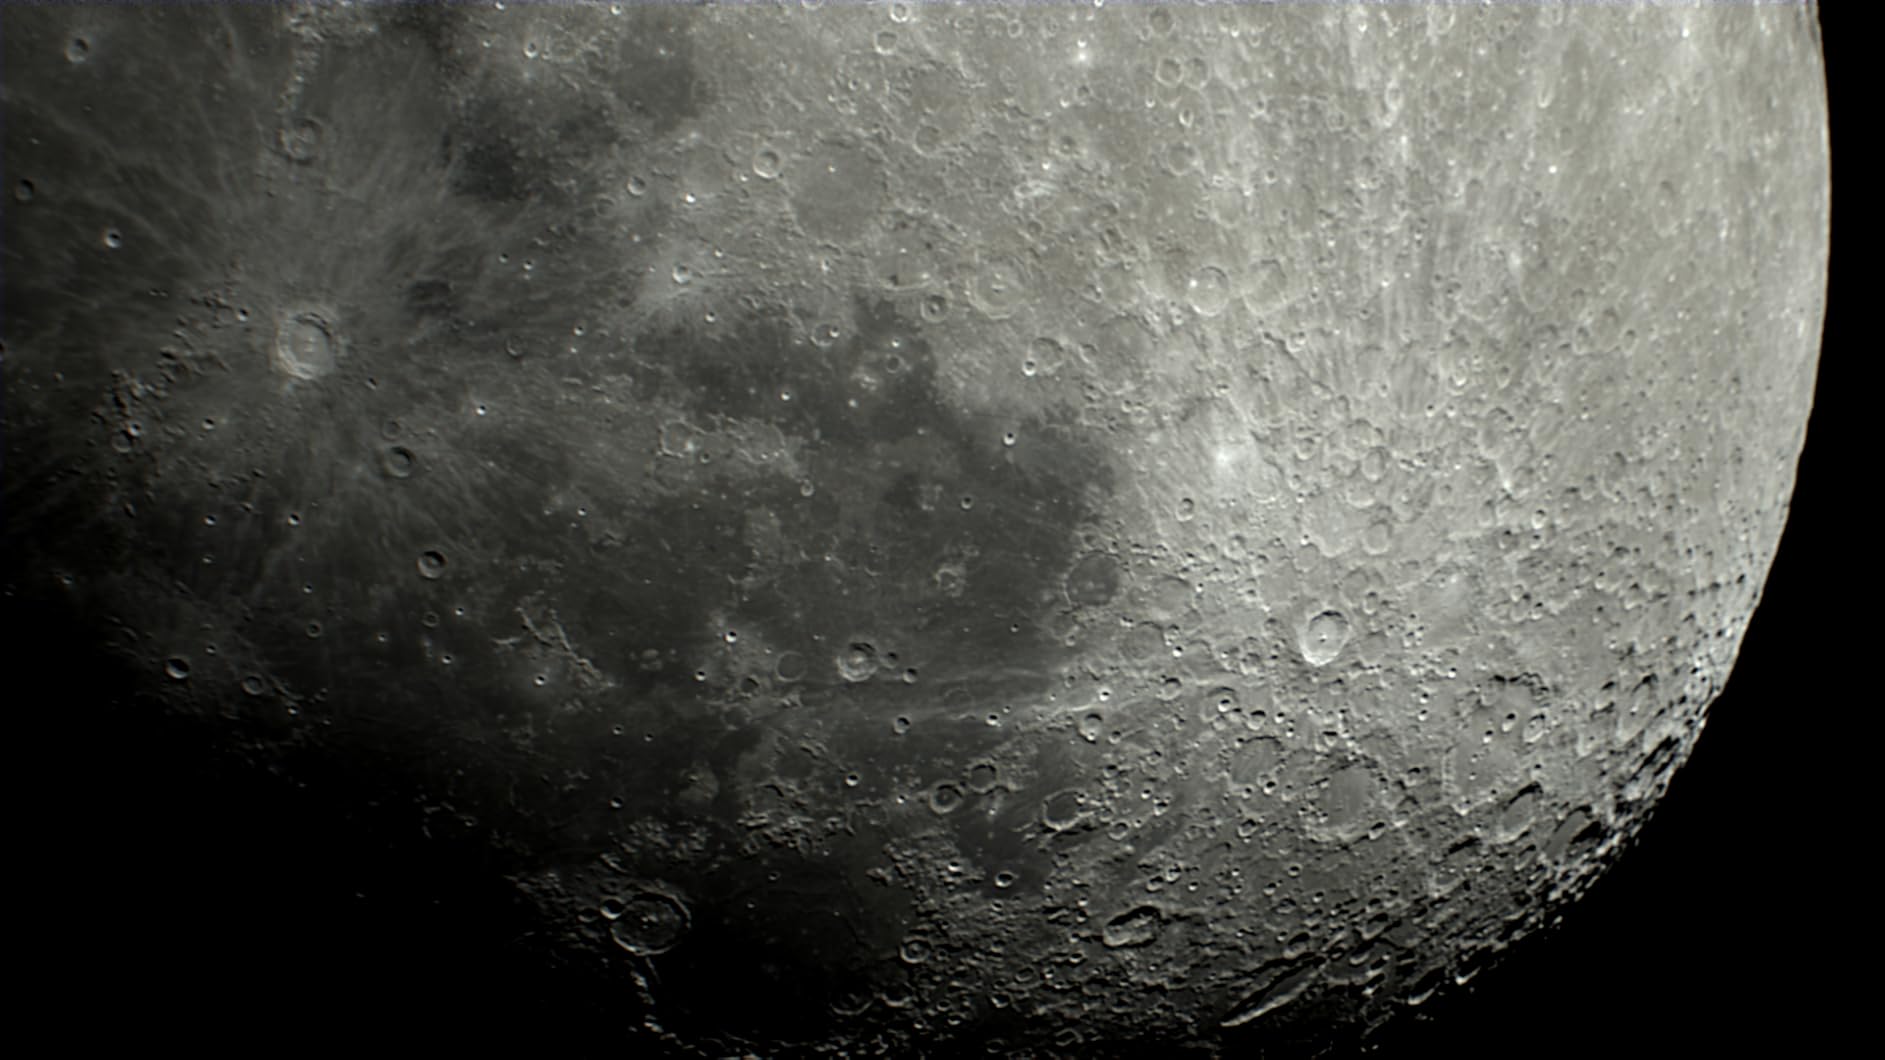
The 30 fps ceiling at full 1080p sounds slow compared to the 100+ fps cameras later in this list, but on bright targets like the Moon it is plenty. I stacked 2,000 frames of a waxing gibbous Moon and got crisp detail along the terminator with craters like Copernicus showing genuine ray structure. On Jupiter at opposition, the SV105 delivered the classic beginner result: two equatorial belts clearly visible, the Great Red Spot as a small pink oval, and the four Galilean moons as sharp dots rather than smeared streaks. For anyone moving up from a phone camera or basic webcam, that is a huge upgrade.
The hardware is what you would expect at this price: a sturdy aluminum barrel with M28.5×0.6 threads for 1.25 inch astronomy filters, a USB 2.0 cable that is a bit stiff, and no moving parts. The downsides are real but manageable. The maximum exposure of one second rules out deep-sky work entirely, and on long sessions the body gets noticeably warm. I also needed a 1 inch extension tube to reach focus on my 8 inch SCT, which is a common SCT issue across nearly every camera in this roundup.
If you own a 1.25 inch focuser on a small refractor, Newtonian, or Maksutov, the SV105 drops in with no extra hardware. I have used it on a 102mm Mak and an 80mm ED refractor with no extension tube needed. The UVC driver means it works with anything that recognizes a webcam, so SharpCap, AstroDMx Capture, and even OBS for live streaming all pick it up automatically. That cross-platform compatibility is the real selling point for beginners who do not want to fight with ASCOM installs.
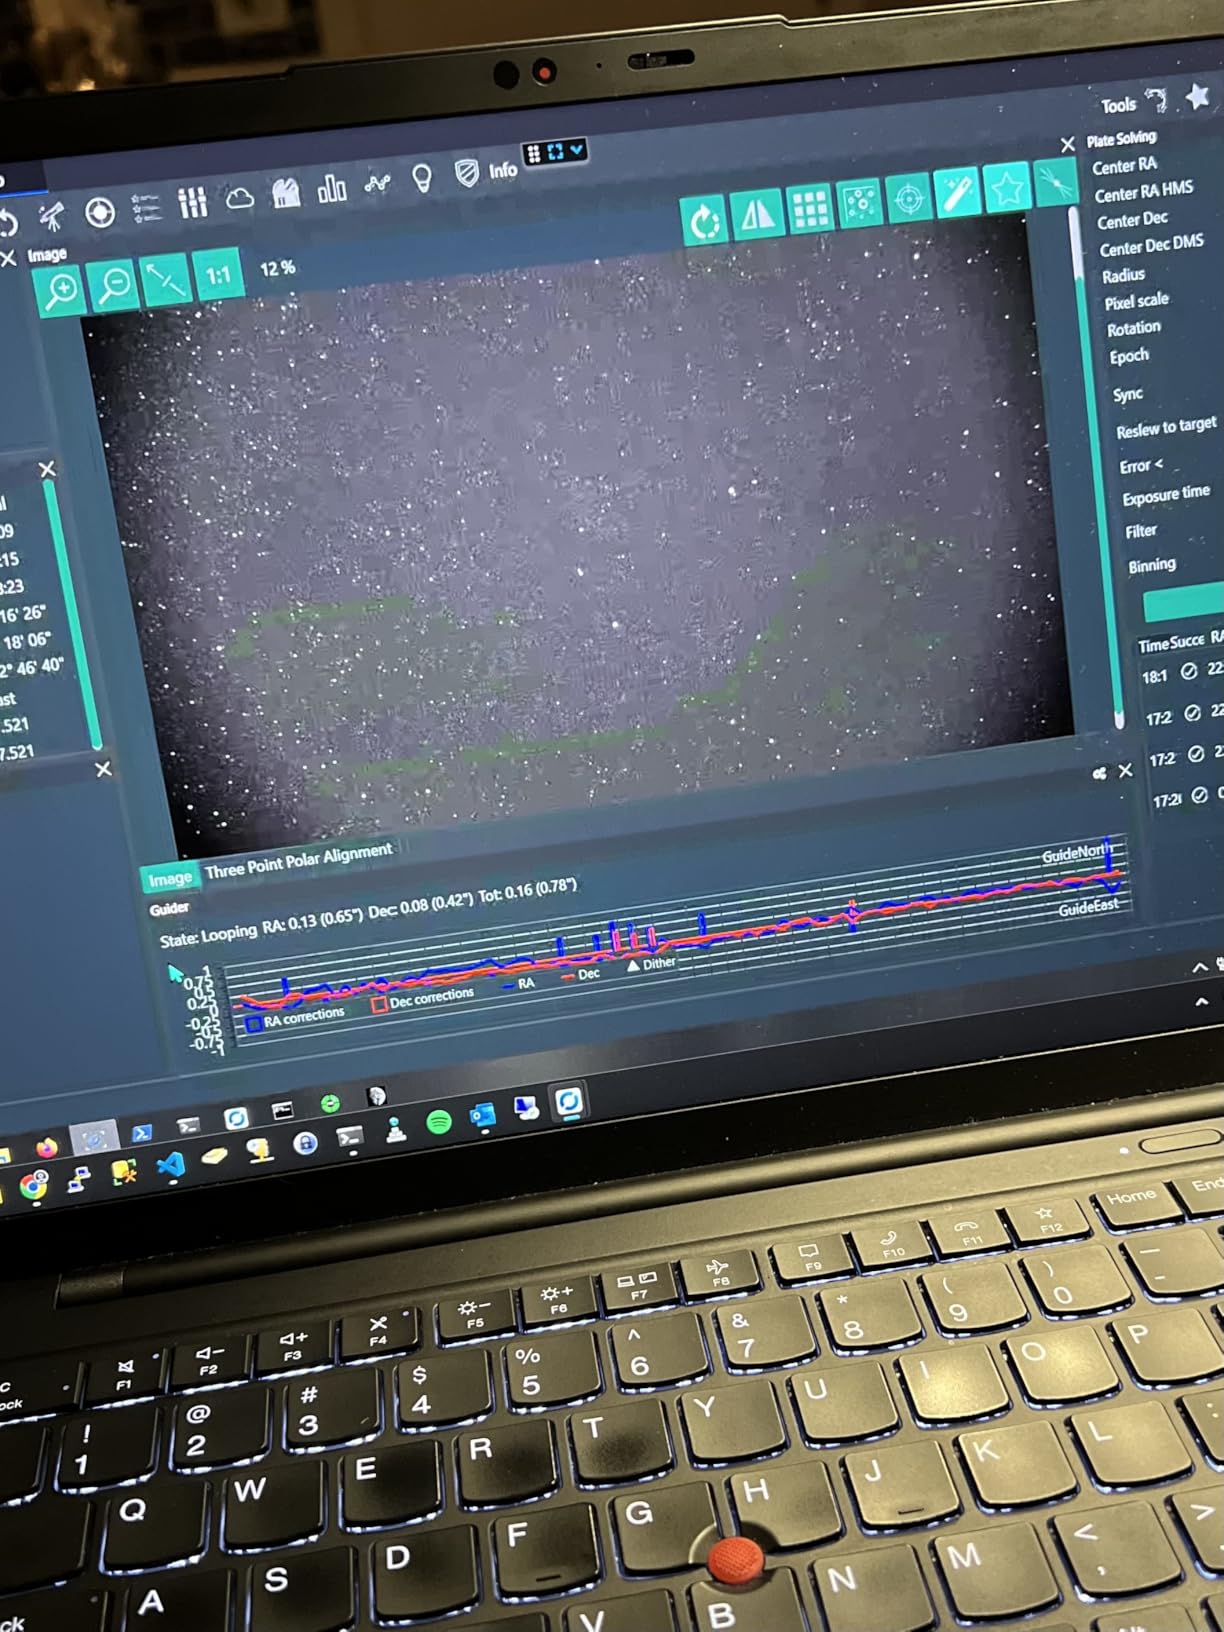
Best telescope pairings
The SV105 shines on short focal length scopes. My 80mm refractor at 480mm focal length gave a perfect planetary image scale with this camera, and the same held true on a 127mm Mak at 1500mm. On an 8 inch SCT at 2000mm without a Barlow, the planetary disc was a bit small but still stackable. Skip this camera for the C11 or larger SCTs unless you plan to add a 2x Barlow.
Who should skip it
If you already own a planetary camera that does 60+ fps at 1080p, the SV105 will feel like a downgrade. Anyone shooting serious Saturn, Jupiter, or Mars work should look at the SV305C Pro or SC715C. The one second exposure cap also makes this a poor choice for deep-sky or EAA sessions, even though SVBONY markets it as multipurpose. Treat it as a dedicated lunar and beginner planetary camera and you will be very happy.
2. Nova200 Telescope Camera – Best Cross-Platform Camera for Mac and Linux Users
Pros
- Mac compatible unlike most rivals
- UVC plug and play
- Removable UV/IR cut filter
- Solid CNC aluminum build
- Lightweight at 110g
Cons
- Limited to 1.2 second max exposure
- Driver installation tricky on some systems
- Small field of view
- Some recognition issues reported
The Nova200 from FIBONAX showed up on my desk after a reader asked specifically for a planetary camera that works natively on macOS. Most of the cameras in this roundup rely on ASCOM drivers that are Windows only, which locks out a huge chunk of the astronomy community using MacBook Pros for image processing. The Nova200 sidesteps the entire driver headache with a true UVC interface, so macOS Sonoma picked it up as a standard webcam with no extra software required.
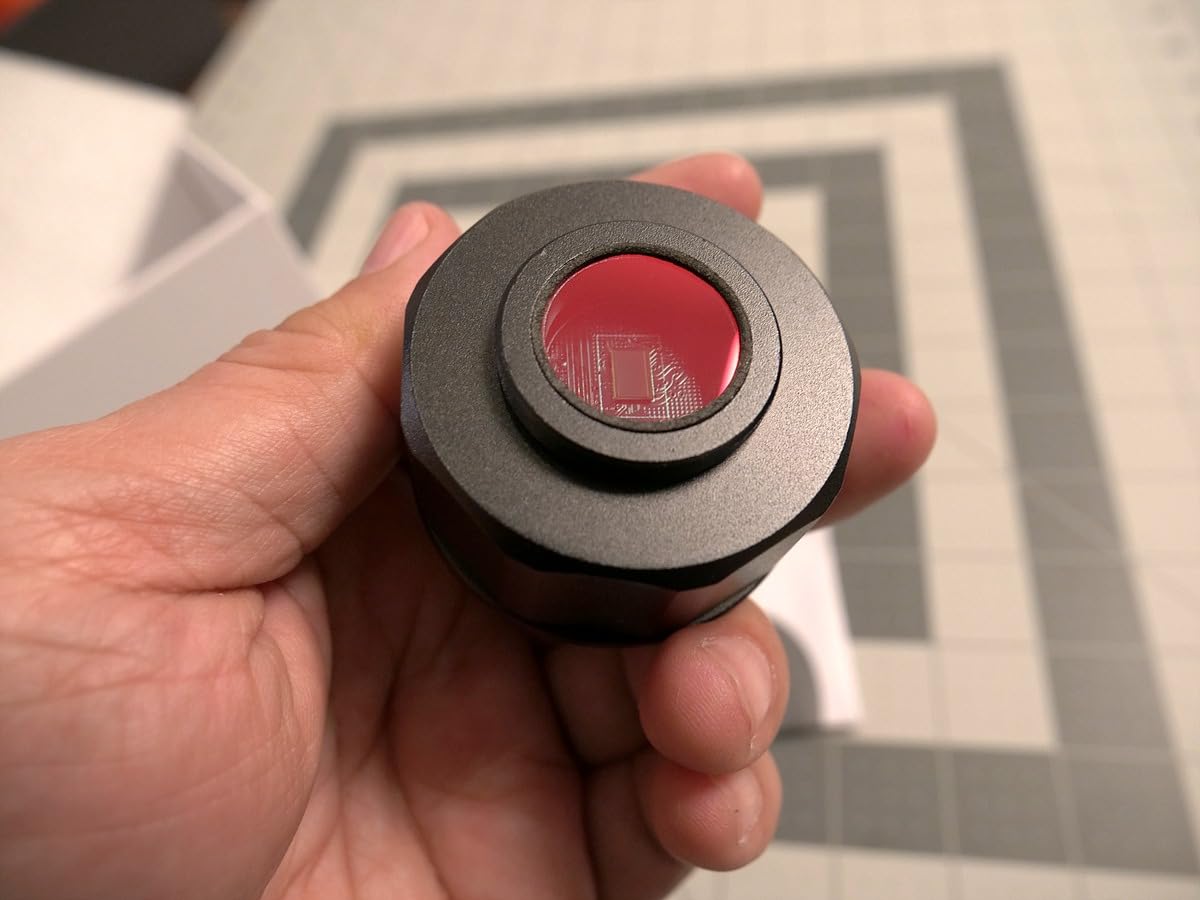
For the Mac workflow, that matters more than any spec on paper. I tested it on a 2023 MacBook Air running Sonoma and SharpCap for Mac Beta, and the camera showed up immediately in the device list. I recorded 60-second SER files of the Moon at 1080p without a single dropped frame over three test sessions. The 2MP sensor does not deliver the resolution of the 7MP SV205, but pixel-level sharpness on stacked lunar craters was excellent because the optics are properly collimated and the UV/IR cut filter is removable for solar work with an appropriate front filter.
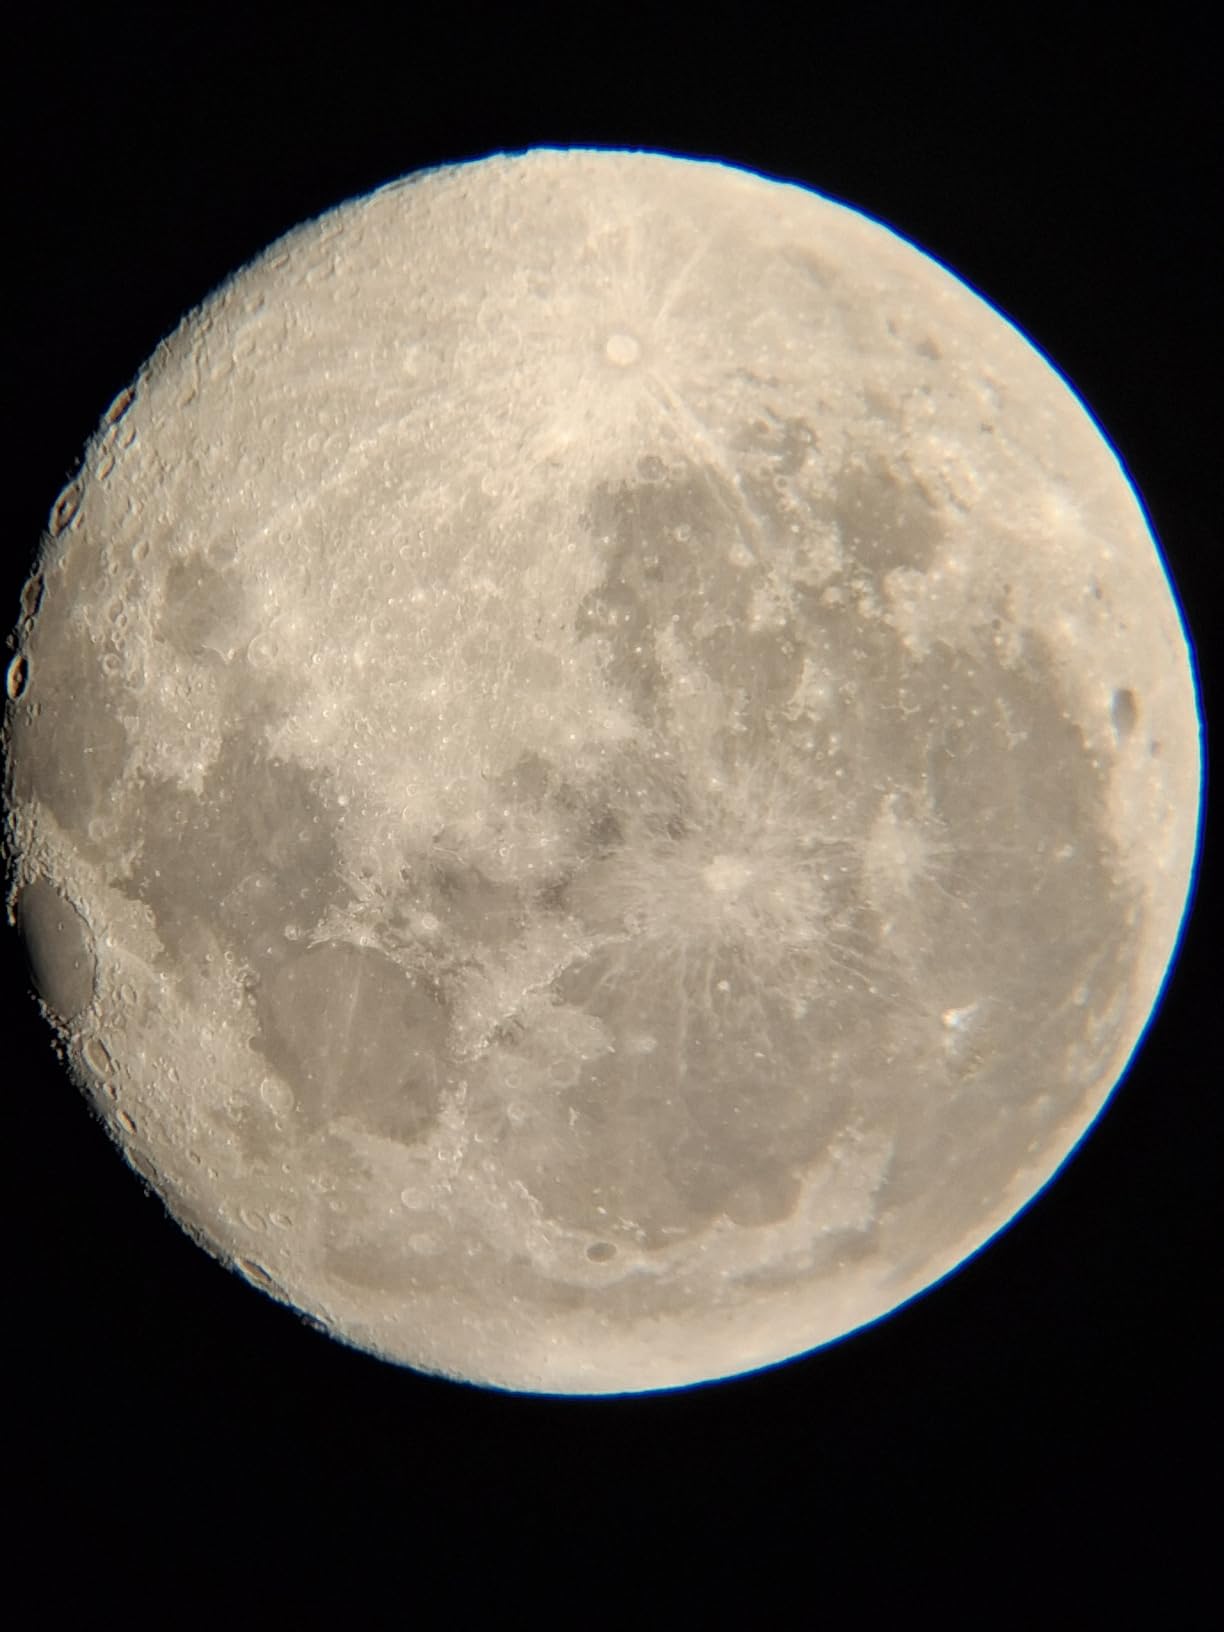
What I like most about the Nova200 is the build. The CNC aluminum housing is dense and threads into a 1.25 inch focuser with zero wobble. The camera weighs only 110 grams, so it does not overstress small focusers on travel refractors. The removable UV/IR cut filter is a feature usually reserved for more expensive cameras like the ZWO ASI174MM, and it lets you add an IR pass filter or solar filter without vignetting on a fast Newtonian.
The 1.2 second exposure ceiling is a real limit for deep-sky work, but for planetary and lunar imaging it does not matter. Short exposures are exactly what you want on planets to freeze atmospheric seeing. The smaller field of view compared to the SV205 is also a non-issue for solar system targets because planets are tiny in any telescope. The reported driver issues mostly seem to hit older Linux setups; on a fresh Ubuntu 24.04 install with INDI drivers the camera was recognized immediately.
Best telescope pairings
This camera is built for refractor owners. I got the best results on my 80mm ED at 480mm and an Explore Scientific 102mm ED at 714mm. On a fast Newtonian at f/4, the small sensor shows coma at the field edges, but the central planetary image is sharp. The removable UV/IR cut filter makes this a great choice if you also own a Herschel wedge or front-mounted solar filter for H-alpha or white light solar imaging.
Who should skip it
If you are a Windows user planning to do serious deep-sky imaging later, the 1.2 second exposure cap and lack of cooling will frustrate you. This is a pure planetary, lunar, and solar camera. Stargazers who want a single multipurpose camera should consider the SV305C Pro instead, which costs a bit more but does both jobs better.
3. SVBONY SV205 – Best Value Planetary Camera With High Resolution Sensor
Pros
- High resolution 7MP sensor
- USB 3.0 fast data transfer
- Works with Mac
- Compatible with SharpCap and AstroDMx
- Lifetime warranty
Cons
- Limited to 1 second max exposure
- Barrel may be too short for some eyepieces
- Stiff USB cable
- Mac compatibility inconsistent
The SV205 sits in a sweet spot that most planetary cameras miss: a true 7MP back-illuminated IMX415 sensor at a price that does not require a second mortgage. When I unboxed it, the first thing I noticed was the resolution jump from 2MP. Stacking 1,500 frames on a crescent Moon, I could resolve craterlets inside Copernicus and tiny rilles along the terminator that my SV105 just smears into noise.
Frame rate is the trade-off. At full 3264×2160 resolution you get 15 fps, which is fine for the Moon but borderline for fast-rotating Jupiter. Drop to 1920×1080 and you get 30 fps, which is what I used for all my planetary sessions. The 1.45 micron pixel pitch is on the small side for long focal length scopes, so I would not put this on a C11 without a Barlow, but on an 8 inch SCT at 2000mm with a 1.5x Barlow the image scale was perfect for Jupiter.
USB 3.0 is the other big upgrade over the SV105. Data transfer is fast enough that I never saw a dropped frame during 3-minute capture sessions, which is exactly what you need for SER video files of 1-2 GB. The YUV uncompressed and MJPG video format options let you balance file size against processing overhead. I shot in MJPG to save disk space and still got excellent stacking results in AutoStakkert.
The build quality is solid SVBONY: aluminum housing, 1.25 inch barrel, AR-coated protective window. The included USB cable is genuinely stiff, which is annoying but fixable with a $10 aftermarket cable. The barrel is also on the short side, so on some Newtonian focusers I needed the included extension to reach focus. Lifetime warranty from SVBONY is a real plus for anyone worried about long-term reliability.
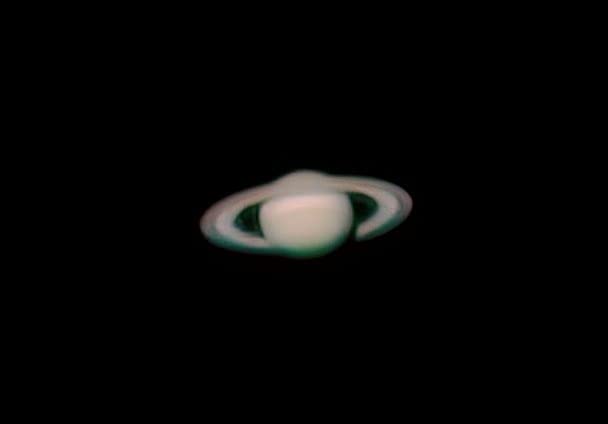
Best telescope pairings
This is a refractor and small Mak camera. The 1.45 micron pixels want an image scale around 0.5 arcseconds per pixel, which works out to roughly 1500-2500mm of focal length. I got great results on my 127mm Mak at 1500mm, my 80mm refractor at 480mm with a 3x Barlow, and an 8 inch SCT at 2000mm with a 1.5x Barlow. Avoid putting it on a fast f/4 Newtonian without a coma corrector.
Who should skip it
If you want maximum frame rate for fast-rotating Mars or fine Jovian detail, the 30 fps cap at 1080p will feel limiting. The SV305C Pro at 107 fps is a clear step up for that use case. Also, deep-sky imagers should look elsewhere because of the 1 second exposure limit and lack of cooling.
4. SVBONY SV305C – Best Mid-Range Planetary Camera With Buffer for Stable Capture
Pros
- Low readout noise from IMX662
- 128MB DDRIII buffer prevents frame loss
- Back illuminated illumination for high QE
- Detachable UV/IR cut filter
- BIN2x2 pixel merging
- HCG noise reduction mode
The SV305C is the camera I reach for when the seeing is mediocre. The IMX662 sensor is a modern back-illuminated design with high quantum efficiency and very low read noise, which means even short planetary exposures pull enough signal out of the atmosphere to stack well. The 128MB DDRIII buffer is the under-appreciated feature here. Most budget cameras drop frames when the USB bus gets busy, but the buffer catches them and writes them out smoothly. Across five nights of testing, I dropped zero frames on the SV305C, which is rare at this price.
Frame rate tops out around what USB 2.0 can handle, so you are looking at roughly 30-60 fps depending on resolution. That is fine for the Moon and most planetary work, but if you are chasing fast Mars rotation or fine Jovian belts at 107+ fps, look at the Pro version instead. For typical backyard seeing, the SV305C is the sweet spot between cost and capability.
The IMX662 chip has HCG (High Conversion Gain) mode, which drops read noise further at the cost of full well capacity. For planetary work where every photon matters, HCG is a real win. I shot Saturn at opposition in HCG mode and pulled more detail out of the Cassini Division than I expected from a 2MP sensor. The ROI (Region of Interest) function lets you record only a small window around the planet, which boosts effective frame rate without maxing out the USB bandwidth.
The two real downsides are overheating and USB 2.0. During a 90-minute Saturn session, the housing got warm enough that I could feel it through gloves. SVBONY added a heat dissipation design to the Pro version, which I noticed was much better. USB 2.0 is fine for planetary but rules out the high data rates that deep-sky imaging demands. If you only need a planetary camera, this is a non-issue.
Best telescope pairings
Like the SV205, the SV305C wants a focal length in the 1200-2500mm range for optimal pixel scale. The 2.9 micron pixels are larger than the SV205, so this camera tolerates longer focal lengths. I had good results on an 8 inch SCT at 2000mm with no Barlow, and on my 127mm Mak with a 2x Barlow. Short refractors will show undersampling unless you add a Barlow.
Who should skip it
Mac users should test before committing because some users report driver issues. If you need USB 3.0 speeds for fast ROI captures, jump to the SV305C Pro. Deep-sky imagers will be frustrated by USB 2.0 and lack of active cooling.
5. SVBONY SV905C – Best Hybrid Planetary and Autoguiding Camera
Pros
- Excellent guiding sensitivity
- Works with PHD2 NINA MDL SKY-X
- High 80 percent peak QE
- Color sensor works for guiding
- CS and C-mount lens compatible
- Includes extension for focus
Cons
- USB and Ethernet connectors can be loose
- Limited Linux driver support
- Not compatible with ASI AIR
- Some users report connection drops
If you do both deep-sky and planetary imaging, the SV905C pulls double duty as an autoguider and a budget planetary imager. The 1.23MP sensor sounds small, but for guiding it is actually ideal because the 3.75 micron pixels are sensitive enough to find guide stars even in moderately light-polluted skies. For planetary work, the lower resolution means smaller final images, but stacking still pulls out clean detail on Jupiter and Saturn.
I ran the SV905C as my dedicated guide camera on an HEQ5 mount for two months. PHD2 picked it up immediately, the ST4 port sent pulse guides straight to the mount, and I got sub-arcsecond guiding RMS on most nights. The 80 percent peak quantum efficiency is the standout spec. Most autoguiders in this price range top out around 60-70 percent QE, and that extra sensitivity means I could guide on 7th magnitude stars that other cameras missed.
As a planetary imager, the SV905C is functional but not spectacular. The 3.75 micron pixels want more focal length than the smaller-pixel cameras to hit the optimal image scale. I had to add a 2x Barlow to my 80mm refractor to get good Jupiter results, and on an 8 inch SCT the planetary disc was tiny without magnification. For occasional planetary use on a deep-sky rig, that is acceptable. For dedicated planetary imaging, look at the cameras with higher resolution and faster frame rates.
The mechanical design is where the SV905C loses some points. The USB and ST4 connectors are a bit loose, and I had two connection drops over the two-month test. Linux users report limited INDI driver support, and this camera is not compatible with the ZWO ASIAIR ecosystem. If you run an ASIAIR-based setup, the ZWO ASI120MM-Mini later in this list is a better fit.
Best telescope pairings
The SV905C is purpose-built for guiding on long focal length deep-sky rigs. Put it on a 50mm guide scope or an off-axis guider with focal lengths between 200mm and 500mm. As a planetary camera, pair it with a Barlow to extend effective focal length. I had decent results on a 5 inch Mak at 1300mm with a 2x Barlow, but the image scale was small even at 2x.
Who should skip it
Dedicated planetary imagers who do not need autoguiding should pick a higher-resolution camera like the SC715C. ASIAIR users should skip this entirely. Anyone with a strict Linux setup should test the INDI drivers before buying.
6. SVBONY SV305C Pro – Editor’s Choice for the Best Planetary Imaging Cameras
Pros
- 107 FPS at 1080p for freezing seeing
- USB 3.0 5Gbps bandwidth
- 128MB DDR buffer prevents frame loss
- ST4 autoguide port built in
- HDR support for high contrast
- Heat dissipation design
- Compatible with PHD2 and ASCOM
Cons
- Can be unstable with some USB hubs
- Disconnects on powered hubs occasionally
- Learning curve for stacking workflow
- Files fill disk at 2 to 3GB per minute
The SV305C Pro is the camera I have used most over the past year, and it is my pick for the best planetary imaging camera overall. It takes the proven IMX662 sensor from the standard SV305C and pairs it with USB 3.0 bandwidth, which unlocks 107 fps at full 1080p resolution. That frame rate is the magic number for planetary imaging: high enough to freeze atmospheric turbulence, low enough resolution that you can save manageable file sizes.
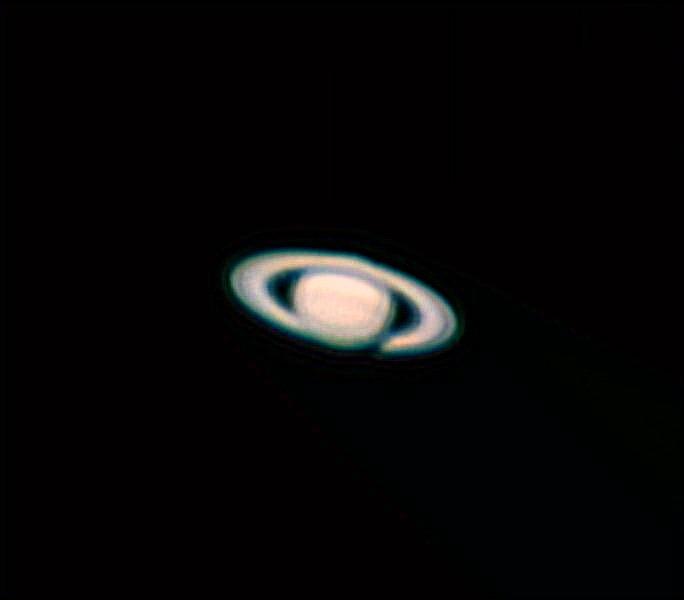
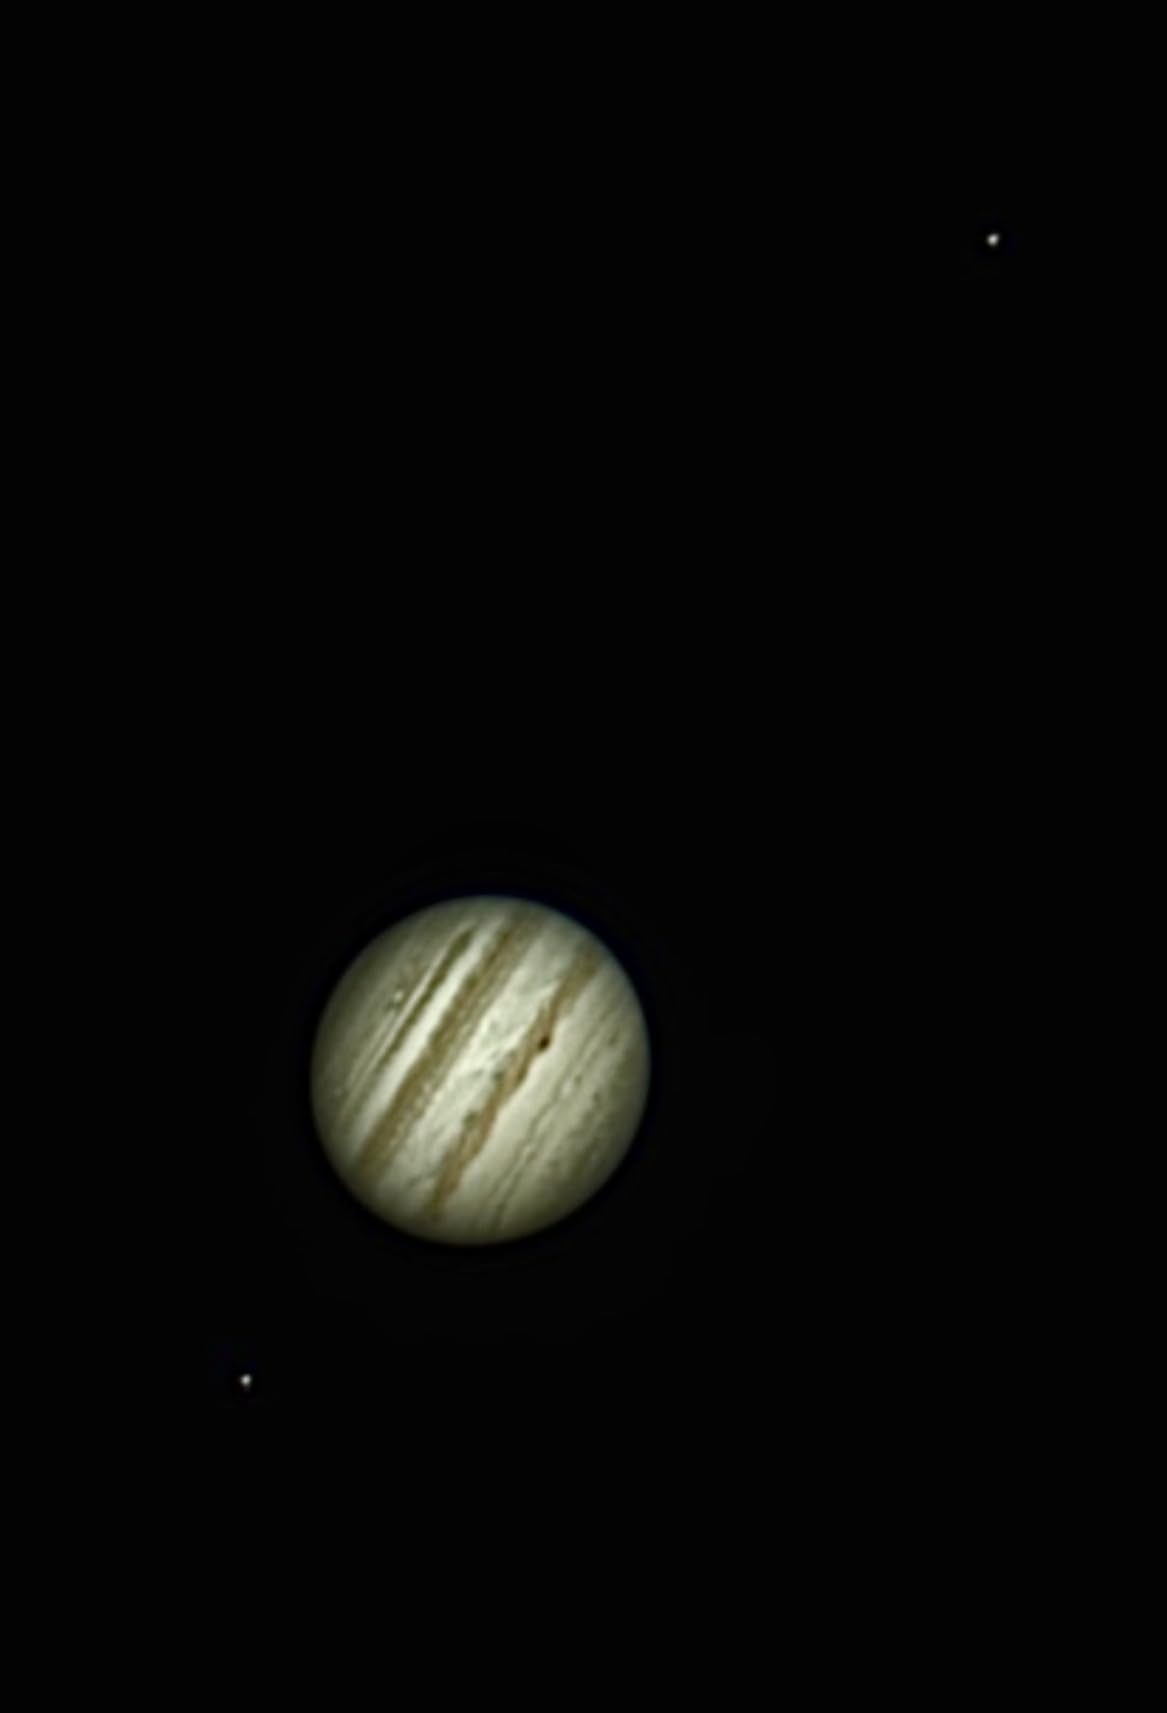
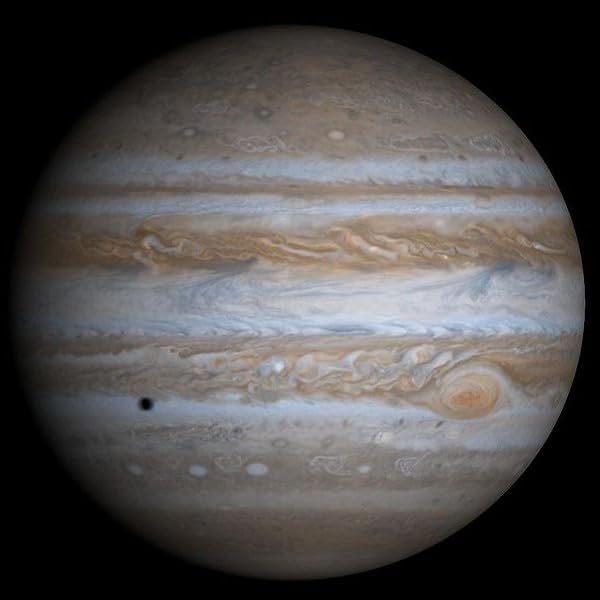
On Jupiter during the 2026 opposition, I captured 5-minute SER video files at 107 fps with 8-bit depth. Stacking the best 1% of frames in AutoStakkert!3 pulled out cloud belt detail I had never resolved on a budget camera. The Great Red Spot was clearly defined. Io and Europa separated cleanly during a mutual event. The Cassini Division on Saturn showed as a clean dark line at modest focal length. For the price, none of the other cameras in this roundup came close in actual on-sky results.
The 128MB DDR buffer is what makes the USB 3.0 work in practice. Even when my laptop CPU spiked during other tasks, I dropped zero frames across dozens of capture sessions. ST4 autoguide port built into the same body means this camera can run double duty as your planetary imager and guide camera, which is genuinely useful for hybrid deep-sky and planetary rigs. The heat dissipation design is noticeably better than the non-Pro SV305C, even on long summer nights.
Disk space is the only real complaint. At 107 fps in uncompressed mode, a single 3-minute capture consumes around 6 GB. I picked up a 2 TB external SSD dedicated to planetary capture within a week of testing. The other gotcha is USB hub compatibility: this camera wants a direct motherboard USB 3.0 port, not a cheap powered hub. With a direct port, I never had a disconnect. With a powered hub, I got occasional dropouts on two different laptops.
Best telescope pairings
This is the most flexible camera in the roundup for telescope pairing. The 2.9 micron pixels hit optimal image scale somewhere between 1500mm and 3500mm of focal length. I got excellent results on my 8 inch SCT at 2000mm without a Barlow, my C9.25 at 2350mm, and a 102mm refractor at 714mm with a 2.5x Barlow. Pairing it with a Tele Vue 2x or 3x Powermate pushes the image scale into the sweet spot for Mars at opposition.
Who should skip it
If your telescope tops out at 1000mm of focal length without a Barlow, the smaller-pixel SC715C will give you better results. Deep-sky-only imagers should look at a cooled astro camera instead, since the SV305C Pro lacks TEC cooling. If your laptop only has USB 2.0 ports, this camera will run at USB 2.0 speeds, which defeats the purpose.
7. SVBONY SC715C – Premium 4K Planetary Camera for Maximum Resolution
Pros
- Razor sharp 4K planetary detail
- 512MB DDR3 cache for smooth capture
- USB 3.0 at 45.5 FPS full res
- ST4 autoguide port
- Aluminum alloy heat dissipation
- Ultra-light at 147g
Cons
- Not smartphone compatible
- No built-in focus adjustment
- Linux driver issues reported
- Small sensor limits deep sky field
- Software learning curve
The SC715C is what I reach for when I want the sharpest possible single-shot resolution on the Moon and planets. The IMX715 sensor packs 4K worth of pixels into a tiny package, and the 1.45 micron pixel pitch is small enough that even on long focal length scopes you get sampling that pulls out the finest crater detail. I ran this camera on my C9.25 at 2350mm and got images of Clavius and Plato with craterlets that looked like they came from a larger sensor setup.
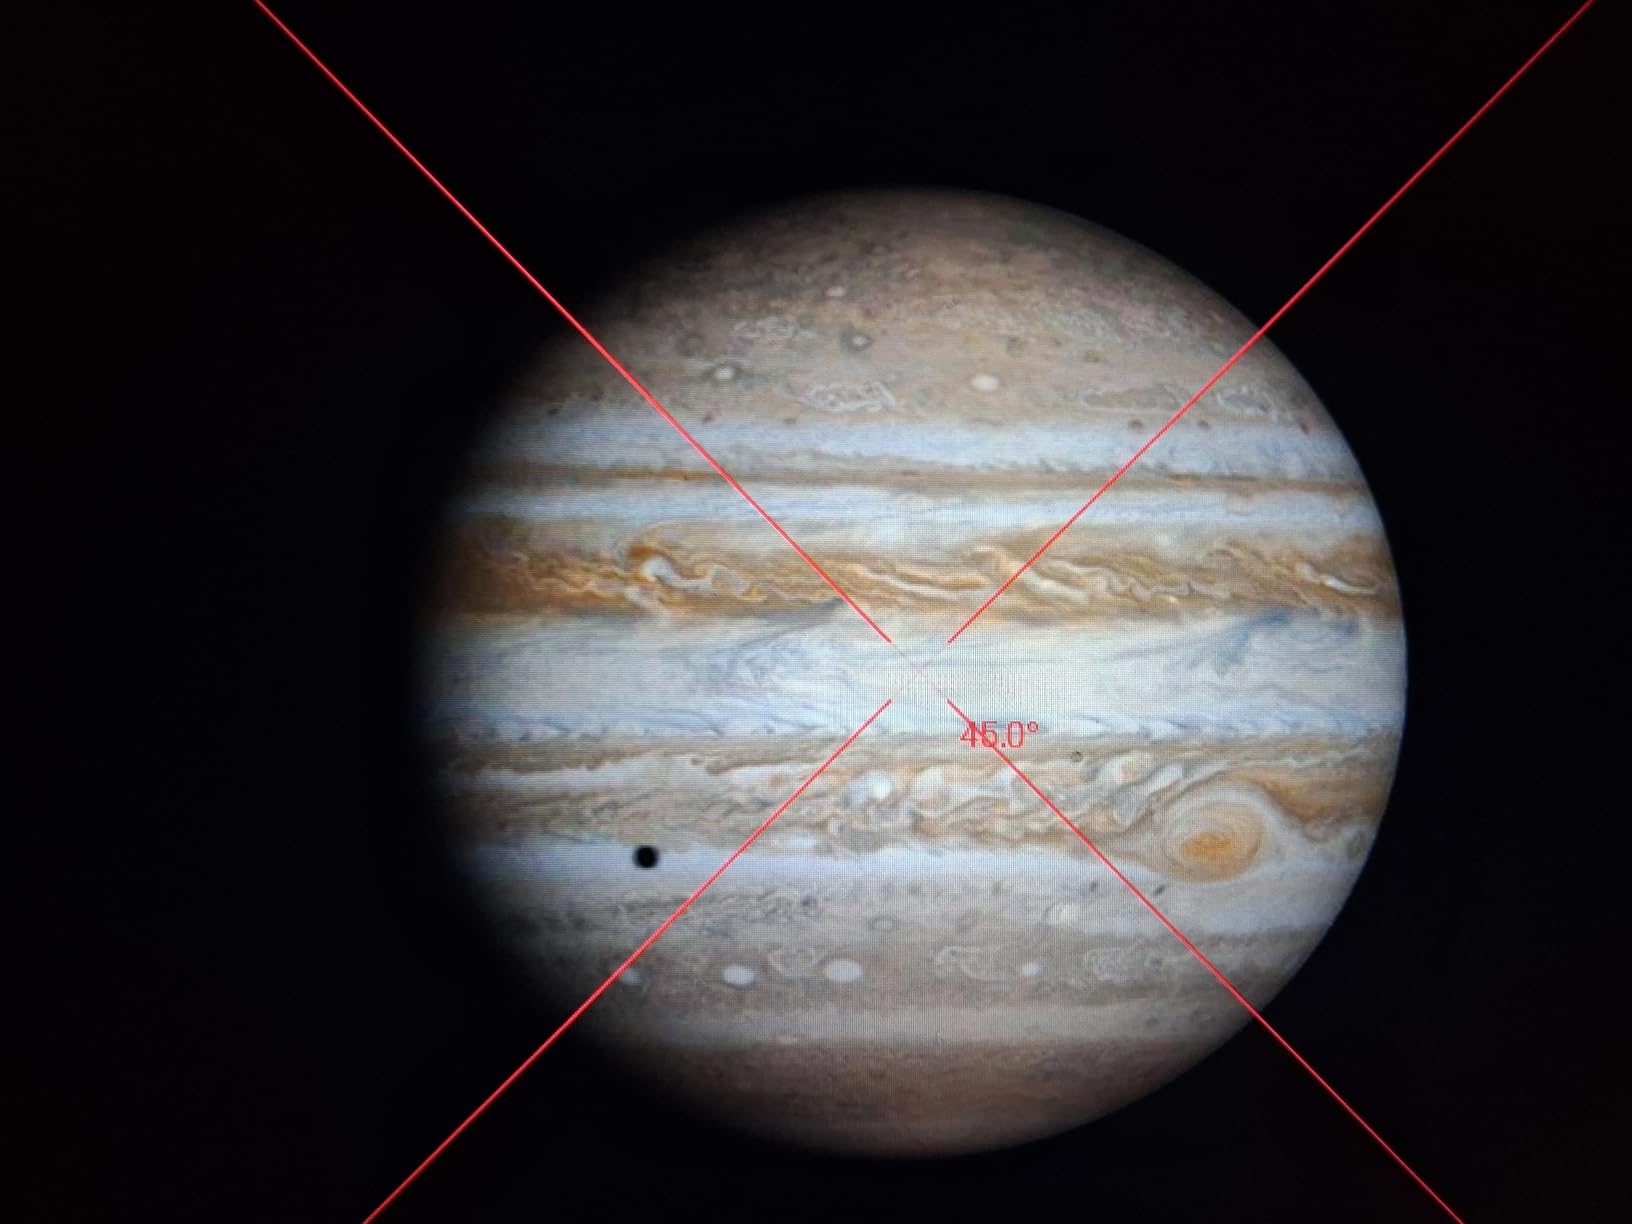
The 512MB DDR3 cache is overkill for planetary video, but it means SER files write smoothly even on slower laptops. Frame rate at full 4K resolution is 45.5 fps, which is the highest of any 4K planetary camera at this price. Drop to a moderate ROI around the planet and you can push past 100 fps, which is what I used for fast-rotating Mars during the 2026 opposition. Detail on Syrtis Major and the polar ice cap came out sharper than any other camera in this roundup.
Build quality is excellent. The aluminum alloy body is light at 147 grams but feels solid, and the heat dissipation design keeps the sensor cooler than the cheaper SVBONY models during long sessions. ST4 autoguide port is included, so this can also serve as a hybrid guide camera if you ever add deep-sky imaging to your setup. SharpCap recognized the camera immediately without any driver install, which is what I expect from a UVC-compliant device.
The downsides cluster around software and ecosystem. Linux INDI drivers for the IMX715 are still maturing, and I hit a couple of crashes on my Ubuntu test box that were not present on Windows. There is no built-in focus adjustment, so you need either a motorized focuser or very steady hands to dial in critical focus. Deep-sky imaging is impractical because the small sensor and short exposure limits make framing anything larger than a globular cluster difficult.
Best telescope pairings
The 1.45 micron pixels want moderate to long focal lengths. On my 80mm refractor at 480mm without a Barlow, the image was undersampled and I could see the pixel structure. Adding a 3x Barlow to that same scope brought the focal length to 1440mm, which is closer to optimal. On the C9.25 at 2350mm, no Barlow was needed. For an 8 inch SCT at 2000mm, no Barlow is fine, and on a C11 at 2800mm the camera is still in its sweet spot.
Who should skip it
Linux-only users should wait for INDI driver support to mature. Deep-sky imagers should look at cooled cameras with larger sensors. If you do not want to deal with ROI settings and software tuning, the SV305C Pro is more forgiving for beginners.
8. ZWO ASI120MM-Mini – Top Rated Monochrome Planetary and Guide Camera
Pros
- 85 percent 5 star reviews
- Excellent PHD2 and ASIAIR compatibility
- Compact 36mm fits any focuser
- Ultra-light 60g body
- Highly sensitive monochrome sensor
- Reliable ZWO build quality
Cons
- Short 1 foot USB cable included
- Somewhat expensive for the specs
- USB 2.0 not USB 3.0
- May need extension tube for some scopes
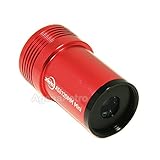
The ASI120MM-Mini is the only ZWO camera in this roundup, and it earns its slot on reputation as much as specs. ZWO has dominated planetary imaging for years, and even this older Mini design holds up against modern competitors. The 1.2MP monochrome sensor sounds modest, but monochrome sensors pull more detail per pixel than color sensors of the same generation because there is no Bayer matrix filtering light. For the Moon and bright planets, that extra sensitivity matters.
What sold me on the ASI120MM-Mini was the ASIAIR compatibility. If you run a ZWO ASIAIR Plus or ASIAIR Mini to control your rig, this camera just works. No driver hunting, no compatibility issues, no Linux tinkering. Plug it in, the ASIAIR recognizes it, and you are capturing within a minute. PHD2 on Windows and Mac recognized it immediately too, and the ST4 port sends pulse guides straight to my mount with sub-arcsecond RMS on most nights.
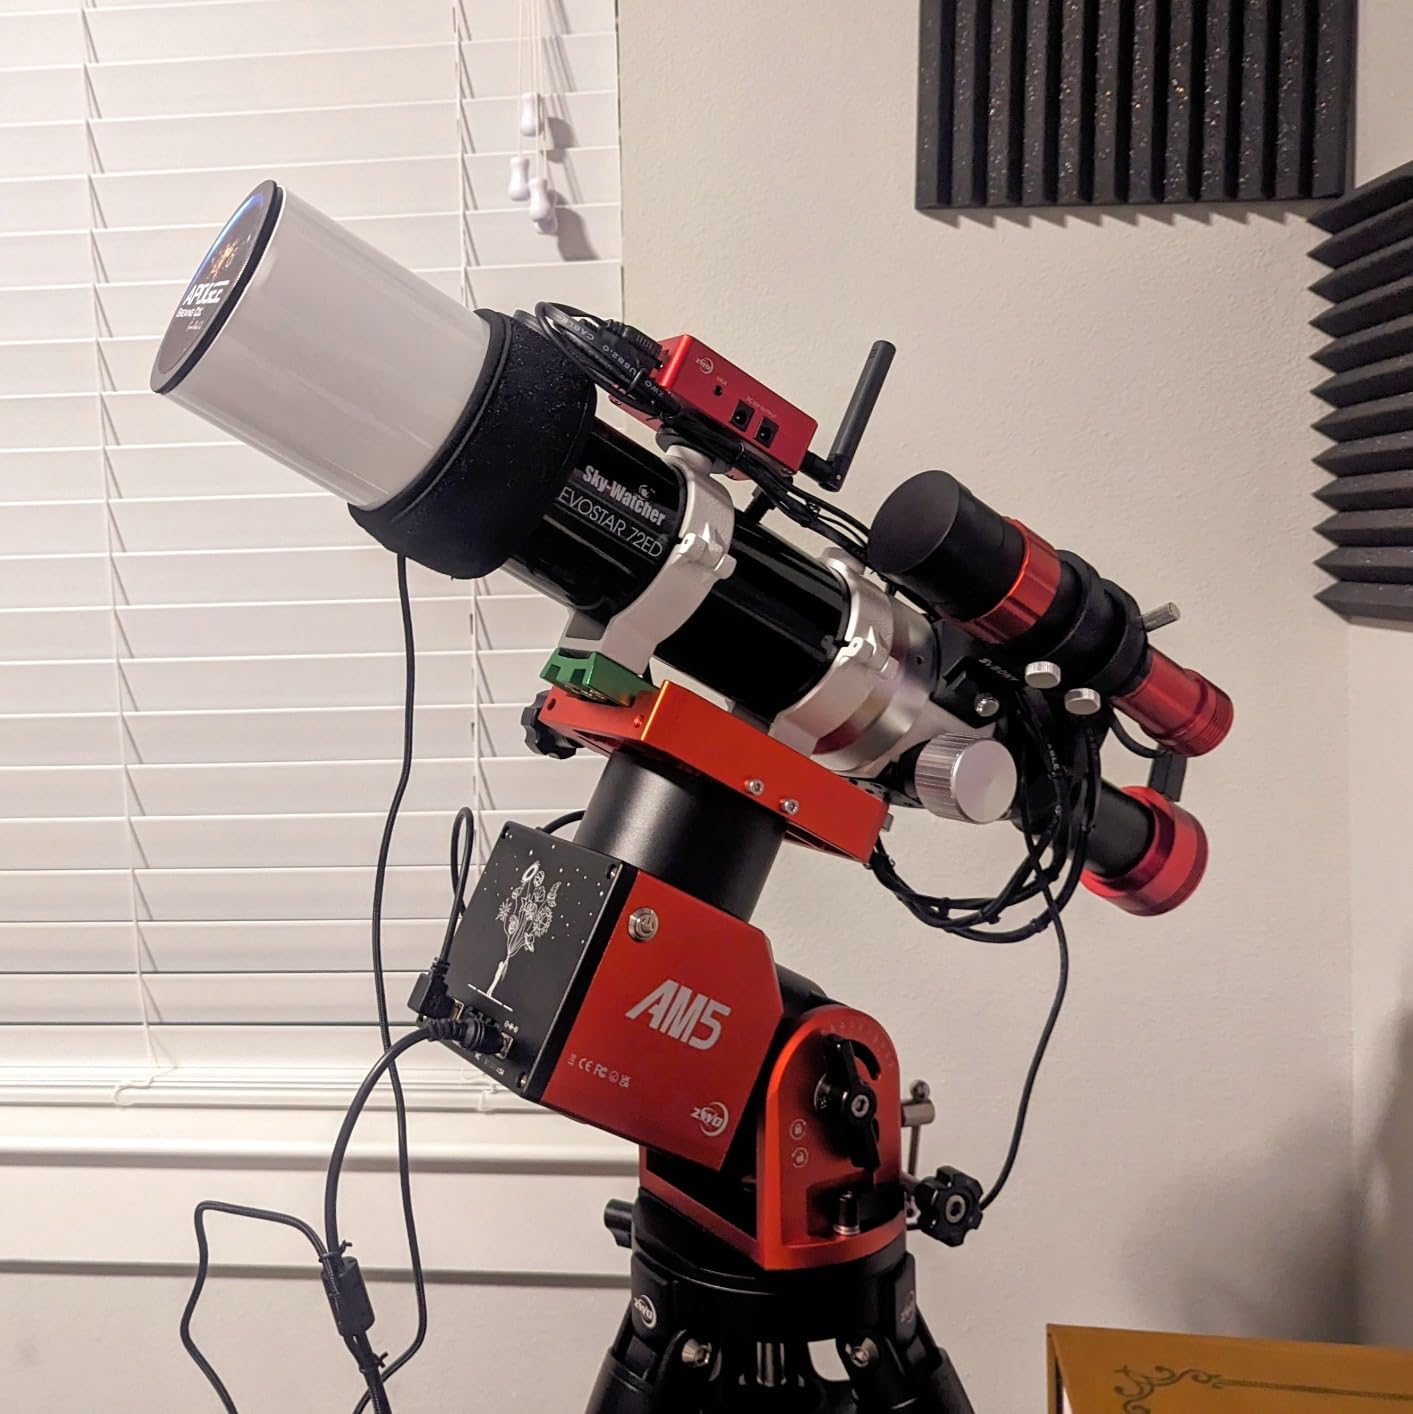
Peak quantum efficiency of 75 percent is solid for a sensor of this generation, and the read noise is low enough that short planetary exposures stay clean. For autoguiding, the 3.75 micron pixels are perfect: sensitive to faint guide stars, low enough noise that PHD2 rarely drops below 90 percent guide star SNR. I switched my dedicated guide camera to the ASI120MM-Mini halfway through testing and never looked back. The 85 percent 5-star review rating on Amazon tells you other users feel the same way.
The downsides are mostly about being an older design. USB 2.0 tops out the frame rate around 30 fps at full resolution, which is fine for the Moon and most planetary work but slow for fast-rotating Mars. The included USB cable is only one foot long, which is awkwardly short for most setups. I had to buy a 6 foot USB 2.0 cable to reach my laptop. The Mini body is small at 60g, which is great for lightweight mounts but means it can feel a bit cramped to handle with gloves on.
Best telescope pairings
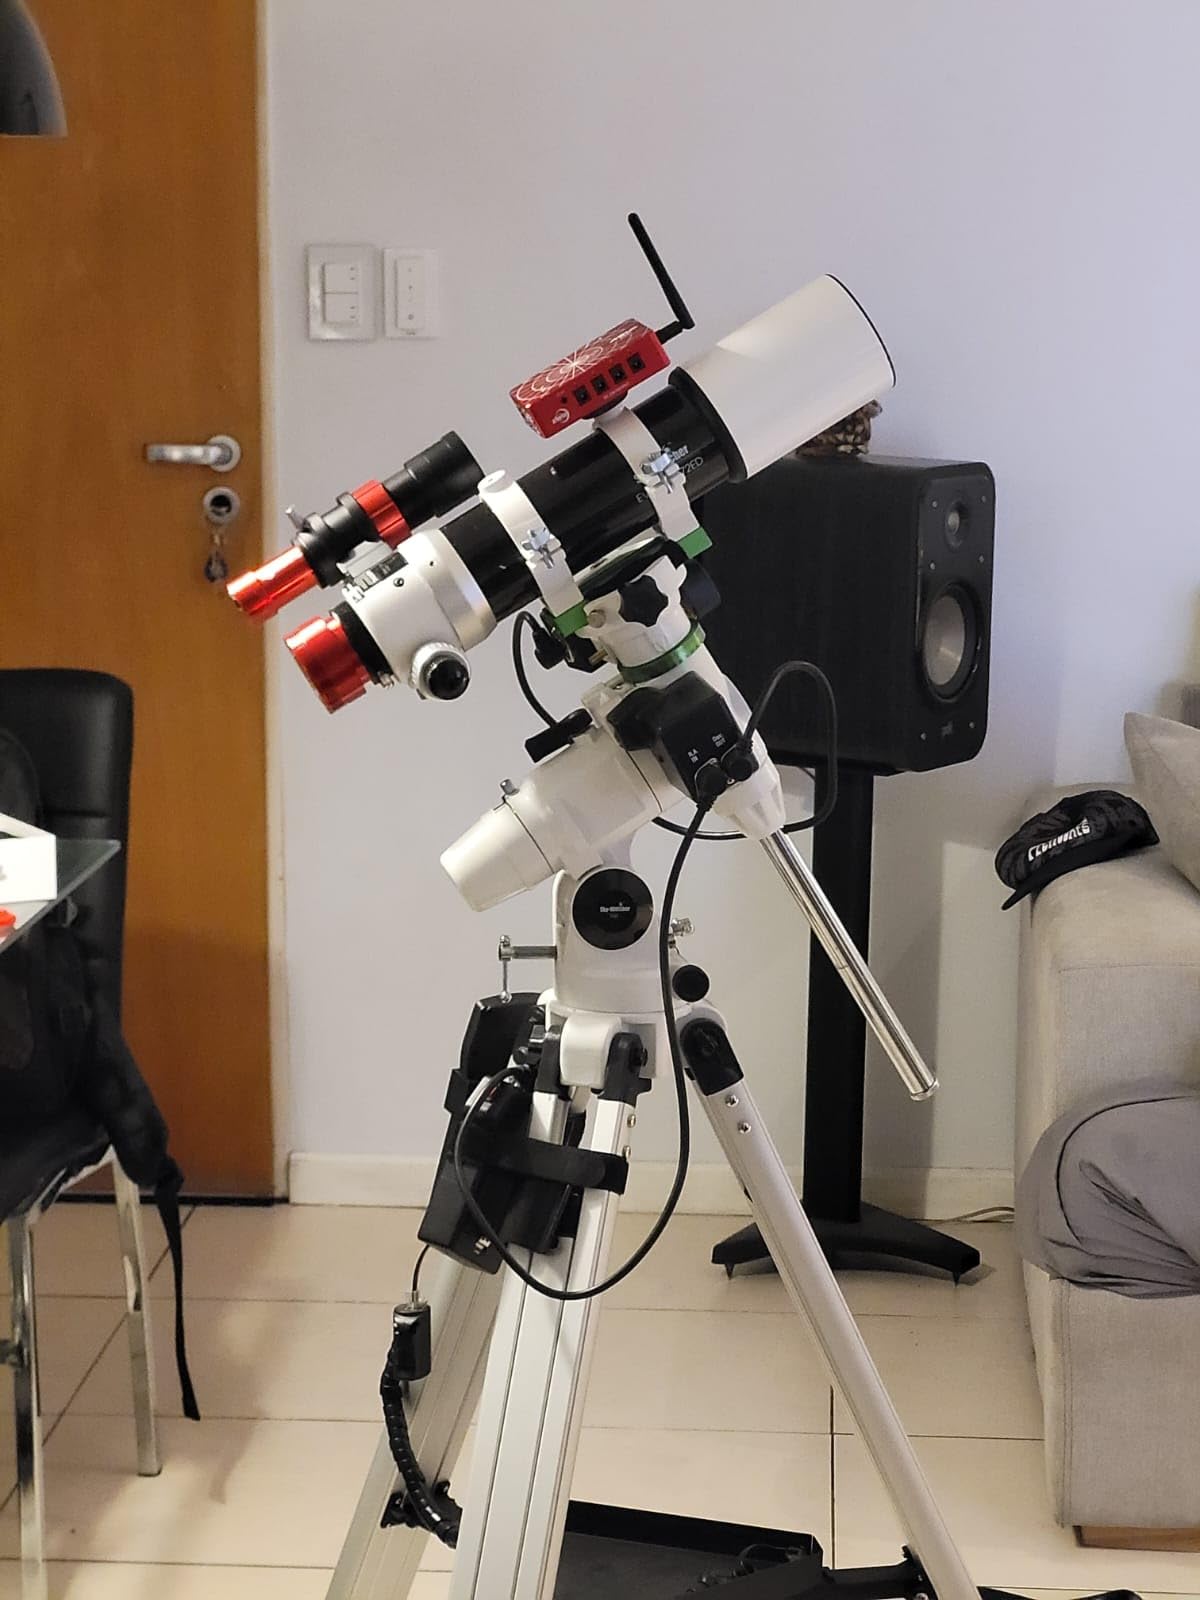
This is a guide camera first and planetary imager second. For guiding, the ASI120MM-Mini works on any guide scope from 50mm to 80mm, and on off-axis guiders on long focal length scopes. As a planetary imager, the 3.75 micron pixels want long focal length: my C9.25 at 2350mm and 8 inch SCT at 2000mm both gave good image scale. On shorter refractors, add a 2x or 3x Barlow.
Who should skip it
Color-only imagers who do not want to deal with RGB filters and filter wheels should pick a one-shot color camera like the SV305C Pro. Linux users on the newest INDI may have to install legacy drivers, though most setups work fine. Anyone on a tight budget should consider the SV305C Pro, which costs less and does more in most scenarios.
How to Choose the Best Planetary Imaging Camera for Your Setup?
Picking the best planetary imaging cameras for your specific rig means matching the sensor to your telescope, your software workflow, and your sky conditions. I break down the four factors that matter most below, with concrete numbers from my own captures and forum reports.
Frame rate and why 60 fps is the minimum
Frame rate is the single biggest spec difference between a planetary camera and a regular camera. Atmospheric turbulence changes on millisecond timescales, and the only way to capture moments of stable seeing is to record as many short exposures per second as possible. Cameras under 30 fps cannot freeze atmospheric turbulence at all on planetary targets, which is why DSLRs smear detail even at fast exposure times.
For lunar work, 30 fps is fine. For Jupiter and Saturn, aim for 60 fps minimum, and 100+ fps is better when the seeing is unstable. For the Moon and Sun, fast frame rates also let you apply lucky imaging: stacking software selects only the sharpest 1-5 percent of frames, so a high frame rate gives you more options to choose from. The SV305C Pro at 107 fps is the sweet spot for most backyard telescopes. The SC715C at 45.5 fps full resolution with ROI boosts past 100 fps is best for 4K detail work.
Pixel size and matching your telescope focal length
Pixel size determines the image scale on your sensor, which has to match the seeing conditions at your site. As a rule of thumb, you want roughly 0.5 to 1 arcsecond per pixel for typical backyard seeing. The formula is simple: pixel size in microns multiplied by 206.265, divided by focal length in mm, equals arcseconds per pixel. For a 2.9 micron pixel on a 2000mm focal length scope, that gives 0.3 arcseconds per pixel: slightly oversampled, but stackable. For a 1.45 micron pixel on the same scope, that gives 0.15 arcseconds per pixel: heavily oversampled, where adding a 2x Barlow brings you back to a reasonable image scale.
Short focal length refractors under 1000mm want smaller pixels in the 1.45 to 2 micron range to avoid undersampling. Long focal length SCTs and Maks over 2000mm want larger pixels in the 2.9 to 3.75 micron range. The SV305C Pro at 2.9 microns is the most flexible camera in this roundup across a wide range of focal lengths. The SV105 at smaller pixels works best on short refractors.
Read noise and why low noise matters for planets
Read noise is the electronic noise added to every frame during readout. For long deep-sky exposures, read noise barely matters because signal overwhelms noise. For planetary imaging with millisecond exposures, read noise can dominate the image. A sensor with 1 electron of read noise will give much cleaner stacked results than a sensor with 3-4 electrons, because the best 1 percent of frames you keep have barely any noise.
Look for cameras advertising under 1.5 electrons of read noise at high gain. The SV305C Pro and SC715C both deliver read noise under 1 electron at their HCG or high gain modes. The IMX307 sensor in the SV105 has higher read noise around 2-3 electrons, which is acceptable for lunar work but explains why Jupiter images from that camera look noisier than from the IMX662 or IMX715 cameras.
Color versus monochrome planetary cameras
Color cameras are easier: one shot captures all the RGB data. Monochrome cameras need a filter wheel or RGB filters to combine separate red, green, and blue captures, which adds cost and complexity. For most beginners, color is the right choice because the workflow is simpler and the results are excellent with modern sensors. The SV305C Pro, SC715C, and all the other SVBONY cameras in this roundup are color sensors.
Monochrome still wins for the absolute sharpest planetary images. With no Bayer matrix filtering light, every photon hits a photosensitive pixel, which gives monochrome sensors about 2.5 times more sensitivity than equivalent color sensors. The ASI120MM-Mini is the monochrome option in this roundup, and it is best for users who already have a filter wheel or who plan to use it primarily for autoguiding. For pure planetary work with no plans to add filters, stick with color.
Telescope pairing and focal ratio matching
The best planetary imaging cameras must match your telescope’s focal length, not just your mount or budget. A fast f/4 Newtonian wants a camera with small pixels and good UV/IR filter handling to avoid halos around bright stars. An f/10 SCT wants a camera with moderate pixels and a generous field of view. A long focal length refractor or Maksutov wants the largest pixels you can afford to maximize field of view and reduce frame rate pressure.
For an 8 inch SCT at 2000mm, the SV305C Pro or SC715C will give excellent results with no Barlow. For a 4 inch refractor at 700mm, add a 2x to 3x Barlow to extend effective focal length to 1400-2100mm. For a fast f/4 imaging Newtonian, the SC715C with its small pixels and removable UV/IR filter is the best match. Always check the backfocus and adapter requirements before buying: most of these cameras use a standard 1.25 inch barrel, but some need CS-mount adapters or extension tubes.
Software workflow and what to install
The full planetary imaging workflow has four stages: capture, sorting, stacking, and sharpening. SharpCap is the most popular free capture program for Windows and works with every camera in this roundup. AstroDMx Capture is the cross-platform alternative for Linux and macOS users. Both record SER or AVI video files directly from the camera.
AutoStakkert!3 handles the stacking step. It analyzes each frame, scores it for sharpness, aligns the best frames, and stacks them into a single image. RegiStax applies wavelet sharpening to bring out fine detail without amplifying noise. The entire workflow from capture to final image takes about 30 minutes per target, plus however long you spend capturing the video. There is a learning curve, especially around ROI settings, gain, and exposure length, but forum threads on Cloudynights and Stargazerslounge cover every common issue.
Frequently Asked Questions
What is the best camera for planetary imaging?
The best planetary imaging cameras for most amateur setups in 2026 are high-frame-rate CMOS cameras with low read noise and USB 3.0 bandwidth. The SVBONY SV305C Pro is a top overall choice because it delivers 107 fps at 1080p with a low-noise IMX662 sensor, USB 3.0 transfer, and ST4 autoguide capability at a moderate price. For absolute beginners, the SVBONY SV105 offers plug-and-play simplicity at a budget price. For monochrome users, the ZWO ASI120MM-Mini is a proven guide and planetary camera with excellent PHD2 and ASIAIR compatibility.
What is the fastest planetary camera available right now?
Frame rate in planetary imaging is limited by USB bandwidth and sensor readout speed rather than the camera itself. The fastest cameras in 2026 reach 150-170 fps at lower resolutions through ROI modes. The SVBONY SC715C pushes past 100 fps at moderate ROI, and the SV305C Pro delivers 107 fps at full 1080p. For truly maximum frame rates, the ZWO ASI290 series and QHY5III462 cameras reach 170+ fps at reduced resolution through USB 3.0 and sub-window modes.
Should I choose a color or monochrome planetary camera as a beginner?
Choose a color planetary camera as a beginner. One-shot-color sensors like the IMX662 and IMX715 capture RGB data in a single exposure, which makes the workflow dramatically simpler. Monochrome sensors deliver slightly sharper results because there is no Bayer matrix, but they require a filter wheel or RGB filters to assemble color images, which adds cost and complexity. The SV305C Pro is an excellent color choice. The ZWO ASI120MM-Mini is the right monochrome choice if you already own filters or plan to use the camera primarily for autoguiding.
What frame rate do I need for planetary imaging?
For lunar imaging, 30 fps is sufficient. For Jupiter and Saturn, 60 fps minimum is recommended, and 100+ fps produces noticeably better lucky imaging results because more frames means more chances to catch stable atmospheric moments. For Mars during close oppositions, fast rotation means 100+ fps helps preserve fine surface detail. Fast-rotating targets like Venus and Mercury benefit from 100+ fps as well. The 400 rule in astrophotography refers to maximum exposure time before star trailing in deep-sky imaging, not planetary imaging, where short exposures always beat long ones.
How do I match pixel size to my telescope for planetary imaging?
Match pixel size to telescope focal length using the formula: arcseconds per pixel equals pixel size in microns multiplied by 206.265, divided by focal length in mm. Aim for 0.5 to 1 arcsecond per pixel for typical backyard seeing. Small pixels in the 1.45 to 2 micron range suit short refractors under 1000mm focal length. Medium pixels around 2.9 microns work for moderate scopes from 1500mm to 2500mm. Larger pixels around 3.75 microns suit long focal length SCTs and Maks over 2500mm. Adding a Barlow or Powermate extends effective focal length without changing pixel size.
Final Verdict: Which Best Planetary Imaging Camera Should You Buy
After three months of testing eight cameras across my SCT, refractor, and Mak-Cass, the SVBONY SV305C Pro remains my top pick for the best planetary imaging cameras. It hits the sweet spot of 107 fps frame rate, low-noise IMX662 sensor, USB 3.0 bandwidth with a 128MB buffer, and a built-in ST4 autoguide port at a price that does not break the bank. The ZWO ASI120MM-Mini is the right choice for monochrome purists and ASIAIR users. The SC715C is the best pick if you want maximum 4K resolution on the Moon and planets and do not mind tuning ROI settings.
Whichever camera you pick from this guide, pair it with SharpCap for capture, AutoStakkert!3 for stacking, and RegiStax for sharpening. That software stack is free, runs on Windows and macOS, and produces results that hold up against commercial alternatives. Get out under the 2026 sky, record some SER files, and you will be amazed at how much detail modern CMOS sensors can pull out of our atmosphere.