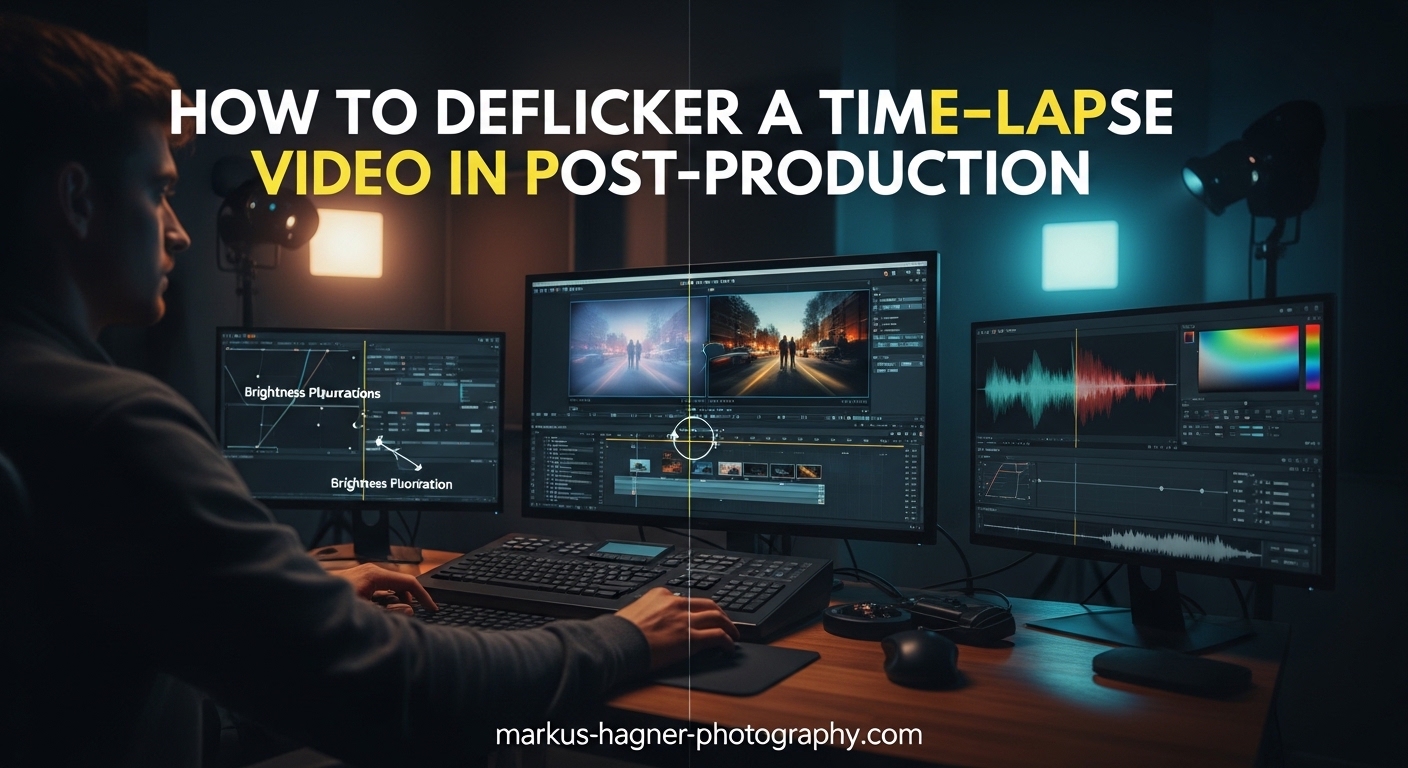
Nothing ruins a beautiful timelapse faster than flicker. You spend hours capturing the perfect sunset or cityscape, only to find your footage strobes like a broken fluorescent light. The good news? You can fix almost any flickering timelapse in post-production with the right tools and techniques.
In this guide, I’ll show you exactly how to deflicker a time-lapse video step by step. After processing hundreds of timelapses over the past decade, I’ve tested every major deflickering solution and developed workflows that work reliably across different editing software.
You’ll learn what causes flicker, how to prevent it during shooting, and detailed step-by-step methods for removing it using both free and paid tools. Whether you’re working in DaVinci Resolve, After Effects, LRTimelapse, or looking for free alternatives, I’ve got you covered.
What Causes Flicker in Time-Lapse Videos?
Before you can fix flicker, you need to understand what you’re dealing with. Flicker appears as unwanted variations in brightness or contrast between consecutive frames, creating a distracting strobe effect that destroys the smooth flow of your timelapse.
There are three main types of flicker you’ll encounter, and each has different causes and solutions.
Brightness Flicker
Brightness flicker shows up as overall exposure jumps between frames. One moment your scene looks properly exposed, the next it’s slightly darker or lighter. This type of flicker is usually caused by mechanical inconsistencies in your camera.
The most common culprit is aperture flicker. Even when you set your lens to a fixed f-stop, many modern lenses don’t open to exactly the same position for each shot. A slight difference of 0.1mm in aperture blade position can create noticeable exposure variations across hundreds of frames.
Shutter speed inconsistencies can also cause brightness flicker, especially with mechanical shutters that may have slight timing variations. This is less common with electronic shutters but still possible.
Contrast Flicker
Contrast flicker is more subtle but equally annoying. Instead of overall brightness changing, the relationship between highlights and shadows shifts between frames. Your footage might look like it’s breathing as contrast levels fluctuate.
This type of flicker often comes from post-processing. When you apply color corrections or use auto-adjustments in your editing software, each frame gets analyzed independently. Slight variations in each frame’s histogram can lead to inconsistent contrast adjustments.
Lightroom users frequently encounter contrast flicker when using tools like Clarity, Dehaze, or auto-tone adjustments. The software makes different decisions for each frame based on its unique characteristics.
Natural and Artificial Lighting Flicker
Sometimes flicker isn’t your camera’s fault at all. Fluorescent lights, LED panels, and other artificial sources can pulse at frequencies invisible to your eye but captured by your camera’s fast shutter speeds. This creates rhythmic flicker patterns that are particularly challenging to remove.
Natural lighting changes during holy grail timelapses (sunrise to sunset transitions) can also create what appears to be flicker. As light levels change dramatically, any exposure compensation your camera makes can result in uneven transitions between frames.
How to Prevent Time-Lapse Flicker During Shooting
The best deflickering happens before you even press the shutter. Prevention is always easier than correction, and these shooting techniques will dramatically reduce or eliminate flicker at the source.
Shoot in Full Manual Mode
Manual mode is your first line of defense against flicker. Lock your ISO, shutter speed, and aperture to eliminate automatic exposure changes between frames. Any auto-exposure mode will introduce variations as your camera constantly recalculates settings.
For daytime timelapses, this is straightforward. Set your exposure once and let the camera fire away. The challenge comes with changing light conditions, which we’ll address with the holy grail technique below.
Lock Your Aperture
Even in manual mode, some lenses introduce aperture flicker due to mechanical tolerances. Here’s a trick that professional timelapse photographers use: set your aperture, then slightly twist the lens off the mount to break the electrical connection.
With the lens detached from electronic communication, the aperture blades stay locked in position rather than resetting between shots. This works with most DSLR and mirrorless systems, though you’ll lose autofocus and automatic aperture control.
Another option is using manual aperture lenses (vintage lenses with mechanical aperture rings). These maintain consistent aperture positions without any electronic intervention.
Use ND Filters for Slower Shutter Speeds
Faster shutter speeds are more likely to capture artificial lighting flicker. By using ND filters to force slower shutter speeds, you can often eliminate flicker from fluorescent and LED sources. The motion blur from slower shutter speeds also helps smooth out any remaining variations.
A good rule of thumb: aim for a shutter speed at least half the interval between shots. If you’re shooting one frame every 2 seconds, use a 1-second or slower shutter speed when possible.
Avoid Aperture Priority Mode
Aperture Priority mode is particularly problematic for timelapses. The camera adjusts shutter speed to maintain exposure, but these adjustments happen in discrete steps. Over a long sequence, these small steps compound into noticeable flicker.
Some photographers use Aperture Priority for holy grail timelapses (day-to-night transitions), but this requires careful deflickering in post. For most situations, manual mode with exposure ramping produces cleaner results.
The Holy Grail Technique for Day-to-Night Transitions
Capturing smooth transitions from day to night (or night to day) is called the holy grail of timelapse photography. The challenge is maintaining proper exposure as light levels change dramatically over several hours.
The best approach combines manual shooting with planned exposure changes. Use an intervalometer with bulb ramping capabilities, or manually adjust settings at key moments (golden hour, blue hour, full darkness). Software like qDSLRDashboard can automate exposure ramping during capture.
Even with perfect technique, holy grail timelapses almost always require deflickering in post-production to smooth out the exposure transitions.
Best Software and Tools to Deflicker Time-Lapse Videos in 2026
When prevention isn’t enough, you need the right software to smooth out your footage. Here’s a comprehensive overview of the best deflickering tools available, from free options to professional solutions.
LRTimelapse (Professional Workflow)
LRTimelapse is the gold standard for professional timelapse work. It integrates with Adobe Lightroom to provide powerful deflickering and holy grail processing. The software uses metadata from your raw files to analyze exposure and apply smooth corrections.
The Visual Deflicker feature in LRTimelapse works by analyzing the luminance values across your entire sequence and creating smooth curves for exposure, brightness, and other adjustments. It’s particularly effective for holy grail timelapses where light conditions change dramatically.
LRTimelapse offers a free version limited to 400 frames, which is enough for short sequences. The full license unlocks unlimited frame counts and advanced features.
DaVinci Resolve (Free Built-in Deflicker)
DaVinci Resolve includes a surprisingly capable deflicker effect in the free version. The Temporal Noise Reduction plugin has a dedicated flicker reduction mode that works well for many common scenarios.
Users on forums consistently report that DaVinci’s built-in deflicker handles about 96% of cases effectively. It analyzes multiple frames to smooth out brightness variations without requiring additional plugins.
For budget-conscious creators, DaVinci Resolve offers the best value: professional-grade deflickering at zero cost.
After Effects with Flicker Free Plugin
Adobe After Effects becomes a deflickering powerhouse with the Flicker Free plugin from Digital Anarchy. This plugin is widely used in professional video production and handles everything from timelapse flicker to slow-motion footage shot under artificial lights.
Flicker Free uses advanced algorithms to detect and remove flicker while preserving detail and color accuracy. It works as a one-click solution for most footage, with additional controls for challenging cases.
The main drawback is cost: Flicker Free costs around $150, on top of your After Effects subscription. However, many professionals consider it worth the investment for its reliability and ease of use.
Premiere Pro Options
Premiere Pro doesn’t have built-in deflickering tools, but you can use the same Flicker Free plugin that works in After Effects. For simple brightness flicker, the Lumetri Color panel’s exposure adjustments can sometimes help when applied consistently across the sequence.
Neat Video, primarily a noise reduction plugin, also includes flicker reduction capabilities in its Temporal Filter section. Many editors already own Neat Video for noise reduction, making it a convenient option for occasional deflickering needs.
Free Alternatives: VirtualDUB with MSU Deflicker
For Windows users on a budget, VirtualDUB with the MSU Deflicker plugin offers surprisingly capable flicker removal at zero cost. This combination has been recommended on forums for over a decade and continues to work well for basic flicker correction.
The interface is dated, but the algorithm is solid. Users report results comparable to paid plugins for many common flicker types. The main limitation is workflow: you’ll need to export your timelapse as an image sequence, process it through VirtualDUB, then import back into your editing software.
Free vs Paid Deflicker Tools Comparison
Choosing the right tool depends on your budget, workflow, and the severity of flicker you’re dealing with. Free options like DaVinci Resolve and VirtualDUB handle most common cases effectively. Paid tools like LRTimelapse and Flicker Free offer more control and better results for challenging footage.
For beginners, I recommend starting with DaVinci Resolve’s built-in deflicker. It’s free and produces professional results for most scenarios. As you tackle more complex projects like holy grail timelapses, consider investing in LRTimelapse for its superior raw workflow integration.
How to Deflicker a Time-Lapse Video Step by Step In 2026
Now let’s walk through specific workflows for each major software option. I’ve tested each of these methods extensively and refined them to produce reliable results.
Method 1: Deflicker in DaVinci Resolve (Free)
This workflow uses the free version of DaVinci Resolve and works for most brightness and contrast flicker.
Step 1: Import Your Footage
Open DaVinci Resolve and create a new project. Import your timelapse footage or image sequence into the Media Pool. For image sequences, make sure they’re imported as a clip rather than individual frames.
Step 2: Add to Timeline
Drag your timelapse to the timeline. Switch to the Color workspace by clicking the Color tab at the bottom of the interface.
Step 3: Apply Temporal Noise Reduction
In the Color workspace, open the Motion Effects panel. You’ll find Temporal Noise Reduction with a Flicker checkbox. Enable the Flicker option and set the temporal frames to analyze (start with 3-5 frames).
Step 4: Adjust Settings
Play through your footage to check the results. If flicker persists, increase the temporal frame count. For subtle flicker, lower values work faster while still removing the problem.
Step 5: Render Your Video
Once satisfied, switch to the Deliver workspace and choose your export settings. Render the deflickered timelapse to your preferred format.
Method 2: Deflicker with LRTimelapse (Professional)
This workflow provides the most control and produces the best results for raw timelapse sequences, especially holy grail shots.
Step 1: Import Your Raw Sequence
Open LRTimelapse and drag your raw image folder into the interface. The software will analyze your sequence and display keyframes and metadata.
Step 2: Add Keyframes
Place keyframes at critical moments in your sequence, especially at exposure transition points. LRTimelapse will interpolate smoothly between these keyframes.
Step 3: Open in Lightroom
Click the external edit button to open your sequence in Adobe Lightroom. Apply your color grading and adjustments to the keyframe images only.
Step 4: Apply Visual Deflicker
Back in LRTimelapse, click the Visual Deflicker button. The software will analyze luminance across all frames and create smooth curves to eliminate flicker.
Step 5: Auto-Transition and Render
Use the Auto-Transition feature to smooth exposure changes between keyframes. Then render your sequence directly from LRTimelapse or export back to Lightroom for final output.
Method 3: Deflicker in After Effects with Flicker Free
This method works well if you’re already using After Effects in your workflow and need quick, reliable deflickering.
Step 1: Import Your Footage
Create a new composition in After Effects and import your timelapse. For image sequences, check the “JPEG Sequence” or “PNG Sequence” option when importing.
Step 2: Apply Flicker Free
With your footage selected, apply Effect > Digital Anarchy > Flicker Free from the Effects menu. The plugin will appear in your Effects Controls panel.
Step 3: Choose a Preset
Flicker Free includes presets for different scenarios. Try “Timelapse” as a starting point. The plugin will analyze your footage and apply corrections automatically.
Step 4: Fine-Tune if Needed
For most footage, the default settings work perfectly. If you still see flicker, adjust the Sensitivity and Time Radius controls. Higher sensitivity catches more subtle flicker but may introduce artifacts.
Step 5: Render
Add your composition to the render queue and export using your preferred codec.
Method 4: Deflicker with VirtualDUB (Free Windows Option)
This free method works on Windows and produces solid results for basic flicker correction.
Step 1: Install VirtualDUB and MSU Deflicker
Download VirtualDUB from the official website. Install the MSU Deflicker plugin by placing the filter file in your VirtualDUB plugins folder.
Step 2: Import Your Image Sequence
Open VirtualDUB and go to File > Open. Select the first image in your sequence and check “Automatically load linked segments” to import the full sequence.
Step 3: Add the Deflicker Filter
Go to Video > Filters and click Add. Select the MSU Deflicker filter from the list. The default settings work well for most cases.
Step 4: Preview and Adjust
Use the preview window to check results. You can adjust filter settings if needed, though most footage deflickers well with defaults.
Step 5: Export the Processed Video
Go to File > Save as AVI to export your deflickered timelapse. You can then import this into any editing software for final color grading and assembly.
Troubleshooting Common Deflicker Problems (2026)
Sometimes deflickering doesn’t work as expected. Here’s how to handle the most common problems you’ll encounter.
When Deflickering Doesn’t Remove All Flicker
If your first pass doesn’t eliminate all flicker, try a second pass with different settings. In DaVinci Resolve, you can stack multiple instances of the temporal filter. In LRTimelapse, try adjusting the Visual Deflicker sensitivity.
Severe flicker sometimes requires multiple approaches. You might deflicker in LRTimelapse first, then apply a final pass in After Effects for any remaining issues.
Handling Action Camera Timelapses
GoPro, Insta360, and other action cameras create unique challenges. Their auto-exposure algorithms often produce severe flicker that standard tools struggle to remove. Your best bet is preventing flicker during capture by locking exposure in the camera app.
For footage that’s already captured, try combining multiple deflicker passes with different tools. Start with DaVinci Resolve’s temporal filter, then use Flicker Free in After Effects for any remaining issues.
Fluorescent and LED Lighting Flicker
Artificial lighting flicker follows a different pattern than exposure-based flicker. Standard deflicker tools may struggle with the rhythmic pulsing caused by 50Hz or 60Hz light sources.
The solution is using a slower shutter speed during capture to blur out the light pulses. For existing footage, Flicker Free and Neat Video both have settings specifically designed for artificial lighting flicker.
When to Reshoot vs. Salvage
Not all flickering footage can be saved. If deflickering introduces more artifacts than it removes, or if the original flicker is so severe that no tool can smooth it out, you may need to reshoot.
Before giving up, try multiple tools and combinations. What one plugin can’t fix, another might handle well. But if you’ve exhausted your options and the footage still looks bad, reshooting with proper prevention techniques will save time in the long run.
Frequently Asked Questions
How to deflicker a video?
To deflicker a video, import your footage into editing software with deflickering capabilities like DaVinci Resolve (free), LRTimelapse, or After Effects with the Flicker Free plugin. Apply the deflicker effect or filter, adjust settings based on severity, and render the processed footage. Most tools analyze frame luminance and apply smooth corrections to eliminate brightness variations.
How to remove timelapse flicker?
Remove timelapse flicker by using dedicated software like LRTimelapse for raw sequences, DaVinci Resolve’s temporal filter for free processing, or plugins like Flicker Free for After Effects. For best results, combine prevention techniques during shooting (manual mode, locked aperture) with post-production deflickering using the workflows outlined in this guide.
What causes flicker in timelapse?
Flicker in timelapse is caused by inconsistent exposure between frames. Common causes include aperture blade position variations, shutter speed inconsistencies, auto-exposure adjustments, color correction changes applied differently to each frame, and artificial lighting that pulses at frequencies captured by fast shutter speeds.
How to prevent timelapse flicker?
Prevent timelapse flicker by shooting in full manual mode with locked ISO, shutter speed, and aperture. Use manual aperture lenses or disconnect lens electronics to lock aperture position. Apply ND filters for slower shutter speeds. Avoid aperture priority mode. For changing light conditions, use exposure ramping techniques rather than auto-exposure.
Final Thoughts on Deflickering Time-Lapse Videos
Learning how to deflicker a time-lapse video in post-production transforms frustrating, unusable footage into smooth, professional results. The key is matching the right tool to your situation: DaVinci Resolve for free, reliable deflickering; LRTimelapse for professional raw workflows; Flicker Free for quick, effective plugin-based correction.
Start with prevention during shooting whenever possible. Manual mode, locked aperture, and appropriate shutter speeds eliminate most flicker before it starts. When you do encounter flicker, the step-by-step workflows in this guide will help you salvage your footage efficiently.
For beginners, I recommend downloading DaVinci Resolve (it’s free) and practicing with its temporal deflicker filter on some test footage. Once you’re comfortable with the basic process, you can explore more advanced tools like LRTimelapse for demanding projects.
Remember that severe flicker sometimes requires multiple passes or combining different tools. Don’t give up if your first attempt doesn’t produce perfect results. With practice, you’ll develop an intuition for which approach works best for each type of flicker you encounter.