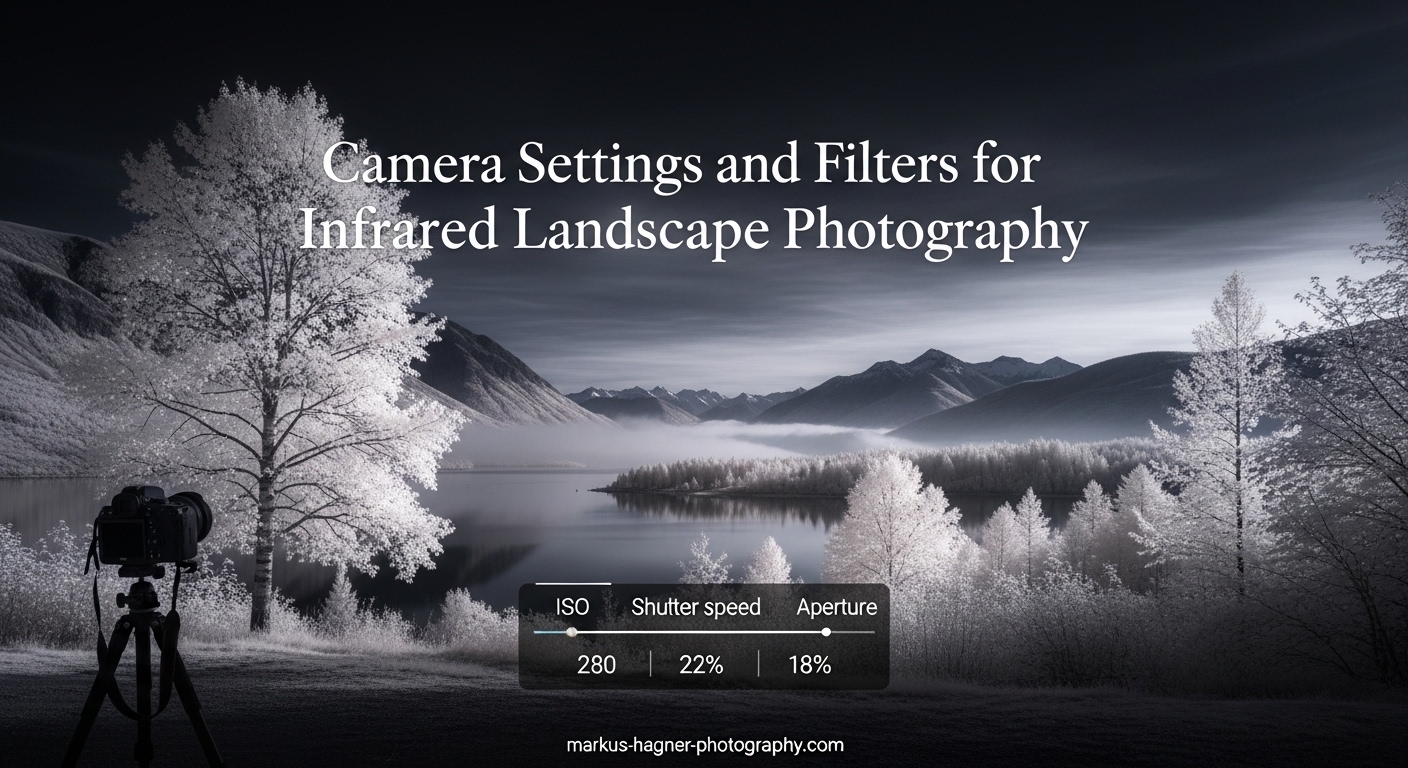
Infrared landscape photography opens up a hidden world that our eyes cannot see. Trees glow with ethereal white foliage, skies transform into dramatic dark canvases, and water surfaces take on surreal mirror-like qualities. This guide covers everything you need to capture stunning infrared images, from understanding filter wavelengths to mastering the exact camera settings that produce professional results.
Learning infrared photography requires understanding how your camera sensor sees light differently than your eyes. Standard camera sensors include an IR cut filter that blocks infrared light, which is why you need either a specialized filter or a modified camera to capture these surreal landscapes. The techniques in this article work with any DSLR or mirrorless camera, giving you the knowledge to create compelling infrared images regardless of your equipment.
Understanding Infrared Photography
Infrared photography captures light from the electromagnetic spectrum between 700nm and 1200nm wavelengths. Our eyes can only see visible light from about 400nm (violet) to 700nm (red), but camera sensors are naturally sensitive to infrared wavelengths that appear as invisible heat radiation. This is why ordinary landscapes transform into dreamlike scenes when you remove the IR blocking filter from in front of your sensor.
Modern camera sensors come fitted with an IR cut filter that blocks infrared light from reaching the sensor. This produces accurate color reproduction for normal photography, but it prevents you from capturing the infrared world. There are two main approaches to infrared photography: using external filters on your existing camera or converting a camera specifically for infrared use. Each method has distinct advantages depending on your shooting style and goals.
External filters screw onto your lens and block visible light while allowing infrared wavelengths to pass through. These filters are extremely dark, often appearing nearly black to the eye, which means you cannot compose or autofocus through them. This creates unique challenges that require specific techniques for composition, focusing, and exposure that differ significantly from regular photography.
Understanding Infrared Filter Wavelengths
The wavelength number on an infrared filter tells you exactly which part of the infrared spectrum gets recorded. Lower numbers like 550nm and 590nm allow more visible light to pass through alongside infrared, producing more colorful results with a pinkish or reddish cast. Higher numbers like 720nm, 850nm, and above block almost all visible light, creating strictly monochrome infrared images with dramatic contrast between white foliage and dark skies.
The 590nm filter produces the most colorful infrared results, retaining enough visible light to create striking magenta tones in skies and warm colors in foliage. This wavelength works well for photographers who want their IR images to still look somewhat recognizable as photography rather than abstract art. However, these lower wavelengths require longer exposures because more visible light competes with the infrared signal.
The 720nm filter represents the most popular choice for landscape photographers beginning with infrared. This wavelength balances color retention with the classic white foliage effect that makes IR photography so distinctive. The Hoya R72 and B+W 093 filters at this wavelength allow reasonable exposure times while still producing the characteristic glowing trees and dark skies that define the infrared aesthetic.
The 850nm filter creates pure monochrome infrared images with exceptional contrast and drama. Foliage appears bright white while skies become nearly black, producing images with a powerful high-contrast look that works beautifully for dramatic landscapes. The tradeoff is that these filters require significantly longer exposures, often 30 seconds or more, making a sturdy tripod absolutely essential.
Filter stacking—using multiple filters together—requires caution because it multiplies exposure times dramatically and can introduce color casts. Combining a 720nm filter with a polarizer might seem logical, but the resulting exposure could exceed several minutes. Most photographers choose one filter wavelength that matches their creative vision rather than attempting to carry multiple filters for different effects.
Camera Settings for Infrared Landscape Photography
Your camera settings for infrared photography differ significantly from normal shooting because the darkened filter dramatically reduces light reaching the sensor. Start by setting your camera to Manual mode, which gives you complete control over every exposure element. Shooting in RAW format is essential because infrared white balance requires significant post-processing adjustment that JPEG files cannot accommodate.
ISO settings should typically range from 100 to 400 for clean images, though you may need to push to 800 or higher in bright conditions when using strong filters. The key insight is that infrared light behaves differently than visible light, and sensor noise patterns differ accordingly. Starting at ISO 200 gives you a good baseline that balances noise with reasonable shutter speeds, then adjust based on your specific filter and lighting conditions.
Aperture selection in infrared photography involves balancing depth of field with potential focus shift issues that affect some lenses. Using f/8 to f/11 typically provides sharp results across most lenses while maintaining sufficient depth for landscape scenes. Wider apertures like f/2.8 can produce dreamy soft-focus effects, but they also increase the likelihood of hotspot issues where the center of your image appears brighter than the edges.
Shutter speeds with infrared filters often extend to several seconds or longer, especially with stronger filters like 850nm. This makes a stable tripod absolutely essential, and using a remote shutter release prevents camera shake during the exposure. In bright sunlight with a 720nm filter, you might achieve usable exposures around 1/30 to 1 second, while 850nm filters might require 15 to 30 seconds even in sunny conditions.
White balance presents the biggest initial challenge for infrared newcomers because your camera’s automatic white balance produces unpredictable results. The most reliable approach is to set a custom white balance using a neutral gray or white reference before attaching your infrared filter. Alternatively, shoot with daylight white balance and correct it in post-processing, which gives you more flexibility to experiment with different color treatments.
How to Focus with Infrared Filters
Focusing through an infrared filter requires a completely different approach because the autofocus system cannot see through the darkened glass. The viewfinder appears nearly black when looking through a strong IR filter, making composition and focusing impossible using normal methods. This is perhaps the biggest practical challenge for infrared photographers, but several reliable techniques solve this problem.
The most common technique involves composing and focusing your shot BEFORE attaching the infrared filter to your lens. Set your lens to manual focus, compose your scene, and achieve sharp focus using your camera’s normal autofocus system or live view magnification. Once focus is locked, switch your lens to manual focus mode to prevent the focus from shifting, then attach the filter and take your exposure. This workflow works reliably but requires practice to execute smoothly in the field.
Modern mirrorless cameras offer a significant advantage for infrared photography through their electronic viewfinders and live view capabilities. You can compose your shot using live view with the filter attached, which shows a bright enough image for composition despite the viewfinder appearing dark. This eliminates the need to pre-compose and lock focus, making the workflow much faster and more intuitive for experienced shooters.
Focus shift is a real concern with some lenses, meaning the actual sharp point differs between infrared and visible light wavelengths. Most modern lenses include an infrared focus marker on the barrel that accounts for this shift when focusing at infinity. If your lens lacks this marker, you may need to adjust your focus slightly past infinity to achieve maximum sharpness, particularly at wider apertures where the effect is most noticeable.
Using live view with magnification allows precise manual focus adjustment even through dark filters, though the image will be very dim. Setting your camera to high ISO and opening the aperture fully maximizes the light available for live view composition. Some photographers carry a bright flashlight to illuminate the scene briefly for composition, then remove it before the actual exposure begins.
Best Conditions for Infrared Landscape Photography
Bright sunny days produce the most dramatic infrared images because strong sunlight contains abundant infrared energy that your filter can capture. Overcast conditions reduce the infrared signal significantly, requiring much longer exposures that increase the risk of movement in foliage or camera shake. The ideal conditions for infrared shooting are clear blue skies with bright sun illuminating your subjects from behind or the side.
The type of foliage in your scene dramatically affects your infrared results. Deciduous trees and broadleaf plants reflect the most infrared energy, producing the characteristic bright white appearance that makes infrared landscapes so striking. Coniferous trees reflect less infrared and appear darker in your images. Grass, moss, and other vegetation also reflect strongly, making meadows and fields excellent subjects for infrared photography.
Water surfaces behave differently in infrared than in visible light, often appearing darker and more mirror-like because water absorbs infrared radiation. This creates beautiful reflections in lakes and rivers that can produce incredibly dramatic landscape images. The contrast between bright foliage and dark water creates visual impact that works particularly well in black and white infrared conversions.
Seasonal considerations affect your infrared results significantly, with summer and early autumn producing the most vibrant white foliage. Spring foliage appears slightly greenish in infrared images, while winter trees with bare branches produce stark skeletal images that create their own unique mood. Each season offers different creative opportunities, so visiting the same locations throughout the year reveals how dramatically infrared changes the appearance of familiar scenes.
Wind presents a serious challenge for infrared photography because long exposures combined with moving foliage produce blurry, smeared results. Shooting during early morning calm or using faster shutter speeds by increasing ISO helps freeze movement in trees and grass. Some photographers embrace the motion blur as a creative effect, while others seek sheltered locations or wait for still conditions.
Post-Processing Infrared Images
Post-processing transforms your raw infrared captures into finished images with the characteristic look that defines infrared photography. The white balance in your RAW file will likely appear very different from what you envisioned, with strong color casts that require correction before the image looks like proper infrared. Understanding how to manipulate color channels in post-processing gives you creative control over the final appearance.
The first step in processing infrared images involves adjusting white balance to achieve the classic look you want. In Lightroom or Camera Raw, use the temperature and tint sliders to shift colors toward or away from magenta tones. A typical starting point for 720nm images involves lowering the temperature significantly while adjusting tint toward magenta, but the exact settings depend on your specific filter and lighting conditions.
The channel mixer technique in Photoshop or Lightroom allows more precise control over infrared color by manipulating the red, green, and blue channels independently. A common approach involves increasing the red channel contribution to boost foliage brightness while reducing the blue channel to darken skies. This technique takes practice to master but provides complete creative control over your infrared color palette.
Many infrared photographers eventually convert their images to black and white for a more dramatic look, and the grayscale conversion produces distinctly different results than simply desaturating a color image. Using Lightroom’s grayscale mix sliders lets you adjust how brightness varies between different elements in your scene. Increasing the red channel contribution while decreasing blue typically produces the most dramatic black and white infrared results.
Hotspot correction addresses the bright center that appears in images from some lenses when shooting infrared. This occurs because many lenses concentrate infrared light more strongly toward the center than the edges. Post-processing tools like Lightroom’s gradient filter or dedicated hotspot correction software can reduce this effect by darkening the center of your image to match the edges. Choosing lenses known for minimal hotspots is the best prevention, with many photographers testing their lenses specifically for infrared performance before committing to shooting with them.
Frequently Asked Questions
What is the best camera settings for infrared photography?
Set your camera to Manual mode with ISO 200-400, aperture between f/8-f/11, and adjust shutter speed based on your filter strength. Use a tripod and shoot in RAW format. White balance should be set to custom or daylight and adjusted in post-processing. With a 720nm filter in bright sun, start around 1/30 to 1 second and adjust from there.
How to do an infrared test on my camera?
Point your camera at a bright light source (like the sun or a strong lamp) and take a long exposure with no lens attached. Examine the resulting image for any red glow or infrared signature on the sensor. Alternatively, use a TV remote control pressed against your lens while taking a long exposure—if you see a bright spot in the image, your camera is sensitive to infrared light.
What is an infrared filter and how does it work?
An infrared filter is a piece of coated glass that screws onto your camera lens and blocks visible light while allowing infrared wavelengths (700nm and above) to pass through to the sensor. This creates the characteristic ethereal look where foliage appears white and skies turn dark.
What wavelength infrared filter should I use?
Choose 590nm for colorful results with pink tones, 720nm for the popular balance of color and classic white foliage, or 850nm for pure dramatic monochrome. Beginners often start with 720nm because it offers the most recognizable infrared look with reasonable exposure times.
How to focus with infrared filter?
Focus and compose your shot BEFORE attaching the infrared filter, then switch your lens to manual focus mode to lock focus in place. Alternatively, use live view on mirrorless cameras with the filter attached, though the image will be very dim. Some photographers use a bright light briefly for composition before removing it for the exposure.
How to edit infrared photos?
Start by adjusting white balance in your RAW processor to achieve the color cast you prefer—typically lowering temperature and adjusting tint toward magenta. Use channel mixer in Photoshop for precise color control, or convert to grayscale for dramatic black and white results. Address any hotspot issues in the center of your image.
Can I use iPhone for infrared photography?
iPhones have strong internal IR blocking filters that make external IR filters largely ineffective. Some older iPhone models had weaker filters and could produce limited results. The best approach for smartphone infrared is using dedicated infrared camera apps that simulate the look in post-processing, or using an external infrared camera attachment designed for phones.
What is full spectrum camera?
A full spectrum camera has had its internal IR cut filter removed, allowing the sensor to capture both visible and infrared light. These cameras can shoot normal photos with UV/IR blocking filters attached, or infrared photos with regular filters or no filter. Many photographers convert older camera bodies specifically for this purpose.
Conclusion
Mastering infrared landscape photography requires understanding how light behaves beyond what our eyes can see, then translating that knowledge into camera settings and techniques that produce consistent results. Start with a 720nm filter and bright sunny conditions, practice the pre-focus workflow, and commit to shooting in RAW format for maximum flexibility in post-processing. The learning curve is manageable, and the creative rewards of capturing invisible light make every experiment worthwhile.
As you develop your infrared skills, you will discover which wavelengths and techniques match your personal creative vision. Some photographers embrace the color possibilities of lower wavelengths while others gravitate toward the dramatic monochrome look of 850nm. Whatever direction you choose, the techniques in this guide provide a solid foundation for creating stunning infrared landscape images that stand apart from ordinary photography.