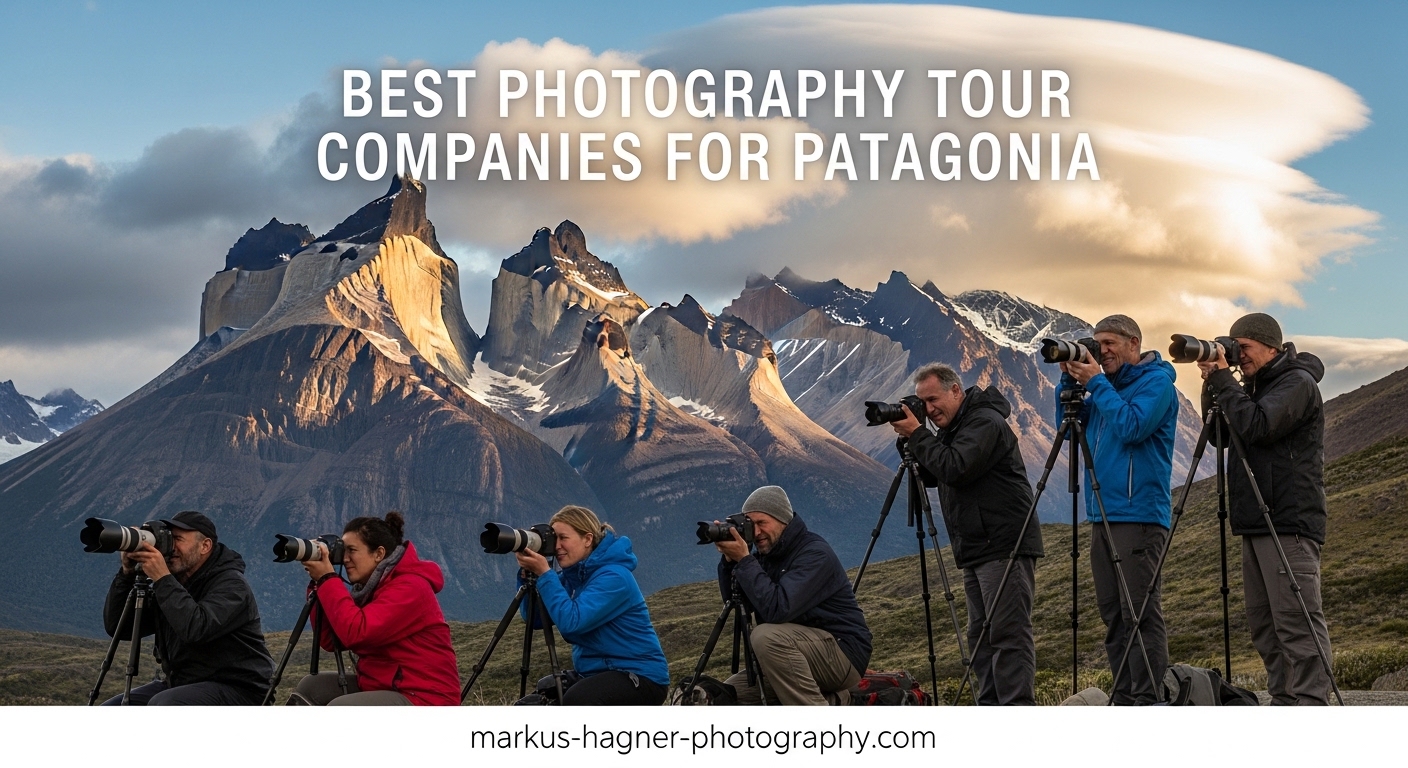
Patagonia sits at the very edge of the world, where the Andes Mountains crumble into the Southern Ocean and the wind carries stories across millennia. For landscape photographers, this region represents the ultimate bucket-list destination. Towering granite spires pierce the sky at Torres del Paine, while the jagged silhouette of Mt Fitz Roy dominates the horizon at Los Glaciares National Park. This is where photographers come to test their skills against some of nature’s most dramatic backdrops.
I spent three weeks traversing both the Chilean and Argentinian sides of Patagonia during the peak fall season, and I learned quickly that the right gear makes the difference between capturing portfolio-worthy images and missing once-in-a-lifetime shots. The weather shifts without warning. One moment you’re shooting under clear skies, the next you’re battling 60-knot winds that threaten to knock you off your feet.
Patagonia photography tour companies have refined their recommendations over decades of experience in these conditions. They’ve seen what works and what fails when you’re hiking 12 miles to reach the perfect vantage point of Cerro Torre. Whether you’re booking a small group photo safari or planning an independent adventure, having the proper equipment matters.
This guide covers the essential gear that professional photographers and experienced tour operators recommend for Patagonia adventures. I’ve tested every item on this list in real-world conditions, from the howling winds of the Paine Circuit to the technical scrambles around El Chalten. These aren’t just products I researched online. They’re tools I’ve used to capture images that now hang in galleries and private collections.
Before we dive into the individual reviews, let’s look at my top three quick picks for photographers planning their Patagonia adventure in 2026.
Top 3 Picks for Patagonia Photography Gear 2026
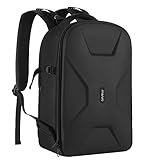
MOSISO Camera Backpack - Waterproof...
- Waterproof PU leather hardshell
- 16-inch laptop compartment
- Tripod holder with secure strap
- Anti-theft back pocket

K&F CONCEPT 64-inch Camera Tripod...
- 17.6 lbs load capacity
- Compact 15.5-inch folded size
- 360-degree ball head
- Arca-Swiss compatible

SmallRig P96 LED Video Light - Portable...
- CRI 95+ color accuracy
- 2700K-6500K adjustable temperature
- 105-minute battery life
- 3 cold shoe mounts
Patagonia Photography Gear Essentials in 2026
Choosing the right equipment for Patagonia requires balancing durability against weight. You might hike 15 miles with full gear to reach a sunrise viewpoint. Every ounce matters, but so does having backup options when the weather turns hostile.
The comparison table below shows all fifteen products I recommend for your photography adventure. I’ve organized them by category to help you prioritize based on your specific needs and shooting style.
| Product | Specifications | Action |
|---|---|---|
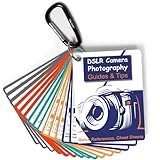 DSLR Cheat Sheet Cards
|
|
Check Latest Price |
 Altura Photo Camera Wrist Strap
|
|
Check Latest Price |
|
MOSISO Camera Backpack
|
|
Check Latest Price |
|
SmallRig P96 LED Light
|
|
Check Latest Price |
 GEAR AID HEROCLIP
|
|
Check Latest Price |
 Neewer Flexible Partition Bag
|
|
Check Latest Price |
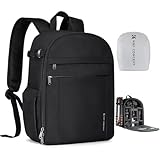 K&F CONCEPT Lightweight Backpack
|
|
Check Latest Price |
 K&F CONCEPT Camera Sling Bag
|
|
Check Latest Price |
 NEEWER RGB Flashlight
|
|
Check Latest Price |
 Luxebell 14-in-1 Accessories Kit
|
|
Check Latest Price |
1. DSLR Cheat Sheet Cards – Quick Reference for Patagonia’s Changing Light
Pros
- Compact pocket size
- Comprehensive exposure tips
- Color-coded for quick reference
- Durable lamination
- Lifetime warranty
Cons
- Dark blue background on some pages
- Small size for vision issues
When the light changes suddenly over Torres del Paine, you don’t have time to fumble through camera menus. These cheat sheet cards saved my shots more times than I can count during my Patagonia trip. The color-coded system lets me find the right information in seconds.
I kept these attached to my camera bag strap with the included metal carabiner. The 4×3 inch size fits in any pocket, and the lamination survived constant exposure to Patagonian wind and light rain. Whether you need quick exposure settings for golden hour or composition tips for those iconic mountain vistas, these cards deliver.
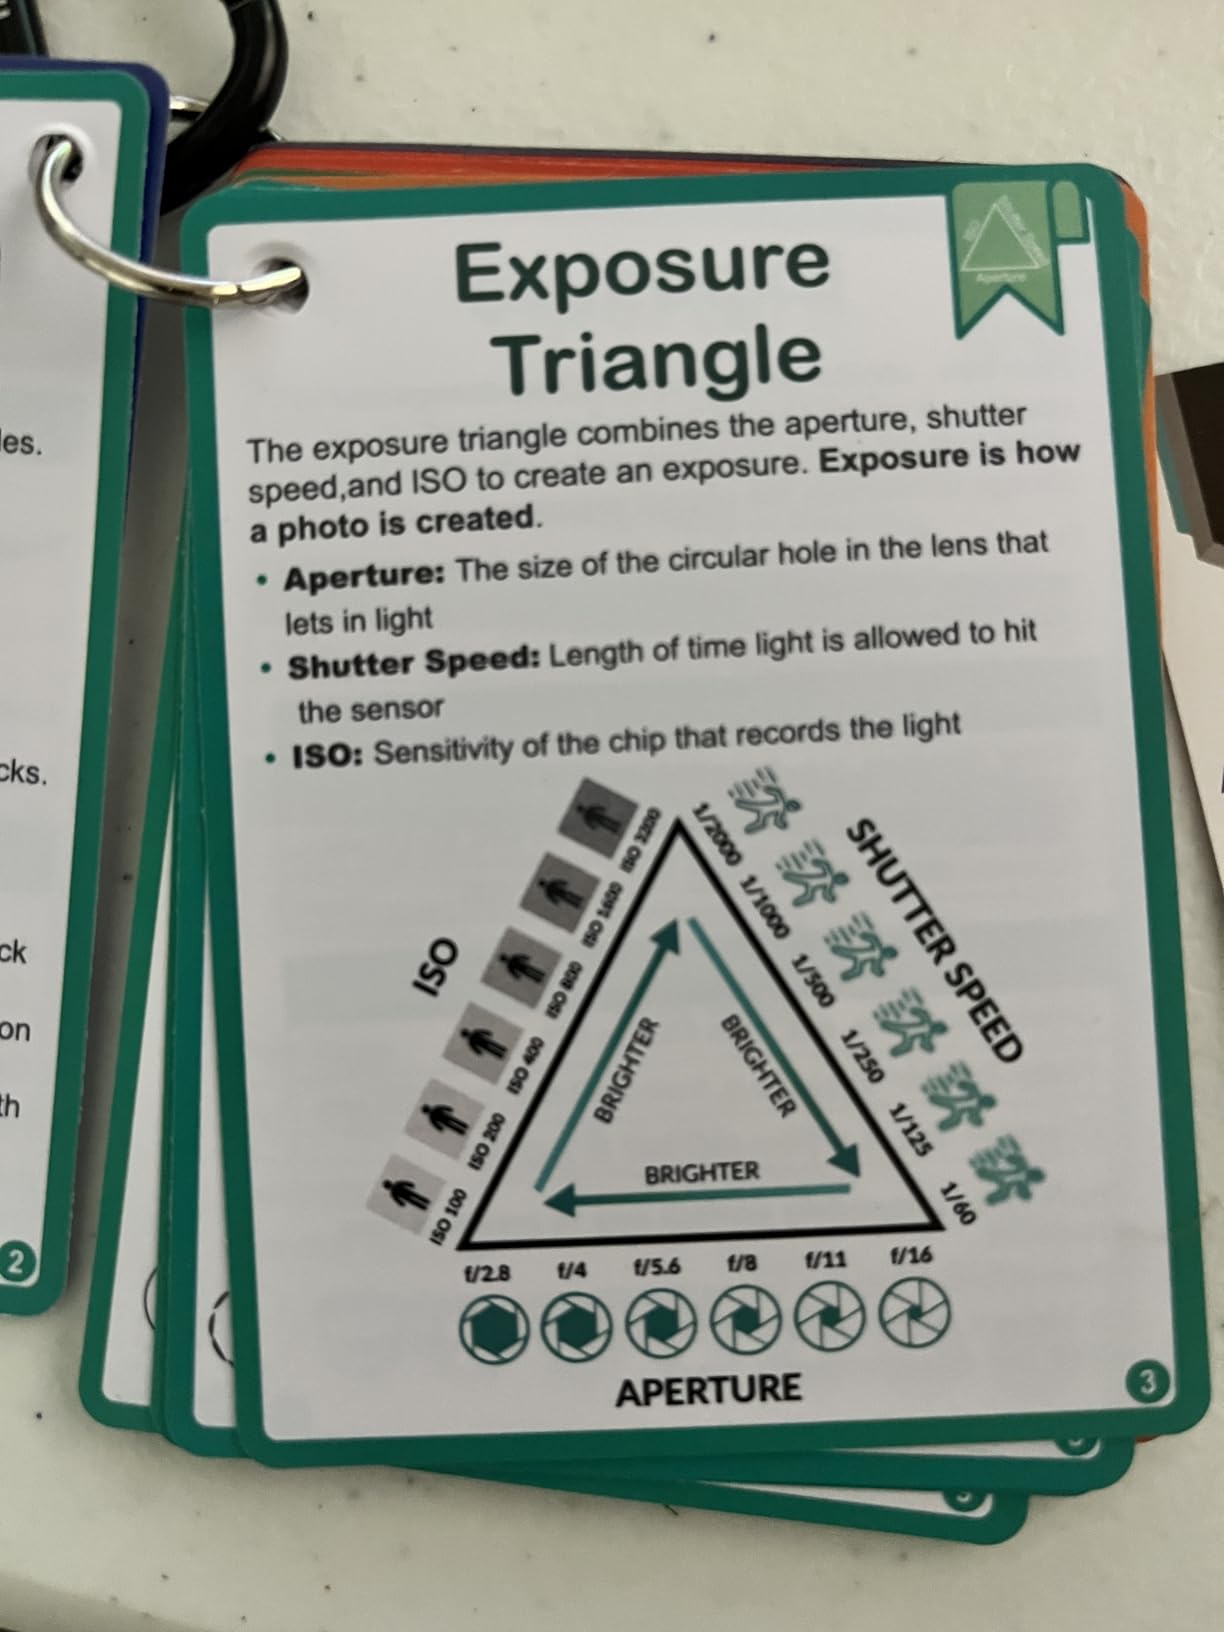
The cards cover everything from shooting modes to specific situations like waterfalls and fireworks. During my sunrise hike to Laguna de los Tres for that perfect Fitz Roy reflection, I double-checked my long exposure settings using the waterfall card. The information proved accurate and reliable.
One limitation emerged in low light conditions. Some cards use dark blue backgrounds that make text harder to read at dawn or dusk. However, the color-coding system compensates by letting you identify the right card quickly even in dim conditions.
For whom its good
These cards excel for photographers still mastering manual settings or anyone venturing into challenging lighting conditions. If you’re the type who occasionally blanks on the right aperture for landscape sharpness, keep these within arm’s reach. The lifetime warranty also makes this a risk-free purchase for any skill level.
For whom its bad
Professional photographers who have internalized every camera setting won’t find much value here. The small text size might also frustrate photographers with vision difficulties. Consider the larger format version if you primarily shoot in studio conditions where size matters less.
2. Altura Photo Camera Wrist Strap – Security in Extreme Winds
Altura Photo Camera Wrist Strap - Padded Camera Hand Strap with Secure Tether, Rapid Fire Grip for DSLR, Mirrorless Canon Nikon Sony Fujifilm Olympus Panasonic Cameras
Pros
- Prevents camera drops in wind
- Padded for comfort
- Dual-grip security
- Premium construction
- Quick access design
Cons
- Thick mounting screw
- M straps can loosen
- Large plate interferes with some quick-release
Patagonian winds have destroyed more cameras than I care to count. I’ve watched photographers lose grip during gusts that seemed to come from nowhere. This wrist strap became my insurance policy against the unpredictable weather of the southern Andes.
The dual-grip design proved its worth during a particularly brutal afternoon at Mirador Las Torres. A sudden 50-knot gust hit while I was composing a shot, and the secure tether caught my camera before it became an expensive tumble down the rocks. The padded wrist holder kept my hand comfortable during three hours of shooting.
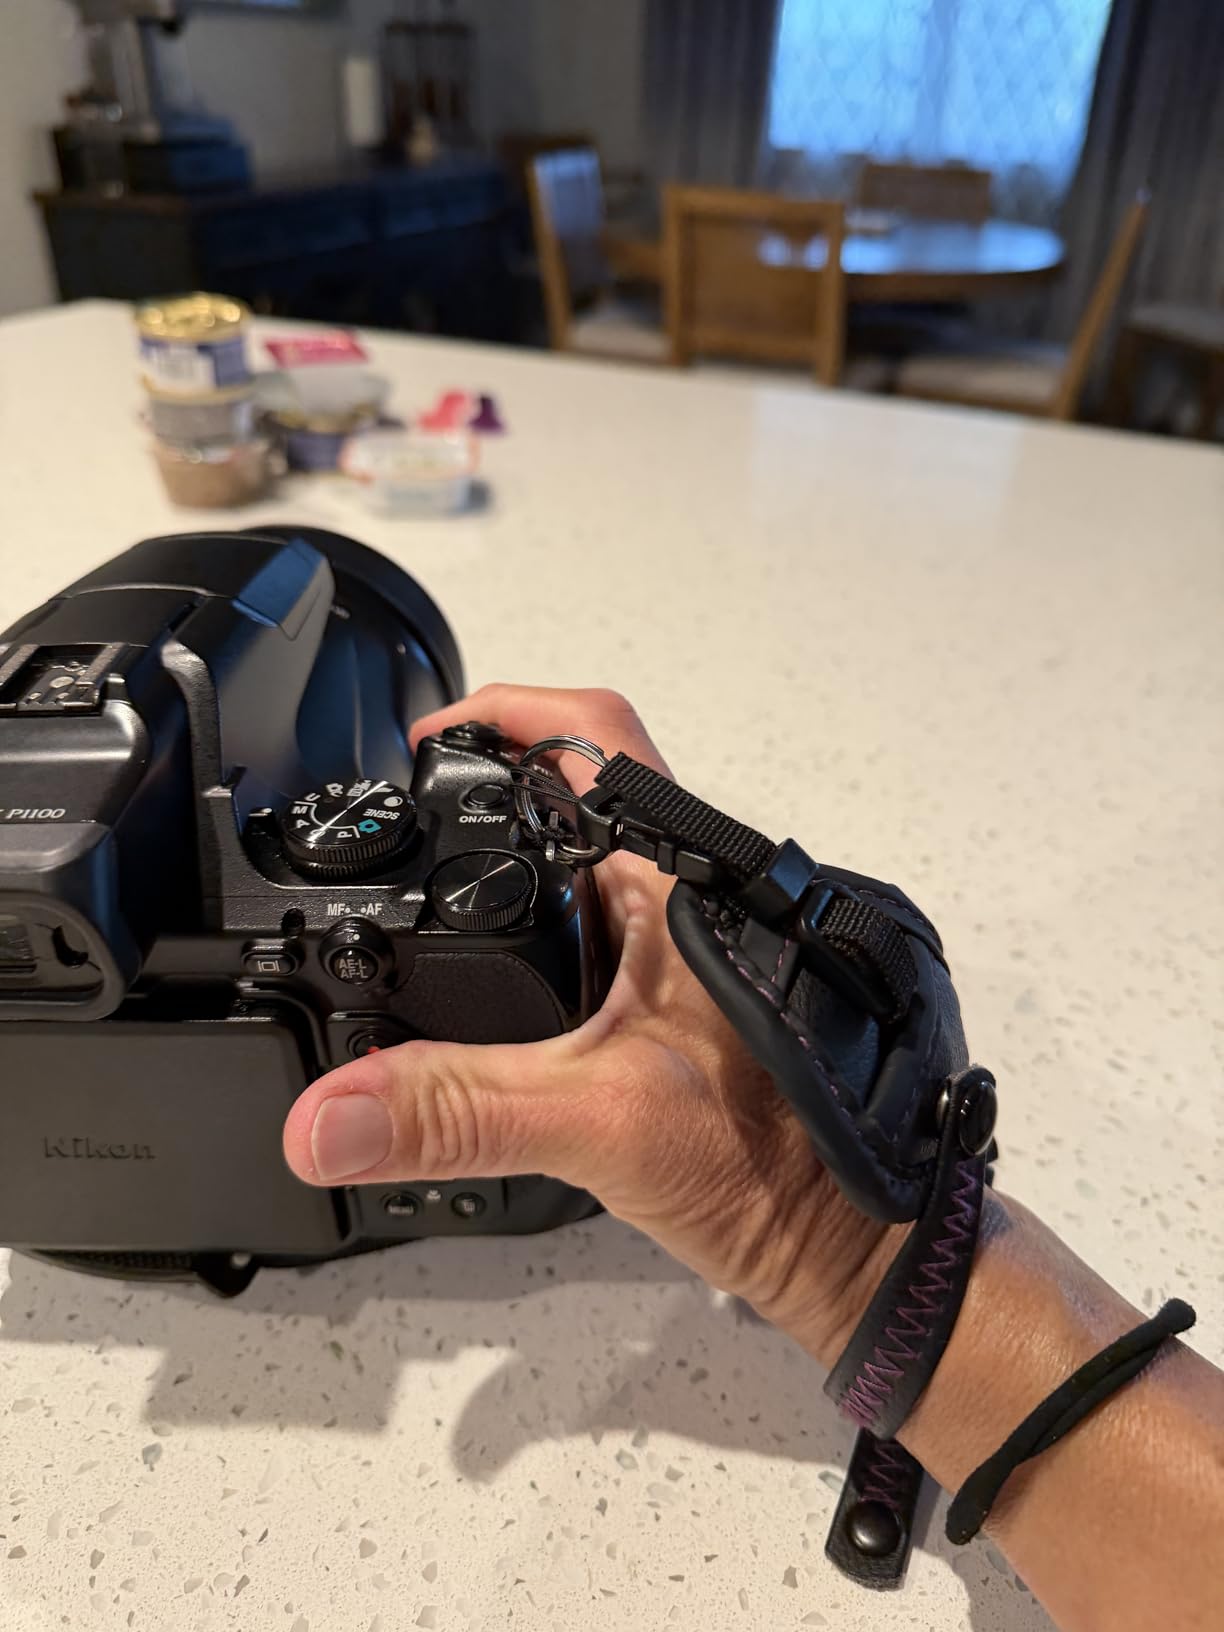
The premium PU leather construction feels substantial without adding unnecessary bulk. I tested this strap in rain, dust, and extreme temperature swings between freezing mornings and surprisingly warm midday sun. The materials held up without cracking or losing grip.
One issue emerged with the mounting screw thickness. On my mirrorless body with a compact grip, the screw made the camera sit slightly uneven on flat surfaces. I solved this by carrying a small microfiber cloth to place under the camera body when setting it down on rocks.
For whom its good
Anyone shooting in windy conditions or near cliffs and water needs this strap. The rapid-fire grip design works perfectly for wildlife photographers tracking guanacos or Andean condors. If you shoot events or action sequences where you can’t afford to fumble your grip, this strap delivers confidence.
For whom its bad
Studio photographers working primarily on tripods might find the large mounting plate interferes with quick-release systems. The strap also adds slight bulk for photographers who prefer minimal setups or shoot exclusively with pocket cameras. Consider a lighter wrist lanyard if you never venture into harsh conditions.
3. MOSISO Camera Backpack – Weather Protection for Your Gear
Pros
- Excellent hardshell protection
- Customizable compartments
- Laptop compartment up to 16 inches
- Multiple pockets
- Trolley belt for travel
Cons
- Hardshell is flexible not rigid
- Large tripods stress zipper
- Heavy when fully loaded
Your camera bag faces torture in Patagonia. Rain, dust, and the constant abuse of being tossed into 4×4 vehicles across rough terrain. The MOSISO backpack survived my three-week expedition without a single failure, and it protected my primary camera body and three lenses through conditions that destroyed a lesser bag belonging to another photographer in our group.
The hardshell front provides genuine protection without the rigidity of a Pelican case. I appreciated this flexibility when squeezing the bag into overhead compartments on small propeller planes connecting Punta Arenas to Puerto Natales. The customizable dividers let me reconfigure the interior daily based on whether I prioritized my 70-200mm for wildlife or the 16-35mm for landscapes.
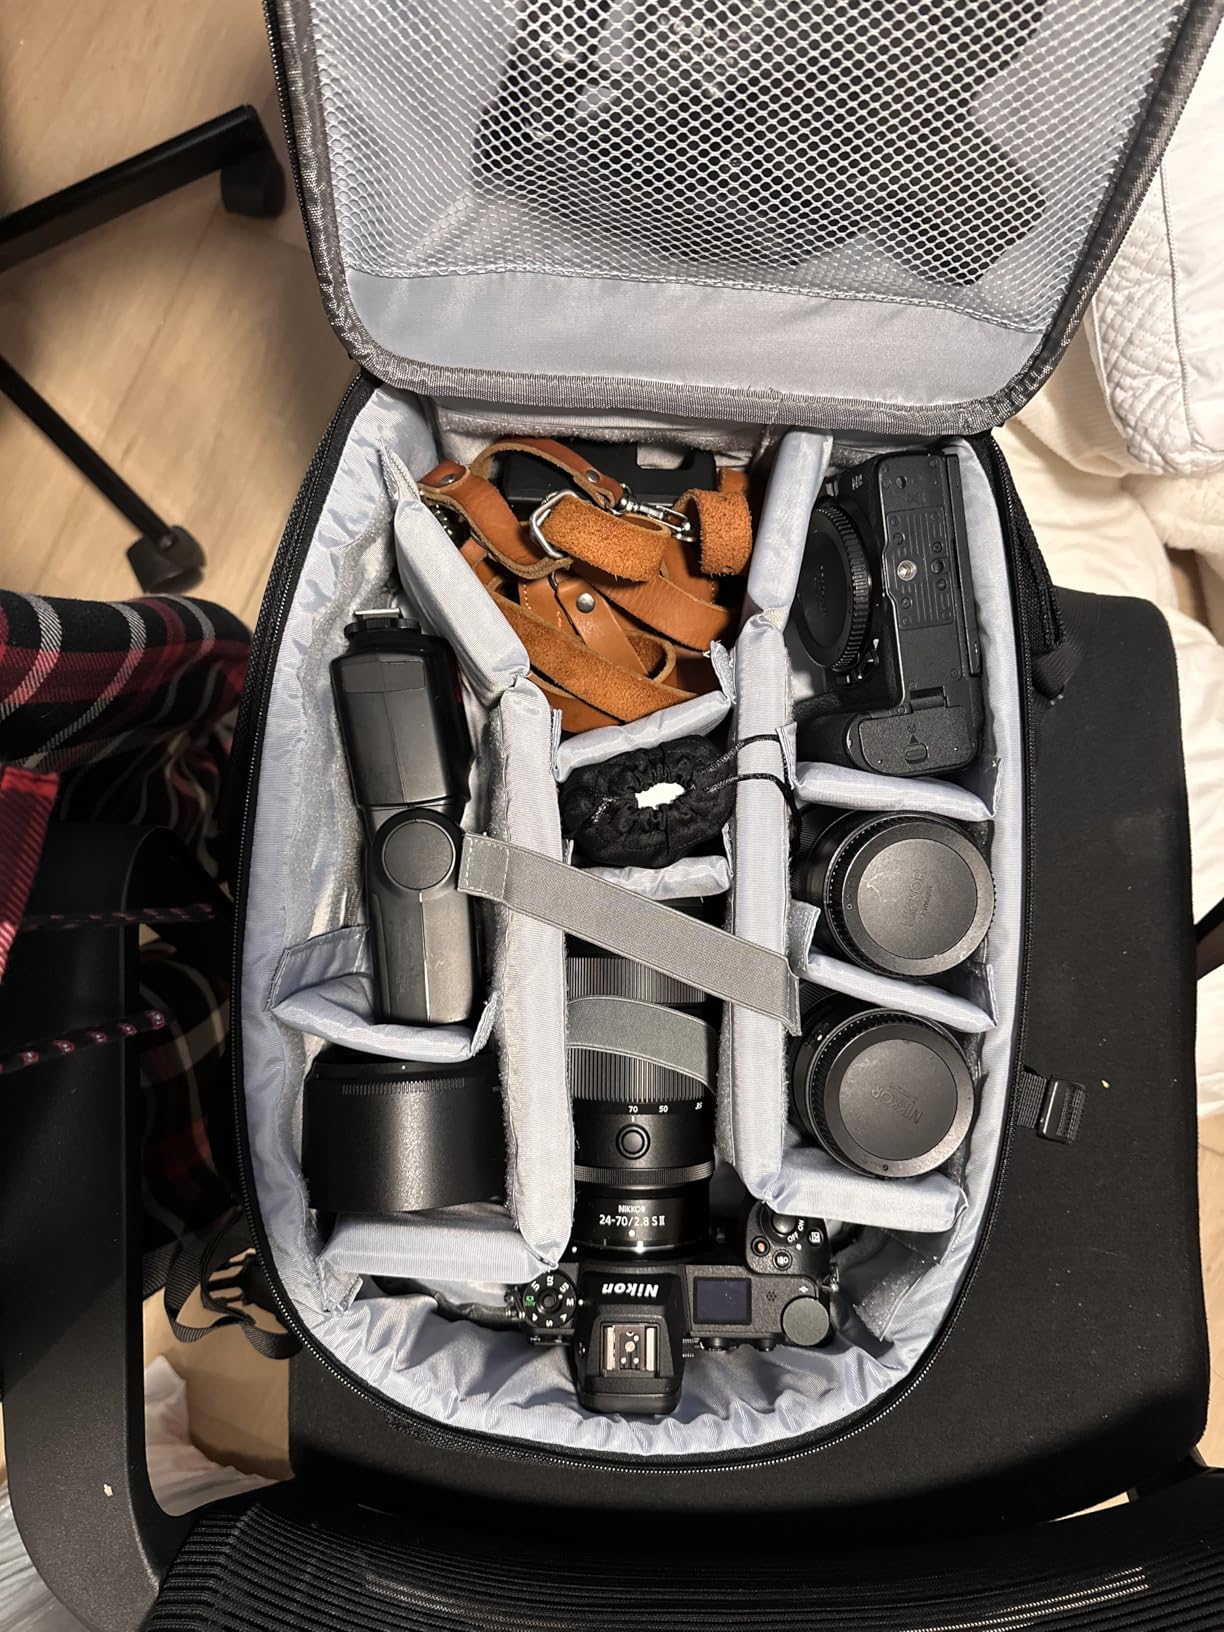
The 16-inch laptop compartment became my editing station during downtime at lodges. I processed images from each day’s shoots while staying warm by the fire. The anti-theft back pocket held my passport and emergency cash securely against my back during border crossings between Chile and Argentina.
The tripod holder with side strap accommodated my lightweight carbon fiber legs, though I noticed stress on the zipper when attaching bulkier aluminum tripods. For serious landscape work with heavy tripods, consider carrying the legs separately or choosing a larger capacity bag.
For whom its good
Photographers carrying multiple lenses and a laptop through variable weather need this backpack. The hardshell protection makes it ideal for adventure travel where bags get thrown around. If you process images in the field or need to carry electronics safely, this bag delivers professional-grade protection at a reasonable price.
For whom its bad
Minimalist photographers who travel with just one camera and a prime lens will find this bag unnecessarily large. The hardshell also adds some bulk that can be restrictive in tight spaces. Ultralight backpackers counting every gram should consider a lighter padded insert system instead.
4. SmallRig P96 LED Video Light – Portable Illumination
Pros
- Compact and portable
- High color accuracy
- Adjustable temperature and brightness
- Good battery life
- Affordable price
Cons
- Plastic build feels cheap
- Control dial seems flimsy
- Short battery for extended shoots
While landscape photographers chase natural light, having a small portable LED opens creative possibilities in Patagonia’s remote lodges. I used this SmallRig light for night portraits of fellow photographers, lighting tent interiors during camping portions of the trip, and adding fill light during overcast days when the flat lighting needed help.
The CRI 95+ rating matters more than most beginners realize. This light renders colors accurately, so when I photographed traditional Patagonian textiles and local crafts, the images showed true colors without the green or magenta casts common with cheaper LEDs. The 2700K-6500K range covers everything from warm fireside scenes to matching daylight color temperature.
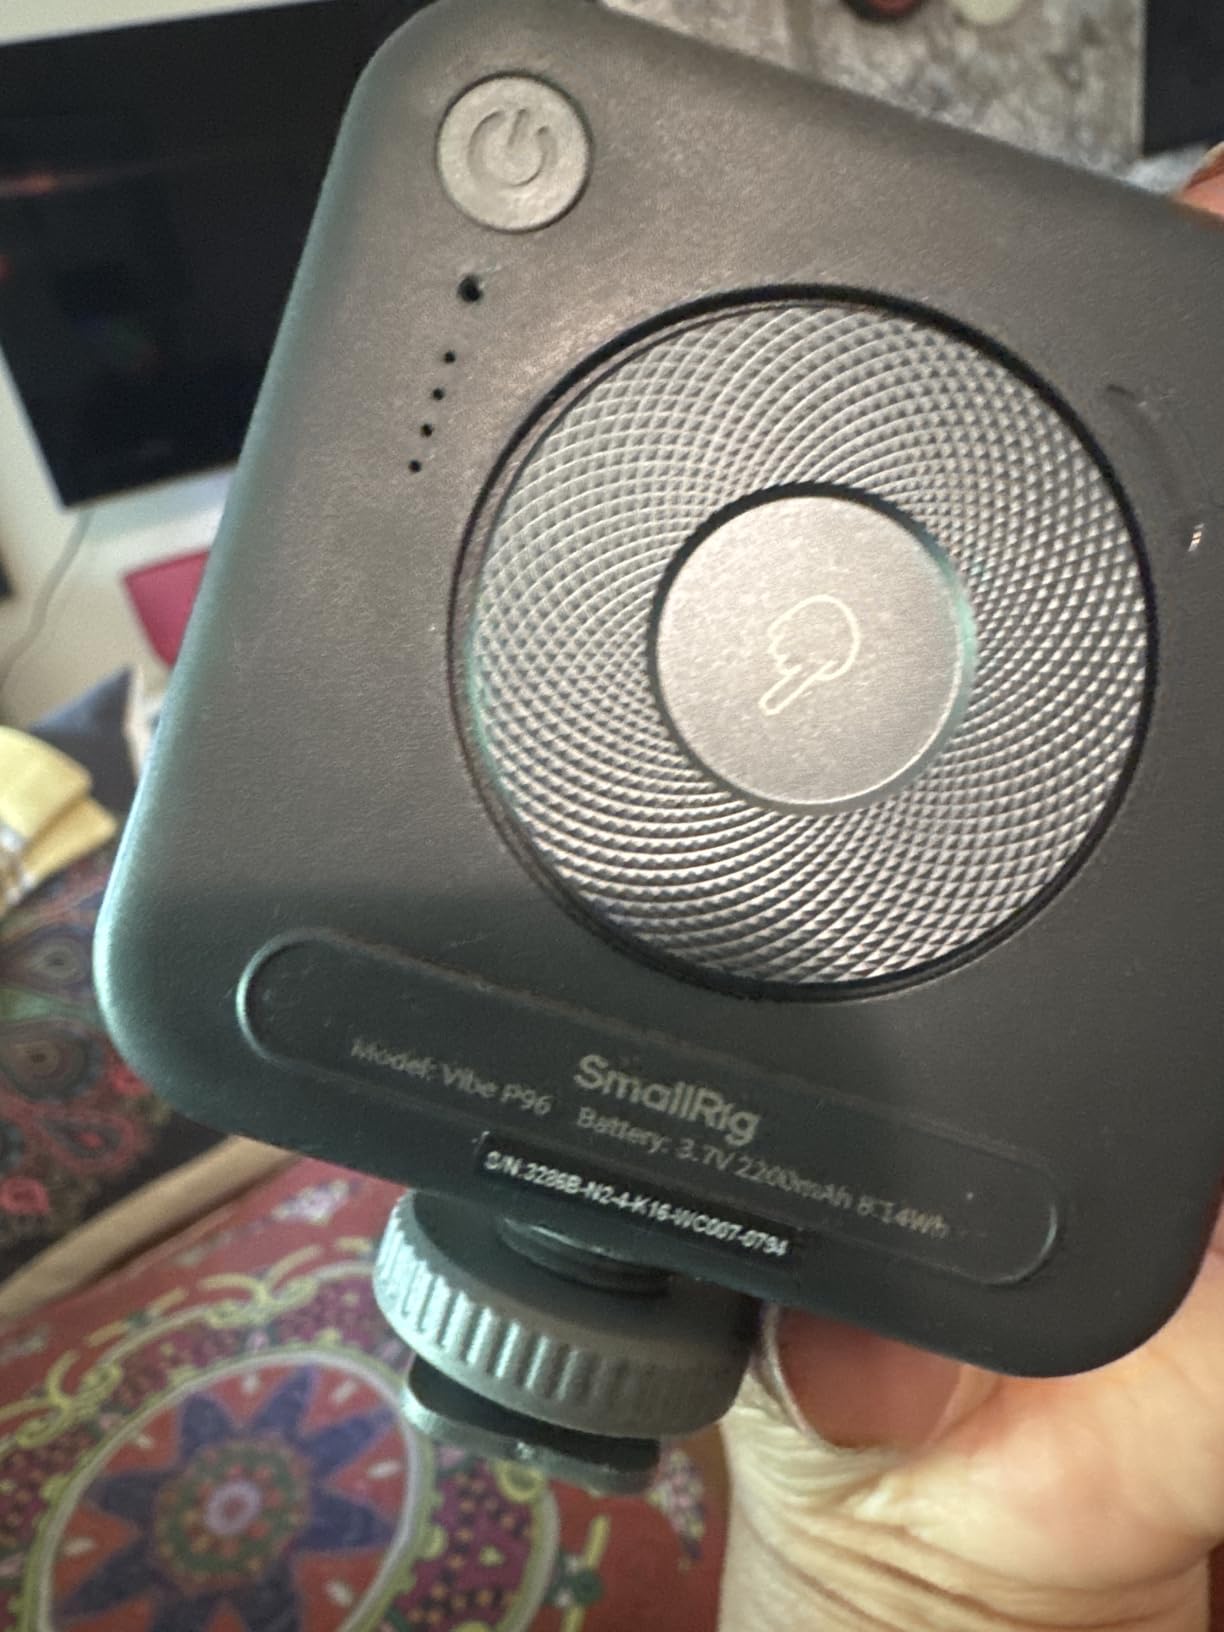
At 105 minutes of runtime on maximum power, the battery lasts through most situations. I carried a small USB power bank for extended sessions and could charge between shoots during lunch breaks. The three cold shoe mounts let me stack multiple units or attach accessories like microphones for video work.
The plastic construction concerns me for long-term durability in extreme conditions. While mine survived the trip, the control dial feels fragile and the mounting point requires careful handling. This is a budget option that delivers good light quality but demands careful treatment.
For whom its good
Content creators shooting video alongside stills will appreciate the compact size and color accuracy. Portrait photographers working in lodges or camps benefit from having controllable fill light. At under sixteen dollars, this makes an excellent backup light or starter unit for photographers building their lighting kit.
For whom its bad
Professional portrait photographers needing reliable primary lighting should invest in more robust units with metal construction and longer battery life. The plastic build won’t survive the abuse that professional gear endures on daily shoots. Also consider alternatives if you need more than three hours of continuous runtime without access to charging.
5. GEAR AID HEROCLIP – The Versatile Hanging Solution
GEAR AID HEROCLIP Carabiner Clip and Hook (Mini) for Travel, Luggage, and Small Bags, Forest Green
Pros
- Incredibly versatile hanging solution
- Strong 40 lb capacity
- Compact and lightweight
- Folds neatly when not in use
- Rubber tip for grip
Cons
- Premium price for carabiner
- Mini size limits for large bags
- Not for climbing use
This small clip became one of my most-used tools in Patagonia. I hung my camera bag off wet floors in lodge common areas, secured gear to fence posts during roadside photography stops, and even used it to suspend a shower caddy in cramped hostel bathrooms. The 3-in-1 design offers options that standard carabiners cannot match.
The hook function distinguishes this from ordinary clips. I could hang my pack from tree branches during lunch breaks on hiking trails, keeping gear clean and accessible while sitting on the ground. The rubber tip prevents slipping on smooth surfaces, and the 40-pound capacity easily handled my fully loaded camera backpack.
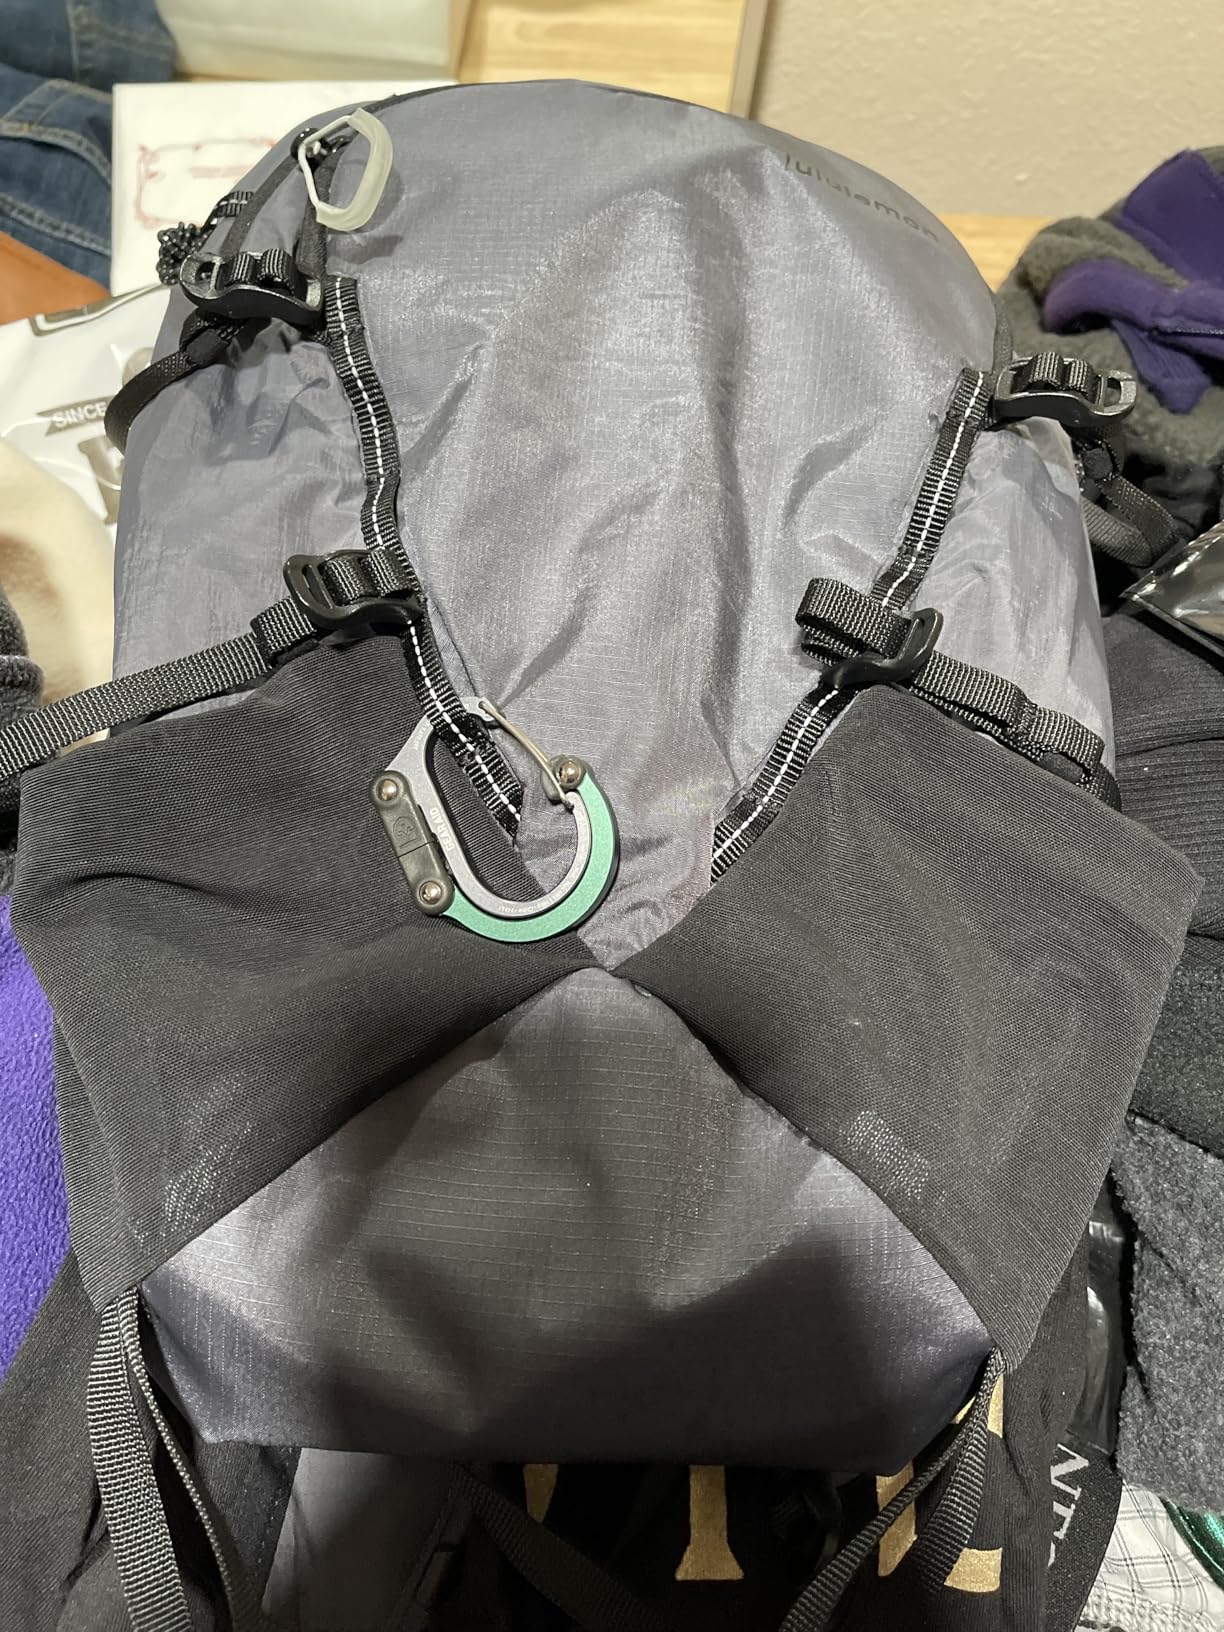
At just 0.7 ounces, the weight penalty is negligible. I clipped it to my belt loop for instant access whenever I needed to secure something. The aircraft-grade aluminum construction survived being dropped on rocks and scraped against granite without showing significant wear.
The mini size works perfectly for standard camera bags and daypacks. However, photographers carrying massive expedition packs might need the larger size option. Also remember this clip is not rated for climbing or safety-critical applications, though it works beautifully for gear management.
For whom its good
Travel photographers who shoot in varied locations will find endless uses for this clip. It’s particularly valuable in developing regions or outdoor conditions where clean places to set gear are scarce. The security-conscious photographer who never puts their bag on the floor needs this tool.
For whom its bad
Studio photographers working in controlled environments won’t find many uses for a hanging clip. The premium price might also deter casual photographers who could get by with a standard dollar-store carabiner for occasional use. If your shooting never leaves paved areas or clean studios, skip this purchase.
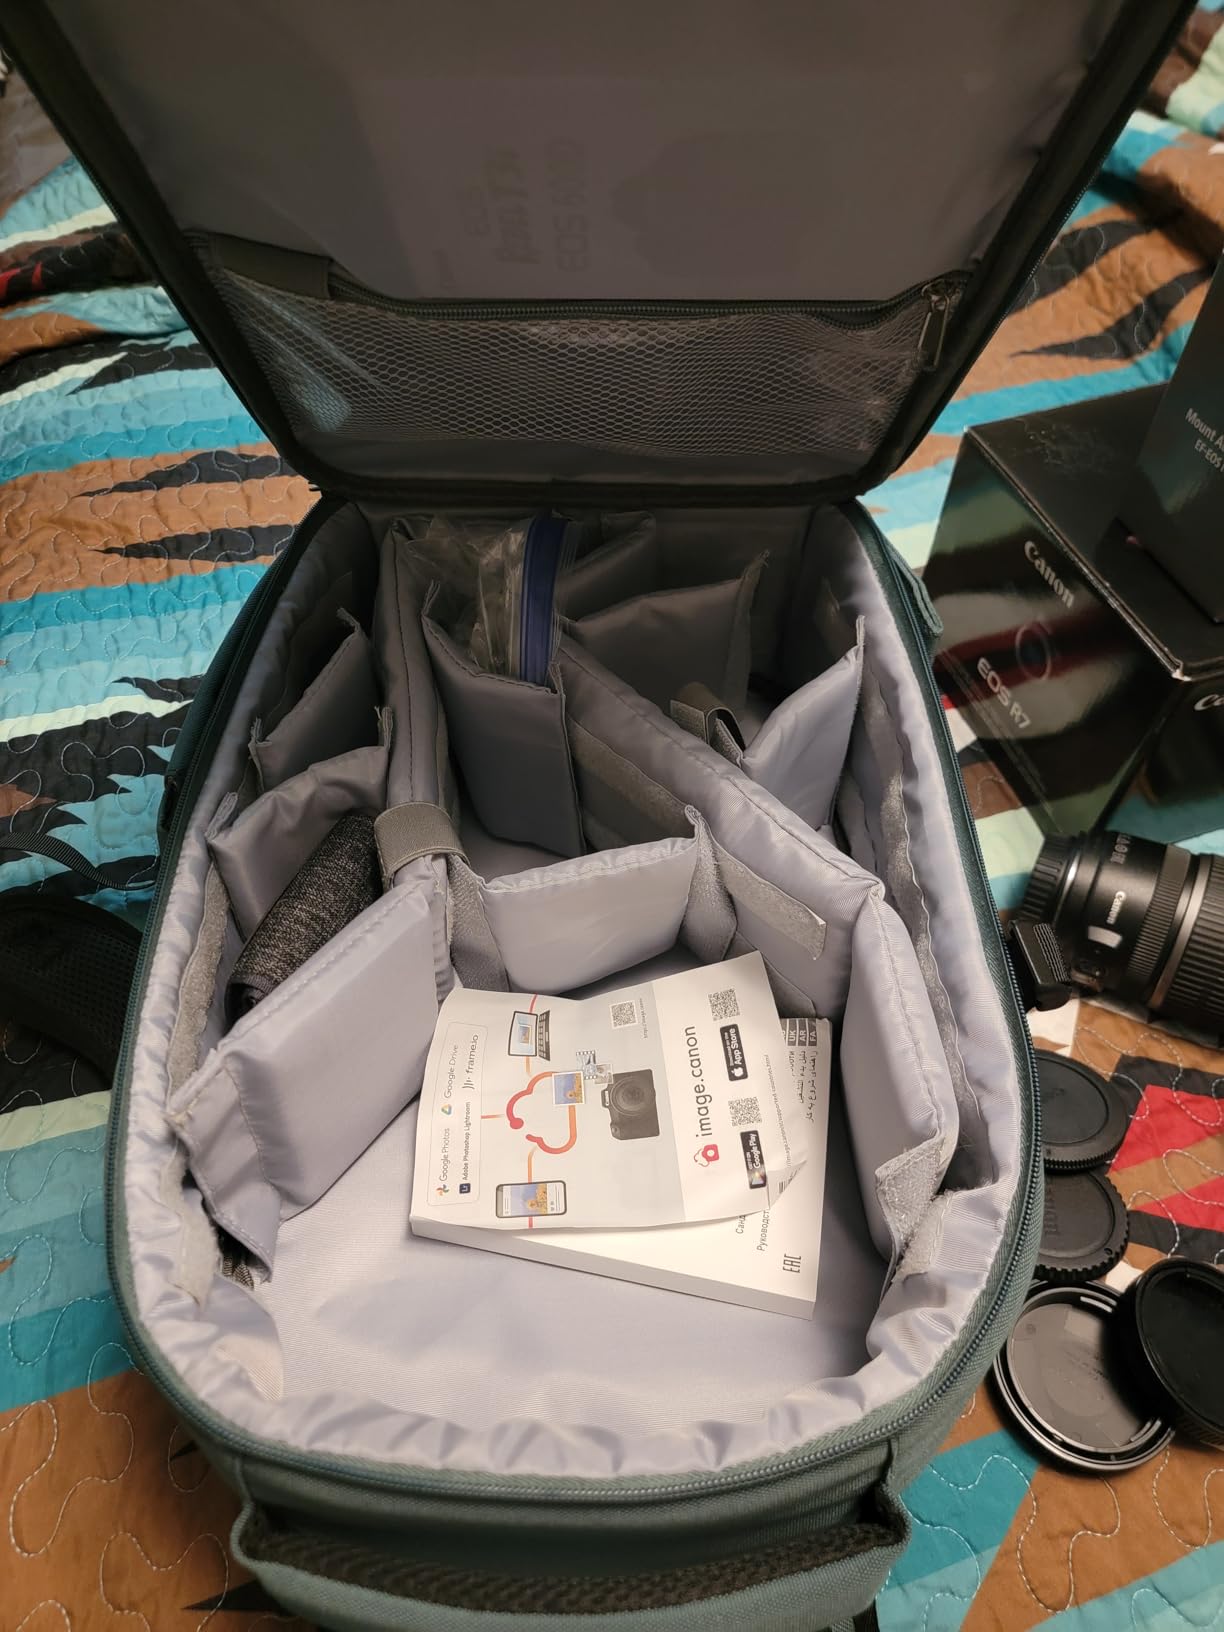
6. Neewer Flexible Partition Camera Bag – Customizable Protection
Pros
- Highly customizable interior
- Durable fabric and zippers
- Stands up on its own
- Fits in carry-on bags
- Lightweight yet protective
Cons
- Dividers initially stiff
- Side pockets smaller than expected
- Quality control inconsistencies
This padded insert served as my secondary storage solution throughout Patagonia. I used it inside a larger duffel bag for organization, then pulled it out as a standalone camera bag for shorter excursions when my full backpack was unnecessary. The flexibility proved invaluable as my needs changed between multi-day treks and short evening shoots near lodges.
The seven removable partitions let me create custom compartments for different lens configurations. During a wildlife-focused day at Laguna Amarga photographing guanacos, I configured the bag to prioritize quick access to my telephoto lens. For landscape days around El Chalten, I reconfigured for wider lenses and filter storage.
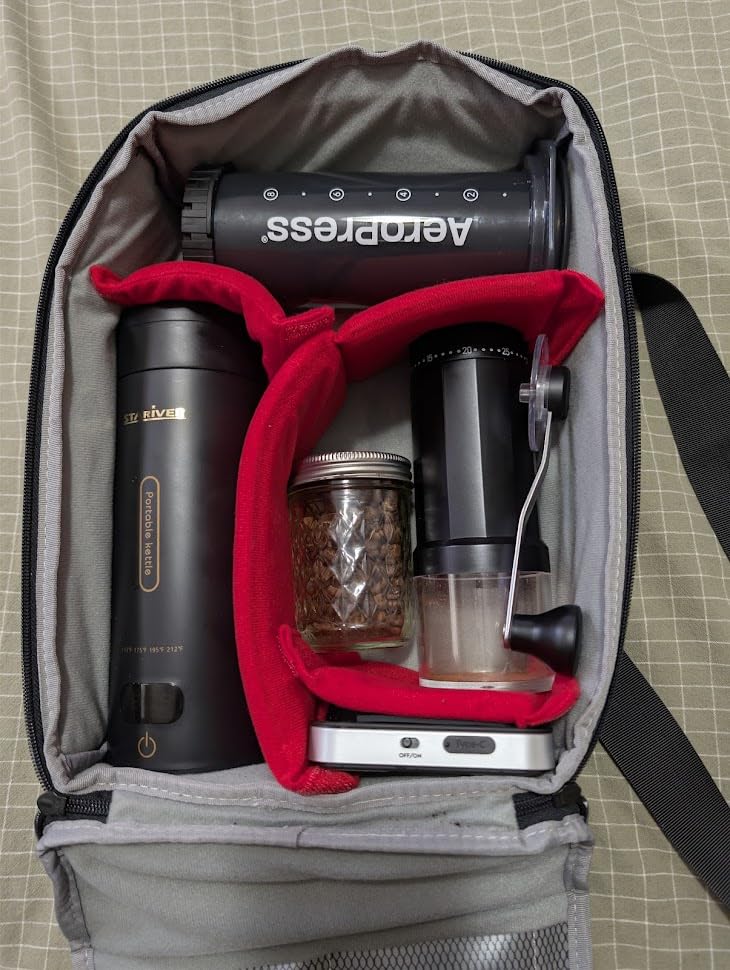
The bag stands upright on its own, a seemingly small feature that matters enormously when working on uneven terrain. I could set it down on rocky slopes without worrying about gear tumbling out. The web handle provided comfortable carrying for short distances between vehicle and viewpoint.
Initial setup frustrated me because the dividers were stiff and resistant to repositioning. After a week of use, they loosened sufficiently to allow easy reconfiguration. Some users report quality control issues, though my unit arrived perfect and survived three weeks of intensive use without failure.
For whom its good
Photographers who need flexible storage solutions benefit most from this bag. It works as an insert for larger luggage, a standalone bag for short trips, or an organizer for non-photography gear. At under forty-two dollars, it offers tremendous value for anyone who reorganizes their kit frequently.
For whom its bad
Photographers needing rapid access to gear during fast-paced shoots will find the zipper closure slower than flap-style bags. The lack of weather sealing also makes this unsuitable for direct exposure to Patagonian rain without additional protection. Choose a dedicated camera backpack if you need all-day comfort carrying heavy loads.
7. K&F CONCEPT Lightweight Camera Backpack – Ultralight Travel
Pros
- Extremely lightweight
- Large front-opening for quick access
- Padded laptop compartment
- Includes rain cover
- Versatile daily use conversion
Cons
- Smaller capacity limits gear
- Minimalist design lacks premium features
For photographers prioritizing weight savings without sacrificing protection, this K&F CONCEPT backpack delivers exceptional value. At under two pounds, it weighs half what comparable bags with similar protection levels tip the scales at. I used this as my daily carry bag during city portions of my Patagonia trip in Punta Arenas and El Calafate.
The large front-opening design revolutionizes access speed. Rather than digging down through top-loading compartments, I could lay the bag flat and see all my gear at once. This proved invaluable when switching quickly between street photography in town and landscape setups at nearby viewpoints.
The included rain cover saved my equipment during an unexpected downpour while walking back from dinner in Puerto Natales. The 600D splash-proof fabric repelled light moisture, but the full rain cover provided peace of mind during serious precipitation. The side strap accommodated my compact travel tripod securely.
Capacity limitations restrict this bag to one camera body with three to four lenses maximum. I couldn’t fit my full kit with multiple bodies and the 70-200mm f/2.8 in this bag simultaneously. For dedicated landscape days requiring extensive filter kits and backup bodies, I switched to the larger MOSISO backpack.
For whom its good
Travel photographers counting every gram and working with mirrorless systems or limited lens selections will love this bag. It’s also perfect as a secondary bag for non-photography items when your main pack carries gear. The laptop compartment makes it ideal for photographers who edit on location.
For whom its bad
Professional photographers with extensive gear collections will find this bag too limiting. The 15-liter capacity simply cannot accommodate multiple pro bodies and large aperture lenses. Also avoid this bag if you shoot primarily with full-frame DSLRs and heavy professional zooms.
8. K&F CONCEPT Camera Sling Bag – Quick Access Crossbody
K&F CONCEPT 2 in 1 Sling Bag Everyday Shoulder Bag & Multifunction Photography Crossbody Camera DSLR Backpack Portable Bag Black-Green
Pros
- Perfect for drone storage
- Multiple carrying styles
- Discreet non-camera appearance
- Comfortable for extended wear
- Waterproof rain cover
Cons
- Moderate padding for pro gear
- Rigid divider limits flexibility
- Shoulder pad could be thicker
Sling bags solve a specific problem: rapid access while moving. During active shooting days around the Perito Moreno Glacier, this crossbody bag let me swing my camera into position without stopping or removing a backpack. The sling design kept my hands free for balance on uneven terrain while maintaining instant access to my primary body.
The recycled nylon canvas with double PU coating shrugged off Patagonian drizzle without needing the rain cover in light conditions. The material doesn’t scream “expensive camera inside,” providing a subtle security advantage in tourist areas. I appreciated the understated appearance when walking through busy town centers.
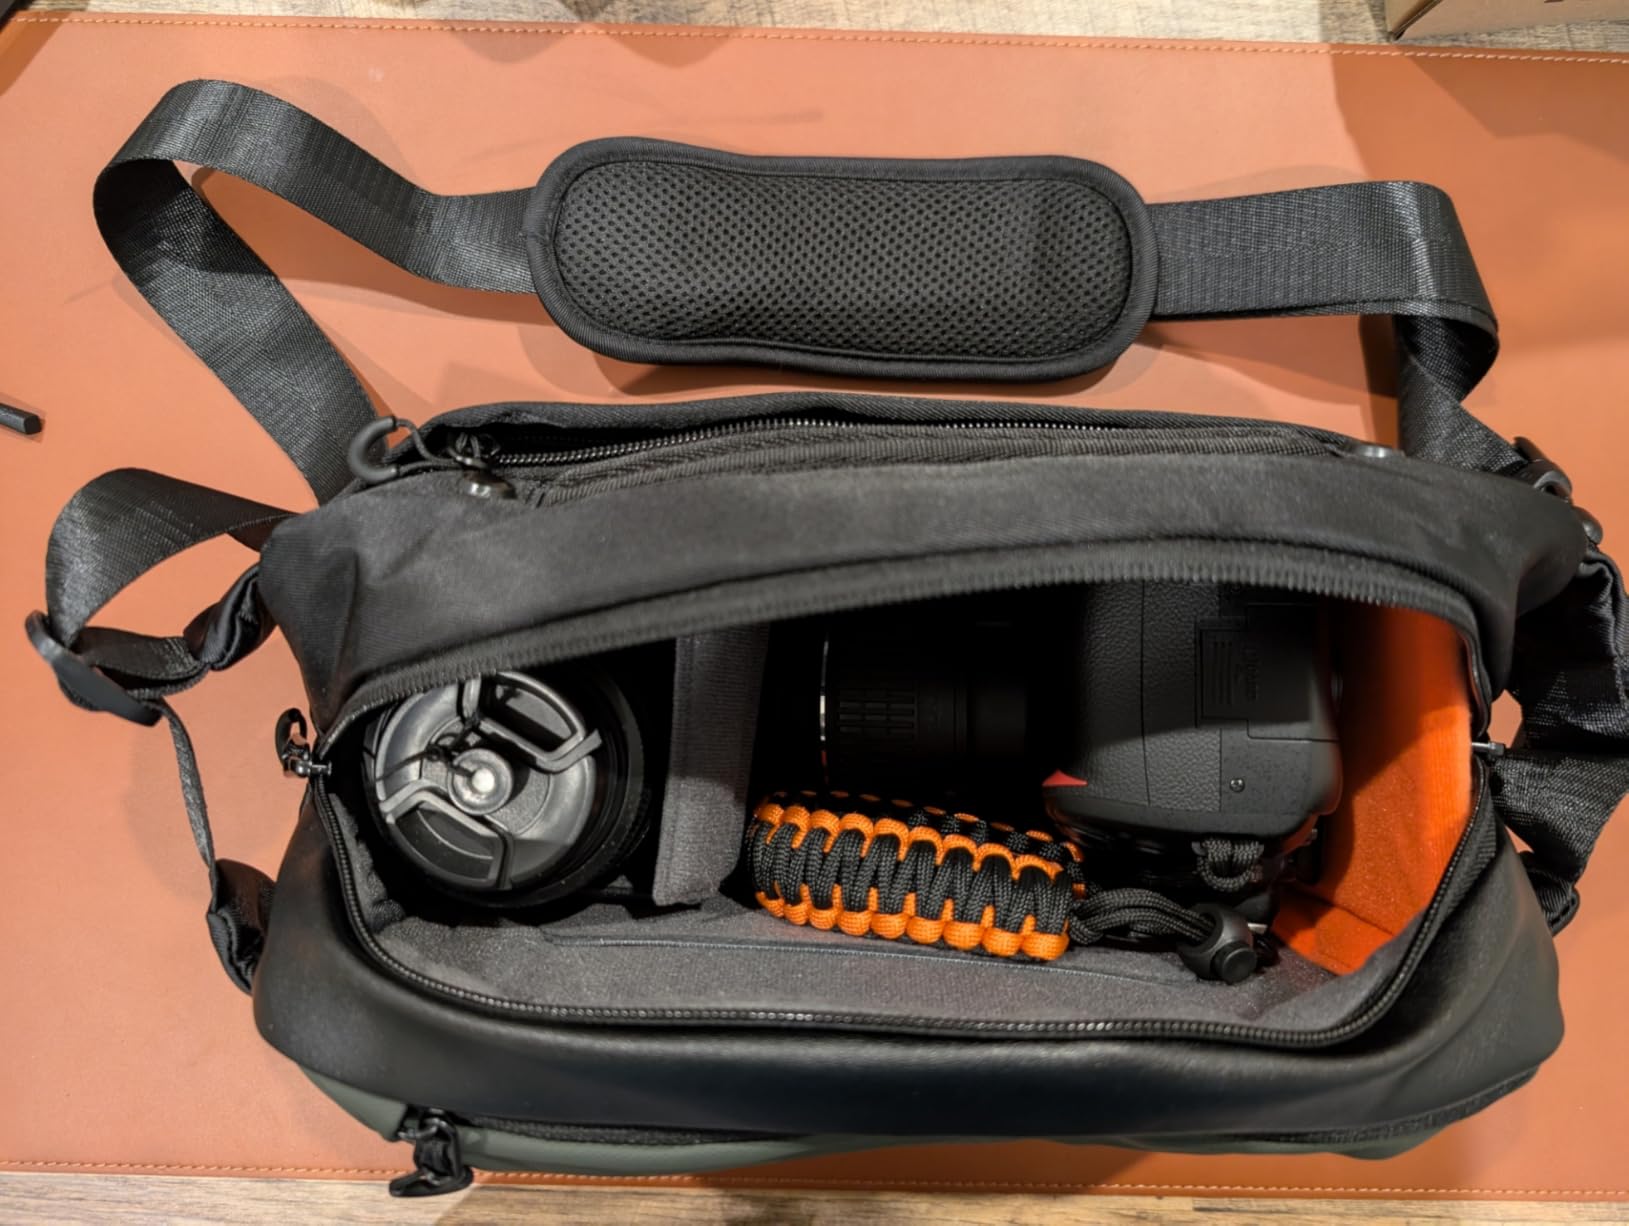
The flexfold divider system allows reasonable customization, though the rigid center divider limits some configurations. I found it perfect for a mirrorless body with two lenses and essential filters. The multiple pockets organized memory cards, spare batteries, and lens cleaning supplies efficiently.
The shoulder pad adequately distributes weight for moderate loads, but heavy gear combinations become uncomfortable after several hours. I limited this bag to lighter setups and switched to backpack-style carriers for days requiring my full kit with heavy telephoto lenses.
For whom its good
Active photographers who need quick access during hiking or street shooting will appreciate this sling design. It works particularly well for mirrorless systems and smaller DSLR setups. The security-conscious traveler benefits from the discreet appearance that doesn’t advertise expensive contents.
For whom its bad
Photographers carrying heavy professional gear or multiple large lenses should choose a proper backpack. The single-strap design cannot distribute weight comfortably for extended treks with substantial loads. Also consider alternatives if you have back problems or prefer balanced weight distribution.
9. NEEWER RGB Photography Flashlight – Creative Lighting Tool
Pros
- Solid aluminum construction
- Excellent color accuracy
- 20 GOBO filters included
- Long battery life
- USB-C pass-through charging
Cons
- 10W output limits large spaces
- Zoom range limited
- Spotlight beam quite large
This portable RGB flashlight opens creative lighting possibilities that standard white LEDs cannot match. During my Patagonia trip, I used the warm orange-yellow setting to simulate firelight for portraits in a traditional estancia, and the ice blue to create moonlit effects during a night photography session. The four color options provide creative flexibility in a compact package.
The 20 included GOBO filters project patterns including window blinds, tree shadows, and abstract shapes. I created compelling background textures for portraits using these filters against neutral lodge walls. The smooth zoom control from 10 to 60 degrees lets you adjust beam spread for different effects.
The three-hour battery life at full power exceeds most portable LEDs in this price range. USB-C charging with pass-through capability means you can power the light from a battery bank while shooting, effectively extending runtime indefinitely for studio-style setups in remote locations.
The 10-watt output works beautifully for accent lighting and portraits but cannot adequately illuminate large scenes or serve as primary video lighting in dark conditions. Consider this a creative tool for controlled situations rather than a workhorse main light for demanding applications.
For whom its good
Portrait photographers and content creators wanting creative color options will find excellent value here. The compact size fits easily in camera bags alongside other gear. At under forty-nine dollars with the included filters and aluminum construction, this represents a smart addition to any lighting kit focused on creative effects.
For whom its bad
Event photographers needing to light large spaces or video shooters requiring consistent high output should invest in more powerful units. The limited zoom range and large minimum beam spread restrict precision lighting applications. Also skip this if you only need white light, as the RGB features add cost you won’t utilize.
10. Luxebell 14-in-1 Accessories Kit – Action Camera Essentials
Luxebell Accessories Kit for AKASO EK5000 EK7000 4K WiFi Action Camera GoPro Hero 12 11 10 9 8 7 6 5/Session 5/Hero 4/3+/3/2/1 Max Fusion SJ4000 SJ5000 (14-in-1)
Pros
- Excellent value versus individual purchases
- Good variety of mounts
- Floating handle for water sports
- Chest and head straps included
- Strong suction cup mount
Cons
- Screws loosen during activity
- Plastic elbow joints can crack
- Storage bag too small
- Quality concerns for heavy cameras
Action cameras capture perspectives impossible with traditional gear. During my Patagonia trip, I mounted a compact action camera on my backpack strap to record behind-the-scenes footage while shooting with my primary camera. This kit provides every mounting option needed for creative action sequences.
The floating handle grip proved essential during a kayak excursion around Grey Glacier. When I capsized in the frigid water, the bright yellow grip kept my camera visible and prevented it from sinking to the bottom of the lake. The handle remained comfortable during a full day of paddling.
The chest strap mount creates immersive point-of-view footage while hiking. I captured walking shots through Lenga forests that would have been impossible hand-holding a camera. The suction cup mount held securely to vehicle windows during drives between locations, though I recommend checking tightness periodically on rough roads.
Build quality concerns emerged during intensive use. Screws require frequent tightening, and the plastic components show stress marks after repeated adjustments. I wouldn’t trust this kit with expensive cinema cameras, but for standard action cameras under five hundred dollars, the value proposition remains strong.
For whom its good
Adventure photographers using action cameras to capture secondary footage will appreciate the comprehensive selection. The kit pays for itself with just three or four mounts compared to buying individually. Beginners testing action camera capabilities benefit from exploring different mounting options before investing in premium accessories.
For whom its bad
Professional filmmakers working with expensive cinema cameras should invest in premium mounting systems rated for heavier equipment. The plastic construction cannot be trusted with gear costing thousands of dollars in extreme conditions. Also consider skipping this if you only need one specific mount type rather than a comprehensive kit.
11. AKASO Floating Hand Grip – Water Safety Essential

AKASO Waterproof Floating Hand Grip Action Camera Accessories for Gopro Hero 13/12/11/10/ 9/Max/DJI Osmo Action EK7000/Brave 4/Brave 7 LE/Brave 7 Action Camera Handle Mountfor Water Sports
Pros
- Prevents camera loss in water
- Bright color for visibility
- Comfortable textured grip
- Adjustable wrist strap
- Doubles as waterproof monopod
Cons
- Camera not included
- Release mechanism learning curve
Patagonia’s waters are unforgivingly cold. Drop an action camera in Lago Argentino or the Pacific waters off the coast, and retrieval becomes nearly impossible without flotation assistance. This grip kept my camera safe during multiple water activities including a boat tour to the Balmaceda Glacier.
The bright orange cap creates instant visibility against dark water. Even in choppy conditions with whitecaps, I could spot my camera immediately if it slipped from my grip. The textured rubber surface maintains hold when wet, and the adjustable wrist strap provides backup security during active water sports.

The grip doubles as a mini monopod for above-water shooting. I extended it partially to hold the camera higher while kayaking, capturing perspectives above the waterline that hand-holding couldn’t achieve. The length provides just enough extension for interesting angles without becoming unwieldy.
The release mechanism requires practice to operate smoothly while wearing the camera. Plan to spend an evening getting familiar with the attachment system before your trip. Once mastered, it becomes second nature, but expect initial fumbling.
For whom its good
Anyone taking action cameras near water needs this grip. The flotation feature provides irreplaceable peace of mind during boat tours, kayaking, or even shooting near fast-moving streams. At under seventeen dollars, this is cheap insurance against losing your camera and the footage it contains.
For whom its bad
Photographers who never approach water won’t find value here. The grip also adds bulk that some minimalists might prefer to avoid for pure land-based shooting. If your Patagonia trip involves exclusively hiking and dry activities, you can skip this specialized accessory.
12. Amazon Basics 50-inch Tripod – Budget Stability

Pros
- Extremely affordable
- Very lightweight and portable
- Bubble level included
- Quick-release for fast setup
- Great for beginners
Cons
- Not for heavy DSLRs with long lenses
- Unstable at full extension
- Wobbly with heavy equipment
- 4.4 lb weight limit
Every photographer needs a tripod in Patagonia. The low light of dawn and dusk, combined with the desire for maximum depth of field in landscapes, demands long exposures impossible to hand-hold. This budget option provides adequate stability for mirrorless systems and lightweight DSLRs at a price that won’t devastate your wallet if the wind destroys it.
At under two pounds, this tripod travels easily. I used it as a backup during a workshop where several participants had forgotten tripods entirely. The quick-release plate allows fast transitions between setups, and the built-in bubble level helps achieve straight horizons on uneven ground.
The weight limit of 4.4 pounds restricts this tripod to smaller camera systems. My full-frame DSLR with the 70-200mm f/2.8 exceeded the safe capacity, causing noticeable vibration during exposures. For lightweight mirrorless setups with standard zooms, however, it performs adequately.
Full extension to 50 inches reduces stability significantly. I recommend using only the lower sections when wind conditions challenge your setup. The aluminum legs transmit vibrations more than carbon fiber alternatives, so use the self-timer or remote release to minimize camera shake from pressing the shutter.
For whom its good
Beginning photographers and those using compact mirrorless systems will find this tripod perfectly adequate. It’s also an excellent backup to keep in a vehicle or spare bag in case your primary tripod fails. The price makes it accessible for photographers who aren’t sure how much they’ll use a tripod and want to test the waters.
For whom its bad
Professional photographers with heavy pro bodies and large aperture lenses need a sturdier support system. The weight limit and stability concerns make this unsuitable for serious landscape work with professional gear. Also avoid this tripod if you shoot primarily in extreme wind conditions where maximum rigidity matters.
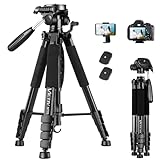
13. VICTIV 74-inch Camera Tripod – Tall Budget Option
Pros
- Exceptional 74-inch maximum height
- High 9.5 lb weight capacity
- Includes phone holder
- Extra quick-release plate
- Smooth pan head
Cons
- Legs can be stiff to extend
- Some assembly required
- Not as smooth as pro video tripods
The 74-inch maximum height distinguishes this tripod from budget competitors. When shooting over tall grass or fencing at viewpoints, that extra reach matters. I used this height advantage at several Torres del Paine viewpoints to clear foreground obstructions and capture cleaner compositions.
The 9.5-pound load capacity accommodates professional DSLRs with substantial lenses. My full-frame body with the 24-70mm f/2.8 and battery grip rode securely without the wobble that plagues lighter tripods. The hanging hook let me add a camera bag for extra stability during windy conditions.
The included phone holder opens creative possibilities for behind-the-scenes footage or time-lapses using your smartphone while shooting with your primary camera. The extra quick-release plate means you can keep plates attached to multiple cameras and switch rapidly between bodies.
Leg extension requires more force than premium tripods. The flip locks work reliably but demand deliberate action to operate. Plan to spend extra time setting up compared to smoother-operating professional options. The stiffness actually provides some confidence that legs won’t collapse accidentally.
For whom its good
Photographers needing substantial height without spending professional prices will appreciate this VICTIV model. Content creators and YouTubers find the tall maximum height and phone holder particularly useful. The load capacity accommodates most professional camera systems without the premium price tag.
For whom its bad
Travel photographers counting every gram might find the three-pound weight excessive compared to carbon fiber alternatives. The larger folded size also consumes more bag space than compact travel tripods. Consider spending more on a lighter carbon fiber model if you prioritize weight savings over absolute maximum height.
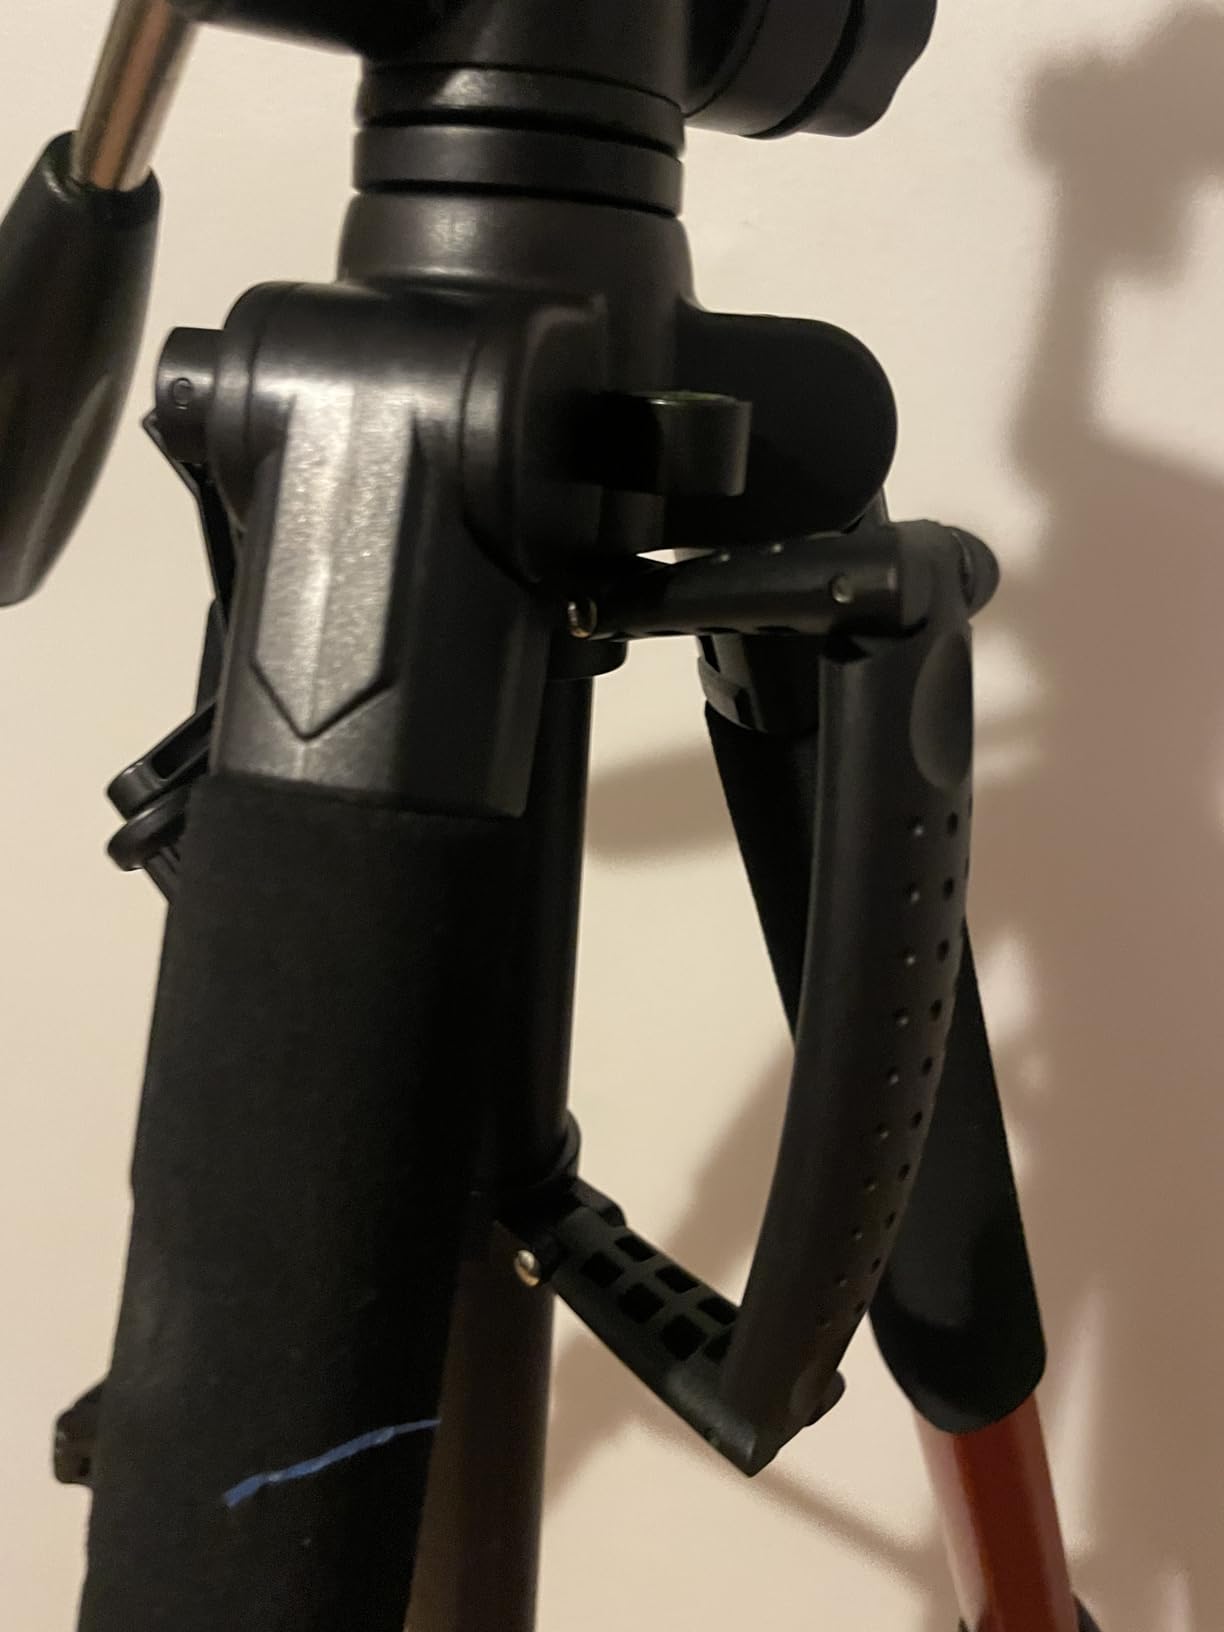
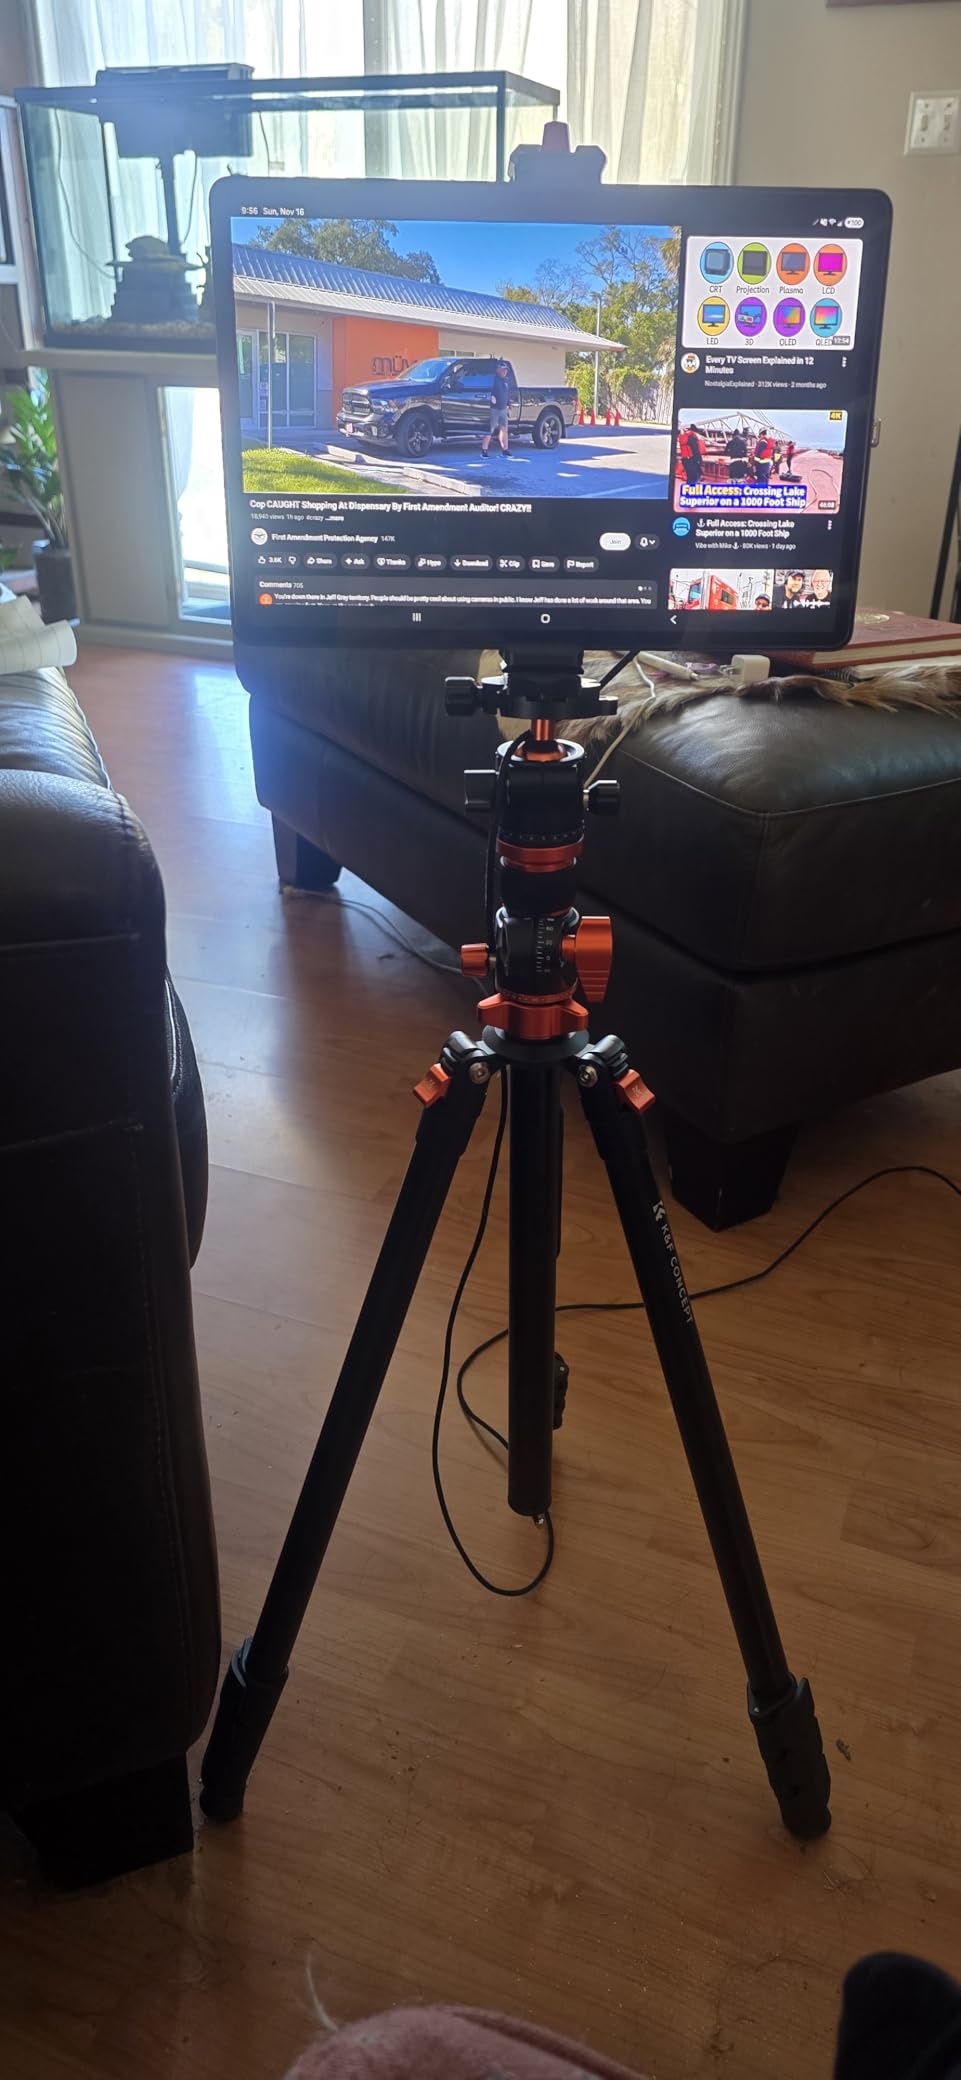
14. K&F CONCEPT 64-inch Tripod – Best Value Professional Features
Pros
- High 17.6 lb load capacity
- 360-degree ball head precision
- Compact folded size
- Lightweight for features
- Center column inversion
Cons
- Bulky collapsed diameter
- Ball head learning curve
- Not as compact as premium travel tripods
This tripod delivers professional features at a price point that respects your budget. The 17.6-pound load capacity rivals tripods costing three times as much, easily supporting my heaviest camera and lens combinations with confidence. The 36mm ball head provides smooth, precise positioning that makes fine composition adjustments effortless.
The center column inversion feature enables low-angle shooting impossible with standard configurations. I used this for dramatic foreground perspectives of Patagonian wildflowers with mountains looming behind. The quick flip leg locks deploy rapidly when the light changes suddenly, which happens constantly in Patagonia.
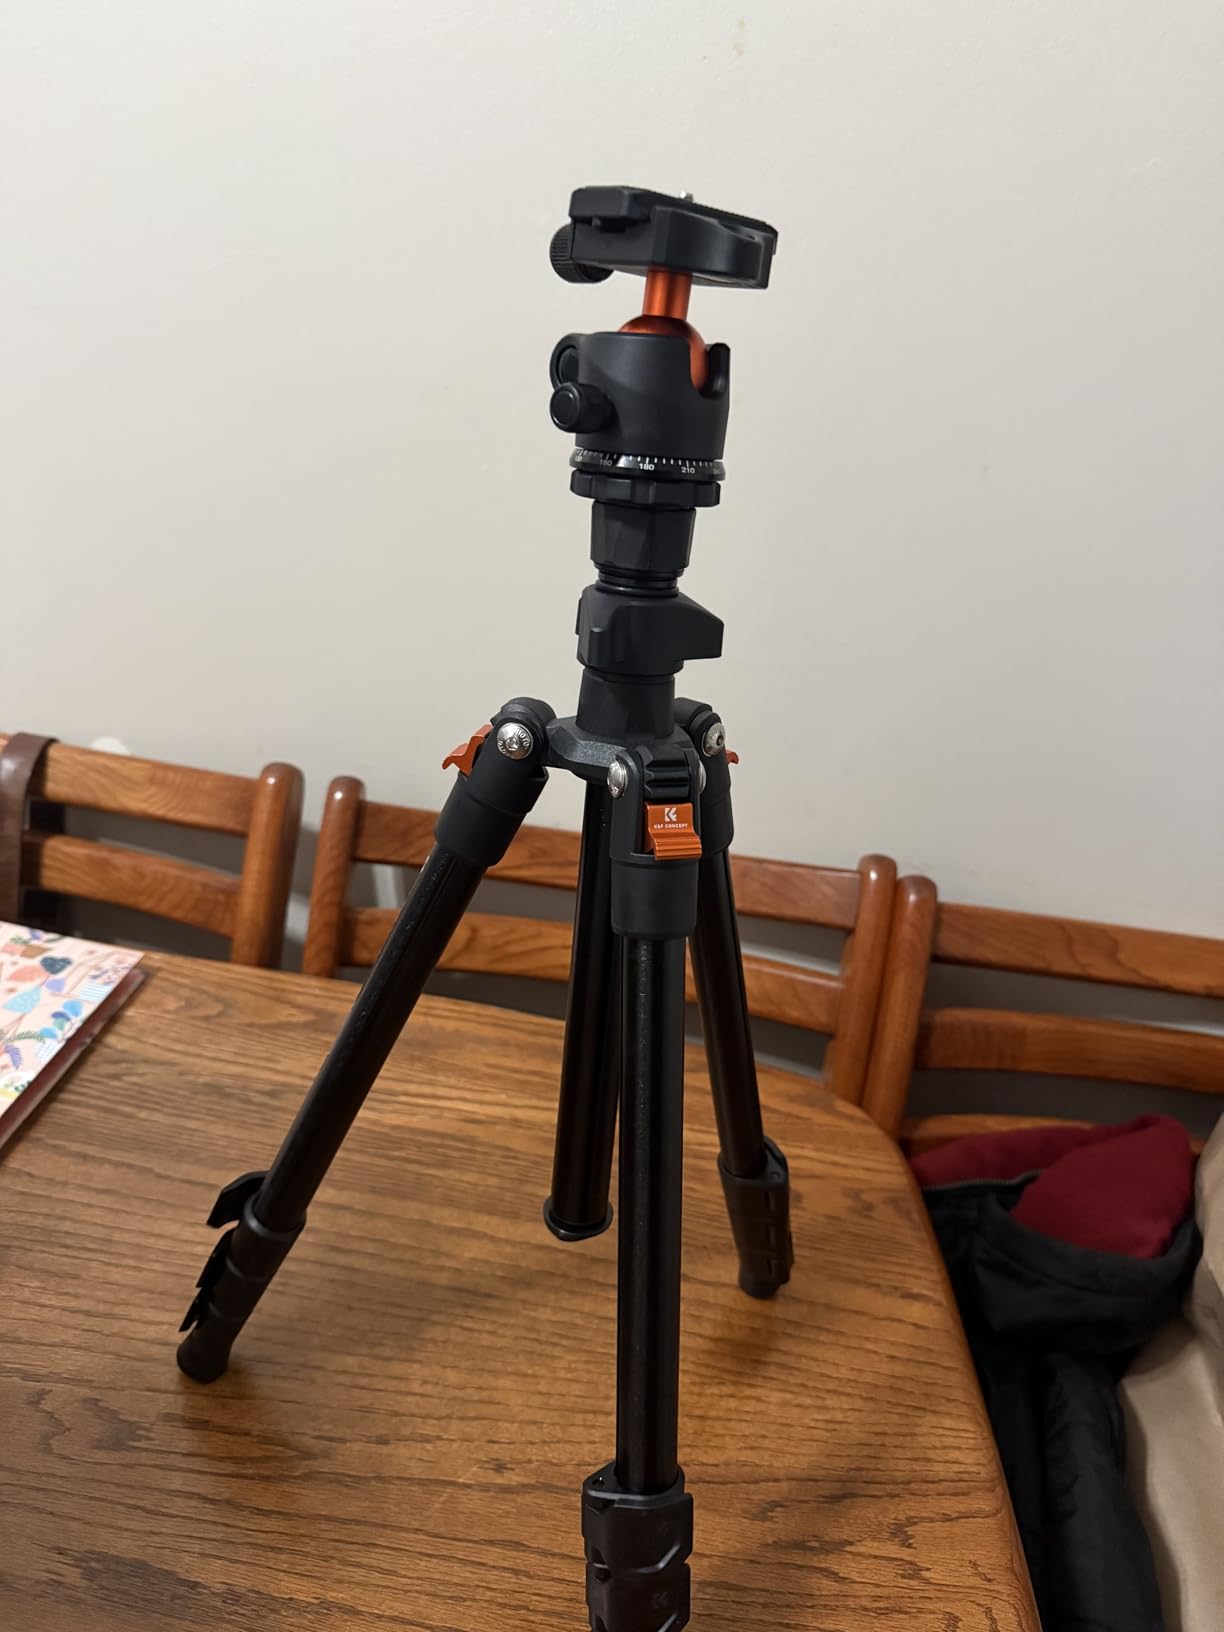
Arca-Swiss compatibility means this tripod works with the industry-standard quick-release system preferred by most professional photographers. If you already own Arca-Swiss plates, they’ll mount directly without proprietary adapters. The included phone holder adds versatility for content creators shooting supplementary footage.
The collapsed diameter runs thicker than some premium travel tripods, consuming slightly more backpack space. The ball head also requires practice to operate smoothly if you’re accustomed to pan-and-tilt heads. Expect a brief learning curve to unlock the full potential of this excellent support system.
For whom its good
Serious photographers wanting professional capabilities without premium pricing should strongly consider this tripod. The load capacity, ball head precision, and compact folded size hit a sweet spot for travel landscape photography. It’s particularly well-suited for photographers transitioning from entry-level gear to more professional equipment.
For whom its bad
Photographers needing the absolute smallest folded size for ultralight backpacking might find more compact options worth the premium. The ball head also frustrates photographers who prefer the separate axis control of three-way heads. Consider your shooting style and space constraints before choosing this over lighter alternatives.
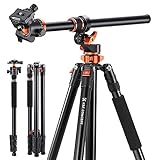
15. K&F CONCEPT 90-inch Ultra High Tripod – Professional Versatility
Pros
- Exceptional 90-inch maximum height
- Horizontal overhead shooting
- 22 lb professional capacity
- Patent gimbal system
- Detachable monopod
Cons
- Heavier at 4.45 lbs
- Larger folded size
- Premium price point
- Learning curve for horizontal boom
When you need maximum versatility for professional work in Patagonia, this ultra-tall tripod delivers. The 90-inch height reaches over barriers and provides unique perspectives unavailable with standard tripods. I used this capability to shoot over crowds at popular viewpoints and capture architectural details of refugios from unique angles.
The horizontal shooting capability transforms this from a standard tripod into a creative tool. The patent gimbal system allows unlimited angular positioning, perfect for overhead food photography at lodges or downward shots of wildflowers and ground details. The 360-degree panoramic rotation enables precise panoramic sequence capture.
The 22-pound load capacity handles virtually any professional camera system with confidence. My heaviest medium-format setup with telephoto lens rode securely without vibration concerns. The detachable monopod provides a lightweight alternative for situations where full tripod setup isn’t practical.
The weight and bulk reflect the professional capabilities. At 4.45 pounds, this demands commitment to carry on long hikes. The larger folded size also requires more bag space than travel-oriented alternatives. This is a tool for dedicated professionals who prioritize capability over absolute portability.
For whom its good
Professional photographers, YouTubers, and content creators needing maximum versatility should invest in this tripod. The horizontal shooting capability alone justifies the price for photographers who frequently need overhead perspectives. The build quality and load capacity support professional work in demanding conditions.
For whom its bad
Casual photographers and travel minimalists will find this tripod excessive for their needs. The weight and bulk penalize long treks where every pound matters. Also avoid this if your shooting never requires unusual angles or overhead perspectives that justify the premium features.
How to Choose Photography Gear for Patagonia In 2026?
Selecting equipment for Patagonia requires balancing competing priorities. Weather protection, weight, and versatility all matter, but trade-offs exist between each factor. My three weeks in the region taught me valuable lessons about what gear truly earns its place in your bag.
Weather Considerations Above All
Patagonia weather defines your experience. The region experiences four seasons in a single day, sometimes within hours. Wind speeds regularly exceed 40 knots, and horizontal rain can soak gear in seconds. Choose equipment with robust weather sealing or invest in protective covers. Bags need rain protection, camera bodies need sealing, and tripods must withstand gusts that knock people off balance.
During my trip, a photographer in our group lost a camera to moisture because his bag lacked adequate rain protection. The repair cost exceeded the price of a properly weatherproofed bag system. Don’t learn this lesson the expensive way.
Weight vs Durability Trade-offs
Every ounce matters when hiking 12 miles to reach a sunrise viewpoint. Carbon fiber tripods weigh half what aluminum alternatives do, but cost significantly more. Mirrorless systems save pounds compared to DSLR kits. Evaluate whether the weight savings justify the expense based on your specific itinerary and physical capabilities.
My recommendation: invest in weight savings for items you carry constantly, like camera bodies and primary lenses. Accept heavier alternatives for backup and specialty items used less frequently. The MOSISO backpack and K&F CONCEPT tripods offer good compromises between durability and reasonable weight.
Essential vs Optional Gear
Before packing any item, ask whether losing it would end your trip or merely inconvenience you. Camera bodies, one versatile lens, memory cards, and batteries are truly essential. Secondary lenses, lighting gear, and accessories become optional based on your shooting style.
For landscape-focused photographers, prioritize tripods and wide-angle lenses. Wildlife photographers need telephoto reach above all else. Portrait and travel photographers might emphasize lighting and versatile zooms. Match your gear to your actual shooting priorities rather than packing for every conceivable scenario.
Backup Strategies
Critical equipment demands redundancy in Patagonia. Carry at least two camera bodies if photography is your primary trip purpose. Pack multiple memory cards and store them separately. Bring extra batteries because cold weather drains power faster than normal. Consider what happens if your primary tripod breaks or your main bag fails.
I carried the DSLR cheat sheets partially as backup reference, but also because they work even if my phone dies. Physical reference materials never suffer battery failure. Similarly, the affordable Amazon Basics tripod served as emergency backup if my primary support system failed.
Frequently Asked Questions
What is the best photography tour company in Patagonia?
The best photography tour companies in Patagonia include Natural Habitat Adventures for wildlife-focused tours, Colby Brown Photography for comprehensive workshops, and Far South Expeditions for specialized nature photography. Local specialists like Patagonia Photo offer 30 years of regional expertise with custom itineraries. The best choice depends on your priorities: wildlife photography favors Nat Hab, learning-intensive workshops suit Colby Brown, and custom adventures work well with regional specialists.
What gear do I need for Patagonia photography?
Essential gear for Patagonia includes a weatherproof camera backpack like the MOSISO model, sturdy tripod rated for high winds, wide-angle lens (16-35mm) for landscapes, telephoto lens (100-400mm) for wildlife, and multiple batteries due to cold weather drain. Additional essentials include rain covers, lens cleaning supplies, and quick reference cards for camera settings. Action cameras with floating grips prove valuable for water activities around glaciers and lakes.
When is the best time for Patagonia photography?
April offers the best photography conditions in Patagonia, with fall colors creating spectacular foregrounds against mountain backdrops. March through May provides stable weather patterns, fewer tourists, and golden larch trees. October through December offers longer days and blooming wildflowers but more unpredictable weather. Winter months (June-August) work for astrophotography and snow-covered landscapes but limit accessibility to some locations.
How difficult are Patagonia photography hikes?
Patagonia photography hikes range from easy boardwalks to strenuous multi-day treks. Popular viewpoints like Mirador Las Torres require 12-mile round trips with significant elevation gain. El Chalten area hikes vary from gentle walks to technical scrambles. Photography tour companies typically rate difficulty levels, with most workshops requiring moderate fitness for 6-8 mile daily hikes. Proper hiking boots, trekking poles, and layered clothing prove essential regardless of difficulty rating.
Do I need a visa for Chile and Argentina?
United States citizens do not need visas for tourist visits up to 90 days in Chile or Argentina, but must pay reciprocity fees for Argentina in advance online. Carry passport copies separate from originals. Border crossings between Chile and Argentina in Patagonia require passing through customs checkpoints. Ensure your passport has at least six months validity remaining. Some nationalities require visas for either country, so verify requirements based on your citizenship.
Conclusion
Patagonia photography tour companies have spent decades learning what works in this demanding environment. The gear recommendations in this guide reflect real-world testing under the exact conditions you’ll face when chasing the perfect shot of Mt Fitz Roy or waiting for sunrise light on the Torres del Paine spires.
The right equipment removes barriers between your creative vision and the final image. Weatherproof bags protect your investment from Patagonia’s notorious conditions. Stable tripods enable the long exposures necessary for silky waterfall effects. Quick reference tools keep camera settings accessible when the light changes suddenly.
Start with the essentials: reliable storage, stable support, and weather protection. Add specialized tools like lighting and action camera accessories based on your specific shooting style. Remember that Patagonia photography tour companies emphasize experience over equipment, but having the right gear ensures you’re ready when those once-in-a-lifetime moments appear.
Your Patagonia adventure awaits. Pack smart, shoot often, and bring home images that capture the raw beauty of the world’s end.