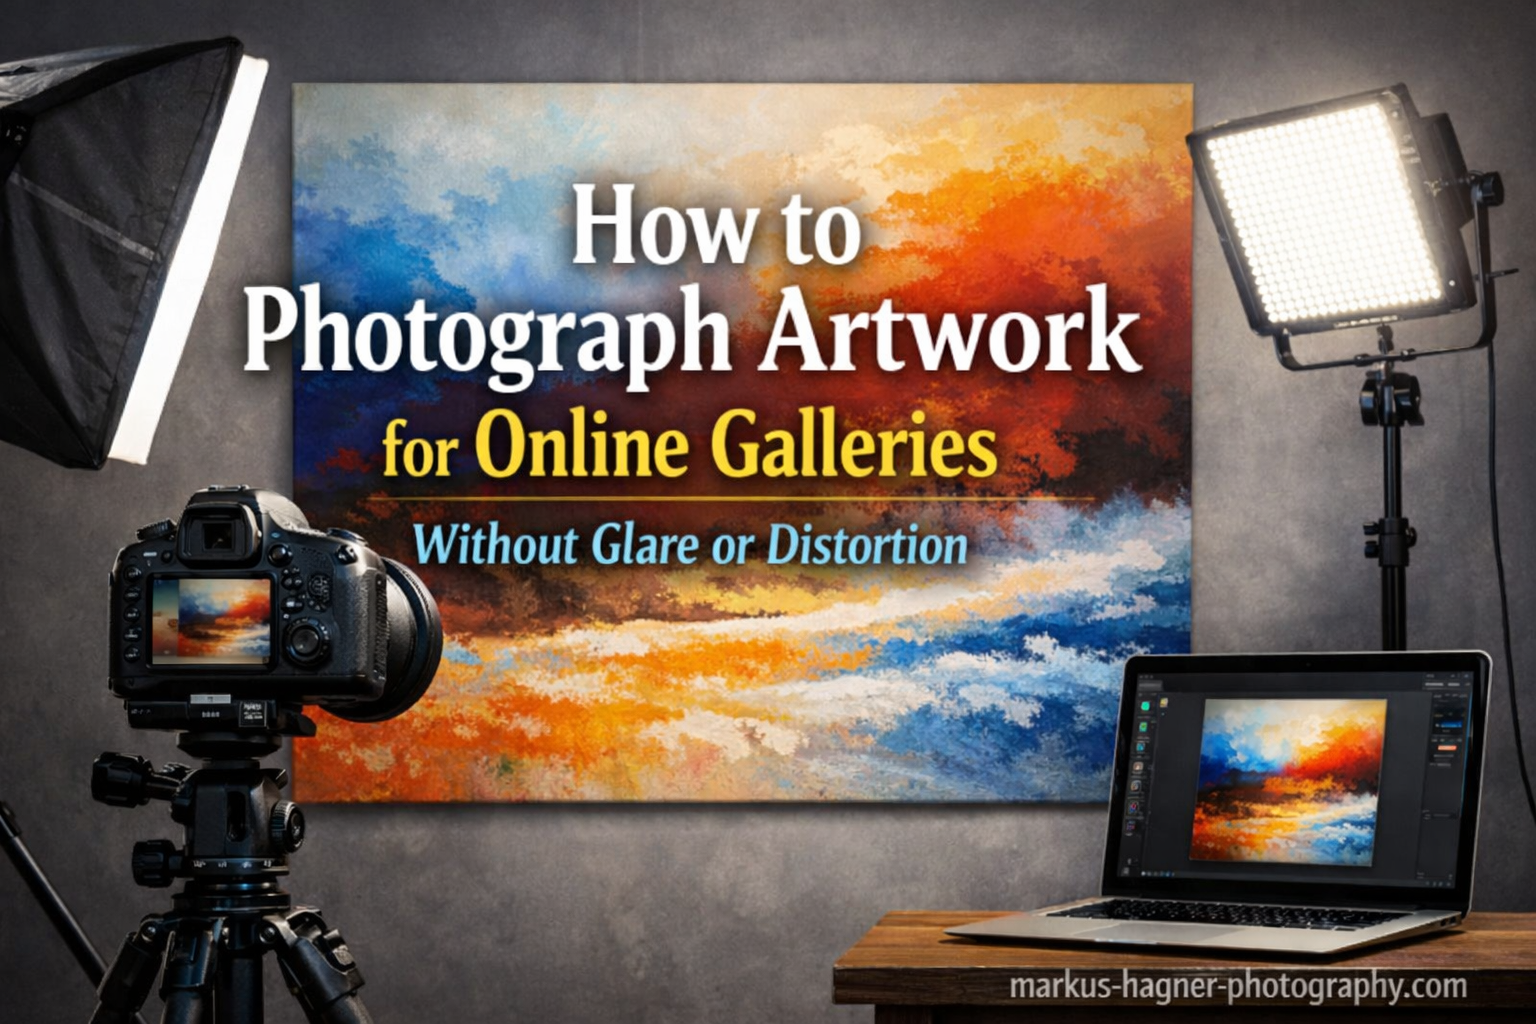
Getting your artwork rejected because of poor photos hurts. I have seen talented artists lose exhibition opportunities simply because their submissions showed glare, distorted colors, or weird angles. After helping dozens of artists prepare their portfolios for online galleries, I learned that you do not need expensive equipment to get professional results. You just need to understand how light behaves and position your camera correctly.
In this guide, I will show you exactly how to photograph artwork for online galleries without glare or distortion. Whether you work with oil paintings, acrylics, watercolors, or mixed media, these techniques will help you capture true colors and sharp details that represent your art accurately.
What Causes Glare and Distortion in Artwork Photography?
Glare happens when light bounces directly off your artwork and straight into your camera lens. The scientific principle behind this is simple: the angle of incidence equals the angle of reflection. When your light source hits the artwork at the same angle your camera views it, you see that bright spot or reflection that ruins the photo.
Oil paintings and varnished works are particularly prone to glare because their surfaces act like mirrors. Textured brushstrokes catch light from multiple angles, creating hot spots across the image. Even matte surfaces can reflect enough light to wash out subtle color variations.
Distortion works differently. When you photograph artwork from an angle rather than straight on, rectangular canvases become trapezoids in your image. This is called barrel or perspective distortion. Wide-angle lenses make this worse by stretching the edges of your frame. The solution is simple: keep your camera parallel to the artwork and use the right focal length.
Essential Equipment for Photographing Artwork
You can capture gallery-quality photos with surprisingly modest gear. Here is what I recommend based on your budget and commitment level.
Camera Options
Any camera with manual controls works for artwork photography. DSLR and mirrorless cameras give you the most control over settings and produce the highest resolution files. However, modern smartphones can produce excellent results when you use them correctly.
If using a phone, shoot in RAW format if your device supports it. Apps like Lightroom Mobile or Halide unlock this capability on many devices. RAW files capture more color information and give you flexibility during editing.
Lens Selection
Avoid wide-angle lenses for artwork photography. They introduce barrel distortion that makes straight lines curve outward. Instead, use a 50mm or 85mm lens on a full-frame camera, or a 35mm to 50mm equivalent on crop sensors. These focal lengths closely match human vision and produce natural-looking images without distortion.
Zoom lenses work well if you shoot at 50mm or longer. Prime lenses often deliver sharper results and better edge-to-edge quality, which matters when you need every detail of your artwork visible.
Tripod and Stability
A sturdy tripod is non-negotiable for sharp artwork photos. Hand-holding introduces camera shake, especially at lower ISO settings and longer exposures. A tripod also keeps your camera perfectly parallel to the artwork, eliminating perspective distortion.
If you do not own a tripod, improvise with a table, stack of books, or any stable surface. The key is keeping the camera absolutely still during exposure.
Lighting Equipment
Your lighting setup determines whether glare appears in your photos. You have three main options:
Natural light: Free and often beautiful, but inconsistent. North-facing windows provide soft, even light on sunny days. Overcast days work even better because clouds act as giant diffusers.
Continuous lights: LED panels or daylight-balanced bulbs let you see exactly how light falls on your artwork before shooting. Look for lights with a high Color Rendering Index (CRI above 90) for accurate colors.
Speedlights or strobes: More powerful and consistent than continuous lights. Paired with softboxes or umbrellas, they create the diffused light that eliminates glare.
Lighting Setup for Glare-Free Artwork Photos
Proper lighting is the single most important factor in how to photograph artwork without glare. Here is the setup I use and recommend.
The 45-Degree Lighting Rule
Position your lights at a 45-degree angle to the artwork surface. This angle ensures that reflections bounce away from your camera rather than into it. Place one light on each side of the artwork, equal distance from the center.
Measure from the center of your artwork to each light source. These distances must be identical for even illumination. Even a few inches difference creates noticeable brightness variation across your image.
Diffusing Your Light Sources
Direct light creates harsh shadows and highlights. Always diffuse your lights before they hit the artwork. Softboxes, shoot-through umbrellas, or even white bedsheets work as diffusers.
The larger your light source relative to the artwork, the softer the light appears. A small speedlight pointed directly at a painting creates hot spots. That same speedlight fired through a large softbox produces even, wraparound illumination.
Using Natural Light Effectively
For artists without artificial lighting equipment, natural light remains a viable option. Here is how to make it work:
Position your artwork near a north-facing window on an overcast day. The clouds diffuse sunlight across the entire sky, creating a massive, soft light source. Avoid direct sunlight streaming through windows, which creates harsh contrast and color shifts throughout the day.
If you must shoot on a sunny day, hang a white sheet or diffusion panel between the window and your artwork. This mimics the softening effect of clouds and reduces glare significantly.
Budget Lighting with Foam Core
White foam core boards serve as excellent, inexpensive light modifiers. Position two boards on either side of your artwork to bounce light back onto the edges. This fills shadows and creates more even illumination across the entire surface.
I have seen artists achieve professional results with nothing more than a bright window, two foam core boards, and a smartphone. The technique matters more than the equipment.
Camera Setup and Settings for How to Photograph Artwork
With your lighting positioned correctly, camera setup becomes straightforward. Follow these steps to capture distortion-free, color-accurate images.
Camera Positioning
Position your camera directly in front of the artwork, centered both horizontally and vertically. The lens should be at the same height as the center of the artwork. Use a spirit level or your camera’s electronic level to ensure the camera is perfectly horizontal.
Fill the frame with your artwork, leaving a small border around the edges for later cropping. Avoid zooming in so tight that you cut off any part of the image.
Essential Camera Settings
ISO: Use the lowest native ISO your camera offers, typically ISO 100 or 200. Higher ISOs introduce digital noise that degrades image quality and loses fine detail.
Aperture: Shoot at f/8 to f/11 for optimal sharpness across the entire frame. Lenses are typically soft at their widest apertures and can suffer diffraction at very small apertures like f/22.
Shutter speed: Use whatever speed gives proper exposure with your chosen ISO and aperture. With a tripod, shutter speed matters less because the camera remains stable.
White balance: Set custom white balance using a gray card or white reference target. Auto white balance often misinterprets dominant colors in artwork, introducing color casts.
File format: Always shoot RAW for artwork photography. RAW files contain more color depth and allow non-destructive editing. JPEG compression throws away information you cannot recover later.
Avoiding Reflections of Yourself
When photographing highly reflective artwork or pieces behind glass, you might see your own reflection or your camera’s reflection in the image. Several solutions exist:
Stand to the side of your camera and use a remote trigger or self-timer to fire the shutter. This removes your body from the reflection zone. For extreme cases, drape black fabric over yourself and the camera, leaving only the lens exposed.
Advanced Techniques: Cross-Polarization and Framed Art
Some glare problems require advanced solutions. Cross-polarization completely eliminates specular reflections, and photographing framed art behind glass presents unique challenges.
Cross-Polarization Explained
Cross-polarization uses polarizing filters on both your lights and your lens to block all specular reflections. This technique works particularly well for oil paintings, varnished surfaces, and any artwork with a glossy finish.
Here is how to set it up: Place linear polarizing sheets over your light sources. Attach a circular polarizing filter to your lens. Rotate the lens filter while looking through the viewfinder until glare disappears completely.
The results can be dramatic. Cross-polarization reveals colors and details that glare normally hides. However, it requires additional equipment and careful alignment of both polarizers.
Photographing Framed Artwork Behind Glass
Glass presents the toughest glare challenge. Whenever possible, photograph artwork before framing. If you must shoot framed pieces, try these techniques:
Remove the artwork from the frame temporarily. This is the most reliable solution and takes only minutes with most frames.
If removal is not possible, angle the artwork slightly away from the camera. This directs reflections away from your lens. You will need to correct the perspective distortion in post-processing.
Some photographers use a black backdrop behind their camera and wear dark clothing. This minimizes what can reflect in the glass.
Smartphone Photography for Artists
Not every artist has access to a dedicated camera. Smartphones can capture excellent artwork photos when you follow the same principles covered in this guide.
Use a tripod mount for your phone to keep it stable. Many affordable adapters clamp your phone to any standard tripod. Enable grid lines in your camera app to help align the shot.
Tap and hold on your screen to lock focus and exposure, then slide up or down to adjust brightness. Most phones also offer a RAW capture option in their pro or manual modes.
Post-Processing for Color-Accurate Gallery Images
Capturing the photo is only half the process. Post-processing ensures your colors are accurate and your image meets gallery requirements.
Color Correction Basics
Start by setting white balance in your editing software. If you photographed a gray card or color checker, use it as your reference. This neutralizes any color cast from your lighting.
Adjust exposure so the brightest parts of your artwork retain detail. Avoid clipping highlights, which destroys information. Slight underexposure is preferable to blown-out highlights.
Perspective Correction
If your camera was not perfectly parallel to the artwork, correct perspective distortion in Lightroom, Photoshop, or similar software. The crop tool with perspective correction guides helps straighten trapezoidal images back to rectangles.
Export Settings for Online Galleries
Different platforms have different requirements. Common specifications include:
Resolution: Most galleries want at least 3000 pixels on the long edge. Some require higher resolution for print-on-demand services.
File format: JPEG at high quality (80-100 percent) works for most submissions. Some galleries accept TIFF for uncompressed quality.
Color space: Use sRGB for web display. Adobe RGB contains more colors but may display incorrectly on some browsers.
Troubleshooting Common Artwork Photography Problems
Even with careful setup, problems arise. Here are quick fixes for the most common issues.
Uneven lighting across the image: Check that both lights are equidistant from the artwork. Move lights farther away to increase the relative size of the light source.
Yellow or orange color cast: Your lights are too warm. Set custom white balance or adjust color temperature in post-processing.
One corner darker than others: Vignetting from your lens or uneven light distribution. Use lens correction profiles and reposition your lights.
Soft focus despite using a tripod: Check that image stabilization is disabled on your lens when using a tripod. Some systems create blur when they try to stabilize an already-stable camera.
Glare persists at 45 degrees: Increase the angle between your lights and camera, or add more diffusion. Some surfaces require angles closer to 60 degrees.
Frequently Asked Questions
How do I take photos of artwork without glare?
Position your lights at a 45-degree angle to the artwork surface so reflections bounce away from your camera. Use diffused light sources like softboxes or shoot through umbrellas. For stubborn glare, try cross-polarization with polarizing filters on both your lights and lens.
How do I get rid of glare when taking a picture of a photo?
The most effective method is cross-polarization, which uses polarizing sheets over your lights and a circular polarizer on your lens. Rotate the lens filter until reflections disappear. For a simpler approach, angle the photo slightly away from your camera and correct perspective in editing.
What camera settings should I use for artwork photography?
Use ISO 100-200 for clean images, aperture f/8 to f/11 for sharpness across the frame, and custom white balance for accurate colors. Always shoot in RAW format to preserve color information and editing flexibility.
Can I photograph artwork with my smartphone?
Yes, modern smartphones can capture excellent artwork photos. Use a tripod mount for stability, enable RAW capture if available, and follow the same lighting principles as with a dedicated camera. Lock focus and exposure by tapping and holding the screen.
Final Thoughts
Learning how to photograph artwork without glare or distortion transforms how your work appears online. The techniques in this guide work across all mediums and equipment levels. Start with the basics: 45-degree lighting, diffused sources, parallel camera positioning, and proper camera settings. As you gain confidence, experiment with cross-polarization and advanced setups.
Your artwork deserves to be seen as you created it. With practice, you will capture images that accurately represent your colors, textures, and details. Online galleries, exhibition jurors, and potential buyers will see your art the way you intended.
Grab your camera, set up your lights, and start practicing. Each session teaches you something new about how light interacts with your specific artwork. Before long, photographing your pieces becomes second nature.