Getting accurate colors in your photos starts with understanding white balance. If you have ever taken a photo that looked too orange indoors or too blue in the shade, you have experienced incorrect white balance. The Kelvin scale gives you precise control over how your camera interprets color temperature, and once you understand it, you will never rely on Auto White Balance again.
In this guide, I will explain what the Kelvin scale is, how it relates to white balance, and walk you through setting custom white balance using Kelvin values. You will also get a practical reference chart and brand-specific instructions for Canon, Nikon, and Sony cameras.
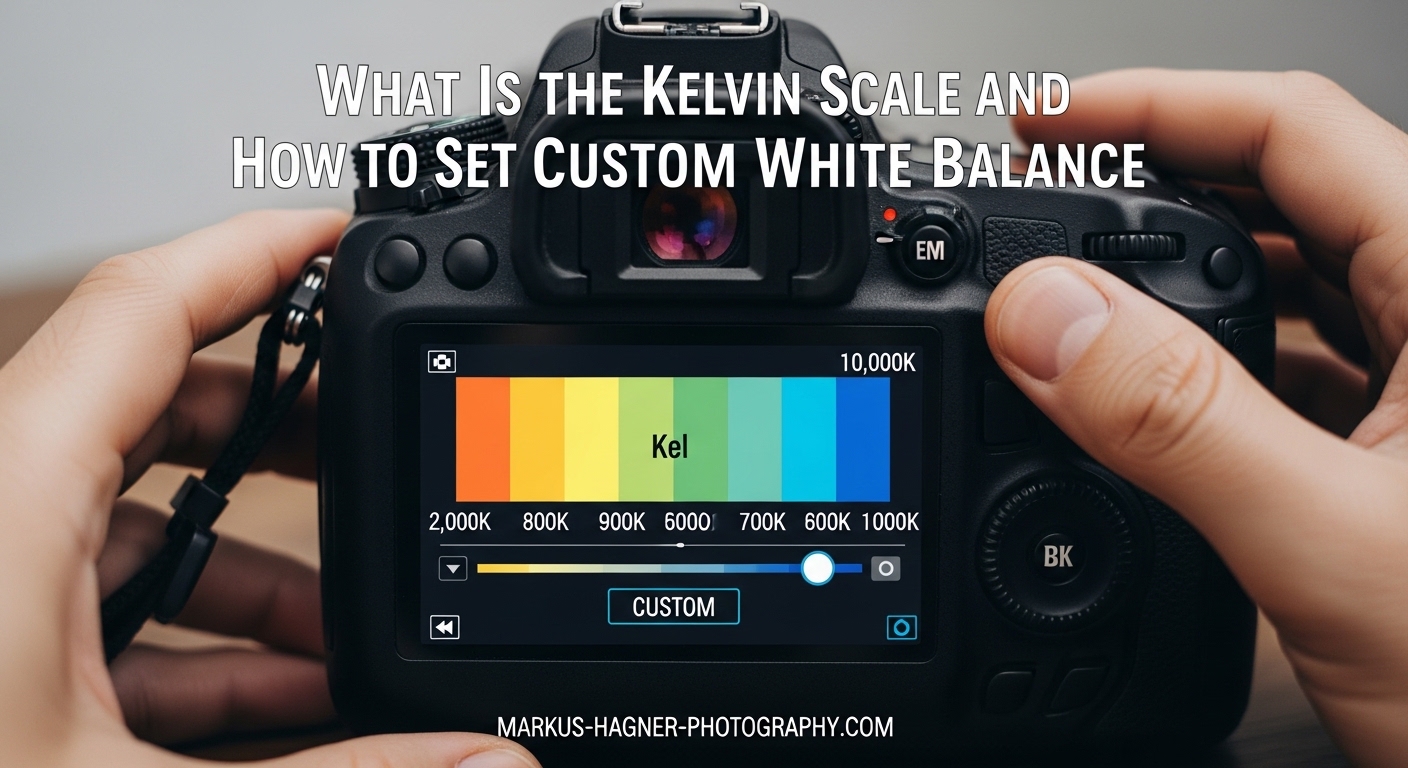
What Is the Kelvin Scale?
The Kelvin scale is a numerical system for measuring color temperature in photography. It ranges from warm orange tones at low values (around 2000-3000K) to cool blue tones at high values (8000-10000K), with neutral daylight sitting around 5500K. Named after Scottish physicist William Kelvin, the scale was originally developed to measure the color of light emitted by a theoretical black body radiator as it heats up.
Here is where it gets counter-intuitive: higher Kelvin values produce cooler (bluer) images, while lower values produce warmer (yellower) images. This is opposite of what most people expect. Think of it this way: when you tell your camera you are shooting in warm light (low Kelvin), the camera compensates by adding blue. When you tell it you are in cool light (high Kelvin), it adds warmth.
The scale typically ranges from about 2500K (candlelight) to 10000K (heavy overcast sky), with most cameras allowing adjustments in 100K increments. Neutral white light falls around 6500K, which is why daylight-balanced film was rated at approximately 5500K.
Why Use Kelvin White Balance?
Most photographers start with Auto White Balance (AWB) because it is easy. The problem is that AWB can change shot to shot, even when lighting conditions stay the same. This creates inconsistent colors across a series of images, which becomes a nightmare when batch editing.
Shooting in Kelvin solves this problem. When you set a specific Kelvin value, every photo uses the same white balance. Your colors stay consistent from the first shot to the last. Wedding and portrait photographers especially love this because they might take hundreds of images in the same lighting. Having consistent white balance means batch editing becomes fast and predictable.
Kelvin also gives you creative control. Maybe you want your images slightly warmer for a golden hour feel, or slightly cooler for a clean, modern look. With Kelvin, you dial in exactly what you want rather than hoping a preset comes close.
Kelvin Temperature Reference Chart
Here is a quick reference for common lighting conditions and their approximate Kelvin values. Keep in mind that these are starting points, and actual color temperature can vary based on specific light sources and conditions.
Candlelight: 1800-2000K
Tungsten/Incandescent bulbs: 2700-3200K
Halogen lights: 3000-3500K
Sunrise/Sunset (golden hour): 3000-4000K
Fluorescent lights: 4000-5000K
Flash (electronic): 5000-5500K
Daylight (noon, clear sky): 5200-5600K
Overcast sky: 6000-7000K
Open shade (blue sky): 7000-8000K
Heavy overcast: 8000-10000K
For most outdoor shooting during the day, I start around 5200-5600K and adjust from there. If images look too warm, I increase the Kelvin value. If they look too cool, I decrease it.
How to Set Custom White Balance Using Kelvin
Setting Kelvin white balance varies slightly between camera brands, but the general process is similar. Here is how to do it on the most common camera systems.
General Steps (Most Cameras)
Step 1: Enter your camera’s white balance menu. This is usually found in the shooting menu or accessible via a dedicated WB button.
Step 2: Select “Kelvin” or “K” from the white balance options. On some cameras, this is labeled as “Color Temperature.”
Step 3: Use your camera’s control dial or arrow buttons to adjust the Kelvin value. Start with a value that matches your lighting condition (use the reference chart above).
Step 4: Take a test shot and review it on your LCD. If the colors look off, adjust the Kelvin value and try again.
Step 5: Once you find the right value, keep shooting. Your white balance will stay consistent until you change it.
Canon Cameras
On most Canon DSLRs and mirrorless cameras, press the “Q” button or navigate to the white balance setting in the Quick Control menu. Select “K” (Color Temperature), then use the main dial to adjust the value from 2800K to 10000K. Some models require pressing the “WB” button first, then selecting Kelvin from the menu.
Nikon Cameras
Nikon users can access Kelvin white balance by pressing the “WB” button (often on the back of the camera) and rotating the main command dial until “K” appears. Then use the sub-command dial to set the specific Kelvin value. You can also access this through the Photo Shooting Menu under White Balance, then choose “Choose color temperature.”
Sony Cameras
On Sony cameras, press the Fn button to access the function menu, then navigate to White Balance. Select “Color Temperature” or “C.Temp” and use the control wheel to adjust the Kelvin value. Some Sony models also allow you to assign white balance to a custom button for quick access.
When and How to Adjust Kelvin During a Shoot
You do not need to constantly change your Kelvin value during a shoot. In fact, one of the main benefits of using Kelvin is consistency. But there are times when adjustment makes sense.
If you move from indoors to outdoors, or from direct sun to open shade, you will need to adjust. The same goes for transitioning from golden hour to blue hour during an outdoor session. A good workflow is to take a test shot whenever lighting changes significantly, check the colors, and adjust if needed.
Mixed lighting is trickier. If you are shooting a subject lit by window light (around 5500K) with tungsten lamps in the background (around 3200K), no single Kelvin value will make everything look correct. In these situations, choose the Kelvin value that looks best for your main subject and accept that the background may have a color cast. Alternatively, turn off the conflicting light sources if possible.
For fluorescent and LED lighting, Kelvin values can vary wildly depending on the specific bulbs. Some fluorescent lights have a green tint that Kelvin adjustment alone cannot fix. In these cases, you may need to address the green-magenta tint separately or use a custom white balance with a gray card.
Understanding Green-Magenta Tint Adjustment
Kelvin white balance only controls the blue-yellow axis of color temperature. Some light sources, particularly fluorescent and certain LEDs, also have a green or magenta tint that Kelvin cannot correct. This is where the green-magenta (or amber-blue) adjustment comes in.
Most cameras allow you to fine-tune white balance along both axes. After setting your Kelvin value, you can shift the tint toward green or magenta to neutralize any remaining color cast. In post-processing software like Lightroom, this is controlled with the “Tint” slider alongside the Temperature slider.
If your images have a consistent greenish cast after setting Kelvin correctly, try shifting toward magenta. If they look too pink or purple, shift toward green. This adjustment is especially important for product photography and any work where color accuracy is critical.
Tips and Best Practices for Kelvin White Balance
Here are some practical tips I have learned from using Kelvin white balance in my photography.
Start with a baseline value. For daylight shooting, 5200-5600K is a good starting point. For indoor tungsten lighting, try 3200K. Adjust from there based on what you see.
Use Live View to preview. Many cameras show you the effect of your white balance setting in Live View mode. This makes it easy to dial in the right value before you shoot.
Shoot RAW for flexibility. Even when shooting in Kelvin, RAW files give you the ability to fine-tune white balance in post without quality loss. JPEG files bake in the white balance, so get it right in camera.
Remember the direction. If your image is too warm, increase the Kelvin value. If it is too cool, decrease the Kelvin value. This feels backwards at first but becomes second nature with practice.
Do not chase perfection. Sometimes slightly warm or cool images look better than technically perfect neutral white balance. Trust your creative judgment.
Practice reading light. Over time, you will start to recognize color temperature by eye. Candlelight looks different from tungsten, which looks different from daylight. This skill makes setting Kelvin much faster.
Frequently Asked Questions
What is the Kelvin scale in simple terms?
The Kelvin scale is a numerical system that measures color temperature, ranging from warm orange tones at low values (2000-3000K) to cool blue tones at high values (8000-10000K), with neutral daylight around 5500K.
How do I set white balance in Kelvin on my camera?
Access your camera’s white balance menu, select the Kelvin or K option, then dial in the appropriate value for your lighting condition. Start with 5200-5600K for daylight and adjust based on your test shots.
What is a good Kelvin starting point for daylight photography?
A good starting point for daylight photography is 5200-5600K. This approximates neutral daylight. Increase the value if images appear too warm, or decrease if they appear too cool.
How do I set a custom white balance using a gray card?
Fill the frame with a gray card in the same light as your subject, then use your camera’s custom white balance function to take a reading from the card. This creates a precise white balance setting for that specific lighting.
Conclusion
Understanding the Kelvin scale and how to set custom white balance transforms your photography from hoping for good colors to controlling them with precision. Once you memorize a few key values and practice adjusting during shoots, Kelvin white balance becomes faster and more reliable than Auto White Balance or presets.
The main takeaway is this: Kelvin gives you consistency. Whether you are shooting a wedding with hundreds of images or a portrait session where lighting changes throughout, setting your white balance manually ensures your colors stay predictable. Start with the reference chart, practice on your specific camera, and soon you will wonder why you ever trusted Auto White Balance.