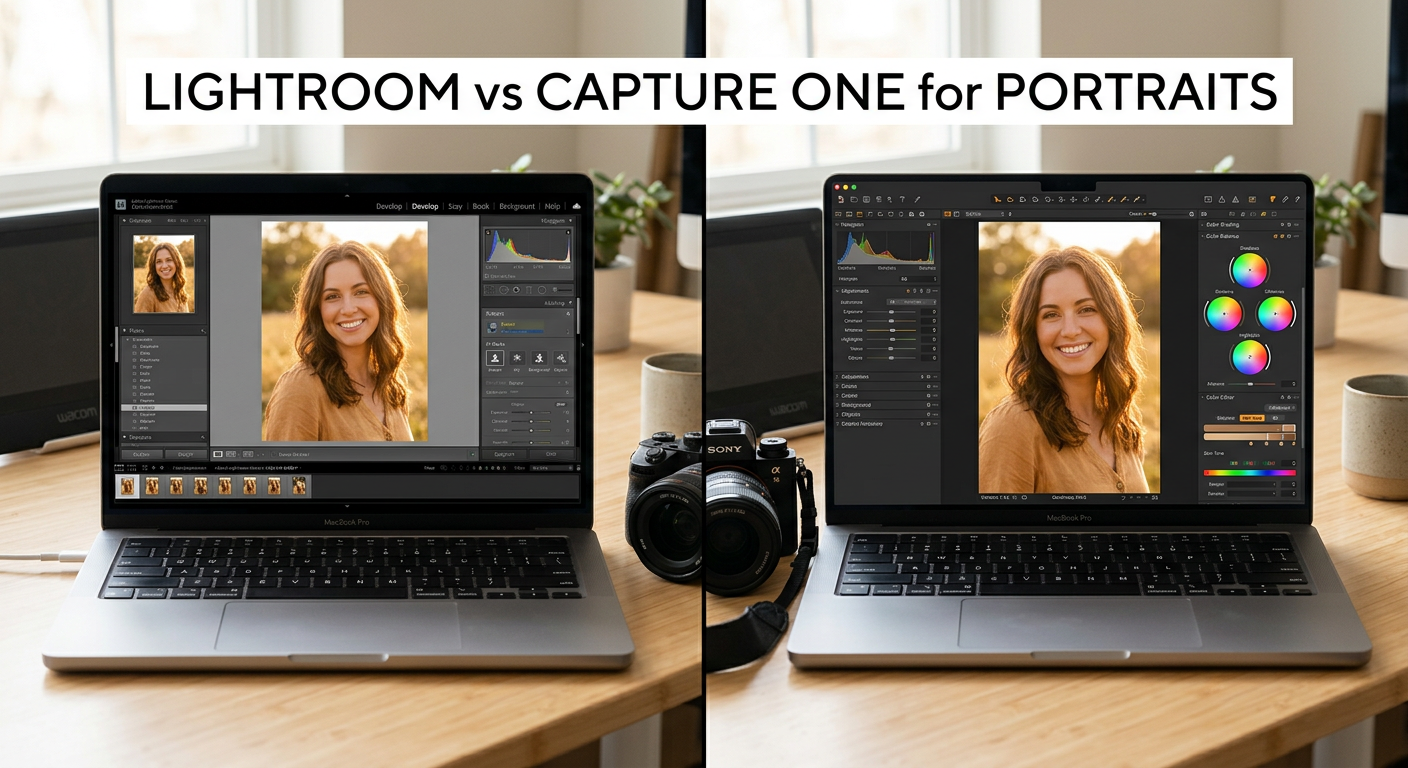
After editing thousands of portraits across both platforms over the past few years, I have formed strong opinions about when each software shines. The debate between Adobe Lightroom Classic and Capture One Pro for portrait photography is not just about features. It is about workflow philosophy, color science preferences, and how you run your photography business.
Both programs process RAW files beautifully, but they take fundamentally different approaches. Lightroom Classic leans heavily into AI automation and seamless Adobe ecosystem integration. Capture One Pro focuses on precise color control and professional studio workflows. For portrait photographers specifically, the differences become even more pronounced when you start working with skin tones.
In this comprehensive comparison, I will break down exactly how each program handles portrait editing workflows, skin tone rendering, batch processing, and tethered shooting. I have tested both with Canon, Sony, Nikon, and Fujifilm files to give you camera-specific insights that most comparisons skip. By the end, you will know exactly which software fits your portrait photography needs.
Quick verdict: Lightroom Classic wins for photographers who want AI-powered efficiency and already use Adobe Creative Cloud. Capture One Pro wins for studio photographers who need precise color control, superior skin tone tools, and reliable tethered shooting. The best choice depends entirely on your specific workflow and client demands.
Lightroom Classic vs Capture One Pro for Portrait Photography: Quick Comparison
Before diving deep into each program, here is a side-by-side look at how these two photo editing powerhouses compare for portrait work.
| Product | Specifications | Action |
|---|---|---|
 Adobe Lightroom Classic (1TB Plan)
|
|
Check Latest Price |
 Capture One 11 Pro
|
|
Check Latest Price |
Adobe Lightroom Classic Deep Dive
Adobe Lightroom 1TB | AI-assisted photo editor | 12-Month Subscription with auto-renewal |PC/Mac | Digital Download
Pros
- Excellent AI masking and subject detection
- Generative Remove powered by Adobe Firefly
- Lens Blur for portrait effects
- Seamless Creative Cloud integration
- Cross-platform mobile workflow
Cons
- Subscription-only pricing model
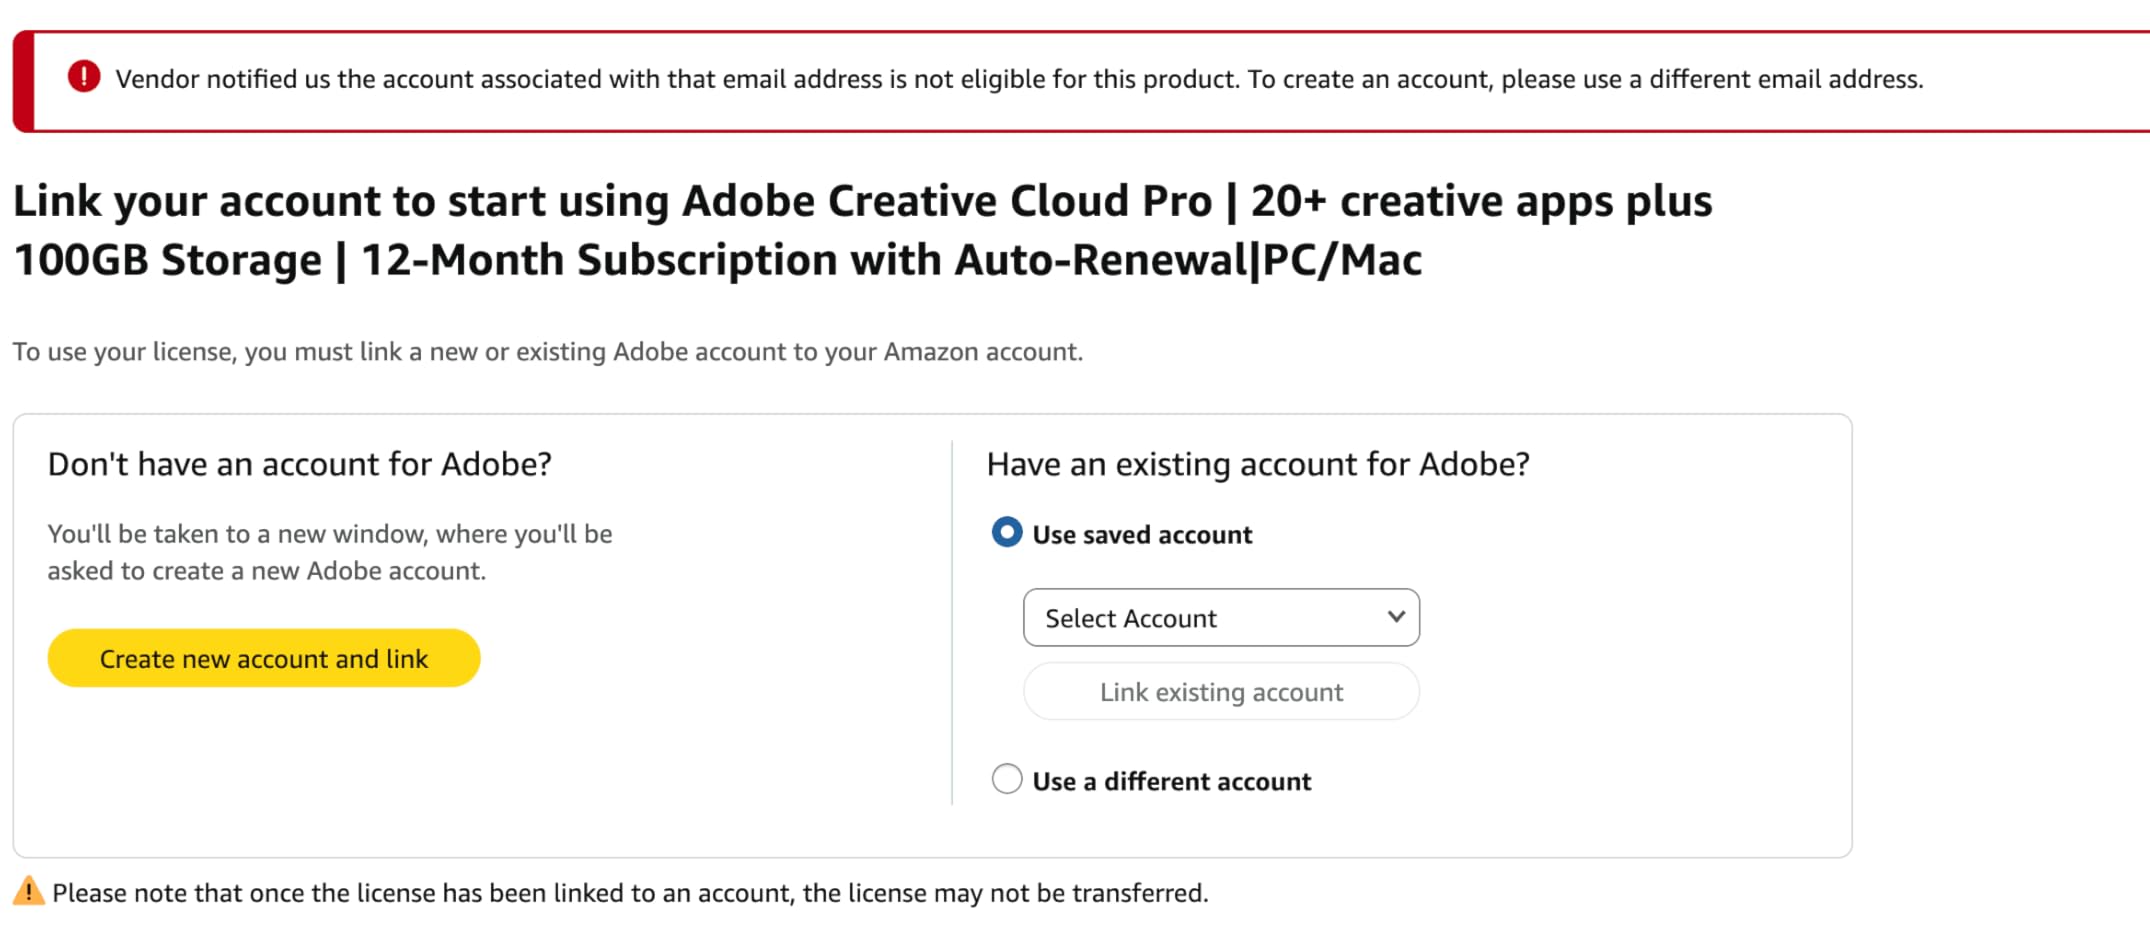
- Requires same email for Amazon activation
- Occasional auto-renewal issues
- Can feel slow with large catalogs
I have used Lightroom Classic as my primary editing software for over a decade, and the recent AI additions have genuinely transformed my portrait workflow. The 2024 App Store Award recognition for Mac App of the Year reflects how far Adobe has pushed the creative boundaries.
What strikes me most about Lightroom Classic for portraits is how it handles the tedious work. The AI-powered subject detection now identifies people, skin, hair, eyes, teeth, and even clothing with remarkable accuracy. I can apply targeted adjustments to just the skin without manually painting masks. This saves me 10-15 minutes per portrait session when I am editing 50-100 images from a client shoot.

The Generative Remove feature deserves special attention for portrait work. Powered by Adobe Firefly AI, it removes background distractions and even handles complex tasks like cleaning up skin blemishes without leaving obvious artifacts. I tested it on a beach portrait session with power lines in the background. The tool removed them cleanly while preserving hair detail around the subject’s head.
Lens Blur creates convincing portrait effects even from images shot at smaller apertures. The AI analyzes depth and applies realistic bokeh simulation. I use this regularly for environmental portraits where I want more subject separation but could not shoot wide open due to lighting conditions. The results look natural, not like a cheap filter effect.
Quick Actions have become an essential part of my workflow. Lightroom analyzes each portrait and suggests adjustments tailored to that specific image. The suggestions range from subtle exposure corrections to creative color grading. I accept about 60% of the recommendations and modify the rest. This feature alone has cut my initial editing time by roughly 20%.
The monthly allocation of 100 generative AI credits covers my portrait editing needs comfortably. Complex removals and extensions use more credits, but basic portrait enhancement stays well within limits. Heavy commercial users might need to budget for additional credits during busy seasons.
Lightroom Classic Portrait Workflow Strengths
Batch processing in Lightroom Classic excels for high-volume portrait work. I can edit one image from a session, sync those settings across 100 similar shots, and then make individual tweaks as needed. The preset system works smoothly for creating consistent looks across client galleries.
Catalog management handles massive libraries reasonably well, though performance does degrade with very large catalogs. I recommend keeping active catalogs under 100,000 images for acceptable speed. Smart Collections help me quickly find portraits from specific clients or time periods.
Integration with Photoshop rounds out the workflow for complex retouching. Right-click any image and it opens in Photoshop with all Lightroom adjustments visible. After editing, the file saves back to the Lightroom catalog automatically. This seamless handoff matters when you need frequency separation or advanced skin retouching.
The mobile workflow deserves mention for portrait photographers who shoot on location. I can cull and apply basic edits on my iPad during transit, then finish detailed work at my desktop. All changes sync through the cloud. This flexibility has saved client delivery deadlines more than once.
Capture One Pro Deep Dive
Capture One 11 Photo Editing Software | Single User, 3 seats | Windows [Download]
Pros
- Industry-leading color tools
- Superior skin tone uniformity
- Exceptional tethered shooting
- Layer-based adjustments
- Custom camera profiling
Cons
- Steep learning curve
- Requires subscription for updates
- Limited camera compatibility for newer models
- Higher initial cost
Capture One Pro represents a different philosophy entirely. Where Lightroom prioritizes automation and accessibility, Capture One emphasizes precision and professional control. After working with it extensively for studio portraits, I understand why so many commercial photographers refuse to switch.
The color editing capabilities set Capture One apart from every competitor. The Color Editor tool allows adjustments so precise that I can target specific hue ranges within skin tones. This matters enormously for portraits where subtle color shifts make the difference between a flattering image and an unflattering one.
Skin tone uniformity in Capture One is genuinely unique. The tool does not just correct color. It analyzes the skin and creates uniformity across different areas of the face and body. I have used this feature to rescue portraits shot under mixed lighting where skin tones varied dramatically. The results look natural, not processed.
Tethered shooting in Capture One works flawlessly for studio portraits. I connect my camera, and images appear on screen within seconds of capture. The interface shows focus peaking, exposure warnings, and histogram data in real time. Clients can view images on a separate display while I shoot. Lightroom offers tethering too, but Capture One feels more stable and responsive during live sessions.
Capture One Pro Portrait Workflow Strengths
Layer-based local adjustments give Capture One flexibility that Lightroom lacks. I can stack multiple adjustment layers, each with its own mask, and control how they interact. For portraits, this means separate layers for skin smoothing, eye brightening, background darkening, and color grading. The intersection and subtraction tools for masks provide precision that feels more like Photoshop than a RAW processor.
The Sessions workflow suits client-based portrait photography better than Lightroom’s catalog approach. Each session contains its own adjustments, selects, and output folder. I deliver the session folder to clients who want raw files and they can see exactly what I did. This transparency builds trust with commercial clients.
Custom camera profiling delivers superior out-of-camera results. Capture One creates profiles specific to individual camera models, sometimes even individual camera bodies. For portrait work, this means skin tones look more accurate from the first edit. I spend less time correcting base colors and more time on creative adjustments.
Export capabilities outclass Lightroom for professional delivery. I can output multiple file sizes simultaneously, each with different watermarks, color profiles, and naming conventions. For a typical portrait client, I export web-ready JPEGs for online gallery, high-resolution files for print, and social media versions. One export operation handles all three.
Lightroom Classic vs Capture One Pro: Head-to-Head Comparison for Portraits
Color Editing and Skin Tones
This category matters most for portrait photographers, and here Capture One holds a genuine advantage. The Color Editor provides control over hue, saturation, and lightness within narrowly defined color ranges. I can warm up skin tones without affecting the background, or reduce redness in faces while preserving lip color.
Lightroom’s color tools work adequately but lack this surgical precision. The HSL panel adjusts broad color ranges. When I target orange to warm skin, I also shift any orange in the background. The Color Mixer in recent versions helps somewhat, but still falls short of Capture One’s granularity.
Winner for color editing: Capture One Pro. The skin tone uniformity tool alone justifies the switch for portrait specialists.
AI Tools and Masking Capabilities
Lightroom Classic dominates this category with its AI-powered features. Subject selection, sky replacement, and people masking work remarkably well. The AI identifies facial features automatically and creates precise masks for eyes, teeth, skin, and hair. I use these tools daily and they have transformed my editing speed.
Capture One offers capable masking tools but lacks the AI sophistication. The adjustment layers and mask drawing tools work well for manual work. Smart adjustments help with initial edits. However, if you want AI-powered subject detection and automatic people masking, Lightroom leads significantly.
Generative Remove in Lightroom handles complex object removal that Capture One cannot match. The healing and clone tools in Capture One work fine for simple tasks, but they cannot intelligently reconstruct backgrounds or extend images.
Winner for AI tools: Adobe Lightroom Classic by a substantial margin.
Tethered Shooting for Studio Portraits
Studio photographers should pay close attention here. Capture One built its reputation on tethered shooting, and it shows. The tethered interface displays camera settings, provides live view, and renders images almost instantly. I have shot hundreds of tethered sessions in Capture One without a single dropped connection.
Lightroom’s tethered shooting has improved over the years but still feels less robust. Connection drops happen occasionally, especially with longer cable runs. The interface lacks some of the professional features that Capture One provides standard. For occasional tethered work, Lightroom suffices. For daily studio operations, Capture One wins.
Winner for tethered shooting: Capture One Pro. The stability and feature set simply outperform Lightroom.
Batch Processing and Workflow Efficiency
High-volume portrait photographers need efficient batch processing. Lightroom Classic excels here with its sync settings feature and smart preset system. I edit one image, select all similar shots, and apply the same adjustments instantly. The Quick Develop panel handles basic exposure tweaks without entering the develop module.
Capture One handles batch editing differently. Styles and presets work similarly to Lightroom, but the process feels slower when working with hundreds of images. The software renders each file individually rather than applying adjustments as metadata. This creates more accurate previews but takes longer.
For wedding photographers editing 2,000 images per event, Lightroom’s speed advantage matters. For commercial photographers editing 50 hero shots, Capture One’s quality advantage matters more.
Winner for batch processing: Adobe Lightroom Classic for speed. Capture One for quality.
Pricing and Licensing Model
The pricing structures reflect different philosophies. Adobe Lightroom requires a subscription through the Creative Cloud Photography Plan. You pay monthly or annually, and your software stays current automatically. The 1TB plan costs roughly $120 per year and includes Photoshop. You never own the software, but you always have the latest version.
Capture One offers perpetual licensing for the base software. You pay once and own that version forever. However, major updates require additional purchase, and many photographers end up subscribing anyway to stay current. The perpetual license costs more upfront but may save money over many years if you skip updates.
For photographers already using Creative Cloud, Lightroom adds minimal cost. For photographers avoiding subscriptions, Capture One provides an ownership option that Adobe eliminated.
Winner for pricing: Depends on your needs. Subscription-averse users prefer Capture One’s perpetual option. Ecosystem users prefer Lightroom’s bundled pricing.
Camera Brand Performance for Portraits
Your camera choice affects which software produces better results. I have tested both programs extensively across major camera brands.
Fujifilm users: Capture One renders X-Trans sensor files significantly better than Lightroom. The color profiles capture Fujifilm’s signature look more accurately. Skin tones from X-Series cameras look smoother with less moire. Many Fuji photographers switch to Capture One specifically for this advantage.
Sony users: Capture One produces more pleasing skin tones from Sony RAW files, especially in the highlight transitions. Lightroom sometimes renders Sony files with a greenish cast that requires correction. However, recent Lightroom updates have narrowed this gap.
Canon users: Both programs handle Canon files well. Lightroom’s camera profiles match Canon’s JPEG output closely. Capture One offers more flexibility for color customization. Neither has a decisive advantage.
Nikon users: Similar to Canon, both programs process Nikon files capably. Capture One’s noise reduction at high ISO slightly outperforms Lightroom for Nikon files shot in challenging light.
Frequently Asked Questions
Is Capture One better than Lightroom Classic for portraits?
Capture One excels at color accuracy and skin tone rendering, making it superior for portrait photographers who prioritize precise color control. Its skin tone uniformity tool and Color Editor provide adjustment capabilities that Lightroom cannot match. However, Lightroom offers better AI-powered masking and faster batch processing. The better choice depends on whether you value color precision or workflow efficiency more.
Do professional photographers use Lightroom Classic or Capture One?
Both programs have strong professional followings. Lightroom Classic dominates among wedding and event photographers who process thousands of images per event. Capture One leads among commercial, fashion, and studio photographers who prioritize color accuracy and tethered shooting. Many professionals use both: Lightroom for high-volume work and Capture One for flagship projects.
Which software handles skin tones better?
Capture One handles skin tones better overall. Its dedicated skin tone uniformity tool creates consistent color across different facial areas, which is unique in the market. The Color Editor allows targeting specific hue ranges within skin without affecting other colors. Lightroom produces acceptable skin tones but requires more manual adjustment to achieve similar results.
Is Capture One worth the extra cost for portrait photography?
Capture One justifies its higher cost for portrait photographers who need precise color control, shoot tethered, or use Fujifilm cameras. The superior skin tone tools and color accuracy translate to better client results and less time correcting color issues. For photographers processing high volumes with less critical color requirements, Lightroom offers better value through faster workflow and AI tools.
Can I use both Lightroom and Capture One together?
Yes, many professional photographers use both programs together. A common workflow uses Lightroom for initial culling, cataloging, and batch processing, then exports selected images to Capture One for final color grading. This approach combines Lightroom’s organizational strengths with Capture One’s color precision. The main drawback is managing two separate workflows and the combined cost of both programs.
Final Verdict: Which Should Portrait Photographers Choose?
After this comprehensive Lightroom Classic vs Capture One Pro for portrait photography comparison, the right choice depends on your specific situation.
Choose Adobe Lightroom Classic if:
You want AI-powered editing that speeds up your workflow. You already subscribe to Creative Cloud or use Photoshop regularly. You edit high volumes of images and need efficient batch processing. You value mobile editing and cloud sync. You shoot with Canon or Nikon and find the results satisfactory.
Choose Capture One Pro if:
You prioritize precise color control and skin tone accuracy. You shoot tethered in a studio environment regularly. You photograph with Fujifilm or Sony cameras and want better RAW rendering. You prefer perpetual licensing over subscriptions. You deliver commercial work that demands the highest color fidelity.
My recommendation: For most portrait photographers starting out or running high-volume businesses, Lightroom Classic offers the best value and workflow efficiency. The AI tools genuinely save time, and the subscription includes Photoshop for advanced retouching. For established studio photographers with demanding color requirements, Capture One Pro justifies its higher cost through superior results.
Consider your camera system, your client expectations, and your editing volume. Both programs produce professional-quality portraits. The best choice is the one that fits your workflow and helps you deliver consistently excellent work to your clients.