Want to transform your photos with cinematic looks in seconds? LUTs (Lookup Tables) are the secret weapon photographers use for instant, professional color grading. I have spent years testing LUTs across different editing software, and I can tell you that the right LUT applied correctly can save hours of manual adjustments.
LUTs work by mapping your original colors to a new color palette, creating consistent looks across multiple images. Whether you shoot portraits, landscapes, or street photography, understanding how to use LUTs in DaVinci Resolve, Photoshop, and Affinity Photo will speed up your editing workflow significantly.
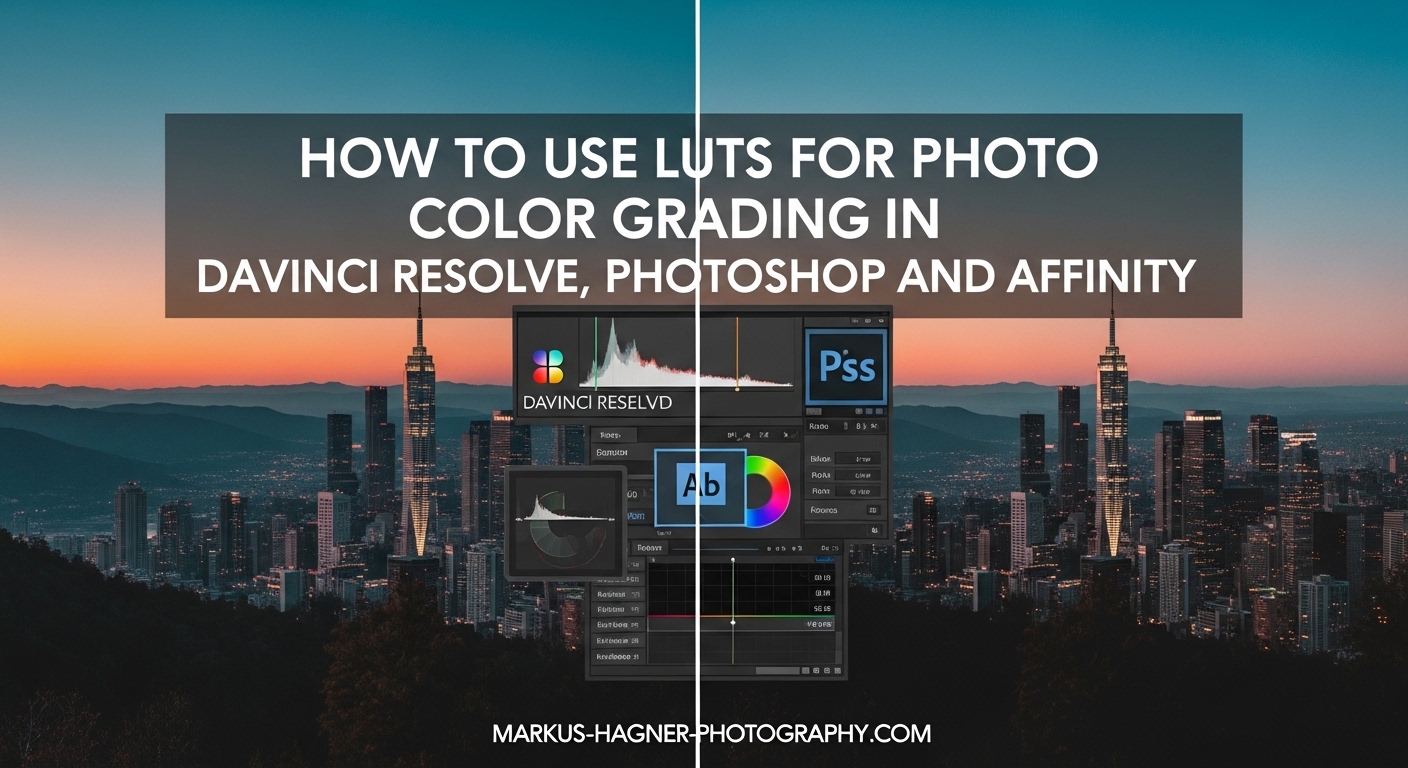
This guide walks you through applying LUTs for photo color grading in all three major editing applications. You will learn where to install LUT files, how to apply them non-destructively, and how to adjust their intensity for natural-looking results.
What Are LUTs (Lookup Tables) for Photo Color Grading?
A LUT, or Lookup Table, is a file containing mathematical instructions that remap colors from your original image to new color values. Think of it as a preset that transforms your entire color profile with a single click. The LUT compares each pixel in your photo to a reference table and replaces its color with the corresponding value.
LUTs come in several file formats, with .cube being the most universal and widely supported. Other common formats include .look (used primarily in DaVinci Resolve), .3dl (older Autodesk format), and .mga (Pandora format). For photo editing, stick with .cube files since they work across all major software.
So where do LUTs come from? You can download free LUT packs from photography websites, purchase professional LUT collections, or create your own from existing edits. Many photographers start with a Lightroom preset they love and export it as a LUT for use in other applications.
The main advantage of using LUTs over manual color grading is speed and consistency. Instead of adjusting curves, color balance, and saturation for each photo, a LUT applies a complete color transformation instantly. This is especially valuable when editing large batches of photos that need a unified look.
It is important to distinguish between color correction and color grading. Color correction fixes technical issues like white balance and exposure, while color grading is a creative process that establishes mood and style. LUTs primarily handle the creative color grading aspect, though some technical LUTs exist for converting between color spaces.
How to Use LUTs in DaVinci Resolve for Photos
Yes, DaVinci Resolve can absolutely color grade photos using its professional Color Page. While DaVinci Resolve is famous for video editing, its color grading tools work perfectly on still images and offer more control than many photo-specific applications.
Installing LUTs in DaVinci Resolve
Before you can apply LUTs, you need to install them in the correct location. Here is how to do it:
Step 1: Open DaVinci Resolve and go to the Preferences menu (DaVinci Resolve menu on Mac, Edit menu on Windows).
Step 2: Click on the “Color Management” section, then find the “LUTs” button and click it.
Step 3: Click “Open LUT Folder” to access the directory where DaVinci Resolve stores LUT files.
Step 4: Copy your .cube or .look files into this folder. You can organize them into subfolders by category.
Step 5: Return to DaVinci Resolve and click “Update LUTs” in the LUTs panel to refresh the list.
Applying LUTs to Photos in DaVinci Resolve
Once your LUTs are installed, applying them to photos is straightforward:
Step 1: Import your photo to the Media Pool by dragging it in or using File > Import File.
Step 2: Create a new timeline and add your photo to it. The duration does not matter for still images.
Step 3: Navigate to the Color Page by clicking the “Color” tab at the bottom of the interface.
Step 4: In the LUTs panel (left side), browse your installed LUTs and right-click on one to preview it.
Step 5: Double-click a LUT to apply it to your photo, or drag it onto the node in the node editor.
Adjusting LUT Intensity in DaVinci Resolve
Sometimes a LUT is too strong for your image. DaVinci Resolve gives you precise control over LUT intensity using the node system:
Right-click on the node containing your LUT and adjust the “Gain” setting. Lowering the gain reduces the LUT effect. Alternatively, you can add a second node before or after the LUT node to fine-tune the results with additional color adjustments.
Exporting Graded Photos from DaVinci Resolve
To save your color-graded photo, go to the Deliver Page. Select your preferred image format (TIFF, PNG, or JPEG), set your resolution and quality settings, then add the job to the render queue and start rendering.
How to Use LUTs in Photoshop
Photoshop handles LUTs through Color Lookup adjustment layers, providing a non-destructive workflow that lets you stack multiple adjustments and fine-tune the results.
Importing LUTs into Photoshop
Photoshop does not require a separate installation step for LUTs. You load them directly when creating an adjustment layer. Here is the process:
Step 1: Open your photo in Photoshop.
Step 2: Click the “Create new fill or adjustment layer” icon at the bottom of the Layers panel (half-filled circle icon).
Step 3: Select “Color Lookup” from the menu.
Step 4: In the Properties panel, click the dropdown menu next to “3DLUT File.”
Step 5: Select “Load 3D LUT” and navigate to your .cube file on your computer.
Applying LUTs as Adjustment Layers
The Color Lookup adjustment layer applies your LUT non-destructively, meaning you can edit or remove it at any time without affecting your original image. This is the recommended workflow for photo editing.
After loading your LUT, you will see immediate results on your photo. The adjustment layer appears in your Layers panel, where you can toggle its visibility, duplicate it for stronger effects, or change its blend mode.
Adjusting LUT Intensity in Photoshop
The easiest way to control LUT intensity in Photoshop is by adjusting the layer opacity. With the Color Lookup layer selected, reduce the Opacity slider in the Layers panel from 100% down to your preferred strength. Most photographers find that 50-70% opacity produces more natural results.
You can also experiment with blend modes. Try “Soft Light” or “Overlay” for subtler color grading effects that blend better with your original image.
Combining LUTs with Other Adjustments
One advantage of the adjustment layer workflow is stacking. You can add Curves, Levels, or Color Balance layers above or below your LUT layer to customize the results. Many photographers add a Curves adjustment after the LUT to fine-tune contrast and brightness.
Saving LUT Presets in Photoshop
To save a LUT for future use in Photoshop, click the menu icon in the Properties panel of your Color Lookup layer and select “Save Color Lookup.” This exports your current settings as a .3DL or .CUBE file that you can share or use in other applications.
How to Use LUTs in Affinity Photo
Yes, Affinity Photo fully supports LUTs through dedicated LUT adjustment layers. The workflow is similar to Photoshop but with some interface differences worth understanding.
Loading LUTs in Affinity Photo
Affinity Photo makes LUT application simple with its adjustment layer system:
Step 1: Open your image in Affinity Photo.
Step 2: Go to the menu: Layer > New Adjustment Layer > LUT.
Step 3: In the LUT dialog that appears, click the “Load LUT” button.
Step 4: Navigate to your .cube or .look file and select it.
Step 5: The LUT preview will show in the dialog. Click “Apply” to add it to your image.
Using LUT Adjustment Layers
The LUT adjustment layer appears in your Layers panel just like any other adjustment. This non-destructive approach means you can edit the layer at any time by double-clicking it, or hide it by clicking the visibility icon.
Affinity Photo also includes some built-in LUTs accessible from the LUT adjustment dialog. These are organized by category and provide a good starting point if you do not have custom LUT files yet.
Adjusting LUT Intensity in Affinity Photo
Control the strength of your LUT using the Opacity slider in the Layers panel. Select your LUT adjustment layer and adjust opacity from 100% down to taste. Many photographers prefer 40-60% opacity for realistic results.
You can also use blend modes with LUT layers in Affinity Photo. Experiment with Soft Light, Overlay, or Color modes to achieve different blending effects with your original image.
Saving LUT Presets in Affinity Photo
To create a reusable preset, set up your LUT with any additional adjustments you want. Then go to the Adjustments panel, click the menu icon on your LUT adjustment, and select “Create Preset.” Name your preset and it will appear in the Adjustments panel for future use.
Differences from Photoshop Workflow
The main difference between Affinity Photo and Photoshop for LUTs is terminology and menu location. Affinity uses “LUT Adjustment” while Photoshop uses “Color Lookup.” Affinity also stores presets differently, keeping them within the application rather than as external files. Both applications handle .cube files identically.
Tips and Troubleshooting for LUT Color Grading
Tips for Natural-Looking Results
The biggest mistake photographers make with LUTs is applying them at full strength. Start by reducing opacity to 50-70% for more natural results. Your goal should be enhancement, not transformation that looks artificial.
Match your LUT choice to the lighting conditions of your photo. A LUT designed for golden hour portraits will look wrong on a blue hour landscape. Test several LUTs before settling on one that complements your image.
Avoiding Over-Graded Looks
Watch for signs of over-grading: crushed shadows, blown highlights, or unnatural skin tones. If your image loses detail or looks like it has a heavy filter applied, reduce the LUT intensity or try a different LUT altogether.
LUT Not Appearing After Installation
If your LUT does not show up in the software after installation, check the file format. DaVinci Resolve requires .cube or .look files, Photoshop accepts .cube and .3dl, and Affinity Photo supports .cube and .look. Also verify the file is not corrupted by testing it in another application.
LUT Colors Look Wrong
When a LUT produces unexpected colors, the issue is often related to your source image. LUTs work best on properly exposed photos with neutral white balance. Try correcting exposure and white balance before applying the LUT.
Some LUTs are designed for specific camera profiles or log footage. Using a video LUT on a standard JPEG often produces incorrect results. Look for LUTs specifically designed for photo editing.
LUT Intensity Too Strong
When the effect is overwhelming, remember that all three applications support opacity adjustments. In DaVinci Resolve, use the node gain. In Photoshop and Affinity Photo, use the layer opacity slider. Batch processing with reduced intensity often produces better consistency across photo sets.
FAQ
Does Affinity Photo support LUTs?
Can you color grade photos with DaVinci Resolve?
How do I use LUTs in Affinity Photo?
Can you apply LUTs to photos?
Getting Started with LUTs for Photo Color Grading
You now have everything you need to use LUTs for photo color grading in DaVinci Resolve, Photoshop, and Affinity Photo. Each application handles LUTs slightly differently, but the core concept remains the same: load your .cube file, apply it as a non-destructive adjustment, and fine-tune the intensity for natural results.
Start by experimenting with free LUT packs to understand how different looks affect your photos. Pay attention to how lighting conditions and image exposure influence LUT results. With practice, you will develop an intuition for which LUTs work best for different photography styles.
The real power of LUTs comes from consistency. Once you find a look you love, you can apply it across entire photo shoots, maintaining a cohesive visual style. This is why LUTs have become essential tools for professional photographers who need to deliver consistent results efficiently.