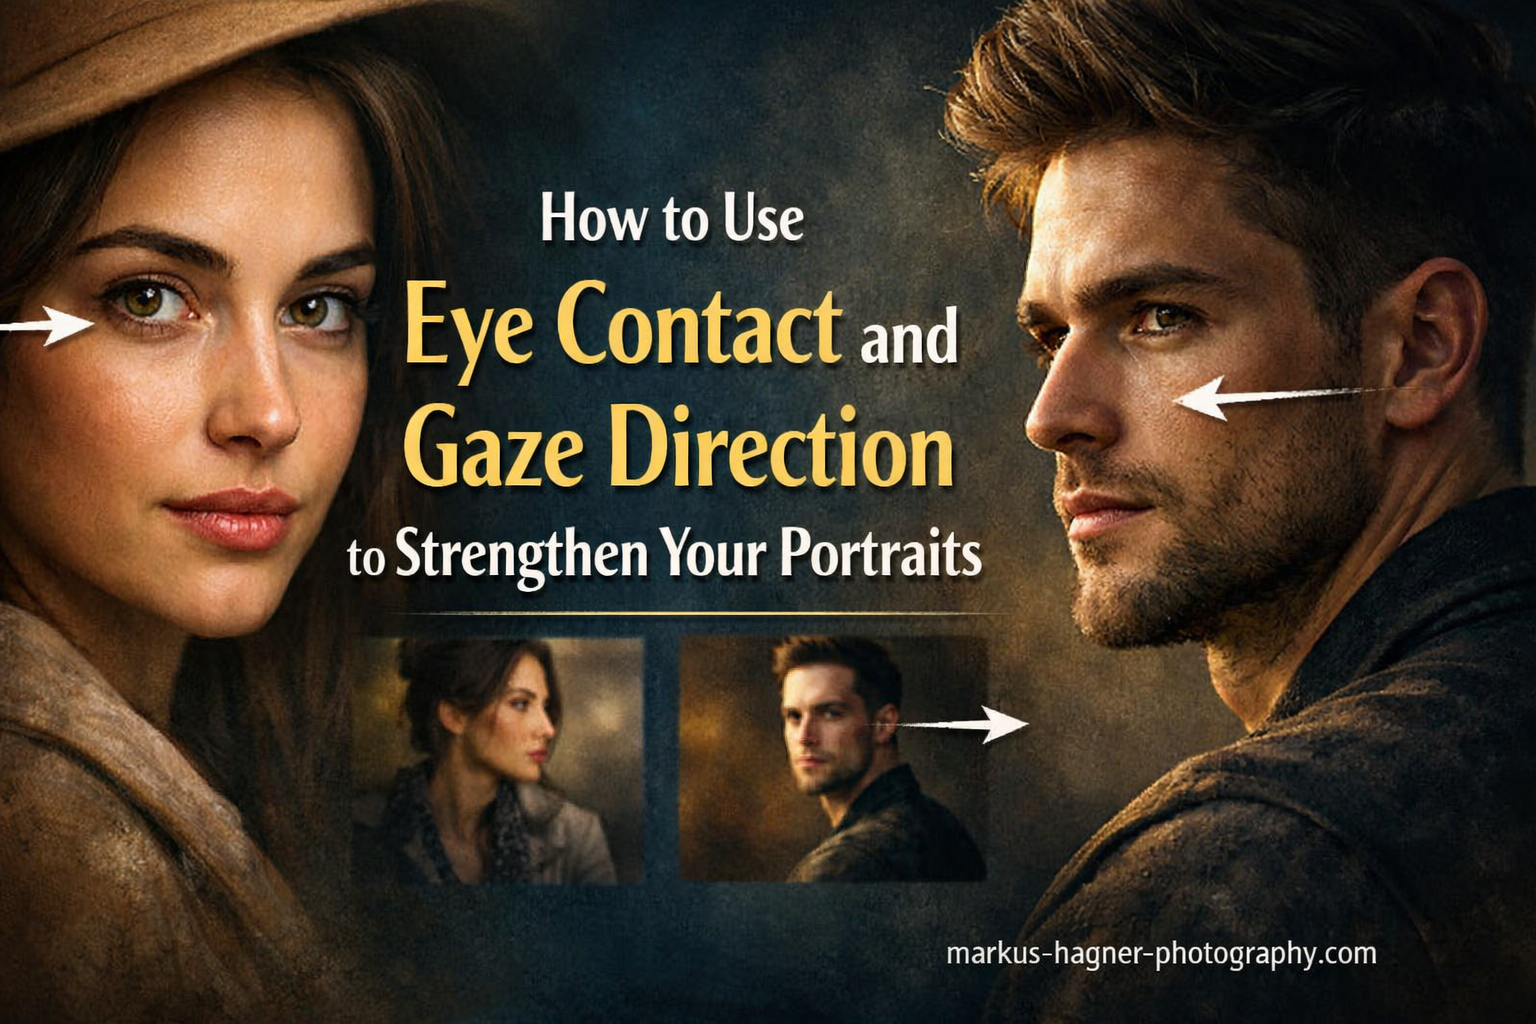
Nothing draws a viewer into a portrait quite like eye contact. The eyes are where we look first, where we search for emotion, and where we find connection. When I started photographing people seriously, I noticed something striking: images with intentional gaze direction held my attention far longer than those without. The difference was not subtle. Eye contact portrait photography is not just about technical sharpness. It is about creating a relationship between your subject and everyone who will ever see that image.
In this guide, I will walk you through everything I have learned about using eye contact and gaze direction to create more powerful portraits. We will cover the psychology behind why certain gazes work, practical techniques for capturing sharp eyes, and how to work with different types of subjects. By the end, you will have a complete toolkit for making your portraits more engaging and emotionally resonant.
The Psychology Behind Eye Contact in Portraits
When someone looks directly at you, your brain responds immediately. Evolution has wired us to pay close attention to eyes because they communicate intent, emotion, and connection. This is why direct eye contact in portraits creates such a strong viewer connection. The subject is not just being photographed. They are looking at you.
I think of it this way: a portrait with direct eye contact invites the viewer into a relationship. A portrait with an averted gaze invites the viewer to observe. Both are valid artistic choices, but they create fundamentally different experiences. Understanding this distinction is essential for emotional portraits that achieve your intended impact.
Professional photographers often discuss the concept of the camera as observer versus the camera as participant. When your subject makes eye contact, the camera becomes a participant. The viewer feels seen. When your subject looks away, the camera becomes an observer, and the viewer becomes a witness to something private.
Research in visual psychology confirms what photographers have long known intuitively. Images with direct gaze hold attention longer and create stronger memory traces. The viewer feels a sense of engagement that goes beyond simply looking at a picture. This is why mastering gaze direction is one of the most valuable portrait composition skills you can develop.
Types of Gaze Directions and Their Emotional Impact
Not all eye contact is created equal. The direction of your subject’s gaze fundamentally changes the mood and story of your portrait. Let me break down the four main types of gaze directions and when to use each one.
Direct Eye Contact: Creating Intimacy and Connection
Direct eye contact is the most powerful tool for creating intimacy in portraits. When your subject looks straight into the camera lens, they establish an immediate connection with the viewer. This creates a sense of confidence, presence, and engagement.
I use direct gaze when I want the subject to appear strong, confident, or confrontational. It works exceptionally well for professional headshots, personal branding, and portraits meant to convey authority. The key is ensuring the subject’s expression matches the intensity of the gaze. A soft smile paired with direct eye contact creates warmth. A serious expression with direct eye contact creates intensity.
One technique I have found valuable is having subjects think about someone they love while maintaining direct eye contact. This creates genuine emotion in the eyes rather than a hollow stare. The difference is immediately visible in the final image.
Averted Gaze: Mystery and Storytelling
When a subject looks away from the camera, everything changes. The mood shifts from engagement to contemplation. The viewer connection becomes more subtle, inviting curiosity about what the subject is thinking or looking at.
An averted gaze works beautifully for artistic portraits, environmental portraits, and images where you want to tell a story beyond the subject themselves. I often use this technique when photographing people in meaningful locations or during moments of reflection.
The direction of the averted gaze matters too. Looking slightly to the side suggests thoughtfulness. Looking past the camera suggests focus on something outside the frame. Both create narrative tension that draws viewers deeper into the image.
Looking Upward: Curiosity and Wonder
An upward gaze conveys curiosity, wonder, aspiration, or hope. This direction naturally opens the subject’s eyes wider and often creates a more youthful, innocent feeling. I use upward gazes for portraits meant to feel optimistic or dreamy.
The key to making this work is ensuring the upward look feels natural rather than staged. I might ask a subject to imagine looking at clouds or a bird flying overhead. The subtle shift in expression when someone genuinely imagines something is impossible to fake.
Lighting plays an important role here. Upward gazes often catch more light in the eyes, creating bright catchlights that make the eyes appear more alive and engaging.
Looking Downward: Tenderness and Vulnerability
A downward gaze creates feelings of tenderness, vulnerability, introspection, or shyness. This is one of my favorite techniques for intimate portraits because it feels private and genuine.
The emotional impact depends on the context. A subject looking down with a slight smile suggests contentment or fond memory. A subject looking down with a neutral expression suggests contemplation or melancholy. The same gaze direction creates completely different moods based on facial expression and body language.
I find downward gazes particularly effective for portraits of children, elderly subjects, or anyone whose vulnerability you want to capture authentically. The key is creating an environment where the subject feels safe enough to let their guard down.
Technical Techniques for Capturing Sharp, Engaging Eyes
Understanding gaze psychology is only half the equation. You also need technical skills to capture eyes that are sharp, well-lit, and visually compelling. Let me share the specific techniques I use.
Focus Techniques for Razor-Sharp Eyes
The most important technical rule in portrait photography is this: the eyes must be sharp. If the eyes are soft, the portrait fails regardless of everything else. I always focus on the eye closest to the camera when shooting at wide apertures.
I use single-point autofocus rather than face or eye detection for critical portraits. This gives me precise control over exactly which part of the eye is sharpest. I aim for the iris or the edge of the pupil, where detail and contrast are highest.
When working with shallow depth of field, even a few millimeters of focus error can render the eyes soft. I take multiple shots and zoom in on the LCD to verify sharpness before moving on. This habit has saved countless portraits.
Camera Settings for Eye-Catching Portraits
For portraits where the eyes are the focal point, I typically shoot at wide apertures between f/1.8 and f/2.8. This creates shallow depth of field that naturally draws attention to the sharp eyes while softening the background.
Shutter speed should be fast enough to freeze any subject movement. I rarely go below 1/125 second for portraits, even with cooperative subjects. Subtle movements during exposure can soften the eyes even when focus is technically correct.
ISO should be kept as low as possible to maximize image quality in the eyes. The iris contains fine detail and color that gets lost at high ISO settings. I prefer to add light rather than raise ISO when shooting in dim conditions.
Lighting Tips for Eye Enhancement
Lighting transforms the appearance of eyes. Good lighting creates bright, dimensional eyes with attractive catchlights. Poor lighting makes eyes appear flat, dark, or lifeless.
Catchlights are reflections of light sources in the eyes. They add life and dimension. I position my key light to create catchlights in the upper portion of the eyes, typically at the 10 or 2 o’clock position. This mimics natural overhead lighting and looks most flattering.
For outdoor portraits, open shade or overcast conditions provide soft, even lighting that fills the eyes naturally. Direct sun creates harsh shadows and causes subjects to squint. Reflectors can bounce light back into shadowed areas, brightening the eyes without additional equipment.
I also pay attention to the color of light. Warm light can make eyes appear golden and inviting. Cool light can make them appear crisp and penetrating. Match your lighting color to the mood you want to create.
Working with Different Types of Subjects
Every subject is different. Some are naturally comfortable with direct eye contact. Others find it intimidating or awkward. Learning to adapt your approach to each subject is essential for authentic portraits.
Tips for Shy Subjects
Shy subjects often feel uncomfortable maintaining direct eye contact with the camera. Forcing them to do so creates tense, unnatural expressions. Instead, I build up to direct gaze gradually.
I start by having shy subjects look slightly away from the camera while we talk and build rapport. Once they relax, I ask them to glance at the lens briefly, then look away again. Over time, these glances become longer and more natural.
Sometimes the best approach is to accept that direct eye contact will not work. An averted gaze can be just as powerful and often more authentic for shy subjects. I focus on capturing genuine expressions rather than forcing a specific gaze direction.
Another technique is having subjects look at a specific point near the camera rather than directly into the lens. This reduces the intensity while still creating the appearance of engagement.
Directing Confident Subjects
Confident subjects often maintain intense eye contact naturally. The challenge here is preventing the gaze from becoming too aggressive or confrontational unless that is your intention.
I ask confident subjects to vary their gaze throughout the session. We might do a series with direct eye contact, then some with gazes directed slightly up, down, or to the side. This creates variety and prevents the portraits from feeling one-dimensional.
It also helps to direct facial expression along with gaze direction. A direct gaze with relaxed features looks confident. A direct gaze with tension in the face looks hostile. Small adjustments make enormous differences.
Working with Children
Children present unique challenges for eye contact. They have shorter attention spans and may not understand or follow directions about where to look.
I rarely ask children to look at the camera. Instead, I create situations where natural eye contact occurs. I might play a game, ask a surprising question, or make a funny sound. When they look up naturally, I capture the moment.
For more contemplative children’s portraits, I let them look at objects or people that interest them. A child looking at a parent with love creates a more powerful image than a child staring uncomfortably at a lens.
Group Portrait Eye Coordination
Group portraits introduce a coordination challenge. Getting everyone to look at the camera simultaneously is harder than it sounds. Someone always looks away at the wrong moment.
I use a countdown system and shoot on the final number. Everyone knows exactly when the photo will be taken. I also take multiple frames rapidly to increase the odds of catching everyone looking the right direction.
For larger groups, I sometimes designate a specific point for everyone to look at. This could be a light, a mark on the wall, or my raised hand. Giving everyone the same focal point creates more consistent gazes.
In casual group situations, I accept that perfect eye coordination is unrealistic. I focus on capturing genuine expressions and interactions. A group laughing together is more engaging than a group staring stiffly at the camera.
Common Mistakes to Avoid
Even experienced photographers make mistakes with eye contact and gaze direction. Here are the most common errors I see and how to avoid them.
Soft focus on the eyes: This is the most damaging mistake. Always verify eye sharpness during your shoot. Zoom in on your LCD and check before moving on.
Focusing on the wrong eye: When shooting at an angle with shallow depth of field, focusing on the far eye instead of the near eye creates awkward results. The eye closest to the camera should always be sharpest.
Forced staring: Direct eye contact that looks forced feels uncomfortable for viewers. Create conditions for natural engagement rather than demanding subjects stare at the lens.
Ignoring subject comfort: Some people genuinely struggle with direct eye contact. Pushing them creates tension visible in the final image. Adapt your approach to each subject.
Over-directing: Too many instructions about eye position create self-conscious subjects. Give simple, clear direction and let subjects interpret it naturally.
Ignoring lighting on the eyes: Beautifully focused eyes mean nothing if they are shadowed or lack catchlights. Always evaluate eye lighting as carefully as you evaluate focus.
Frequently Asked Questions
What is the rule of thirds in portrait photography?
The rule of thirds in portrait photography suggests placing key elements along imaginary grid lines or at their intersections. For portraits, this often means positioning the subject’s eyes along the upper third line to create a balanced, visually appealing composition that naturally draws viewer attention to the eyes.
What is the 50-70 rule for eye contact?
The 50-70 rule in eye contact suggests maintaining eye contact 50-70% of the time during conversation for optimal engagement. In photography, this translates to capturing moments when your subject naturally maintains eye contact with the camera, creating authentic connection without uncomfortable intensity that can appear in forced portraits.
What is the 20-60-20 rule in photography?
The 20-60-20 rule in photography composition suggests balancing visual elements with 20% negative space, 60% main subject, and 20% secondary elements. This can apply to portraits by ensuring the eyes and face dominate the composition while allowing breathing room that prevents the image from feeling cramped.
How do you capture an intense gaze in photos?
To capture an intense gaze in photos: ensure proper lighting with bright environments to create larger irises, use a wide aperture like f/1.8 to f/2.8 for shallow depth of field, focus precisely on the eye closest to the camera, remove distracting elements from the frame, direct your subject to relax facial muscles while maintaining focus, and consider having them think of something meaningful to create authentic emotion.
Final Thoughts
Learning how to use eye contact and gaze direction to strengthen your portraits is one of the most valuable skills you can develop as a photographer. The eyes are where viewers connect emotionally with your subjects. Mastering gaze direction gives you control over that connection.
Remember that different gazes create different effects. Direct eye contact builds intimacy and confidence. Averted gazes create mystery and storytelling. Upward looks convey hope and wonder. Downward gazes capture vulnerability and tenderness. Each has its place.
Technical skills matter as much as artistic vision. Sharp focus on the right eye, appropriate camera settings, and thoughtful lighting all contribute to eyes that capture attention and hold it.
Most importantly, remember that eye contact in portrait photography is about authentic human connection. Technical perfection means nothing if the expression feels forced or the subject appears uncomfortable. Build rapport with your subjects. Create conditions for natural engagement. Let genuine moments happen rather than manufacturing them.
The next time you pick up your camera for a portrait session, think intentionally about where your subject is looking and why. Experiment with different gaze directions. Notice how each choice changes the emotional impact of your image. With practice, using eye contact and gaze direction will become second nature, and your portraits will become dramatically more powerful as a result.