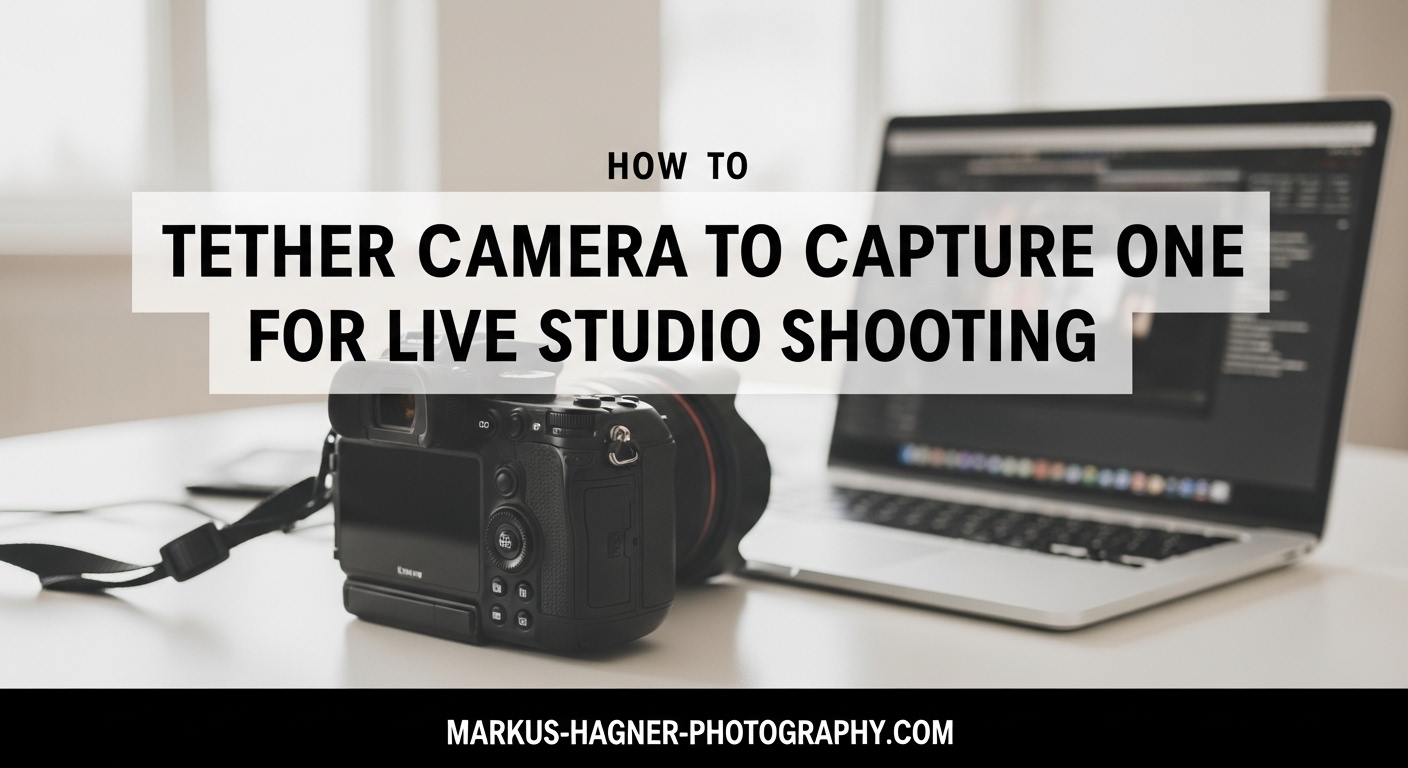
When you’re shooting in a studio environment, seeing your images on a large screen changes everything. Learning to tether camera to Capture One gives you instant feedback, precise focus control, and the ability to collaborate with clients in real time. In this guide, I’ll walk you through my complete tethered workflow, from the equipment you need to troubleshooting the issues that can derail a shoot.
Tethered shooting means connecting your camera directly to your computer via USB cable (or wirelessly), so every photo you take appears instantly on your monitor. For studio photographers working with products, fashion, or commercial clients, this workflow has become the industry standard. Capture One handles tethering better than any other software, with faster connections and more reliable camera detection than Lightroom.
Why Tethered Shooting Transforms Your Studio Workflow?
The difference between reviewing images on your camera’s LCD versus a calibrated monitor is night and day. When I first started tethering, the improvement in my workflow was immediate. I could catch focus errors, exposure problems, and composition issues before moving on to the next shot.
Here’s what makes tethered shooting worth the setup effort:
Instant high-resolution preview: Your camera LCD shows a small, compressed version of your image. Tethering displays the full-resolution file on a calibrated screen where you can zoom to 100% and check critical focus.
Real-time client collaboration: Clients can see images as you shoot them, provide immediate feedback, and approve shots on the spot. This eliminates the back-and-forth that happens when you send proofs after the shoot.
Faster image organization: As images arrive in Capture One, you can rate, tag, and organize them during the shoot. By the time you wrap, your selection is already done.
Professional presentation: Walking into a client shoot with a proper tethered setup signals professionalism. The large monitor becomes a collaborative tool rather than just a technical necessity.
Remote camera control: Many cameras allow you to adjust settings, trigger focus, and fire the shutter directly from Capture One. This is invaluable for product photography where you’re making tiny adjustments between shots.
Equipment You Need to Tether Camera to Capture One
Before we dive into the setup process, let’s make sure you have everything. I’ve learned the hard way that cheap cables and missing adapters can derail a shoot faster than anything else.
Camera Compatibility
Capture One supports tethering for cameras from Phase One, Canon, Nikon, Sony, Fujifilm, Leica, Olympus, and Panasonic. Check the Capture One website for your specific model, as support varies by version. Most modern cameras from these manufacturers work without issues.
USB Tethering Cable
Your cable is the most critical component. Here’s what you need to know:
Keep it under 3 meters: USB 3.0 signals degrade beyond this length. If you need more distance, use a powered USB hub or active extension cable.
Choose quality over price: I’ve had generic cables fail mid-shoot. Tether Tools cables cost more but they’re built for this specific use case and include reinforced connectors.
Match your camera’s port: Most modern cameras use USB-C, but some still use USB 3.0 Micro-B or USB 2.0. Check your camera’s port before ordering.
Avoid USB-C cables with Power Delivery: Some cables include power negotiation that can conflict with your camera’s power system. Look for data-only cables.
Cable Management Tools
A tethering guard like the JerkStopper Camera Support prevents the cable from being yanked out of your camera port. Trust me, one accidental pull can damage your camera’s USB port and end your tethering days until it’s repaired.
The JerkStopper clips to your camera strap eyelet and holds the cable, so any tension goes to the clip rather than the delicate port. It’s a small investment that protects expensive equipment.
Computer and Software
You’ll need Capture One Pro (the Express version doesn’t support tethering for all cameras). Your computer should have USB 3.0 or USB-C ports for faster transfer speeds.
Store your capture files on an internal SSD or fast external drive. Tethering generates a lot of data quickly, and slow storage becomes a bottleneck.
Power Management
Tethered shooting drains camera batteries faster because the camera maintains constant communication with the computer. For extended shoots, use an AC adapter for your camera. If that’s not possible, have multiple charged batteries ready.
How to Tether Your Camera to Capture One: Step-by-Step Guide
Now let’s get you connected. Follow these steps in order, and you’ll be shooting tethered in under five minutes.
Step 1: Prepare Your Camera Settings
Before connecting anything, adjust these camera settings:
Disable power saving mode: Your camera needs to stay awake constantly. Power saving features will cause connection drops mid-shoot.
Remove all memory cards: This is the number one fix for detection issues. Many cameras struggle to decide whether to save to card or computer when both are available. Remove the cards, and the camera defaults to tethering.
Update your firmware: Camera manufacturers occasionally release firmware updates that improve tethering reliability. Check your manufacturer’s website before important shoots.
Step 2: Create a Capture One Session
Capture One offers two organizational structures: Catalogs and Sessions. For tethered shooting, Sessions are the better choice. They keep everything for one shoot in one folder.
Open Capture One and create a new Session (File > New Session). Choose a location on your fastest drive. Name it with your shoot date and client name for easy organization.
Your Session creates several subfolders automatically: Capture (where tethered images land), Selects (for your best shots), Output (for exports), and Trash. This structure keeps you organized without thinking about it.
Step 3: Connect Your Camera
With your camera powered off, connect one end of your USB cable to the camera and the other to your computer. Now power on the camera.
If you’re using a cable management tool like the JerkStopper, attach it now. The cable should have a little slack so normal camera movement doesn’t create tension.
Step 4: Wait for Camera Detection
After powering on, watch the Capture One toolbar. A camera icon should appear within a few seconds. If it doesn’t, wait up to 30 seconds for the initial handshake.
If the camera icon never appears, try these quick fixes: restart Capture One, try a different USB port, or disconnect and reconnect the cable. We’ll cover more troubleshooting later.
Step 5: Configure Your Capture Settings
Click the camera icon in the toolbar to open the Capture tool. Here you configure where images land and how they’re named:
Capture folder: This defaults to your Session’s Capture folder, which is usually what you want.
File naming: Set up a naming convention that includes your shoot name and sequence number. Something like “ClientName_Date_0001” keeps files organized.
Next Capture Adjustments: This powerful feature lets you apply adjustments to incoming images. If you’re shooting products on a white background, you can dial in exposure and white balance once, then apply it to every new image automatically.
Step 6: Start Shooting
Click the shutter button in the Capture tool (or press your camera’s shutter). The image transfers to your computer and appears in the viewer almost instantly.
With USB 3.0 and a modern camera, a 50MB RAW file typically transfers in under two seconds. USB 2.0 takes considerably longer.
Step 7: Use Live View (If Supported)
Many cameras support Live View over tethering. Click the Live View button in the Capture tool to see your camera’s viewfinder on your monitor.
Live View enables remote focus control on supported cameras. Click anywhere in the Live View window to set focus at that point. This precision is invaluable for product photography.
Live View and Remote Camera Control in Capture One
Once you’re connected, Capture One offers powerful remote control features that transform how you shoot.
Activating Live View
The Live View window shows exactly what your camera sees, but on your large monitor. Click the Live View button in the Capture tool, and a new window opens with your camera’s feed.
For studio work, this means you can position your camera, walk to your computer, and frame the shot from there. It’s particularly useful when your camera is in a difficult position or mounted on a copy stand.
Remote Focus Control
On supported cameras, clicking in the Live View window sets your focus point. This is more precise than using autofocus through the viewfinder, especially for product photography where depth of field might be measured in millimeters.
Some cameras also support focus stepping, where you make tiny focus adjustments with keyboard commands. Check Capture One’s camera support page for your specific model’s capabilities.
Remote Camera Settings
The Capture tool displays your current camera settings: ISO, aperture, shutter speed, exposure compensation, and more. On most cameras, you can adjust these directly in Capture One without touching the camera.
This remote control is transformative for still life and product work. You can fine-tune exposure while sitting at your computer, seeing the results instantly.
Overlay Function for Composition
The overlay feature lets you place a reference image over your Live View feed. This is essential for matching compositions between shots or replicating a layout from a previous session.
To use it, add an overlay image in the Capture tool’s Overlay section. Adjust opacity so you can see both the overlay and your live feed. Position your subject to match, and you have perfect consistency across multiple shots.
Composition Mode for Storage Savings
Composition Mode is a clever Capture One feature that saves storage during setup. Instead of saving every test shot, Composition Mode displays images in Capture One but doesn’t write them to disk.
When you’re happy with your setup, disable Composition Mode and your real shooting begins. Every image from that point forward is saved. This feature has saved me gigabytes of storage on complex product shoots.
Live Studio Workflow Tips for Client Collaboration
Here’s where Capture One’s tethered workflow really shines. The software includes tools specifically designed for client-facing shoots.
Capture Pilot for iPad Viewing
Capture Pilot is a free iOS app that connects to Capture One over your local network. Your clients can view images on an iPad as you shoot them, rate their favorites, and zoom in to check details.
Setting up Capture Pilot takes two minutes. In Capture One, go to the Capture Pilot tool and enable sharing. Download the app on your iPad, connect to the same network, and you’ll see your Session appear.
I’ve found that clients love this feature. They feel involved in the process without hovering over your shoulder at the main monitor.
Capture One Live for Remote Collaboration
For clients who can’t be in the studio, Capture One Live shares your images over the internet. Enable it in the Capture One Live tool, and you get a shareable link.
Your remote client opens the link in a browser and sees your images arriving in real time. They can star their favorites and add comments. It’s like having them in the room, even when they’re in another country.
This feature requires a Capture One account and internet connection, but it’s included with your subscription.
Real-Time Image Selection and Rating
As images arrive, you can immediately rate them using keyboard shortcuts. Press 1-5 to assign star ratings. Press P to pick an image for your selects folder.
I rate images during the shoot, not after. When the client asks to see the best shots, my 5-star collection is already ready. This efficiency keeps shoots moving and clients impressed.
Session Favorites and Smart Albums
Your Session’s Favorites collection automatically shows your highest-rated images. Smart Albums can filter by any criteria: capture time, lens used, ISO setting, or star rating.
Create a Smart Album for 5-star images captured today, and you have an instant “best of” collection for client review at the end of the shoot.
Troubleshooting Common Tethering Issues
Tethering is wonderful when it works, but problems can derail a shoot. Here are the most common issues and their solutions.
Camera Not Detected
This is the most frustrating problem. You’ve connected everything, but Capture One doesn’t see your camera.
Remove SD cards: I mentioned this earlier, but it bears repeating. Memory cards cause more detection problems than anything else. Remove them and restart your camera.
Try a different USB port: Some USB ports provide more power than others. Try the ports directly on your computer rather than on a monitor or hub.
Restart everything: Turn off the camera, quit Capture One, restart your computer if necessary. Sometimes the USB subsystem needs a reset.
Check cable connections: Reseat both ends of the cable. A slightly loose connection can cause detection to fail intermittently.
Connection Drops During Shoots
Nothing ruins a client shoot like the tethering connection dropping mid-capture. Here’s how to prevent it:
Disable camera power saving: This is the most common cause. Your camera falling asleep drops the connection immediately.
Use a shorter or higher-quality cable: Cables longer than 3 meters are unreliable. If you need more length, use a powered USB hub.
Disable computer sleep: Your computer going to sleep also drops the connection. Adjust your energy settings before the shoot.
Uncheck ReTether in Capture One: The ReTether: fetch images from camera setting has caused problems for many users. Try disabling it if you experience drops.
Slow Transfer Speeds
When images take forever to appear, check these factors:
USB 2.0 vs 3.0: USB 3.0 is roughly 10 times faster. Make sure both your cable and port support USB 3.0.
Drive speed: Writing to a slow external drive or network storage creates a bottleneck. Use an internal SSD for your capture folder.
File size: High-resolution cameras produce huge files. A 100MP RAW file takes longer than a 24MP file, regardless of connection speed.
Firmware Compatibility Problems
Sometimes a camera firmware update breaks tethering compatibility. Check Capture One’s release notes for known issues. If you’ve recently updated your camera firmware and tethering stopped working, this is likely the cause.
Unfortunately, the solution is usually to wait for a Capture One update that addresses the new firmware.
Pre-Shoot Checklist
Before any important client shoot, run through this checklist:
1. Camera firmware is current
2. SD/CF cards removed from camera
3. Power saving disabled on camera
4. USB cable is 3 meters or shorter
5. Cable secured with JerkStopper or similar
6. Capture One Session created and tested
7. Test shot confirms connection works
8. Backup batteries or AC adapter ready
Five minutes of preparation prevents embarrassing technical failures during paid shoots.
Frequently Asked Questions
Can you tether a video on Capture One?
Yes, Capture One supports video tethering for select cameras. You can shoot video while tethered, though the feature works best for still photography workflows. Video files transfer to your capture folder, but Live View during video recording has limitations depending on your camera model.
Is Capture One better than Lightroom for tethering?
Capture One is widely considered superior for tethered shooting. It offers faster connection speeds, more reliable camera detection, and professional features like Composition Mode, overlay tools, and Next Capture Adjustments. Lightroom tethering works but lacks the robust workflow features that studio photographers need during client shoots.
Why won’t my camera tether to Capture One?
Common causes include SD cards still in the camera, power saving mode enabled on the camera, outdated firmware, USB cable longer than 3 meters, or the ReTether setting causing conflicts. Remove all memory cards, disable camera power saving, use a quality USB 3.0 cable under 3 meters, and restart both camera and Capture One.
How do I connect my camera to Capture One?
First, disable power saving on your camera and remove SD cards. Create a new Session in Capture One, then connect your camera via USB cable. Wait for the camera icon to appear in the toolbar. Click it to start tethered capture, then configure your capture folder and begin shooting.
Conclusion
Learning to tether camera to Capture One transforms your studio photography. The ability to see images instantly, check focus at 100%, and collaborate with clients in real time makes you a more efficient and confident photographer.
Start with the basics: a quality USB cable under 3 meters, proper camera settings, and a well-organized Session. Practice the workflow before bringing it to client shoots. Once you’re comfortable with the tethered workflow, explore advanced features like Composition Mode, Capture Pilot, and remote focus control.
For photographers who need more mobility, wireless tethering options exist, though they come with tradeoffs in speed and reliability. For most studio work, a wired connection remains the gold standard.
The troubleshooting tips I’ve shared come from real-world experience. Connection issues happen to everyone, but knowing how to fix them quickly keeps your professional reputation intact. Always test your setup before clients arrive, and keep spare cables in your kit.
Tethering takes some setup effort, but the workflow benefits are worth it. Your clients will appreciate the professional presentation, and you’ll catch mistakes before they become expensive reshoots.