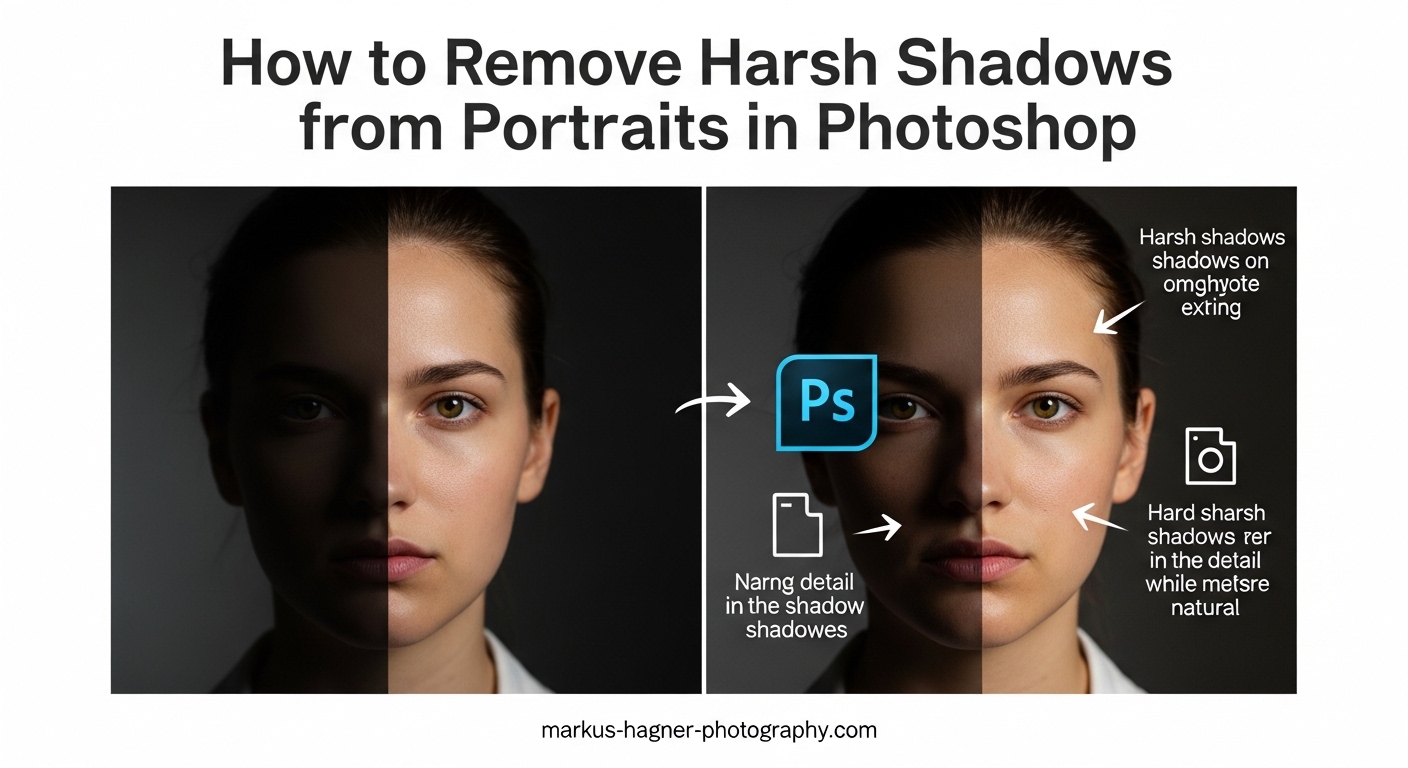
Nothing ruins a portrait faster than harsh shadows across your subject’s face. You set up the perfect shot, got the expression just right, and then discovered those dark, distracting shadows during editing. I have been there countless times over my years as a photographer. The good news? Photoshop gives you several powerful ways to fix these issues in post-processing.
Harsh shadows typically appear when shooting in strong directional light, like direct sunlight or single-source studio lighting. They create high-contrast areas that hide facial details and draw attention away from your subject’s eyes and expression. Learning to remove harsh shadows from portraits in Photoshop is an essential skill for any portrait photographer.
In this guide, I will walk you through four proven methods I use regularly. We will cover the Camera Raw Filter approach (my go-to for most situations), Healing Tools for localized fixes, the new Generative Fill AI option, and classic Dodge and Burn techniques. Each method has its strengths, and I will explain exactly when to use which one.
Quick Method Comparison: Which Approach Should You Use?
Before diving into the tutorials, let me help you choose the right method for your specific image. Here is how I decide which technique to use:
Camera Raw Filter works best for overall shadow reduction across large areas. Use this when the entire face needs adjustment or when shadows are somewhat uniform. It takes about 2-5 minutes and requires basic Photoshop skills.
Healing Tools (Patch/Healing Brush) excel at removing localized shadows in specific spots. Choose this method when you have distinct shadow patches, like under the nose or eyes. Plan for 5-15 minutes depending on complexity. Intermediate skill level recommended.
Generative Fill AI is the fastest option for Photoshop 2026 users with Creative Cloud. It works remarkably well for quick fixes but requires an internet connection. Results can vary, so budget 1-3 minutes plus potential regeneration time. Great for beginners.
Dodge and Burn offers the most control for subtle adjustments. Use this when you need to lighten shadows gradually without removing them entirely. This method takes 10-20 minutes and requires advanced skills to avoid unnatural results.
How to Remove Harsh Shadows from Portraits in Photoshop: Method 1 (Camera Raw Filter)
The Camera Raw Filter method is my first choice for most portrait shadow removal tasks. It provides natural-looking results while preserving skin texture and tones. This technique works by adjusting exposure and color temperature specifically in the shadow regions.
When to Use This Method
Use the Camera Raw Filter approach when you have overall shadow issues across the face rather than isolated dark spots. It works particularly well for outdoor portraits shot in harsh sunlight where shadows appear on multiple areas. I also reach for this method when the shadow areas have a different color temperature than the highlights, a common issue with mixed lighting.
Step-by-Step Tutorial
Step 1: Open Your Image and Duplicate the Background Layer
Open your portrait in Photoshop. Right-click on the Background layer in the Layers panel and select “Duplicate Layer.” This creates a non-destructive workflow, allowing you to always return to your original image if needed. Name this layer “Shadow Removal” to keep your workspace organized.
Step 2: Convert Layer to Smart Object
Right-click on your duplicated layer and choose “Convert to Smart Object.” This step is crucial because it allows you to apply the Camera Raw Filter as a smart filter, meaning you can adjust settings later without starting over. I learned this the hard way after many wasted hours re-doing edits.
Step 3: Open Camera Raw Filter
Go to Filter > Camera Raw Filter in the top menu (or press Ctrl+Shift+A on Windows, Cmd+Shift+A on Mac). This opens the image in the Camera Raw interface, which provides powerful adjustment controls specifically designed for photographic editing.
Step 4: Access the Masks Panel
Click on the Masks icon in the toolbar on the right side (it looks like a circle with a dashed outline). Then select “Luminance Range” from the masking options. This allows you to target only the shadow areas without affecting the properly exposed parts of your image.
Step 5: Select the Shadow Range
In the Luminance Range panel, click on “Shadows” or manually adjust the range sliders. The goal is to select only the dark shadow areas you want to lighten. You will see a red overlay showing which parts of the image are selected. Adjust the range until the shadows are covered but midtones and highlights remain unaffected.
Step 6: Adjust Exposure Settings
Now switch to the main adjustment panel. Increase the Exposure slider gradually, typically between +0.3 to +1.0 stops depending on shadow depth. Go slowly here; you can always add more but removing an over-correction looks unnatural. Watch the shadow areas carefully as you make adjustments.
Step 7: Fine-Tune Shadows Slider
Below Exposure, you will find the Shadows slider specifically designed for shadow adjustment. Increase this value to lift shadow areas without affecting overall exposure. I usually combine a small exposure increase (+0.3) with a larger shadows adjustment (+30 to +50) for the most natural results.
Step 8: Correct Color Temperature in Shadows
Harsh shadows often have a different color temperature than surrounding areas, usually appearing cooler or more blue. Scroll down to the Color Mixer section and adjust the Temperature slider slightly warmer if needed. You can also use the Calibration tab for more precise color matching. This step is essential for realistic skin tone preservation.
Step 9: Apply and Review
Click OK to apply your changes and return to the main Photoshop interface. Toggle the visibility of your smart filter on and off to compare before and after results. If the adjustment looks too strong or too subtle, double-click on “Camera Raw Filter” under your smart object layer to reopen and fine-tune the settings.
Step 10: Final Touches
If some areas still need work, create a new layer set to Soft Light blend mode and use a soft brush at low opacity (10-15%) to dodge remaining dark spots manually. This combination of global and local adjustment gives you professional-quality results.
Tips for Best Results
Always zoom out periodically to check how your adjustments look at the intended viewing size. What appears subtle at 100% zoom might look dramatic when viewing the full image. I also recommend calibrating your monitor regularly, as shadow adjustments are particularly sensitive to display accuracy.
Work on a duplicate layer and save multiple versions as you progress. Portrait retouching often benefits from stepping away and returning with fresh eyes. I cannot count how many times I thought an edit looked perfect, only to realize the next day I had overdone it.
Method 2: Healing Tools (Best for Localized Shadows)
When you have specific shadow patches rather than overall shadow issues, the Healing Tools become your best option. The Patch Tool and Healing Brush work by sampling surrounding pixels and blending them seamlessly into the shadow area. This method requires more manual work but offers precise control over exactly which shadows get removed.
Patch Tool Tutorial
The Patch Tool is my go-to for medium-sized shadow areas like harsh nose shadows or cheek shadows. Here is my workflow:
Step 1: Create a new layer above your image layer for non-destructive editing. Select the Patch Tool from the toolbar (it shares a slot with the Healing Brush; press J to cycle through).
Step 2: In the options bar at the top, set the Patch dropdown to “Content-Aware” and make sure “Sample All Layers” is checked. These settings ensure Photoshop uses advanced algorithms to create seamless blends.
Step 3: Draw a selection around the shadow area you want to remove. Make your selection slightly larger than the shadow itself to give Photoshop more source material to work with.
Step 4: Click inside your selection and drag it to an area of similar skin tone without the shadow. Photoshop will preview the result as you move. Look for an area that matches both the skin tone and the lighting direction.
Step 5: Release to apply the patch. If the result looks unnatural, press Ctrl+Z (Cmd+Z on Mac) to undo and try a different source area. Sometimes moving the selection just a few pixels makes a significant difference.
Healing Brush Technique
For smaller shadow areas or when you need more precision, the Healing Brush offers better control than the Patch Tool. I use it for shadows around the eyes, small patches on the forehead, and detailed areas near hair.
Hold Alt (Option on Mac) and click on an area of clean skin with similar tone and lighting to sample it. Then paint over the shadow area with a soft brush slightly larger than the shadow itself. The Healing Brush automatically blends the sampled texture with the surrounding pixels, matching color and luminosity.
Work with a low brush hardness (0-20%) and use multiple light passes rather than one heavy stroke. This approach builds up the correction gradually and produces more natural results.
When to Use Each Tool
Use the Patch Tool for shadows larger than a quarter-inch on your screen. It handles bigger areas more efficiently and often produces better blending on larger patches.
Use the Healing Brush for smaller, more detailed areas. It gives you precise control over exactly where the correction appears and works better near edges like the hairline or jawline.
Feathering Tips for Seamless Results
The key to natural-looking shadow removal is proper feathering. After making your selection with any tool, go to Select > Modify > Feather and apply 2-5 pixels of feathering before healing. This softens the edge of your selection, preventing the hard, unnatural borders that reveal retouching.
For the most realistic results, I often apply a subtle Gaussian Blur (Filter > Blur > Gaussian Blur, 0.5-1 pixel radius) to the entire healing layer. This micro-blur helps integrate the corrected areas with the original image texture.
Method 3: Generative Fill AI (Best for Quick Results)
Photoshop 2026‘s Generative Fill represents the newest approach to shadow removal, and it has genuinely changed my workflow for certain projects. This AI-powered feature analyzes your image and generates new pixels to replace selected areas, effectively “inventing” what should be behind the shadow.
What Is Generative Fill?
Generative Fill uses Adobe’s Firefly AI to create content based on your text prompts and surrounding image context. For shadow removal, you select the shadow area, tell Photoshop to remove it, and the AI generates replacement pixels that match the surrounding skin tone and texture. It sounds almost too good to be true, but in practice, it works surprisingly well for many situations.
Step-by-Step Process
Step 1: Open your portrait in Photoshop 2026 and make sure you are signed into Creative Cloud. Generative Fill requires an internet connection and a current subscription.
Step 2: Select the shadow area using any selection tool. The Lasso Tool works well for irregular shadow shapes. Include the entire shadow plus a small margin of surrounding skin.
Step 3: Click the “Generative Fill” button in the contextual task bar that appears after making your selection. If you do not see it, go to Window > Contextual Task Bar.
Step 4: In the text prompt field, type something simple like “smooth skin without shadow” or just leave it blank. For shadow removal, a blank prompt often works best because the AI understands the context from surrounding pixels.
Step 5: Click “Generate.” Photoshop will create three variations for you to choose from. Review each option by clicking the thumbnails in the Properties panel.
Step 6: If none of the options look right, click “Generate” again for three new variations. Sometimes the AI needs a few attempts to get the skin tone matching correct.
Pros and Cons of the AI Approach
Pros: Extremely fast for simple shadows. No manual sampling or brush work required. Handles complex textures well. Results improve with each Photoshop update as the AI model improves.
Cons: Requires internet connection. Uses generative credits (limited monthly allocation). Results can be inconsistent, especially with unusual skin tones or lighting. May produce unnatural results on close inspection. Not suitable for high-end commercial work where every pixel matters.
Best Use Cases for Generative Fill
I reach for Generative Fill when working on personal projects, social media content, or when I need quick turnaround on a large batch of images. It excels at removing shadows from backgrounds and less critical areas of portraits. For client work requiring pixel-perfect quality, I still prefer the traditional methods.
The AI works best on clearly defined shadows with good contrast between shadow and non-shadow areas. Soft, gradual shadows can confuse the algorithm, leading to strange results.
Method 4: Dodge and Burn (Best for Subtle Adjustments)
The Dodge and Burn technique is the classic approach to shadow adjustment, originating from darkroom photography. Dodging lightens areas while burning darkens them. For shadow removal, we focus exclusively on dodging to gradually lift dark areas.
Dodge Tool Technique
Select the Dodge Tool from the toolbar (press O). In the options bar, set Range to “Shadows” and Exposure to a low value between 10-20%. Using low exposure and building up the effect gradually is essential for natural results.
Use a soft brush slightly larger than the shadow area. Paint over the shadow in light, quick strokes, releasing the mouse button between each stroke. This approach gives you more control than one continuous brush stroke.
Work on a separate layer set to 50% gray with Overlay blend mode for a non-destructive approach. This method, called “dodge and burn on 50% gray,” allows you to adjust the intensity later by changing layer opacity.
Recommended Settings
Range: Always set to “Shadows” when lightening dark areas. Setting it to “Midtones” or “Highlights” will affect unintended parts of your image.
Exposure: Keep between 10-20% for portraits. Higher values create obvious, unnatural lightening that reveals retouching.
Brush Hardness: 0% for areas surrounded by skin. Increase to 20-30% when dodging near edges like the jawline or hairline.
When to Avoid This Method
Dodge and Burn works poorly for deep, harsh shadows that need significant lightening. The tool is designed for subtle adjustments, not dramatic transformations. If you find yourself painting over the same area more than 5-6 times, switch to one of the other methods.
Avoid using Dodge on areas with visible texture like pores or fine hair. The tool tends to flatten texture, creating a plastic, over-retouched appearance that looks amateurish.
Troubleshooting Common Shadow Removal Issues
Even with the right technique, shadow removal can go wrong. Here are the most common problems I encounter and how to fix them.
Color Shift Problems
One of the biggest challenges when removing shadows is color matching. Shadows often have a different color temperature than surrounding skin, usually appearing cooler or more blue. When you lighten them, they can take on an unnatural color that stands out.
Solution: After lifting shadows, create a Hue/Saturation adjustment layer clipped to your shadow removal layer. Slightly increase saturation in the affected areas and shift the hue slightly warmer. Use the Color Balance adjustment for more precise control. The goal is to match the warm, healthy tones of the surrounding skin.
Unnatural Edges
Hard edges around your corrections are a dead giveaway of retouching. This usually happens when your selection was not feathered enough or when you painted with too hard a brush.
Solution: Apply a 1-2 pixel Gaussian Blur to your correction layer. Alternatively, use a soft Eraser tool at 20% opacity to gently blur the edges of your correction. For Camera Raw adjustments, increase the Feather slider in the mask settings.
Texture Loss
Heavy shadow removal can flatten skin texture, making the corrected area look smooth and plastic compared to surrounding skin. This is especially common with the Healing Brush and Patch Tool.
Solution: After your main correction, add a High Pass layer to restore texture. Duplicate your image, set the duplicate to Overlay blend mode, apply Filter > Other > High Pass with a 1-2 pixel radius, then mask it to only affect the over-smoothed areas. This technique reintroduces natural skin texture.
Skin Tone Matching Issues
Even after color correction, the corrected area might not quite match the surrounding skin. This is often due to differences in saturation or luminosity that are hard to see in isolation.
Solution: Create a temporary Threshold adjustment layer above your image. This converts everything to black and white, making luminosity differences obvious. Adjust your correction until the tones match, then delete the Threshold layer. Use a Vibrance adjustment layer to fine-tune saturation.
How to Prevent Harsh Shadows During Your Shoot?
The best shadow removal is preventing harsh shadows in the first place. Here are techniques I use during shoots to minimize post-processing work.
Lighting Setup Tips
For studio portraits, use a large, diffused main light positioned at 45 degrees to your subject. Add a fill light or reflector on the opposite side to reduce shadow contrast. The fill should be about 1-2 stops darker than your main light for natural-looking dimension.
Position your subject so the main light illuminates the side of the face turned away from the camera. This “short lighting” technique creates more flattering shadows that define facial features without becoming harsh or distracting.
Best Times for Outdoor Portraits
Shoot during the “golden hours” (first and last hour of sunlight) when the sun is low and produces soft, directional light. The warm color temperature during these times is naturally flattering for skin tones.
If you must shoot midday, look for open shade under trees, building overhangs, or use a scrim to diffuse direct sunlight. Open shade provides even, soft illumination without the harsh shadows of direct sun.
Reflector and Fill Flash Techniques
Carry a 5-in-1 reflector on every outdoor shoot. Position it on the shadow side of your subject’s face to bounce light into dark areas. White reflects soft, natural fill; silver adds more punch; gold warms the fill light.
For fill flash, set your flash to 1-2 stops below your ambient exposure. This adds just enough light to fill shadows without looking like an obvious flash photo. Use a diffuser or bounce the flash off a reflector for softer results.
Frequently Asked Questions
How to remove shadows from portrait in Photoshop?
How to remove harsh shadows in a photo?
How to remove shadows in a portrait?
How to fix harsh highlights in Photoshop?
Conclusion: Mastering Shadow Removal in 2026
Learning to remove harsh shadows from portraits in Photoshop takes practice, but the techniques I have shared here will give you professional results. The Camera Raw Filter method handles most situations well, while Healing Tools provide precision for specific shadow spots. Generative Fill offers speed when you need it, and Dodge and Burn gives you subtle control.
Remember that the best shadow removal often combines multiple methods. I frequently start with a Camera Raw adjustment for overall balance, then use the Healing Brush to clean up remaining dark spots, and finish with subtle dodging for final touches. This layered approach produces the most natural-looking results.
Most importantly, always work non-destructively with smart objects and adjustment layers. This gives you the flexibility to refine your edits later and protects your original image. With these techniques in your toolkit, harsh shadows will never ruin a great portrait again.