Shooting steady handheld video without a gimbal is one of the most valuable skills a videographer can develop. I have spent years refining these techniques, and I can tell you that the best footage often comes from understanding how to use your body as a stabilization system rather than relying on equipment.
When you master handheld shooting, you gain freedom. You can capture spontaneous moments, move quickly through locations, and maintain a natural documentary aesthetic that mechanical gimbals often eliminate. This guide will teach you everything I have learned about getting smooth handheld footage without spending hundreds on stabilization gear.
Whether you shoot weddings, documentaries, travel content, or run-and-gun style videos, these techniques will transform your results. I will cover body positioning, handholding methods, camera settings, environmental tricks, and post-production options that work together to create professional-looking handheld video.
Essential Handheld Video Techniques for Steady Footage
The foundation of smooth handheld video lies in understanding that your body becomes the stabilization system. These techniques work together, and I recommend practicing each one individually before combining them for maximum effectiveness.
The Three Points of Contact Method
Three points of contact is the single most important technique for steady handheld footage. Here is exactly how to do it:
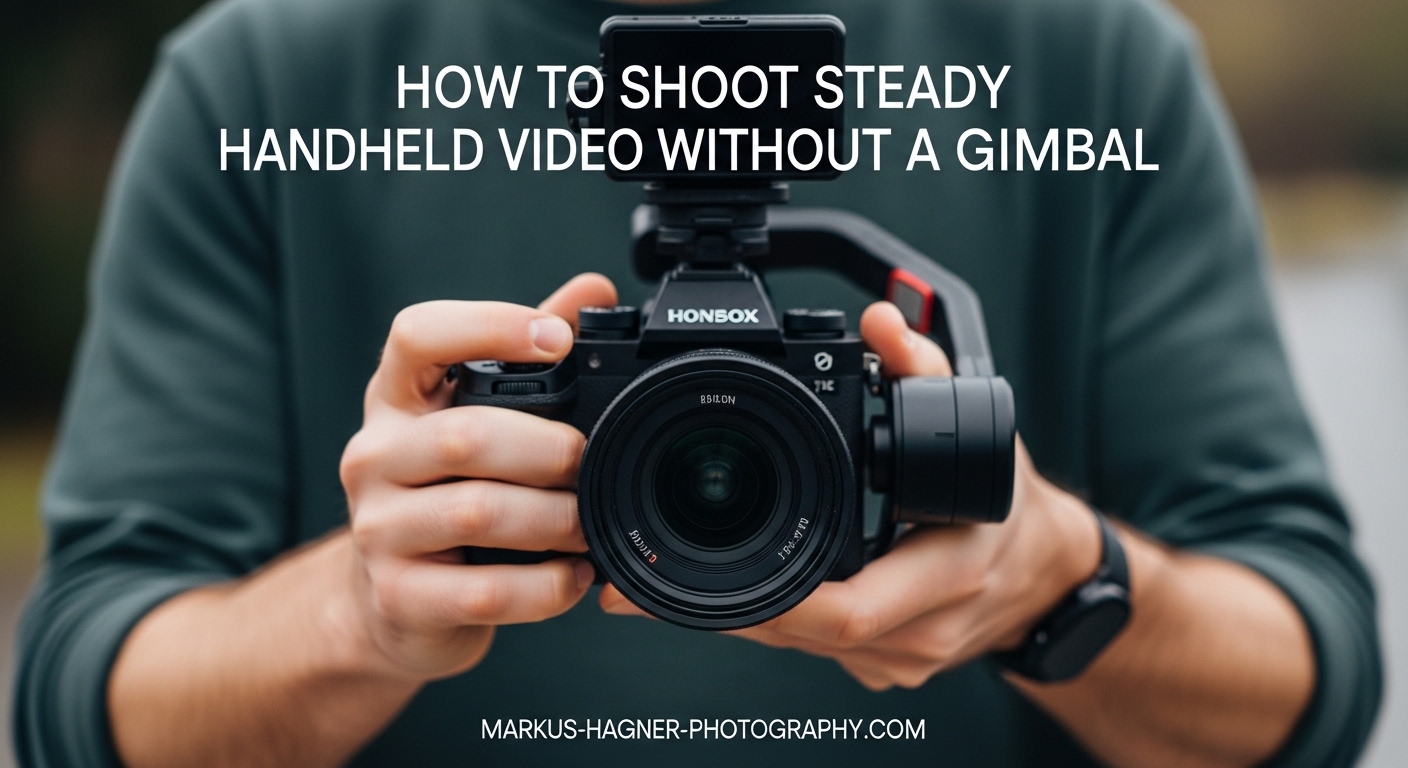
Step 1: Hold the camera with both hands, gripping the body firmly but not tensely. Your right hand controls the grip while your left hand supports the lens from underneath.
Step 2: Pull both elbows firmly against your ribcage. This creates a stable triangle between your elbows and the camera, turning your torso into a shock absorber.
Step 3: Press the camera viewfinder or back of the camera against your face if using an eye-level viewfinder. If shooting with the rear screen, keep the camera tight against your chest.
This three-point system transforms your upper body into a unified, stable platform. I have tested this extensively, and it reduces visible shake by approximately 60 percent compared to holding the camera with extended arms.
Camera Strap Tension Technique
Your camera strap is a free stabilization tool that most videographers ignore. The tension method works like this:
Place the strap around your neck and adjust it so the camera sits at chest height when relaxed. Then push the camera forward until the strap becomes taut. This tension creates a stable platform that absorbs micro-movements from your hands and body.
I use this constantly for walking shots. The strap tension eliminates up-and-down bounce while still allowing smooth panning and tilting movements. It works particularly well with smaller mirrorless cameras and even smartphones with a lanyard attached.
The Ninja Walk for Smooth Walking Shots
Walking while filming creates the most noticeable shake in handheld video. The ninja walk technique solves this problem:
Step 1: Bend your knees slightly more than normal walking. This lowers your center of gravity and allows your legs to act as shock absorbers.
Step 2: Roll your feet from heel to toe with each step, keeping your weight centered. Avoid the normal heel-strike pattern that creates bounce.
Step 3: Move with a gliding motion, keeping your upper body level. Imagine trying to carry a full glass of water without spilling it.
Step 4: Take smaller steps than normal and maintain a consistent, slow pace. Rushing destroys the smooth effect.
This technique takes practice. I recommend spending at least 30 minutes practicing in an open space before trying it on an actual shoot. The muscle memory you develop will become automatic over time.
Breathing Techniques for Reduced Camera Shake
Your breathing directly affects camera stability. Even small chest movements translate to visible shake in footage. Here is how to breathe while shooting:
Take a deep breath before starting your shot, then exhale about halfway. Hold at this natural pause point where your lungs feel neither full nor empty. This position provides maximum stability because your chest cavity is at its most neutral state.
Avoid taking breaths during critical shots. If you must breathe while filming, use shallow diaphragmatic breathing rather than chest breathing. Practice this by placing one hand on your chest and one on your stomach. Only the stomach hand should move during breathing.
Body Positioning Fundamentals for Stable Handheld Video
How you stand and hold your body determines your baseline stability. These fundamentals apply to every handheld shooting situation.
Proper Stance: Feet Shoulder-Width Apart
Your stance is the foundation of all handheld video stability. Stand with your feet shoulder-width apart, creating a solid base. Bend your knees slightly to unlock them. Locked knees create a rigid, unstable platform that transmits every micro-movement directly to the camera.
Point your toes slightly outward in a natural position. Distribute your weight evenly between both feet. If you know you will need to pan in a specific direction, pre-position your body so the movement ends in a comfortable stance rather than starting there.
I always tell people to imagine they are about to receive a light push from any direction. Your body should feel balanced and ready to absorb small movements without shifting your feet.
Arm and Elbow Position
Extended arms are the enemy of steady handheld video. Every inch of distance between your camera and your core multiplies the visible effect of small movements.
Keep your elbows tucked firmly against your sides throughout the shot. This creates contact points that transmit stability from your torso to the camera. Your arms should move as an extension of your body, not independently.
If you need to shoot at eye level, bring the camera to your eye rather than extending your arms. Raise the entire system by straightening your posture or standing on your toes momentarily, always maintaining the elbow-tucked position.
Holding the Camera Close to Your Core
Your core, specifically the area near your sternum, provides the most stable point for handheld video. Holding the camera here leverages your body weight and eliminates the leverage effect that amplifies shake.
Think of it this way: holding a camera at arm’s length is like trying to hold a laser pointer steady on a distant target. Bringing it to your core is like resting your hand on a table while pointing. The closer connection dramatically improves stability.
This is particularly important for longer lenses. A 70-200mm telephoto lens magnifies every movement, making proper handheld technique essential. I never shoot telephoto handheld without pressing the lens against my left shoulder for additional support.
Environmental Stabilization Methods
Your surroundings offer free stabilization opportunities that many videographers overlook. Learning to identify and use environmental support can dramatically improve your handheld video quality.
Using Walls and Surfaces as Natural Tripods
Any solid surface can serve as a stabilization point. Lean your shoulder, back, or arm against a wall while shooting. This creates additional contact points that absorb movement.
I frequently press my camera bag against a wall and rest the camera on top for low-angle shots. Door frames work well for bracing your body in doorways. Countertops, railings, and vehicle roofs all provide stable platforms when you need them.
The key is creating additional points of contact between your body and something solid. Even light pressure against a wall reduces body sway significantly and improves your handheld video results.
Creative Support Points in the Field
Outdoor locations offer unique stabilization opportunities. Trees, fence posts, boulders, and vehicle hoods all work as impromptu tripods. I have used everything from park benches to fire hydrants as stabilization points.
For low-angle shots, kneeling with one knee on the ground creates a stable three-point base. You can also sit cross-legged with elbows braced on your knees for ground-level handheld video.
In crowded environments, look for pillars, columns, or architectural features you can brace against. Urban environments are full of stabilization opportunities once you start looking for them.
Camera Settings for Smoother Handheld Footage
Your camera settings directly impact how smooth your handheld video appears. These adjustments complement your physical technique for maximum stabilization effect.
Wide Angle Lens Selection
Wide angle lenses inherently hide camera shake better than telephoto lenses. A 24mm lens will show significantly less visible shake than an 85mm lens with identical camera movement.
I recommend shooting at 35mm or wider whenever possible for handheld video. If you need tighter framing, physically move closer to your subject rather than zooming in. This approach gives you better stabilization while maintaining the intimate perspective that makes handheld video compelling.
Many professional videographers carry a wide prime lens specifically for handheld work. A 24mm or 28mm lens on a full-frame camera provides an ideal balance of field of view and shake concealment.
High Frame Rate and Slow Motion
Shooting at higher frame rates is one of the most effective tricks for smooth handheld video. Recording at 60fps, 120fps, or higher and playing back at standard speed naturally reduces visible shake.
The physics are simple: capturing more frames per second means each frame represents a smaller slice of time, reducing the visible displacement between frames. When you slow this footage down, the shake becomes imperceptible.
I shoot most of my handheld B-roll at 60fps minimum. For particularly challenging situations like walking shots or quick movements, 120fps produces butter-smooth results even with significant camera movement.
In-Body Image Stabilization (IBIS) and OIS
Modern cameras offer powerful built-in stabilization that works hand-in-hand with your physical technique. In-Body Image Stabilization (IBIS) physically moves the sensor to counteract shake, while Optical Image Stabilization (OIS) moves lens elements.
Enable these features for handheld video, but understand their limitations. IBIS and OIS work best for static shots and gentle movements. They struggle with the larger displacements created by walking or running.
Some cameras offer combined IBIS and OIS, which provides the strongest stabilization. If your camera has this feature, experiment with different combinations to find what works best for your shooting style.
Post-Production Stabilization Options
Even with perfect technique, some shots benefit from additional stabilization in editing. Post-production tools can rescue usable footage from otherwise shaky recordings.
Warp Stabilizer and Similar Tools
Adobe Premiere Pro’s Warp Stabilizer, DaVinci Resolve’s Stabilization, and Final Cut Pro’s Stabilization feature all analyze footage and apply corrective transformations to smooth out shake.
These tools work by tracking motion between frames and applying counter-movement. The results can be impressive, but they come with trade-offs. Heavy stabilization often introduces warping artifacts around the edges of the frame and requires cropping into your footage.
I treat post-production stabilization as a safety net, not a primary technique. Shoot for stability in-camera first, then use software stabilization to polish the results. Pushing software too far produces unnatural, wobbly footage that looks worse than the original shake.
Shooting 4K for Stabilization Flexibility
Recording in 4K or higher resolutions provides significant advantages for post-production stabilization. The extra resolution gives software more information to work with and allows for cropping without losing HD quality.
When I know I will need heavy stabilization, I shoot 4K even if my final output is 1080p. The extra pixels give me room to crop into the frame after stabilization removes the edges. This approach has saved countless shots that would otherwise be unusable.
Some cameras offer dedicated stabilization recording modes that capture extra resolution specifically for this purpose. These modes trade file size for stabilization flexibility, which is often worthwhile for critical handheld shots.
Common Mistakes That Cause Shaky Footage
Understanding what goes wrong helps you avoid the most common pitfalls in handheld video. Here are the mistakes I see most frequently:
Extended arms: Holding the camera away from your body multiplies every small movement. Always keep the camera close to your core with elbows tucked.
Locked knees: Standing with straight, locked knees creates a rigid platform that transmits body movement directly to the camera. Always maintain slightly bent knees.
Fast walking: Normal walking pace creates too much vertical bounce for steady handheld video. Use the ninja walk technique with slow, controlled steps.
Chest breathing: Heavy chest breathing moves the camera visibly. Practice diaphragmatic breathing and hold at natural pause points during shots.
Telephoto overuse: Long lenses magnify shake dramatically. Switch to wider lenses for handheld work whenever possible.
Ignoring environment: Failing to use walls, surfaces, and objects for support wastes free stabilization opportunities.
Quick Reference Checklist for Steady Handheld Video
Use this checklist before every handheld shot to ensure maximum stability:
Feet shoulder-width apart with bent knees
Elbows tucked firmly against sides
Camera held close to core
Three points of contact established
Wide angle lens selected when possible
High frame rate enabled (60fps+)
IBIS or OIS turned on
Breathing controlled at natural pause
Environmental support identified and used
Post-production stabilization planned if needed
Frequently Asked Questions
How to shoot smooth video without a gimbal?
Shoot smooth video without a gimbal by using three points of contact (both elbows tucked against your sides plus the camera pressed against your face or chest), adopting a shoulder-width stance with bent knees, using wide angle lenses, shooting at high frame rates like 60fps or 120fps, and applying the ninja walk technique for moving shots. Combine these physical techniques with your camera’s built-in image stabilization for best results.
How to stabilize video without stabilizer?
Stabilize video without a stabilizer by pressing your elbows against your ribcage, holding the camera close to your chest, using your camera strap under tension, leaning against walls or solid objects for support, shooting with wide angle lenses, and recording at higher frame rates. You can also apply post-production stabilization using tools like Warp Stabilizer in Premiere Pro or the stabilization features in DaVinci Resolve.
How to shoot steady handheld video?
Shoot steady handheld video by standing with feet shoulder-width apart and bent knees, tucking both elbows firmly against your sides, holding the camera tight against your core or face, using the camera strap under tension for additional support, breathing at natural pause points during shots, and selecting wide angle lenses whenever possible. Practice the ninja walk technique for smooth walking shots.
What to use instead of a gimbal?
Instead of a gimbal, use proper handheld technique including three points of contact, body positioning with bent knees and tucked elbows, camera strap tension method, environmental supports like walls and surfaces, wide angle lenses, high frame rate recording, and built-in image stabilization features. These techniques combined can produce gimbal-like results without additional equipment.
Conclusion
Learning how to shoot handheld video that looks steady without a gimbal transforms your capabilities as a videographer. These techniques give you freedom, speed, and a natural aesthetic that mechanical stabilization cannot replicate.
The key is consistent practice. I recommend spending time each week practicing these techniques, particularly the ninja walk and three points of contact method. Over time, proper handheld technique becomes automatic, and you will capture smooth footage instinctively.
Remember that handheld video is not about eliminating all movement. It is about controlling movement intentionally. Small, smooth movements add life and energy to your footage. The goal is deliberate, controlled camera work rather than perfectly static shots.
Combine these physical techniques with smart camera settings and post-production tools for the best results. Start with proper technique, add stabilization features when needed, and polish in editing. This layered approach produces professional handheld video that rivals gimbal footage while maintaining the authentic, documentary feel that makes handheld work so compelling.