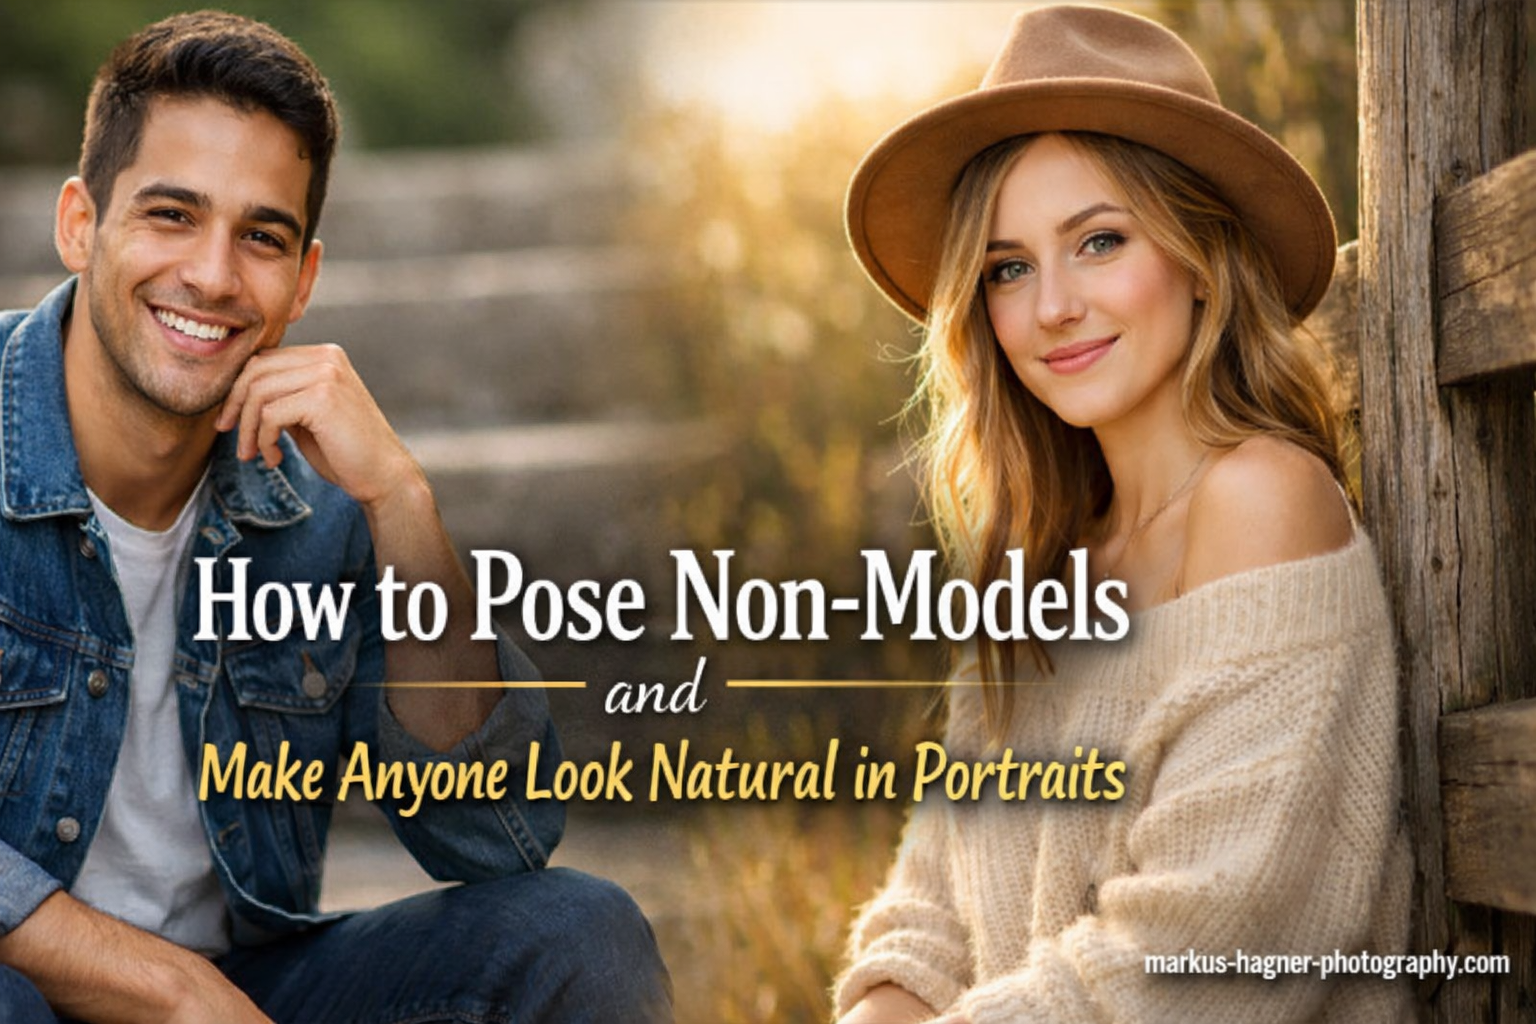
Most portrait subjects have never stood in front of a professional camera before. They feel awkward. They do not know what to do with their hands. And they definitely cannot replicate the poses they have seen on Instagram. Learning how to pose non-models is one of the most valuable skills a portrait photographer can develop, because it transforms nervous, self-conscious people into confident subjects who look natural on camera.
In this guide, I will share the exact techniques I use when working with regular people who have zero modeling experience. You will learn specific phrases to say, a step-by-step posing formula you can memorize, and troubleshooting tips for when things go sideways. These methods have worked for hundreds of portrait sessions, from corporate headshots to family photos to personal branding shoots.
Why Posing Non-Models Requires a Different Approach?
Professional models arrive knowing their angles, their good side, and a collection of poses that work for them. Non-models arrive with anxiety about how they will look, no idea what positions flatter them, and a tendency to freeze up the moment a camera points their way. This fundamental difference means photographers must take an active directing role rather than simply documenting what happens.
The goal is not to turn regular people into models. The goal is to help them forget about the camera long enough to capture genuine expressions and flattering positions. This happens through clear communication, specific directions, and continuous encouragement throughout the session.
Pre-Shoot Preparation: Setting Up Success Before the Camera Clicks
The work of making someone look natural starts before they ever step in front of your lens. A 10-minute phone call or video chat before the session can dramatically reduce anxiety and build rapport that carries through the actual shoot.
What to Cover in a Pre-Shoot Consultation
Ask your subject about their goals for the session. Are these photos for a dating profile, a professional headshot, or family memories? Understanding their purpose helps you tailor your direction. I always ask what they like and dislike about photos of themselves, which reveals insecurities you can address and angles they already feel good about.
Share a few example images that match the style you are planning. This sets expectations and gives subjects visual references for what you will create together. When they can picture the outcome, they feel more confident about the process.
Phrases That Build Confidence Before Shooting
Here are exact phrases you can use during your pre-shoot communication. “Most people feel nervous before a photo session. That is completely normal, and I will guide you through every single pose.” Another effective line is, “You do not need to know how to pose. That is my job. Your only job is to show up and be yourself.”
When subjects arrive, greet them warmly and spend a few minutes chatting before picking up your camera. This transitions them from travel mode into the session and builds the trust needed for natural expressions later.
How to Pose Non-Models: Foundation Techniques That Always Work In 2026?
These fundamental techniques form the foundation of every successful portrait session with non-models. Master these basics and you can handle any subject, regardless of their experience level or comfort in front of the camera.
Body Positioning Fundamentals
Start with the feet. Have your subject stand with their feet shoulder-width apart, then ask them to turn their body about 30 degrees away from the camera. This simple angle immediately looks more dynamic than a straight-on stance and is universally flattering.
Next, address weight distribution. Ask your subject to shift their weight onto their back foot, the one farther from the camera. Say this phrase: “Put your weight on your back foot like you are leaning slightly away from me.” This creates a natural hip tilt and elongates the body visually.
Shoulders should be relaxed and slightly back. I use this cue: “Take a deep breath and let your shoulders drop as you exhale.” Tension in the shoulders is one of the biggest giveaways that someone feels uncomfortable, and this breathing cue releases it instantly.
Hand and Arm Placement
The question “what do I do with my hands?” comes up in nearly every session. Here are reliable solutions. Have subjects put one hand on their hip with fingers relaxed, not gripping. This creates a natural bend in the elbow and defines the waistline. For a more casual look, ask them to hook a thumb in their pocket or waistband.
Arms should never hang flat against the body. This creates visual width and looks stiff. Instead, create separation by bending elbows slightly or placing hands on hips, in pockets, or touching a prop. Say this: “Let your arms create a little space from your body. Think of it like you are holding a small ball under each arm.”
Face and Chin Positioning
The single most impactful face technique is pushing the chin forward and slightly down. This defines the jawline and prevents the appearance of a double chin that happens when the head tilts back. Use this exact direction: “Push your forehead toward me like a turtle coming out of its shell. Keep your chin parallel to the ground.”
Eye direction matters too. For a direct, engaging look, have subjects look straight into the lens. For a more contemplative mood, ask them to look just past your shoulder or at a specific point in the environment. Avoid having them look up, which creates unnatural angles.
5 Posing Formulas You Can Memorize and Use Today
These five formulas work for almost any portrait situation. Each one includes the exact words to say, so you never have to improvise under pressure.
Formula 1: The Angle Shift
This is your default starting position for standing portraits. Say: “Turn your body to your right about 45 degrees. Now shift your weight onto your left foot, the one farther from me. Let your shoulders relax down. Good. Now turn just your head back toward the camera.”
This position creates flattering angles, defines the jawline, and looks natural rather than posed. It works for headshots, full-body portraits, and everything in between.
Formula 2: The Weight Transfer
For a more dynamic look, use movement to create natural poses. Say: “Start with your weight on your left foot. When I count to three, slowly shift your weight to your right foot. Keep your upper body relaxed and let your arms move naturally.”
Capture continuously during this weight transfer. The in-between moments often produce the most natural expressions and body positions.
Formula 3: The Hand Anchor
When hands need a place to go, give them a job. Say: “Put your right hand on your hip, but keep your fingers soft like you are barely touching your waist. Let your left arm hang naturally, or put that thumb in your pocket.”
The hand on hip creates a confident, defined silhouette. The free hand stays relaxed rather than awkwardly searching for a place to land.
Formula 4: The Chin Forward
For close-up portraits and headshots, this technique is essential. Say: “Push your forehead toward me like a turtle. Keep your chin level with the ground. Now lower your chin just a tiny bit more. Perfect.”
This position elongates the neck, defines the jawline, and prevents the camera from capturing unflattering angles under the chin.
Formula 5: The Movement Method
For subjects who freeze up, abandon static poses entirely. Say: “I want you to walk toward me slowly. Stop when you get to this spot. Now look over your left shoulder. Walk away from me, then turn around when you hear my voice.”
Movement-based posing works because it gives subjects something to do rather than something to hold. Their expressions stay natural, and their bodies move fluidly instead of locking up.
Troubleshooting: What to Do When Poses Go Wrong?
Even with solid technique, things sometimes go sideways. Here are solutions for the most common problems.
Subject Looks Stiff or Uncomfortable
If someone looks rigid, stop giving posing directions. Instead, have them shake out their arms, roll their shoulders, or take three deep breaths. Then restart with movement-based posing rather than static positions. Say: “Let’s start over. Just walk toward me and stop when I say. Forget about posing.”
Hands Look Awkward
Awkward hands usually mean too much tension or no clear place to go. Have your subject relax their hands by shaking them out briefly. Then give hands a specific, simple job: thumb in pocket, hand on hip, or holding a prop like a coffee cup or jacket.
Smiles Look Fake or Forced
Genuine smiles come from genuine emotion. Stop asking people to smile. Instead, make conversation, tell a light joke, or ask them about something they love. Capture while they are talking or laughing. The expressions that follow will be authentic.
Another effective technique is the “release and capture” method. Pose your subject, take a few shots, then say: “Okay, relax for a second.” Capture the moment they exhale and their face softens. Those frames often become the best images of the session.
When Nothing Is Working
If a session feels like a struggle, step back and change your approach. Switch to a longer lens and shoot from farther away, which reduces pressure on your subject. Move to a new location. Ask your subject to sit down, which removes the complexity of full-body positioning. Or simply pause, put your camera down, and chat for a few minutes to reset the energy.
Advanced Tips for Making Anyone Look Natural
Once you master the fundamentals, these techniques will elevate your portraits further.
Embrace Movement Over Static Poses
The best portraits of non-models rarely come from holding a specific position. They come from motion, adjustment, and the moments between poses. Keep your subject moving, talking, and interacting with their environment. Your job becomes editing rather than directing.
Capture the Between Moments
Some of the most natural frames happen right after you say “got it” or “perfect.” Subjects relax, smile genuinely, and drop the performance. Keep shooting through these transitions. Your clients will often prefer these images over the posed versions.
Camera Angle Matters
For most flattering portraits, position your camera at or slightly above your subject’s eye level. Shooting from below adds unflattering width to faces and bodies. Shooting from above can elongate features but may look unnatural if overdone. Eye level creates connection and feels authentic.
Frequently Asked Questions
How to pose people who are not models?
Start by turning their body 30-45 degrees from the camera, shift weight to the back foot, and have them turn only their head toward the lens. Use movement-based directions like walking or weight shifts rather than static poses. Give one clear direction at a time and provide continuous positive feedback.
How to pose inexperienced models?
Build rapport before shooting with a brief conversation. Start with simple, comfortable positions and add complexity gradually. Demonstrate poses yourself when words are not enough. Show them photos during the session so they can see what is working. Use phrases like ‘push your forehead toward me’ rather than technical jargon.
How to pose for pictures without looking stiff?
Avoid holding still for extended periods. Shift weight between feet, move arms naturally, and interact with your environment. Take deep breaths to release shoulder tension. Focus on doing something, like walking or adjusting clothing, rather than freezing in place. The best expressions come from motion, not static poses.
What should photographers say when directing subjects?
Use specific, actionable directions like ‘turn your body to the right’ rather than vague phrases like ‘look natural.’ Give one instruction at a time. Reference physical sensations (‘push your forehead forward’) rather than abstract concepts. Praise what is working (‘that angle is perfect’) to build confidence and maintain a collaborative energy throughout the session.
Conclusion
Learning how to pose non-models transforms portrait photography from a technical exercise into a collaborative art. The key is clear communication, specific directions, and genuine encouragement. Use the five posing formulas as your foundation, adapt them to each subject’s comfort level, and prioritize genuine expressions over perfect positions.
Remember that your subjects are trusting you to help them look their best. When you guide them with confidence and kindness, they relax. When they relax, they look natural. And when they look natural, you create portraits they will treasure for years.