There is a persistent myth in photography circles that “real” photographers only shoot in manual mode. I believed this for years, thinking aperture priority was somehow cheating or meant I wasn’t skilled enough. Then I watched a professional wedding photographer work through an entire ceremony in aperture priority mode. She captured over 800 images with consistent exposures while I was still fumbling with my shutter speed dial between shots.
The truth changed how I approach photography entirely. Many working professionals use aperture priority mode 90-95% of the time. They aren’t being lazy. They’re being smart about where they spend their mental energy. Understanding aperture priority mode gives you creative control over depth of field while the camera handles exposure calculations. This guide will show you exactly how to use it, when it outperforms full manual, and why even seasoned pros rely on it.
By the end of this article, you will know how to set up aperture priority on any camera, configure Auto ISO for optimal results, and recognize exactly when this semi-automatic mode beats manual control. I will also share specific scenarios from wedding, portrait, and landscape photography where aperture priority makes your life easier and your images better.
What Is Aperture Priority Mode?
Aperture priority mode is a semi-automatic camera setting where you control the aperture (f-stop) and the camera automatically adjusts the shutter speed to achieve proper exposure. You choose how wide or narrow your lens opening should be, and the camera’s metering system handles the rest. This gives you creative control over depth of field while eliminating the need to constantly adjust shutter speed as lighting changes.
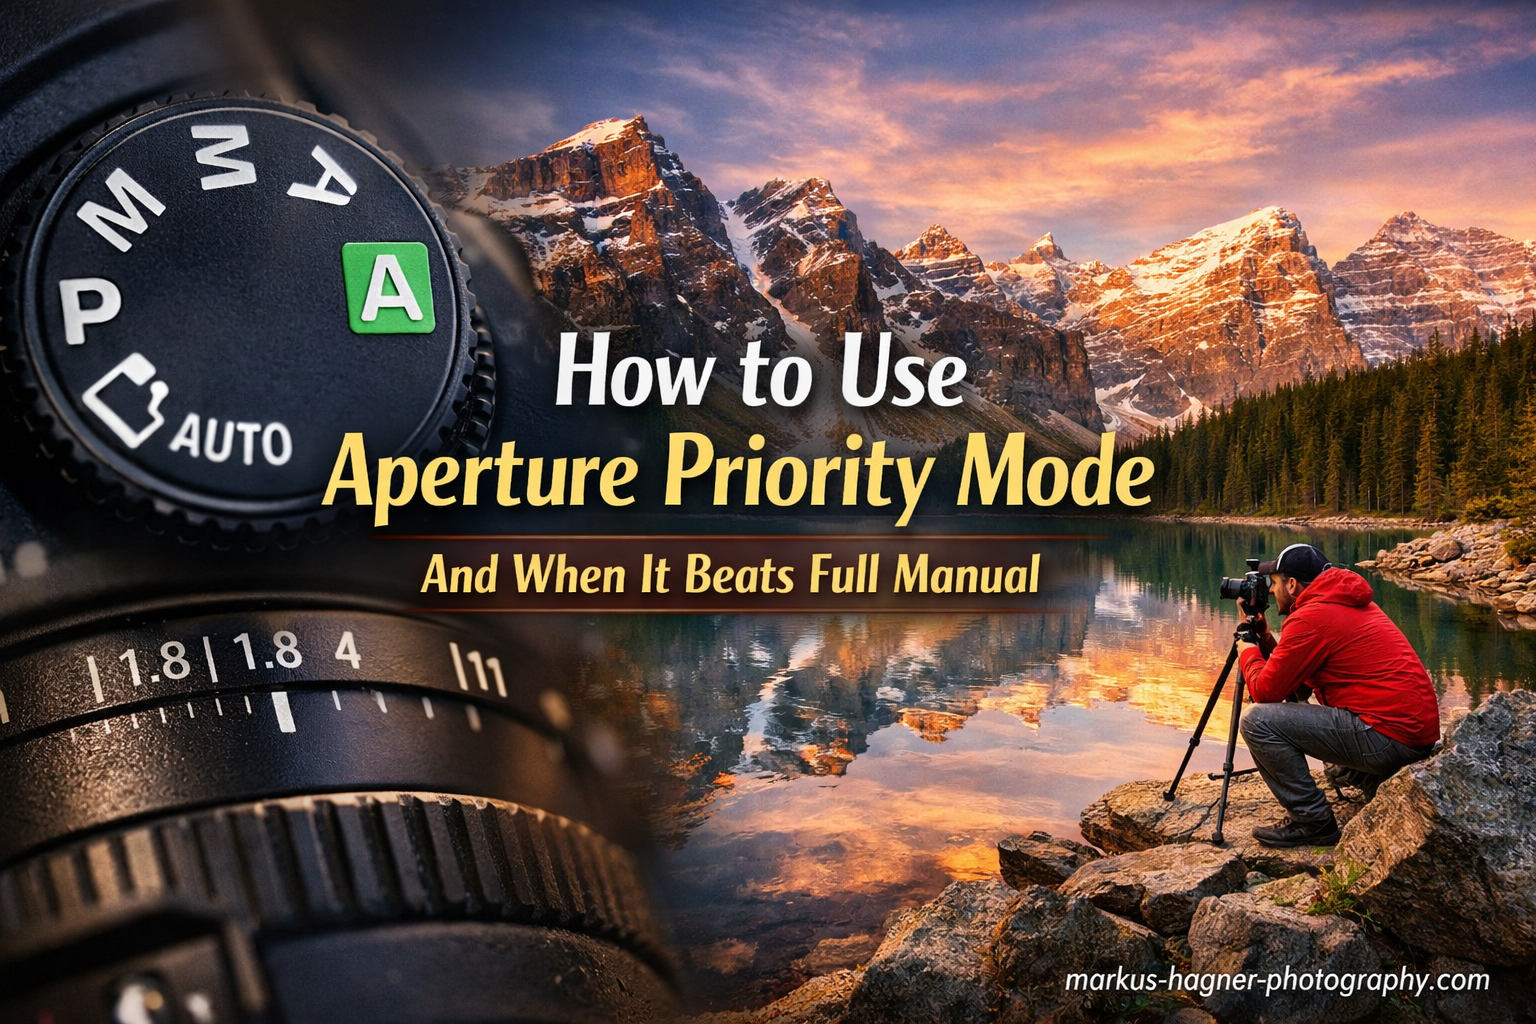
On your camera’s mode dial, aperture priority appears as either “A” or “Av” depending on your brand. Nikon, Sony, Fujifilm, and Olympus use “A” mode. Canon and Pentax use “Av” mode, which stands for “Aperture Value.” Despite the different labels, both work identically. You set the f-stop, and the camera sets the shutter speed.
How Aperture Priority Fits Into the Exposure Triangle
The exposure triangle consists of three elements: aperture, shutter speed, and ISO. These three settings work together to determine how bright or dark your image appears. In full manual mode, you adjust all three yourself. In aperture priority, you control one corner of the triangle while the camera handles another.
Here is exactly what you control versus what the camera controls in aperture priority mode:
You control the aperture (f-stop), which determines depth of field and how much light enters through the lens. The camera automatically sets the shutter speed based on its meter reading. ISO can go either way. Many photographers set ISO manually for maximum image quality, while others enable Auto ISO for additional automation.
Compare this to full manual mode, where you adjust aperture, shutter speed, and ISO yourself for every shot. Shutter priority mode (S or Tv) reverses the relationship. You pick the shutter speed, and the camera sets the aperture. Program mode (P) lets the camera decide both aperture and shutter speed while giving you some input.
Why Aperture Control Matters More Than You Think
Aperture directly affects depth of field, which is one of the most powerful creative tools in photography. A wide aperture like f/1.8 creates a shallow depth of field with a blurry background, perfect for portraits where you want to isolate your subject. A narrow aperture like f/11 keeps everything from foreground to background sharp, ideal for landscape photography.
When you shoot in aperture priority mode, you are making a deliberate creative choice about what should be in focus. The camera handles the technical exposure calculation so you can focus on composition and timing. This matters tremendously when light is changing rapidly or when you need to work quickly.
How to Set Up Aperture Priority Mode In 2026?
Setting up aperture priority mode correctly involves more than just turning a dial. The real power comes from configuring Auto ISO and exposure compensation to work alongside your aperture selection. Here is my step-by-step process for getting aperture priority set up on any camera.
Step 1: Locate Your Mode Dial
Find the mode dial on top of your camera body. This dial typically shows P, A or Av, S or Tv, and M as the main options. Some cameras hide this dial in a menu system, particularly mirrorless models with customizable controls. Rotate the dial to A (Nikon, Sony, Fujifilm) or Av (Canon, Pentax).
Your camera should now display aperture priority mode on the LCD screen or electronic viewfinder. You will see your current aperture value displayed, usually as a number like 3.5, 5.6, or 8 with an f/ prefix.
Step 2: Select Your Aperture Value
Use your camera’s main command dial or control wheel to change the aperture value. Turning the dial one direction opens the aperture (lower f-number like f/2.8), while the other direction closes it (higher f-number like f/16). Watch the display change as you rotate the dial.
The aperture range available depends on your lens, not your camera body. A prime lens might offer f/1.4 to f/22. A kit zoom might only go to f/3.5 at its widest. You cannot select an aperture your lens does not support.
Step 3: Configure Auto ISO with Minimum Shutter Speed
This step transforms aperture priority from useful to indispensable. Without Auto ISO, you would need to manually adjust ISO every time light levels drop below what your selected aperture can handle with a reasonable shutter speed. With Auto ISO configured properly, the camera handles this automatically.
Go into your camera’s ISO settings menu and enable Auto ISO. Then set two critical parameters: the maximum ISO you are willing to accept (I typically use 6400 for weddings) and the minimum shutter speed threshold (I use 1/125 for general handheld shooting).
Now when light gets dimmer, the camera will first raise the ISO up to your maximum before allowing the shutter speed to drop below your minimum. This prevents blurry photos from camera shake while maintaining image quality as much as possible.
Step 4: Set Up Exposure Compensation
Exposure compensation lets you override the camera’s metering decision without leaving aperture priority mode. This becomes essential when shooting backlit subjects, snowy scenes, or other situations where the camera’s meter gets fooled.
Most cameras have a dedicated exposure compensation button marked with a +/- symbol. Press and hold this button while rotating the main dial to adjust exposure up or down. Positive values (+1, +2) make the image brighter. Negative values (-1, -2) make it darker.
I recommend starting at 0 and only adjusting when you see the camera consistently over or under-exposing a scene. For backlit portraits, try +0.7 to +1.3 exposure compensation to brighten faces.
Camera Brand-Specific Notes
Canon cameras use the Av label on the mode dial and typically place aperture control on the main dial near the shutter button. Nikon, Sony, and Fujifilm use the A label and often put aperture on a sub-command dial on the front of the camera body. Olympus and Panasonic vary by model but generally follow similar patterns.
The specific menu layouts for Auto ISO settings differ between brands, but all modern interchangeable lens cameras offer this feature. Check your manual for the exact location of Auto ISO configuration if you cannot find it.
When Aperture Priority Beats Full Manual Mode?
Aperture priority mode outperforms manual in any situation where light changes faster than you can adjust settings. This covers far more scenarios than most photographers realize. Weddings, outdoor portraits, street photography, travel, sports, and wildlife all involve rapidly shifting light conditions.
The core advantage comes down to speed and consistency. In manual mode, every time your subject moves from sun to shade, or clouds pass overhead, you must meter the scene again and adjust your settings. In aperture priority, the camera makes these micro-adjustments automatically. You keep shooting while the manual shooter is still turning dials.
Changing Light Conditions
Wedding photography taught me this lesson repeatedly. A bride might walk from a dimly lit prep room to a bright outdoor ceremony to a reception hall with dramatic spotlights. In manual mode, I would need to completely re-meter and adjust for each transition. Miss the moment while fiddling with settings, and the shot is gone forever.
In aperture priority mode, I set my aperture based on the depth of field I want. The camera adjusts shutter speed as we move through different lighting environments. I might add exposure compensation for particularly tricky scenes, but I never stop shooting to calculate exposure.
Professional wedding photographers I have worked with report that aperture priority saves them hours in post-production. Because exposures remain consistent throughout an event, batch processing becomes straightforward. Manual mode images often require individual attention because each shot has slightly different exposure values.
Capturing Decisive Moments
Street photography and photojournalism demand split-second timing. The decisive moment happens in an instant and never repeats. If you are shooting manual and your subject steps into different light, you miss the shot while adjusting your settings. Aperture priority lets you stay focused on composition and timing.
I experienced this firsthand while photographing a street festival. In manual mode, I kept missing candid moments as performers moved between bright sunlight and shadow. Switching to aperture priority with Auto ISO meant I could follow the action without watching my exposure meter.
Portrait Sessions with Moving Subjects
Portrait sessions rarely involve a stationary subject in unchanging light. Children run around. Couples walk together. The sun moves behind clouds. Every environmental factor changes your exposure requirements throughout the shoot.
Aperture priority excels here because you maintain creative control over depth of field while the camera handles the technical exposure work. Want that creamy background blur for a portrait? Set f/2.8 and let the camera figure out the shutter speed. Your subject moves into shade? The camera adjusts automatically.
Sports and Wildlife Photography
Fast action photography seems like it would demand manual control, but aperture priority with Auto ISO actually works beautifully. Set a wide aperture for subject isolation, configure your minimum shutter speed to freeze action (1/500 for general sports, 1/1000 or faster for birds in flight), and let the camera manage exposure.
The key is setting your Auto ISO minimum shutter speed appropriately. For sports, I configure 1/500 or 1/1000 as the minimum. The camera will raise ISO to maintain this shutter speed before allowing it to drop slower. This combination gives you the creative look of a wide aperture with the technical assurance of a fast shutter speed.
Travel and Documentary Photography
Travel photography throws every lighting condition at you in rapid succession. Indoor markets, sunny plazas, shaded alleyways, and evening street scenes all happen within hours of each other. Aperture priority lets you focus on experiencing and documenting your destination rather than constantly managing camera settings.
I use aperture priority for approximately 90% of my travel and street photography. The only exceptions are specific situations like long exposures, panoramas, or controlled indoor lighting where manual mode provides more predictable results.
Scenario Guide: When to Use Each Mode?
Understanding when aperture priority outperforms manual becomes clearer when we look at specific photography scenarios. Here is a practical reference guide for different shooting situations.
Portrait Photography: Aperture Priority Recommended
Portrait photography benefits enormously from aperture priority because depth of field control is your primary creative concern. You typically want a wide aperture (f/1.8 to f/4) to blur the background and isolate your subject. Setting this aperture in priority mode lets the camera handle exposure while you focus on directing your subject and composing the shot.
Environmental portraits might call for narrower apertures (f/5.6 to f/8) to show context around your subject. Aperture priority handles these transitions smoothly. If your subject steps into different light, the camera adjusts without interrupting your workflow.
Landscape Photography: Aperture Priority for Most Situations
Landscape photographers often prefer narrower apertures (f/8 to f/16) to maximize depth of field and keep everything from foreground rocks to distant mountains sharp. Aperture priority works well for handheld landscape work and situations where light is changing, such as sunrise or sunset.
One exception: many landscape photographers prefer manual mode when using a tripod with neutral density filters for long exposures. The consistent, controlled conditions make manual exposure more predictable. For quick handheld landscape shots, aperture priority remains my choice.
Wedding Photography: Aperture Priority for Dynamic Conditions
Wedding photography involves more rapid light changes than almost any other genre. Ceremonies move from outdoor locations to dim churches to reception halls. Couples walk through mixed lighting constantly. The emotional moments happen quickly and never repeat.
Professional wedding photographers consistently tell me that aperture priority saves them throughout the day. They maintain consistent exposures across hundreds of images, which dramatically reduces post-processing time. The creative control over aperture ensures they can blur distracting backgrounds or keep groups sharp as needed.
Street and Travel Photography: Aperture Priority for Speed
Street photography demands instant response. Moments appear and disappear in seconds. Aperture priority with Auto ISO configured appropriately lets you walk through changing light without touching your settings. You stay ready to shoot at any moment.
For travel, the same advantages apply. You are experiencing new places and want to capture them spontaneously. Constantly checking your meter and adjusting manual settings pulls you out of the experience.
Sports and Wildlife: Aperture Priority with Auto ISO
Action photography benefits from aperture priority when you configure Auto ISO with an appropriate minimum shutter speed. Set f/4 or f/5.6 for subject separation, configure 1/500 or faster as your minimum shutter speed, and let the camera handle exposure variations as your subject moves through different lighting.
This approach works particularly well for wildlife photography where animals move unpredictably through dappled forest light. You maintain your chosen aperture for the look you want, and the camera keeps your shutter speed fast enough to freeze motion.
When to Use Manual Mode Instead
Manual mode still has important uses despite aperture priority’s advantages. Studio photography with controlled lighting works best in manual because the light never changes. Flash photography typically requires manual mode for consistent results. Night photography and astrophotography demand manual control for long exposures.
Panorama stitching requires manual exposure to keep brightness consistent across all frames. Focus stacking for macro work needs identical settings between shots. Any situation where you need complete consistency between multiple images calls for manual mode.
Advanced Aperture Priority Techniques
Once you understand the basics of aperture priority mode, several advanced techniques can take your results to the next level. These approaches address the most common frustrations photographers experience when transitioning from manual mode.
Mastering Auto ISO Configuration
Auto ISO transforms aperture priority from useful to indispensable when configured correctly. The key settings are your maximum ISO and minimum shutter speed. These determine when the camera stops adjusting ISO and starts slowing the shutter instead.
For general handheld shooting, I set my minimum shutter speed to 1/125 second. This prevents camera shake blur for most people with standard focal lengths. For telephoto lenses, I use 1/(focal length) as a rule. Shooting with a 200mm lens? Set minimum shutter speed to 1/200 or faster.
Maximum ISO depends on your camera’s performance and your tolerance for noise. Modern full-frame cameras produce clean images at ISO 6400 or higher. Crop sensor cameras might show noticeable noise above ISO 3200. Test your camera at different ISO values to find your personal limit.
Exposure Compensation for Tricky Lighting
Camera meters measure reflected light and try to make everything middle gray. This works well for average scenes but fails in extreme situations. Bright snow, white wedding dresses, and backlit subjects all fool meters into underexposing. Dark scenes with black suits or shadows cause overexposure.
Exposure compensation overrides the meter’s decision without leaving aperture priority mode. For backlit portraits, dial in +0.7 to +1.3 stops. The camera will brighten the image, properly exposing faces while potentially blowing out the bright background. For bright scenes like snow, +0.7 to +1 stop usually corrects the meter’s tendency to underexpose.
Choosing the Right Metering Mode
Most cameras offer matrix or evaluative metering (analyzes the entire frame), center-weighted metering (prioritizes the center), and spot metering (measures only a small area). Matrix or evaluative works well for most aperture priority shooting because it considers the entire scene.
Spot metering becomes useful when your subject occupies a small portion of the frame and the surrounding light differs dramatically. For example, a performer lit by a spotlight on a dark stage might require spot metering on their face. The rest of the frame does not matter for exposure.
Common Mistakes to Avoid
The biggest mistake photographers make with aperture priority is ignoring their shutter speed. Even with Auto ISO configured, you must occasionally check that your shutter speed remains reasonable for your subject. Fast action needs faster shutter speeds than static scenes.
Another common error involves exposure compensation. Photographers sometimes forget they have compensation dialed in and wonder why all their images are over or under-exposed. Check your exposure compensation setting when moving between very different lighting situations.
Working with Flash in Aperture Priority
Flash photography with aperture priority requires some additional consideration. TTL flash works reasonably well with aperture priority because the flash adjusts its power based on your aperture setting. However, many photographers prefer manual mode for consistent flash results.
If you do use aperture priority with flash, understand that the camera is balancing ambient light exposure with flash exposure. This can produce unpredictable results in some situations. For controlled flash work, manual mode typically provides more consistent outcomes.
Frequently Asked Questions
When should you shoot in aperture priority mode?
Shoot in aperture priority mode whenever depth of field is your primary creative concern and lighting conditions are changing. This includes portraits, weddings, street photography, travel, sports, and wildlife. The mode excels when you need to work quickly without constantly adjusting manual settings.
Should I shoot in manual or aperture priority?
Choose aperture priority for dynamic situations with changing light, such as weddings, outdoor portraits, and street photography. Choose manual mode for controlled lighting conditions like studio work, flash photography, night scenes, and situations requiring exposure consistency between shots like panoramas or focus stacking.
Do professional photographers use aperture priority?
Yes, many professional photographers use aperture priority mode extensively. Wedding photographers often use it for 90-95% of their work because it handles changing light conditions automatically and produces consistent exposures that speed up post-processing. Portrait, travel, and documentary photographers also rely heavily on this mode.
When should you use manual mode instead?
Use manual mode for studio photography with controlled lighting, flash photography, night photography and astrophotography with long exposures, panorama stitching requiring consistent exposure, focus stacking for macro work, and any situation where you need identical settings across multiple images.
How do I set up aperture priority with Auto ISO?
Enable Auto ISO in your camera menu, then set your maximum acceptable ISO (typically 3200-6400 depending on your camera) and minimum shutter speed (1/125 for general handheld, faster for action). Now the camera will raise ISO to maintain your minimum shutter speed before allowing slower speeds, keeping your images sharp.
Final Thoughts on Aperture Priority vs Manual
Aperture priority mode is not cheating, and using it does not make you less of a photographer. The professional wedding photographer who first showed me her aperture priority workflow had been shooting for over 15 years. She was not being lazy. She was being strategic about where she devoted her attention.
The best mode depends entirely on your shooting situation. Aperture priority excels when light changes faster than you can adjust settings. Manual mode provides more control when conditions are consistent or when you need complete exposure consistency between shots. Neither mode is universally better.
I encourage you to experiment with aperture priority mode for your next session in changing light. Configure Auto ISO with appropriate limits, set your aperture based on the depth of field you want, and focus on composition and timing. You might find, as I did, that the camera handles exposure better than you expected, freeing you to create stronger images.