As a professional photographer who’s spent countless hours capturing the magic of baby’s first year, I can tell you that milestone photography isn’t just about taking pictures—it’s about preserving memories that you’ll cherish for a lifetime. When I first started specializing in baby photography, I discovered that each milestone session tells a unique story of growth, personality, and love that unfolds right before your eyes.
Why Baby Milestone Photography Matters
I’ve learned through my years behind the camera that baby milestone photography serves multiple important purposes. First and foremost, it captures those fleeting moments that pass by in the blink of an eye. I can’t tell you how many parents have told me, “I can’t believe how much he’s changed!” when looking at their milestone photos from just a few months earlier.
Beyond preserving memories, milestone photography creates a visual timeline of your baby’s development. From those first wobbly attempts at sitting up to the triumphant first steps, each milestone represents a significant achievement in your baby’s journey. I’ve found that these photos become invaluable keepsakes that families treasure for generations.
Essential Milestone Sessions for Baby Boys
The Newborn Session (0-3 months)
I always recommend scheduling newborn sessions within the first two weeks of life when possible. During this time, babies are still very sleepy and can be easily posed into those adorable curled-up positions that we all love. I’ve discovered that the key to successful newborn photography is patience and preparation.
For baby boys, I love using neutral colors like grays, blues, and earth tones that complement their natural coloring. Soft textures like chunky knit blankets and fuzzy props add visual interest without overwhelming the tiny subject. One of my favorite techniques is to focus on the small details—those tiny fingers and toes, the perfect little nose, and the delicate eyelashes that seem to go on forever.
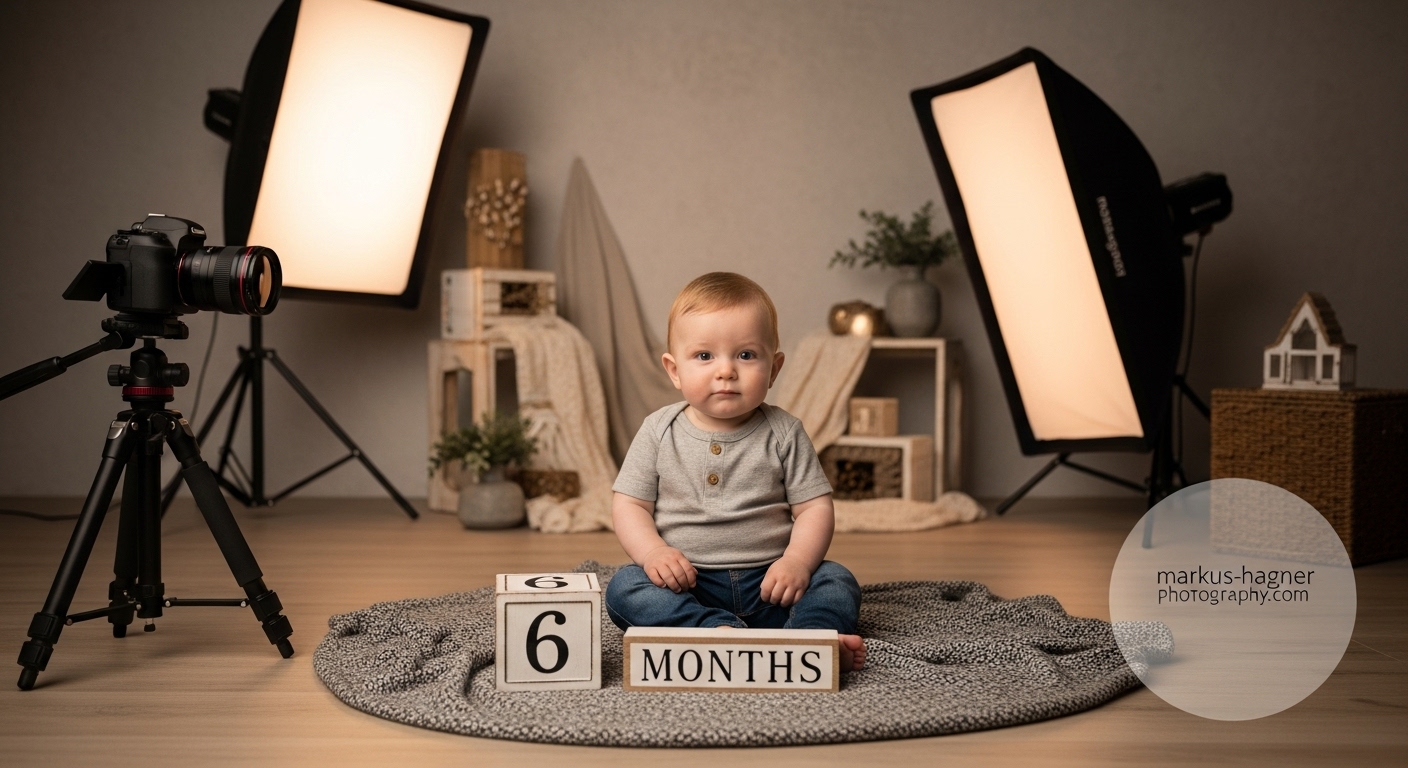
The Sitter Session (6-8 months)
Ah, the sitter session! This is when your baby’s personality really starts to shine through. I’ve found that 6-8 months is the perfect window for capturing those adorable sitting milestones. At this age, babies can typically sit unsupported but aren’t yet mobile enough to crawl away from the setup.
For sitter sessions, I recommend using props that reflect your baby boy’s emerging personality. I’ve used everything from wooden toys to sports equipment to books, depending on what the family wants to highlight. The key is to keep the setup simple enough that the baby remains the star of the show.
The First Birthday/Cake Smash (12 months)
The first birthday session is always a celebration! I’ve learned that cake smash sessions work best when scheduled about 2-3 weeks before the actual birthday. This gives you plenty of time for any necessary retakes and ensures you have the photos ready for the big day.
For baby boys, I love creating themed setups that reflect their interests or the family’s style. Whether it’s a rustic farm theme, a modern geometric design, or a classic first birthday look, the cake should complement the overall aesthetic. I’ve discovered that using a simple, lightly frosted cake works best—too much frosting can be overwhelming for little ones and doesn’t photograph as well.
Photography Equipment and Settings
Camera Equipment Essentials
When I’m preparing for a milestone session, I always bring my trusted gear. For baby photography, I recommend using a DSLR or mirrorless camera with good low-light capabilities. My go-to setup includes:
- A full-frame camera (I use a Canon R5)
- A 50mm f/1.8 lens for portraits
- A 35mm f/1.4 lens for wider shots
- A macro lens for detail shots
- External flash with diffuser (though I rarely use it for natural-looking shots)
Camera Settings for Perfect Milestone Photos
I’ve learned that the right camera settings can make or break a milestone session. Here are my go-to settings:
Aperture: I typically shoot between f/2.8 and f/4 for a beautiful bokeh effect that keeps the focus on the baby while softly blurring the background.
Shutter Speed: For milestone sessions, I never go below 1/250th of a second to ensure sharp images, especially with wiggly babies.
ISO: I keep my ISO as low as possible (usually 100-400) to avoid noise, but I’m not afraid to increase it in low-light situations.
White Balance: I always shoot in RAW and adjust white balance in post-processing, but I start with the “daylight” or “cloudy” preset for natural-looking skin tones.
Lighting Techniques for Milestone Photography
Natural Light is Your Best Friend
I can’t stress this enough—natural light is absolutely essential for beautiful milestone photography. I’ve discovered that the best light comes from large windows during the golden hours (early morning or late afternoon). Position your baby so that the light comes from the side or at a 45-degree angle for the most flattering results.
One technique I love is using window light as a natural softbox. Place your baby near a large window with sheer curtains, and you’ll get beautiful, diffused light that wraps around your little subject perfectly.
Artificial Lighting Options
Sometimes natural light isn’t available or sufficient. In these cases, I use artificial lighting that mimics natural light as closely as possible. My setup includes:
- Softbox lights positioned at 45-degree angles
- A reflector to fill in shadows
- Continuous lighting for video capabilities (great for capturing those first moments!)
The key with artificial lighting is to keep it soft and diffused. Harsh, direct light can be unflattering and may make babies uncomfortable.
Posing Ideas for Baby Boy Milestone Sessions
Newborn Poses
I’ve developed a repertoire of newborn poses that work beautifully for baby boys. Here are my favorites:
The Tummy Pose: This classic pose showcases the baby’s profile and creates a beautiful, peaceful image. I always ensure the baby’s airway is clear and never force this pose if the baby seems uncomfortable.
The Taco Pose: Perfect for highlighting those adorable newborn features. I wrap the baby snugly in a blanket, creating a taco-like shape that’s both comfortable and photogenic.
The Parent’s Hands Pose: There’s nothing more precious than a tiny newborn resting in the palms of loving hands. This pose emphasizes the baby’s small size and creates an emotional connection.
Sitter Session Poses
For sitter sessions, I focus on poses that showcase the baby’s new skills and personality:
The Classic Sit: Simple but effective, this pose captures the baby sitting upright, often with hands resting on knees or playing with a toy.
The Tummy Time Pose: Even at 6-8 months, many babies still enjoy tummy time. This pose captures their strength and determination.
The Standing Support Pose: With a little support, many babies at this age can bear weight on their legs. This pose hints at the walking milestone to come.
First Birthday Poses
First birthday sessions are all about celebration and personality:
The Cake Smash: The classic messy cake-eating session never gets old! I capture the entire process from the first curious touch to the full-on messy exploration.
The Birthday Throne: Using a decorated chair or prop, I create a “throne” for the birthday boy to sit upon, emphasizing his special day.
The Family Portrait: Including parents and siblings in some shots creates beautiful family memories and shows the baby’s place in the family unit.
Monthly Milestone Photo Ideas
Simple and Consistent Setups
I’ve learned that consistency is key when it comes to monthly milestone photos. Here’s my tried-and-true method:
Background: Use the same background each month—a simple blanket, rug, or wall works perfectly. I recommend neutral colors that won’t distract from your baby.
Age Marker: Include something that indicates the baby’s age. I love using wooden blocks, milestone cards, or even simple number stickers.
Consistent Item: Include one item that stays the same each month to show growth. A favorite stuffed animal, book, or toy works wonderfully.
Also Read: Fuji 18 55 Vs 16 55
Creative Monthly Themes
While consistency is important, I also love incorporating creative themes that reflect the season or your baby’s interests:
Seasonal Themes: Use seasonal props and colors—pumpkins for fall, flowers for spring, beach items for summer.
Holiday Themes: Incorporate holiday elements for special months—Christmas lights, Valentine’s hearts, Easter eggs.
Personality Themes: As your baby grows, incorporate themes that reflect their emerging interests—sports, music, books, or animals.
What to Wear for Milestone Sessions
Baby Boy Outfit Ideas
I’ve spent years perfecting the art of dressing baby boys for milestone sessions. Here are my top recommendations:
Newborn Sessions: Simple is best. I recommend soft, comfortable outfits in neutral colors. Diaper covers with cute details, swaddles, or even just a diaper with a cute headband or hat work beautifully.
Sitter Sessions: This is when you can have more fun with outfits. I love overalls, suspenders, or simple shirts in colors that complement your chosen theme. Avoid busy patterns that can distract from your baby’s adorable face.
First Birthday Sessions: Go all out! Special outfits, cute hats, or even themed costumes work wonderfully for this celebration. Just ensure the outfit is comfortable and allows for movement (and potential cake mess!).
Parent and Family Outfit Coordination
When parents are included in milestone sessions, I recommend coordinating outfits without being too matchy-matchy. Choose a color palette and have everyone wear different shades and textures within that palette. I typically suggest:
- Neutral base colors (cream, gray, tan)
- One or two accent colors
- Mix of textures (knits, cottons, linens)
- Avoid logos and busy patterns
Timing and Scheduling Tips
Best Times for Milestone Sessions
I’ve discovered that timing is everything when it comes to successful milestone sessions:
Newborn Sessions: Schedule within the first 2 weeks of life, ideally when the baby is 5-10 days old.
Sitter Sessions: Wait until your baby can sit confidently without support, usually around 6-8 months.
First Birthday Sessions: Schedule 2-3 weeks before the actual birthday to allow time for editing and printing.
Time of Day Considerations
The time of day can make or break a milestone session. I’ve learned to schedule sessions:
Morning Sessions: 9-11 AM works well for babies who are morning people and have just had a nap.
Afternoon Sessions: 2-4 PM is good for babies who take an afternoon nap and wake up refreshed.
Avoid: Late afternoon when babies might be getting tired and cranky, or right after feeding when they might be sleepy.
Props and Accessories
Essential Props for Milestone Sessions
I’ve built quite a collection of props over the years, but I always recommend starting with the essentials:
Newborn Props: Soft blankets, wraps, headbands, baskets, and wooden crates.
Sitter Props: Age-appropriate toys, blocks, books, and small furniture pieces.
First Birthday Props: High chairs, cake stands, balloons, banners, and themed decorations.
DIY Prop Ideas
You don’t need to spend a fortune on props! I’ve discovered that some of the best props are DIY creations:
Monthly Blankets: Create or buy a simple blanket and add monthly numbers using fabric paint or iron-on transfers.
Milestone Blocks: Wooden blocks painted with numbers and letters are easy to make and look professional.
Seasonal Props: Use items from around your home—seasonal fruits, flowers, or holiday decorations work wonderfully.
Post-Processing and Editing Tips
Basic Editing Techniques
I’ve learned that good editing can elevate milestone photos from good to great. Here are my essential editing steps:
Exposure and White Balance: Adjust these first to ensure proper lighting and natural skin tones.
Cropping and Composition: Crop to create visual interest and follow the rule of thirds.
Skin Smoothing: Lightly smooth skin while retaining texture—avoid the plastic look!
Color Enhancement: Boost colors slightly to make them pop without looking unnatural.
Advanced Editing Techniques
For those looking to take their editing to the next level, I recommend:
Frequency Separation: This advanced technique allows you to edit skin texture and color separately for professional results.
Dodging and Burning: Selectively lighten and darken areas to create dimension and draw attention to your subject.
Color Grading: Apply a consistent color palette across all milestone photos for a cohesive look.
Preserving and Displaying Milestone Photos
Digital Storage Solutions
I always advise my clients to have multiple backup systems for their precious milestone photos:
Cloud Storage: Use services like Google Photos, iCloud, or Dropbox for automatic backup.
External Hard Drives: Keep at least two copies on different external drives.
Professional Printing Services: Don’t rely solely on digital files—print your favorites!
Creative Display Ideas
I love helping families find creative ways to display their milestone photos:
Growth Charts: Create a photo growth chart showing your baby’s progression through the first year.
Photo Books: Compile milestone photos into a beautiful “first year” book.
Wall Galleries: Create a timeline gallery on a prominent wall in your home.
Digital Frames: Use digital frames to rotate through milestone photos throughout the day.
Pro Tips for Successful Milestone Sessions
From a Professional Photographer’s Perspective
After years of specializing in baby milestone photography, I’ve gathered some pro tips that I’m excited to share:
Patience is Everything: Babies operate on their own schedule. I’ve learned that the best sessions happen when we follow the baby’s lead rather than forcing a timeline.
Safety First: Never compromise safety for the sake of a photo. I always ensure proper support and never put babies in dangerous positions.
Capture the In-Between Moments: Some of the best photos happen between the posed shots. I keep my camera ready for those spontaneous smiles, yawns, and expressions.
Work with the Baby’s Mood: If the baby is sleepy, do sleeping poses. If they’re alert and happy, capture their personality. I’ve learned that fighting the baby’s mood never results in good photos.
Also Read: Canon 7D Vs 80D
Common Mistakes to Avoid
I’ve seen many common mistakes that can ruin otherwise perfect milestone sessions:
Overloading with Props: Too many props distract from the baby. I recommend keeping it simple and meaningful.
Ignoring the Baby’s Comfort: An uncomfortable baby won’t cooperate. I always ensure the baby is well-fed, rested, and comfortable before starting.
Poor Timing: Scheduling sessions during nap times or when the baby might be fussy is a recipe for disaster. I work with parents to find the optimal time for their baby.
Inconsistent Lighting: Changing lighting conditions between shots can make it difficult to create a cohesive look. I always scout locations and plan lighting in advance.
Frequently Asked Questions
What age should I start milestone photos?
I recommend starting with newborn photos within the first two weeks, then scheduling sessions at 3, 6, 9, and 12 months for a complete first-year documentation. However, I’ve discovered that any time you can capture these moments is valuable—even if you start later!
How long do milestone sessions typically last?
From my experience, milestone sessions usually last 1-2 hours, depending on the baby’s mood and the number of outfit changes. Newborn sessions often take longer (2-3 hours) to allow for feeding, changing, and soothing.
What if my baby is fussy during the session?
This is one of the most common concerns I hear from parents! I’ve learned that fussiness is completely normal and expected. I always build in extra time for breaks, feeding, and soothing. Sometimes the best photos come after a fussy period when the baby is finally content and relaxed.
Do I need professional equipment for milestone photos?
While professional equipment certainly helps, I’ve seen amazing milestone photos taken with smartphones! The key is understanding lighting, composition, and timing. If you’re using a phone, I recommend shooting in good natural light and using portrait mode if available.
How can I make milestone photos consistent month to month?
Consistency is key for monthly milestone photos! I recommend using the same background, similar lighting conditions, and including the same prop or item in each photo to show growth. Create a simple setup that you can easily replicate each month.
What’s the best way to preserve milestone photos?
I always recommend multiple preservation methods: digital storage (with backups), professional printing, and creating photo books or albums. Digital files are great for sharing, but printed photos become tangible keepsakes that you can enjoy for years to come.
Final Thoughts
As I wrap up this comprehensive guide to baby boy milestone photoshoot tips, I want to emphasize that the most important thing is to capture these precious moments in whatever way works best for your family. Whether you hire a professional photographer or take the photos yourself, the memories you preserve will become priceless treasures as your baby grows.
I’ve discovered through my years in photography that the technical aspects—while important—are secondary to the emotional connection these photos create. Each milestone session is an opportunity to celebrate your baby’s unique journey and create memories that will last a lifetime.
Remember to bookmark this guide for reference throughout your baby’s first year, and don’t hesitate to reach out if you have any questions about capturing these precious moments. Happy photographing!