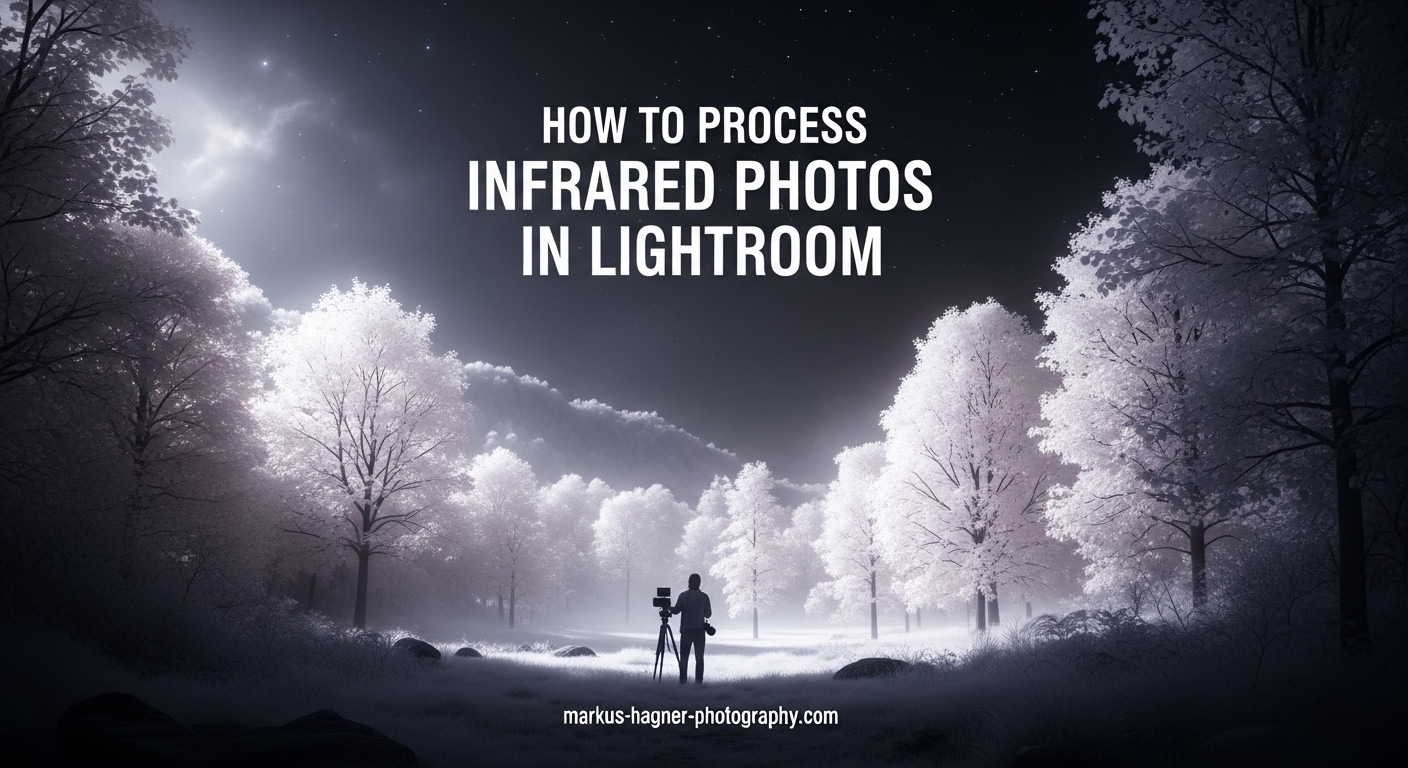
Infrared photography opens up an entirely invisible world. The images come out of your camera looking strangely pink or red, nothing like the ethereal white foliage and dark dreamlike skies you imagined. I remember my first batch of IR photos left me frustrated. After months of trial and error, our team developed a reliable Lightroom workflow that transforms those odd-colored RAW files into stunning infrared imagery.
This guide walks you through exactly how to process and edit infrared photos in Lightroom. You will learn the complete workflow from white balance correction through the channel swap technique, black and white conversion, and creating that signature halation glow. No additional plugins required. Everything happens in Lightroom.
Understanding Infrared Photography Basics
Infrared photography captures light wavelengths beyond what human eyes can see, typically starting around 700 nanometers. When you shoot with an infrared filter or converted camera, foliage reflects infrared light intensely while skies absorb it. This creates what photographers call the Wood Effect: white trees against dark dramatic skies.
Different infrared filters produce varying results. A 590nm filter allows some visible red light through, creating false color images perfect for the channel swap technique. A 720nm filter is the standard choice for classic infrared looks. An 780nm filter blocks nearly all visible light, producing pure monochrome results straight from the camera.
Always shoot infrared in RAW format. JPEG files lock in white balance and limit your editing flexibility. Infrared RAW files appear magenta or deep red initially, which is completely normal and actually desirable. That strong color cast gives Lightroom the data it needs for proper white balance correction.
Step 1: White Balance Correction for Infrared RAW Files
White balance is the foundation of infrared processing. Without proper white balance, your images will never look right. In Lightroom Classic, import your infrared RAW file and navigate to the Develop module.
Click the White Balance Selector tool (eyedropper) and click on an area that should be neutral in the final image. For most infrared photos, foliage works well as your neutral point. Click on grass or leaves until the image takes on a more natural appearance. The photo will shift from deep red toward yellow or blue tones depending on your filter.
If your Temperature slider hits the minimum limit of 2000K and the image still looks too warm, do not worry. This is the most common problem infrared photographers face. Our solution: use the White Balance Selector on different areas until you find a neutral point that works. Alternatively, adjust the Tint slider aggressively toward the green side (values between -100 and -50 often work well) while compensating with the Temperature slider.
For 590nm color infrared images, aim for Temperature around 2000-3500K and Tint between -80 and -30. For 720nm filters, try Temperature at the minimum 2000K with Tint around -50 to -100. These starting points give you a neutral base for further editing.
Step 2: Basic Exposure and Contrast Adjustments
Infrared RAW files typically look flat and low contrast straight from the camera. Your next priority is building tonal separation. Start with the Basic panel adjustments.
Increase Contrast to +20 to +40. Infrared images need more contrast than standard photos to look good. Raise Highlights significantly, often to +50 or higher, to brighten those white foliage areas. Reduce Shadows to -20 to -40 to deepen the dark sky tones. Set Whites by holding Alt/Option and dragging until you see clipping, then back off slightly. Set Blacks the same way.
The Exposure slider usually needs a small boost of +0.30 to +0.70 stops. Infrared filters block a lot of light, so most IR photos are inherently underexposed. Do not be afraid to push exposure further if the image looks dark.
Open the Tone Curve panel and create a slight S-curve. Lift the shadows slightly and lower the highlights for that classic filmic look. This tonal separation makes the difference between an amateur snapshot and a professional infrared photograph.
Step 3: Color Infrared and the Channel Swap Technique
The channel swap transforms your false color infrared image into those surreal blue-sky, pink-foliage scenes. This technique works best with 590nm or 665nm filter images that retain some visible light data.
Navigate to the Calibration panel in Lightroom. You will see Red Primary and Blue Primary sliders. For the classic channel swap, drag the Red Primary Hue slider all the way to -100. This shifts reds toward magenta. Then drag the Blue Primary Hue slider to +100, shifting blues toward cyan.
Next, swap the saturation emphasis. Set Red Primary Saturation to around -50 to -100, reducing the intensity of the red channel. Set Blue Primary Saturation to +50 to +100, boosting the blue channel. This swap creates the characteristic blue sky and pink or golden foliage look.
Fine-tune using the HSL panel. In the Hue tab, shift Greens toward yellow (+50 to +100) for golden foliage, or toward aqua (-50 to -100) for more pink tones. Adjust Blues toward purple (+20 to +50) for deeper sky colors. In the Saturation tab, reduce Greens slightly and boost Blues moderately.
If colors look unnatural, revisit your white balance. The channel swap only works well when the white balance is properly neutralized first. Spend time getting the white balance right before diving into color adjustments.
Step 4: Black and White Infrared Conversion
Classic black and white infrared has a timeless quality. The high contrast, glowing white foliage, and dark atmospheric skies create images that stand apart from ordinary monochrome photography.
For the best results, convert to black and white using the Black and White Mix panel rather than simply desaturating. Click the B&W button in the Basic panel, then open the B&W section. Here you control how each original color translates to gray tones.
Drag the Green and Yellow sliders to the right, typically +50 to +100. This brightens foliage dramatically, creating that characteristic glowing effect. Drag the Blue slider to the left, around -50 to -80, which darkens skies significantly. Adjust Red and Orange to taste, usually keeping them moderately bright for skin tones if people are present.
Add the classic Kodak HIE film aesthetic by increasing Grain in the Effects panel to 25-40. This emulates the high-speed infrared film that many photographers loved. The grain adds texture and vintage character to digital infrared images.
Consider adding a subtle Split Toning effect. Set Highlights to a warm yellow (Hue 50, Saturation 10-20) and Shadows to a cool blue (Hue 220, Saturation 10-15). This creates the selenium-toned look popular in traditional darkroom infrared printing.
Step 5: Creating the Halation and Glow Effect
Halation is that subtle glow around bright highlights, particularly where white foliage meets dark backgrounds. It is the signature look of classic infrared photography, and you can recreate it entirely in Lightroom.
The simplest method uses negative Clarity. Reduce the Clarity slider to -20 to -40 in the Basic panel. This softens the entire image slightly, creating a gentle glow effect. Be careful not to go too far, as extreme negative clarity looks muddy.
For more controlled halation, use the Effects panel. Increase the Dehaze slider slightly, +5 to +15, which adds contrast and reduces atmospheric haze. Then reduce Texture to -10 to -20, which softens medium details while preserving sharp edges.
The most precise method uses local adjustments. Select the Radial Filter tool and draw an ellipse around bright foliage areas. Invert the mask so the adjustment affects the edges, not the center. Reduce Clarity and Texture within this mask to create localized glow. Duplicate and position these masks around multiple highlight areas.
For a stronger effect, export to Photoshop and use the Gaussian Blur or Diffuse Glow filters. However, the Lightroom-only techniques above produce excellent results for most images.
Step 6: Local Adjustments and Masking for Infrared
Masking tools in Lightroom Classic give you surgical control over infrared images. You can darken skies independently from foliage, adjust colors in specific areas, and create selective glow effects.
Start with the Sky mask. Lightroom’s AI can automatically select skies in most infrared photos. Click Masking, then Select Sky. Once selected, reduce Exposure by -0.5 to -1.0 stops and increase Dehaze by +10 to +20. This deepens the dark sky without affecting the bright foliage.
For foliage selection, try Select Subject or use the Brush tool. Paint over trees and grass, then increase Texture, Clarity, and Whites to make foliage pop. You can also adjust the Temperature toward yellow for warmer foliage tones.
The Linear Gradient tool works beautifully for infrared landscapes. Drag from the top of the image downward to create a sky gradient. Darken the exposure and add contrast to the upper portion while preserving brightness in the lower foliage areas.
Use Color Range masking to select specific tones. Click Masking, then Select Color Range, and click on sky blue or foliage tones. Refine the mask using the Amount slider. This technique isolates colors for targeted adjustments even after the channel swap.
Complete Lightroom-Only Workflow Summary
Here is the complete checklist for processing infrared photos in Lightroom from start to finish.
First, correct white balance using the eyedropper on neutral foliage. Adjust Temperature to 2000-3500K and Tint to -50 to -100 as needed. Second, build contrast with +20 to +40 Contrast, boosted Highlights, and deepened Shadows. Third, either perform the channel swap for color images (Calibration panel: Red Hue -100, Blue Hue +100) or convert to black and white (B&W Mix: brighten Greens/Yellows, darken Blues).
Fourth, add the halation glow using negative Clarity (-20 to -40) or local Radial Filters. Fifth, apply local adjustments with Sky masks and foliage selections for targeted control. Finally, add finishing touches like Grain for film effect and Split Toning for vintage character.
While plugin workflows in Photoshop or Exposure X7 offer additional creative options, this Lightroom-only approach handles 90% of infrared editing needs. The key is understanding that infrared processing follows a different logic than standard photography. Embrace the white foliage, dark skies, and ethereal glow.
Frequently Asked Questions
How to process IR images?
Process infrared images by first correcting white balance in Lightroom using the eyedropper tool on foliage, then adjusting contrast and exposure. For color IR, perform a channel swap in the Calibration panel by setting Red Primary Hue to -100 and Blue Primary Hue to +100. For black and white IR, convert using the B&W Mix panel and brighten Greens/Yellows while darkening Blues.
How to make infrared photos in Lightroom?
To make infrared photos in Lightroom, import RAW files from an infrared-converted camera or IR filter setup. Correct white balance by clicking on grass or foliage with the eyedropper tool. Adjust Temperature to 2000-3500K and Tint toward green (-50 to -100). Then increase contrast, perform channel swap for color images or B&W conversion, and add glow effects using negative Clarity.
How do I fix white balance that hits the slider limit?
When the Temperature slider hits 2000K minimum and your image still looks too warm, use the Tint slider aggressively toward the green side (between -100 and -50). Try different neutral points with the White Balance Selector eyedropper until you find one that balances properly. Grass and green foliage work better than gray cards for infrared white balance.
What is the best filter wavelength for beginners?
The 720nm filter is best for beginners. It blocks most visible light while still capturing strong infrared data, producing classic IR results with white foliage and dark skies. It works well for both color channel swaps and black and white conversion. A 590nm filter is more versatile but requires more post-processing knowledge.
Can I edit infrared photos on Lightroom Mobile?
Lightroom Mobile supports infrared editing but with limitations. The mobile app lacks the Calibration panel needed for the channel swap technique, so full color IR workflow is not possible. However, you can perform white balance correction, basic adjustments, and black and white conversion on mobile devices. For complete infrared processing, use Lightroom Classic on desktop.
Conclusion
Learning how to process and edit infrared photos in Lightroom takes practice, but the results are worth the effort. Start with proper white balance, build strong contrast, and experiment with both color channel swaps and black and white conversions. Save your favorite adjustments as presets to speed up future editing sessions.
Our team has processed thousands of infrared images using this exact workflow. The key insight: infrared photography is not about fixing mistakes in post. It is about transforming captured data into artistic vision. Those strange pink RAW files contain incredible images waiting to emerge. With these techniques, you now have the tools to reveal them.