Imagine this scenario: you are at a coffee shop with your laptop, ready to edit a wedding shoot from last weekend. But your external hard drive with all the RAW files is sitting at home. This is exactly why Adobe created Smart Previews in Lightroom Classic. In this guide, I will show you how to use Smart Previews in Lightroom Classic to edit your photos without needing access to the original files.
Smart Previews have transformed how professional photographers work. They allow you to make adjustments, apply presets, and organize your images from anywhere. When you reconnect your original files later, every edit syncs automatically.
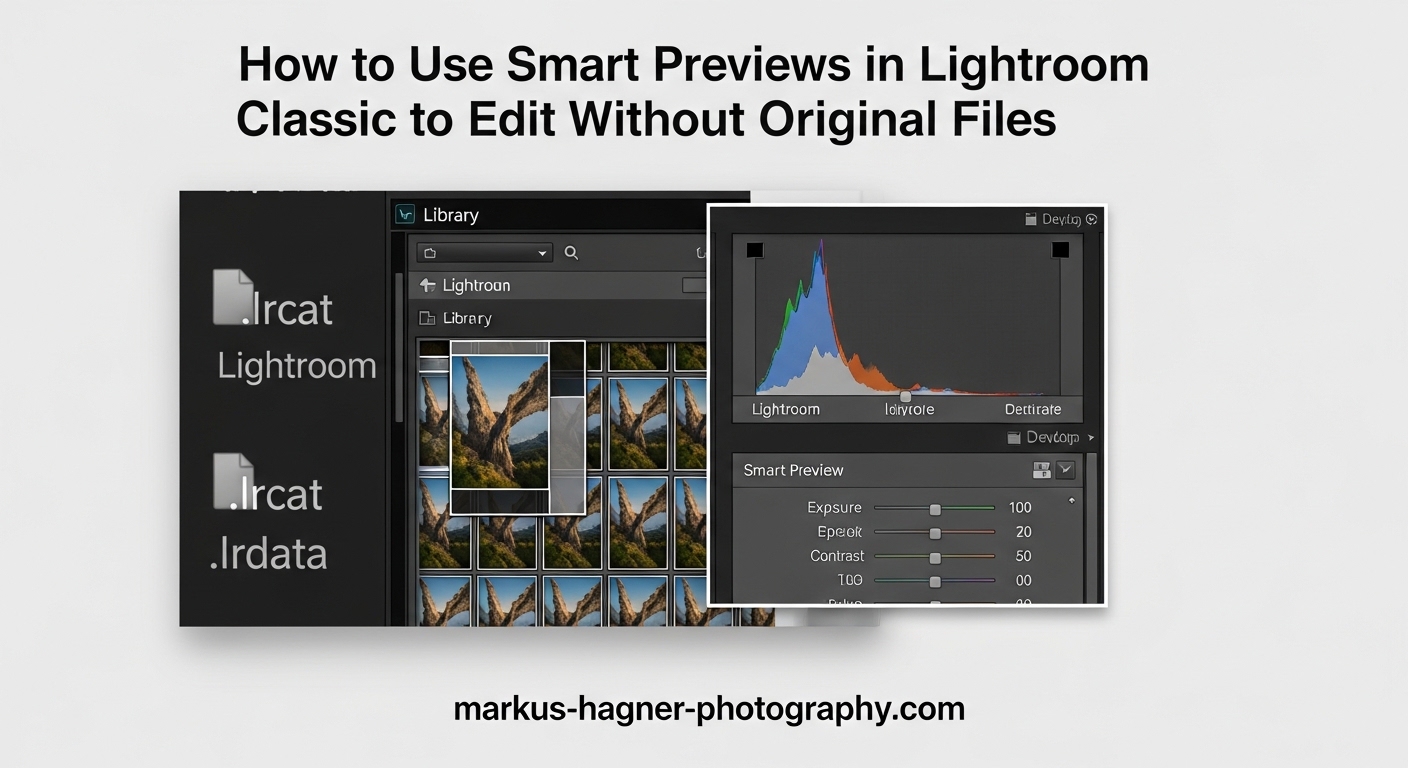
What Are Smart Previews in Lightroom Classic?
Smart Previews are compressed, smaller versions of your original RAW files that Lightroom Classic creates and stores separately from your catalog. Each Smart Preview is approximately 2540 pixels on the long edge, which is large enough for most editing tasks while being a fraction of the file size.
Think of them as portable proxies for your full-resolution images. When you build Smart Previews, Lightroom converts your RAW files into lossy DNG format and stores them in a folder called “Smart Preview.lrdata” next to your catalog file. This means you can continue working in the Develop module even when your external drives are disconnected.
Here is how they compare to other preview types in Lightroom:
- Standard Previews: JPEG-based, used for browsing in Library module, not suitable for editing
- 1:1 Previews: Full resolution but large file sizes, used for zooming to 100%
- Smart Previews: Compressed DNG files, editable, portable, approximately 1MB per image
Based on real user reports from photography forums, Smart Previews typically take up about 1MB of storage space per image. For a catalog with 1,000 images, expect around 1GB of additional storage for Smart Previews.
How to Create Smart Previews in Lightroom Classic
You have three different ways to build Smart Previews in Lightroom Classic. Each method serves a specific purpose depending on your workflow.
Method 1: Build Smart Previews During Import
This is the most efficient approach if you want Smart Previews for all new photos. Here is how to set it up:
Step 1: Open the Import dialog by clicking the Import button or pressing Ctrl+Shift+I (Windows) or Cmd+Shift+I (Mac).
Step 2: In the File Handling panel on the right side of the Import window, check the box that says “Build Smart Previews.”
Step 3: Complete your import as usual. Lightroom will create Smart Previews alongside the import process.
The downside to this method is that it slows down the import process. If you import thousands of photos at once, consider building Smart Previews later using Method 2.
Method 2: Build Smart Previews in the Library Module
For existing photos in your catalog, use this method to create Smart Previews on demand:
Step 1: Select the photos you want to create Smart Previews for. You can select individual images, folders, or your entire catalog.
Step 2: Go to Library > Previews > Build Smart Previews in the menu bar.
Step 3: Lightroom will display a progress bar showing the Smart Preview creation. The time required depends on how many images you selected.
You can also access this option by right-clicking on selected images and choosing “Build Smart Previews” from the context menu.
Method 3: Export as Catalog with Smart Previews
This method is essential for collaborative workflows where you want to share photos with a client or another editor:
Step 1: Select the photos you want to share.
Step 2: Go to File > Export as Catalog.
Step 3: In the Export as Catalog dialog, check the box for “Build/Export Smart Previews.”
Step 4: Uncheck “Export negative files” if you only want to share Smart Previews without the original RAW files.
Step 5: Choose a location and name for the exported catalog, then click Export.
This creates a portable catalog containing only Smart Previews. The recipient can open this catalog in their copy of Lightroom Classic and make edits without needing your original files.
How to Edit Photos Without Original Files Using Smart Previews
Once you have Smart Previews built, editing without your original files is seamless. Lightroom automatically switches to Smart Previews when it cannot find the original files.
How to Tell Which Preview You Are Using
The Histogram panel in the Develop module tells you exactly which version of your image you are working with. Look at the text above the histogram:
- “Original”: Lightroom is using your full-resolution RAW file
- “Original + Smart Preview”: Both the original and Smart Preview are available
- “Smart Preview”: Lightroom is using only the Smart Preview because the original is offline
When you see “Smart Preview” in the histogram, you can still make all your usual Develop adjustments including exposure, contrast, white balance, tone curves, and local adjustments.
What Happens When Originals Come Back Online
One of the most common questions photographers ask is whether edits made to Smart Previews transfer back to the originals. The answer is yes, automatically.
When you reconnect your external drive or bring your original files back online, Lightroom detects them and applies all your edits to the full-resolution files. There is no manual sync required. The adjustments you made while working with Smart Previews are stored as metadata in your catalog, and Lightroom simply re-renders those adjustments on the original files.
This automatic sync behavior makes Smart Previews perfect for travel photographers who edit on laptops during flights or in hotels while their external drives stay safely at home.
Using Smart Previews for Collaborative Editing
Smart Previews have become an essential tool for professional photo editors and photographers who collaborate with clients. Here is a practical workflow that many wedding photographers use.
Client Catalog Exchange Workflow
Sending Smart Previews to a Client or Editor:
First, select the photos you want to share and export them as a catalog using Method 3 above. Make sure to uncheck “Export negative files” so you only send Smart Previews. Transfer the exported catalog folder to your client via cloud storage or a file transfer service.
Receiving and Editing a Shared Catalog:
When you receive a catalog with Smart Previews, simply double-click the .lrcat file to open it in Lightroom Classic. You can now edit these images as if they were your own. The Smart Previews contain enough resolution for meaningful adjustments.
Returning Edits to the Original Photographer:
After making your edits, export the catalog again (File > Export as Catalog) and send it back. The original photographer can import your edits by choosing File > Import from Another Catalog. Lightroom will apply your adjustments to their original files automatically.
This workflow is popular among second shooters at weddings, photo retouchers, and any situation where transferring large RAW files would be impractical.
Smart Previews Limitations and Best Practices
While Smart Previews are incredibly useful, they do have some limitations you should understand.
Resolution Limitations
Smart Previews are capped at approximately 2540 pixels on the long edge. For most editing tasks like color grading, exposure adjustments, and cropping, this resolution is sufficient. However, you cannot zoom in to check fine details or critical focus at 100% magnification when working with Smart Previews alone.
Sharpening and Noise Reduction Considerations
Be cautious when applying sharpening and noise reduction while editing Smart Previews. Because Smart Previews are compressed versions, the sharpening and noise you see may not accurately represent how those adjustments will look on the full-resolution original files. Many photographers prefer to save final sharpening for when they have access to the originals.
Exporting from Smart Previews
If you need to export images when only Smart Previews are available, the maximum output size is limited to the Smart Preview resolution. For web use and social media, this is usually fine. For large prints or high-resolution deliverables, you will need to wait until you reconnect your original files.
Storage Management
For photographers with large catalogs, Smart Previews can consume significant storage. At approximately 1MB per image, a catalog with 50,000 images could require 50GB of space for Smart Previews alone. If storage is limited, consider building Smart Previews only for active projects rather than your entire catalog.
You can delete Smart Previews at any time by selecting images and choosing Library > Previews > Discard Smart Previews. This does not affect your original files or your edits.
Frequently Asked Questions
Can you use smart previews instead of originals?
How to use smart previews in Lightroom Classic?
What is the difference between originals and smart previews in Lightroom?
Should I use smart preview in Lightroom?
Conclusion
Smart Previews in Lightroom Classic give you the freedom to edit photos anywhere without being tied to your external drives. By building Smart Previews during import, in the Library module, or through the Export as Catalog workflow, you create portable versions of your images that support full Develop module editing.
The automatic sync feature ensures your adjustments transfer seamlessly back to the originals when you reconnect your drives. Whether you are a travel photographer editing on flights, a wedding photographer sharing selections with clients, or simply someone who wants to work from a coffee shop without carrying every hard drive, Smart Previews make it possible.
Just remember the resolution limitations, be cautious with sharpening adjustments, and manage your storage space wisely. With these considerations in mind, Smart Previews become one of the most powerful workflow features in Lightroom Classic for photographers who value flexibility and mobility.