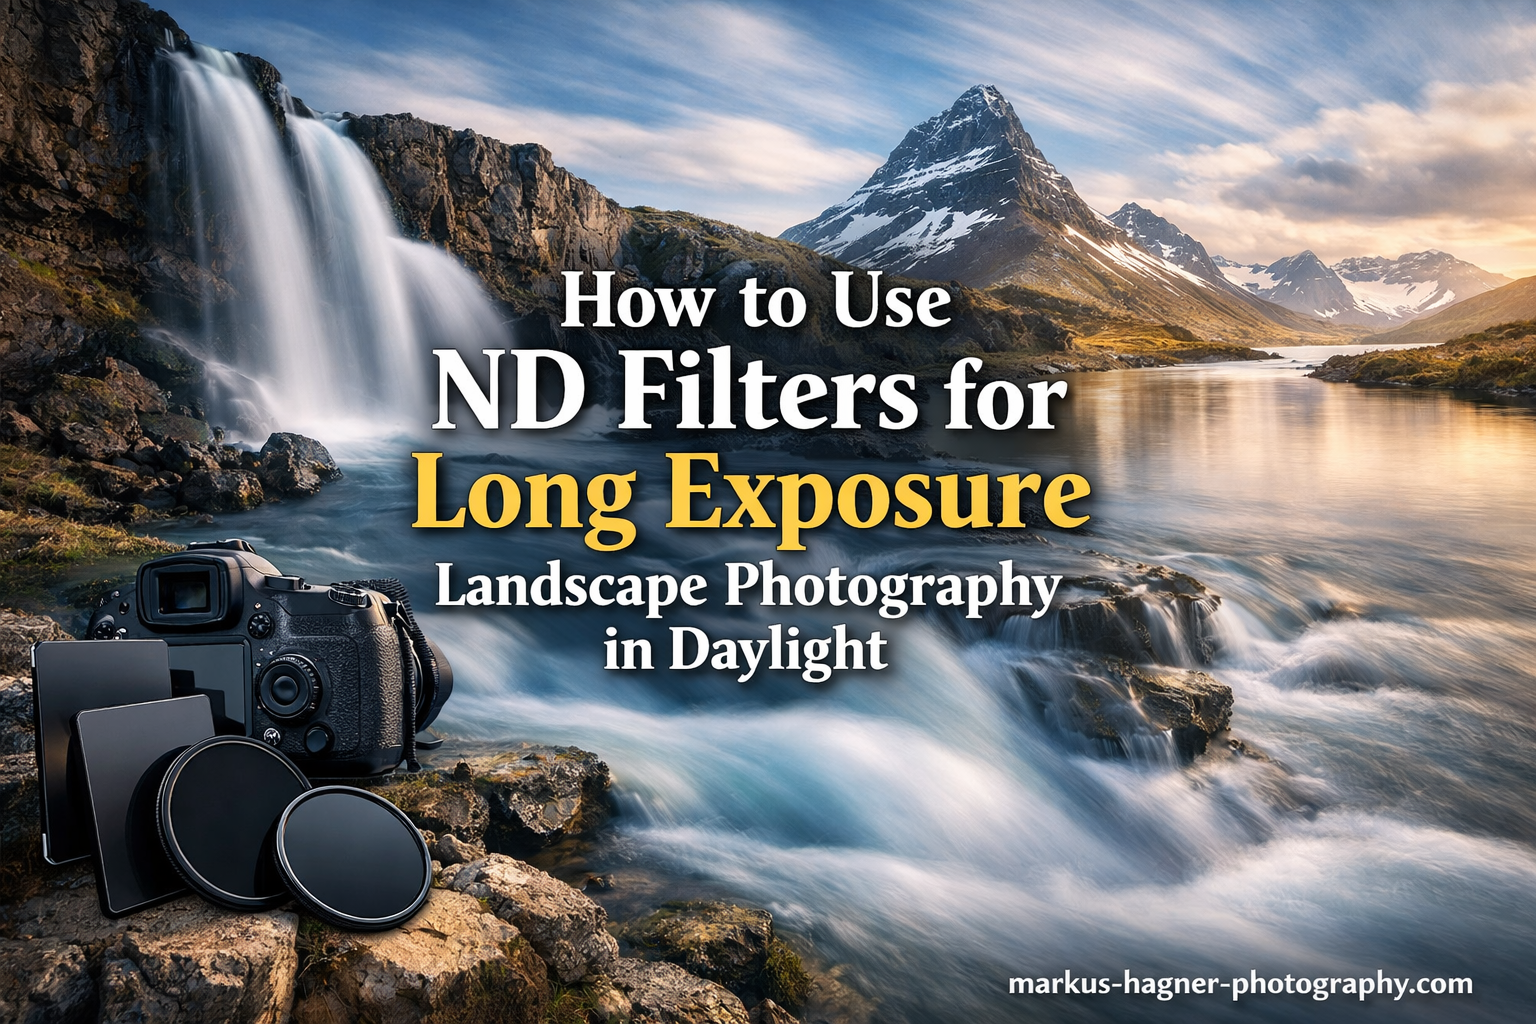
Creating those dreamy, silky water shots and dramatic streaking clouds during broad daylight seems impossible without overexposing your image. That is where ND filters become essential tools for landscape photographers. I have spent years experimenting with neutral density filters, and they completely transformed my daytime long exposure photography. In this guide on how to use ND filters for long exposure landscape photography in daylight, I will walk you through everything from choosing the right filter strength to calculating exposure times and overcoming common challenges.
By the end of this article, you will understand exactly how to set up your camera, calculate proper exposures, and create stunning long exposure images even in bright sunlight.
What is an ND Filter and How It Works In 2026?
An ND filter, or neutral density filter, is essentially sunglasses for your camera lens. This dark piece of glass reduces the amount of light entering your camera without changing the colors in your scene. Think of it like putting on polarized sunglasses on a bright day, everything looks darker but the colors remain natural.
ND filters work by blocking a specific percentage of light from reaching your camera sensor. Photographers measure this light reduction in “stops.” Each stop cuts the light in half. A 3-stop ND filter reduces light by 87.5%, while a 10-stop filter blocks an incredible 99.9% of the light.
This light reduction becomes crucial for long exposure photography because it allows you to use slow shutter speeds in bright conditions. Without an ND filter, shooting at ISO 100 and f/16 on a sunny day might give you a shutter speed around 1/125 second. Attach a 10-stop ND filter, and that same scene now requires a 4-second exposure, perfect for smoothing water into that silky effect landscape photographers love.
Understanding ND Filter Strengths (3-stop, 6-stop, 10-stop)
Choosing the right ND filter strength depends entirely on your lighting conditions and creative goals. I own multiple strengths because different situations call for different approaches.
3-Stop ND Filters
A 3-stop ND filter works best for slightly bright conditions or when you want subtle motion blur. Use this during golden hour, overcast days, or when shooting in shaded areas. It extends a 1/60 second exposure to about 1/8 second, enough to smooth flowing water without creating the full milky effect.
6-Stop ND Filters
The 6-stop ND filter hits the sweet spot for most daytime long exposure work. It transforms a 1/125 second base exposure into an 8-second long exposure. This strength works beautifully for creating silky water effects at waterfalls and coastlines during morning or late afternoon light. I reach for my 6-stop filter more than any other in my bag.
10-Stop ND Filters
These powerhouse filters, often labeled as ND1000, excel in bright midday sun. They turn a 1/125 second exposure into a full 2-minute exposure. Use 10-stop filters when you want extreme motion blur or need to completely blur out moving elements like people walking through your frame. Be warned though, these filters are so dark you cannot see through your viewfinder once attached.
Quick Reference: Which ND Filter for Daylight Conditions
Here is a simple guide I follow when choosing filters:
- Overcast or golden hour: 3-stop ND filter
- Bright morning or afternoon: 6-stop ND filter
- Harsh midday sun: 10-stop ND filter
- Variable lighting: Consider a variable ND filter
Essential Equipment for ND Filter Long Exposure Photography
Before heading out, make sure you have the right gear. Long exposure photography demands stability and precision.
A sturdy tripod: This is non-negotiable. Any camera movement during a long exposure will ruin your shot. I learned this the hard way with a cheap travel tripod that wobbled in light wind. Invest in a solid tripod that can handle your camera weight plus any filters without shaking.
Remote shutter release or intervalometer: Pressing the shutter button directly introduces vibration. A wireless remote or cable release lets you trigger the exposure without touching the camera. An intervalometer also helps with bulb mode timing for exposures over 30 seconds.
ND filter choice: Circular screw-on filters are convenient and seal tightly against your lens. Square filter systems with holders offer flexibility for stacking multiple filters and using graduated ND filters. Both work well, so choose based on your budget and shooting style.
Lens hood: Surprisingly useful for blocking stray light from hitting your ND filter, which can cause flare and reduce contrast in your images.
How to Use ND Filters for Long Exposure Landscape Photography in Daylight: Step-by-Step
Let me walk you through my exact process for creating long exposure images with ND filters. Follow these steps and you will get consistent results.
Step 1: Set Up Your Tripod and Compose Your Shot
Mount your camera on the tripod before attaching any filters. Compose your image carefully because once you put on a dark ND filter, you will not be able to see through the viewfinder. Take your time with composition at this stage.
Check that your tripod sits on solid ground. Sand, loose gravel, or wooden boardwalks can cause subtle movement during long exposures. I often push tripod legs firmly into soft ground or wait for foot traffic to pass before shooting on boardwalks.
Step 2: Focus Before Attaching the ND Filter
This step trips up many photographers. Focus your lens while you can still see through the viewfinder. Use autofocus on a high-contrast area, then switch your lens to manual focus mode to lock it in place. Some photographers prefer using live view with magnification for precise manual focusing.
Once focused, avoid touching the focus ring. If you accidentally bump it, you will need to remove the filter and refocus. This becomes especially frustrating with 10-stop filters in bright conditions.
Step 3: Determine Your Base Exposure Without the Filter
Take a test shot without the ND filter attached. Set your camera to manual mode with ISO 100 (your lowest native ISO) and an aperture around f/8 to f/11 for optimal sharpness. Take the shot and check your histogram.
You want a properly exposed image with your histogram centered without clipping highlights. Note this shutter speed because it becomes your “base exposure” for calculations. Let’s say your base exposure is 1/60 second at ISO 100 and f/11.
Step 4: Attach Your ND Filter and Calculate the New Exposure
Carefully screw on your ND filter or slide it into your filter holder. Now multiply your base shutter speed based on filter strength:
- 3-stop filter: Multiply base time by 8
- 6-stop filter: Multiply base time by 64
- 10-stop filter: Multiply base time by 1000
Using our example of 1/60 second base exposure with a 6-stop filter: 1/60 x 64 = approximately 1 second. With a 10-stop filter: 1/60 x 1000 = approximately 16 seconds.
Step 5: Shoot in Manual Mode Using Bulb Mode if Needed
Set your camera to bulb mode for any exposure longer than 30 seconds. In bulb mode, the shutter stays open as long as you hold down the remote button. Use your intervalometer or phone timer to track the exact exposure duration.
Press the remote to open the shutter, count the seconds, and press again to close it. For a 2-minute exposure, I set my phone timer and close the shutter when it alerts me.
Step 6: Review Your Image and Adjust
Check your histogram after the exposure completes. Long exposure images often benefit from shooting slightly darker to preserve highlight detail. If your image appears too dark, extend the exposure time. If highlights look blown out, reduce the exposure time.
Wind can affect foreground elements during long exposures. If grass or leaves blur too much, you may need to wait for calmer conditions or use a shorter exposure with a lighter ND filter.
Exposure Calculation Methods for ND Filters
Calculating exposure times becomes second nature with practice. Here are the methods I use.
Manual Calculation
Remember this simple multiplication table:
- 1-stop: Multiply by 2
- 2-stop: Multiply by 4
- 3-stop: Multiply by 8
- 6-stop: Multiply by 64
- 10-stop: Multiply by 1000
- 15-stop: Multiply by 32000
Start with your base shutter speed, apply the multiplier, and you have your new exposure time.
ND Filter Calculator Apps
Several excellent apps handle the math for you. I recommend trying NDTimer, LongTime Exposure Calculator, or PhotoPills. These apps let you input your base shutter speed and filter strength, then display the correct long exposure time. Some even include countdown timers for bulb mode shooting.
Exposure Time Reference Chart
Here is a quick reference chart I keep saved on my phone:
- Base: 1/1000s with 10-stop = 1 second
- Base: 1/500s with 10-stop = 2 seconds
- Base: 1/250s with 10-stop = 4 seconds
- Base: 1/125s with 10-stop = 8 seconds
- Base: 1/60s with 10-stop = 16 seconds
- Base: 1/30s with 10-stop = 33 seconds
This chart assumes a 10-stop filter. For 6-stop filters, simply multiply by 64 instead of 1000.
Common Challenges and How to Overcome Them
Long exposure photography with ND filters comes with unique challenges. Here is how I handle the most common issues.
Color Cast Issues
Cheaper ND filters often introduce unwanted color tints, usually magenta or green. This color cast becomes visible in your final images and requires correction during post-processing. Quality filters from reputable brands minimize this problem significantly.
If you notice color cast, take a reference photo without the filter before your long exposure shots. Use this reference to correct colors in Lightroom or Photoshop. I always shoot RAW files when using ND filters for maximum flexibility in correcting any color issues.
Vignetting on Wide-Angle Lenses
Stacking filters or using thick filter rings creates dark corners in your images, especially at focal lengths wider than 24mm. This vignetting becomes more pronounced with multiple filters stacked together.
Use slim-profile filters designed for wide-angle lenses. If vignetting still appears, either zoom in slightly or crop the image in post-processing. Some photographers embrace the vignette as a creative element, but I prefer clean edges for most landscape work.
Wind Effects on Foreground Elements
While long exposures blur water beautifully, they also blur grass, leaves, and flowers. On windy days, this can create an unnatural look where foreground elements appear as messy smears.
Check wind conditions before committing to a long exposure. Light breezes might add nice motion to grass, but strong winds will ruin foreground detail. Consider taking multiple exposures, one short exposure for sharp foreground and one long exposure for smooth water, then blend them in post-processing.
Focusing Difficulties with Dark Filters
As mentioned earlier, always focus before attaching dark ND filters. If you must adjust focus with the filter on, switch to live view and boost your ISO temporarily. The higher sensitivity might let you see enough to focus, though this works poorly with 10-stop filters.
Another technique involves using the hyperfocal distance. Set your focus distance based on your focal length and aperture, ensuring everything from a certain distance to infinity remains sharp.
Filter Stacking Considerations
Stacking filters combines their light reduction. A 3-stop plus 6-stop filter equals roughly 9 stops of reduction. However, stacking increases vignetting risk and potential image quality degradation from multiple glass elements.
I rarely stack more than two filters. When stacking, use high-quality filters and watch for vignetting in the corners of your test shots.
Creative Applications for Daytime Long Exposures
Once you master the technical aspects, creative possibilities open up. Here are my favorite ways to use ND filters for long exposure landscape photography in daylight.
Silky Water Effects
The classic application for ND filters involves smoothing waterfalls, streams, and ocean waves into that ethereal silky texture. Exposures between 1 and 4 seconds usually create this effect. Longer exposures blur water even more dramatically, though I find 2-3 seconds often produces the most natural-looking results.
Dramatic Cloud Streaks
Fast-moving clouds create stunning streak effects across the sky during long exposures. This works best on partly cloudy days with visible cloud motion. Exposures of 30 seconds to several minutes reveal cloud movement invisible to the naked eye. I love combining silky water with streaking clouds for maximum impact.
Removing Moving Elements
Extremely long exposures can make people and vehicles disappear from busy scenes. A 2-minute exposure in a tourist spot often results in an empty-looking location because anyone walking through gets blurred into invisibility. This technique helps create clean architectural shots without crowds.
Combining ND Filters with Circular Polarizers
A circular polarizer reduces reflections and enhances sky contrast while adding about 2 stops of light reduction. Some manufacturers produce combined ND/polarizer filters that do both jobs. Using separate filters lets you adjust polarization independently from light reduction, giving more creative control.
Frequently Asked Questions
How to take a long exposure photo in daylight?
To take a long exposure photo in daylight, mount your camera on a sturdy tripod, compose and focus your shot, then determine your base exposure settings in manual mode (ISO 100, f/8-f/11). Attach an ND filter to reduce light, calculate your new exposure time by multiplying your base shutter speed by the filter’s factor (64x for 6-stop, 1000x for 10-stop), then shoot using bulb mode for exposures over 30 seconds. Use a remote shutter release to avoid camera shake.
Which ND filter should I use for daylight?
For most daylight long exposure photography, a 6-stop ND filter provides the best balance of light reduction and exposure flexibility. It works well for bright mornings and late afternoons. If you shoot primarily in harsh midday sun or want extreme motion blur, choose a 10-stop ND filter. For overcast days or golden hour, a 3-stop filter usually suffices.
What ND filter should I use on a bright sunny day?
On a bright sunny day, use a 10-stop ND filter (ND1000) for exposures ranging from several seconds to a few minutes. This strength reduces light by 99.9%, allowing you to achieve proper exposure with slow shutter speeds even in direct sunlight. A 6-stop filter may work during early morning or late afternoon on sunny days, but will not provide enough reduction for midday shooting.
How do I focus with an ND filter attached?
Always focus your camera before attaching a dark ND filter. Use autofocus on a high-contrast area, then switch your lens to manual focus to lock it in place. If you must adjust focus with the filter on, switch to live view and temporarily increase your ISO to see better, though this works poorly with 10-stop filters. Another option is using hyperfocal distance focusing based on your focal length and aperture.
Can I stack multiple ND filters together?
Yes, you can stack ND filters to combine their light reduction. For example, a 3-stop plus 6-stop filter equals approximately 9 stops of reduction. However, stacking increases the risk of vignetting (dark corners), especially on wide-angle lenses, and may slightly reduce image quality due to multiple glass elements. Use high-quality filters and check for vignetting in your test shots when stacking.
Conclusion
Learning how to use ND filters for long exposure landscape photography in daylight opens up creative possibilities that simply do not exist otherwise. Those silky waterfalls, dramatic cloud streaks, and crowd-free architectural shots all become achievable with the right filter and technique.
Remember the fundamentals: use a sturdy tripod, focus before attaching your filter, calculate exposures correctly, and practice with different filter strengths in various lighting conditions. Start with a 6-stop ND filter as your primary tool, then add 3-stop and 10-stop options as you expand your skills.
Quality matters with ND filters. Budget filters often introduce color cast and reduce sharpness. Invest in good glass once, and it will serve you for years of landscape photography adventures.
Now grab your tripod and ND filter, head to your nearest waterfall or coastline, and start experimenting. The more you practice these techniques, the more instinctive the process becomes. Before long, you will be creating stunning long exposure images that capture the movement and mood of any landscape in beautiful ways.