You arrive at the Eiffel Tower expecting that perfect shot, but hundreds of tourists have the same idea. I have stood in this exact situation more times than I can count. The good news is that crowded destinations do not have to ruin your travel photography.
Learning how to shoot travel photos in crowded tourist destinations transformed my approach to visiting famous landmarks. With the right combination of timing, composition techniques, and some post-processing tricks, you can capture clean, professional-looking images even at the most popular spots.
In this guide, I will share the exact methods I use to get crowd-free shots at busy locations. These techniques work whether you are shooting with a professional mirrorless camera or just your smartphone.
Timing Strategies for Empty Travel Photos
The simplest way to avoid crowds is to arrive when other people are not there. I have photographed everything from the Roman Colosseum to Angkor Wat, and timing always makes the biggest difference.
Early Morning and Sunrise Sessions
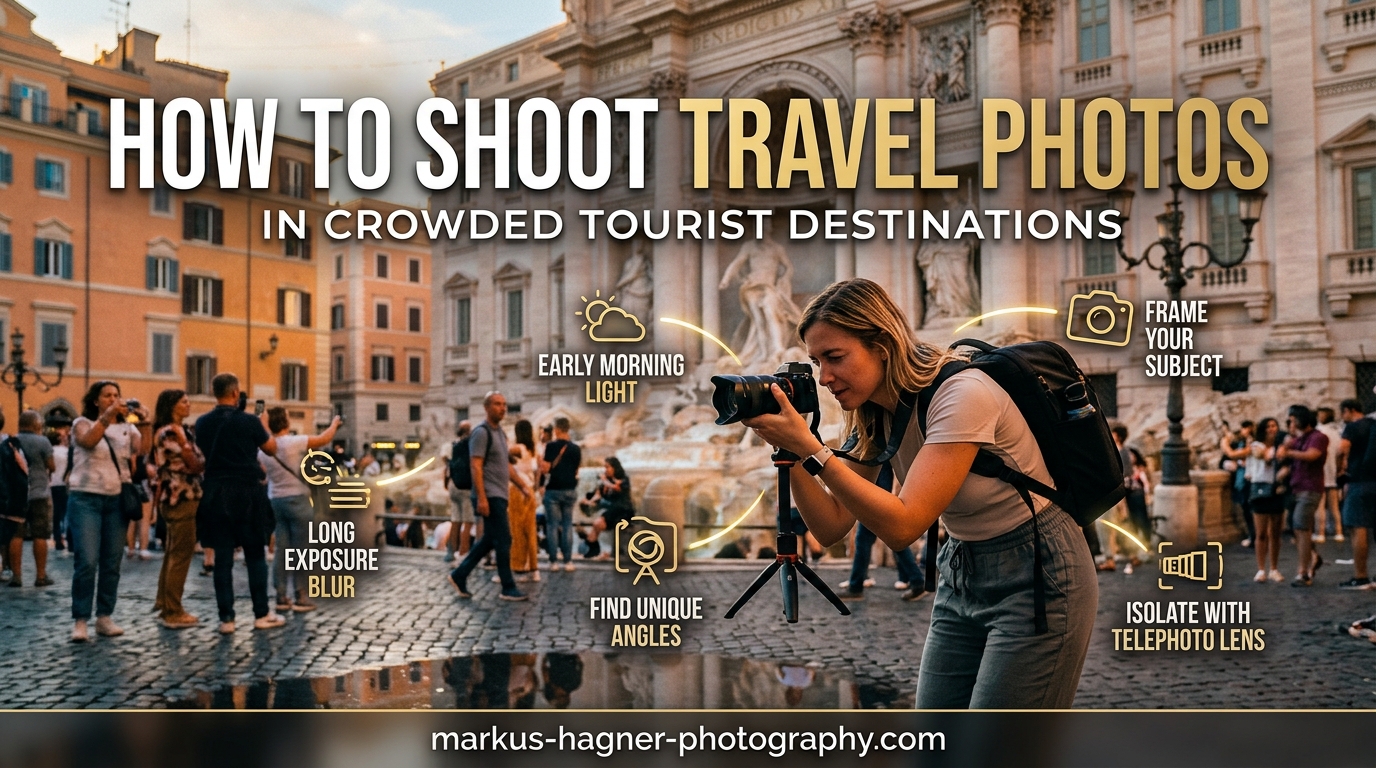
Arriving 30 to 60 minutes before sunrise gives you nearly empty locations at most tourist sites. I once had the Trevi Fountain completely to myself at 5:30 AM in Rome. The soft morning light also creates better conditions than harsh midday sun.
Check sunrise times for your destination and plan to arrive at least 45 minutes early. Many photographers I know set alarms for 3 AM when shooting at Machu Picchu or similar bucket-list locations.
Blue Hour and Evening Options
Blue hour, the period after sunset when the sky turns deep blue, offers another window of opportunity. Tourist crowds typically thin out as dinner time approaches. You also get the added benefit of city lights mixing with natural sky color.
I have found that popular viewpoints often clear out significantly one hour after sunset. This works especially well for city skylines and architectural photography.
Off-Season and Weekday Advantages
Visiting destinations during shoulder season or on weekdays can reduce crowds by 50 to 70 percent. October in Paris, November in Rome, or February in Venice all offer dramatically fewer tourists compared to peak summer months.
Weekdays almost always have lighter crowds than weekends at major attractions. If your travel dates are flexible, plan landmark visits for Tuesday through Thursday.
Composition Techniques That Work in Crowded Places
When you cannot avoid crowds through timing alone, changing your composition approach becomes essential. These techniques have saved countless shots for me at busy locations.
Shoot from Low Angles
Getting your camera close to the ground and tilting upward eliminates most people from your frame. This works because tourists are typically standing, so a low angle shoots underneath their sight line.
I use this technique constantly at museums and architectural sites. The added benefit is that low angles often create more dramatic, imposing compositions of buildings and monuments.
Get Above the Crowd
Finding elevated positions removes crowds from your foreground entirely. Look for stairs, balconies, bridges, or nearby hills that give you a vantage point above street level.
Many famous landmarks have observation decks or nearby elevated spots. The key is scouting your location beforehand to identify these opportunities.
Focus on Architectural Details
Instead of shooting wide establishing shots, zoom in on specific architectural elements. Doorways, gargoyles, intricate stonework, and decorative details rarely have people blocking them.
Detail shots often tell more interesting stories than standard wide-angle tourist photos anyway. I now prefer these intimate compositions at crowded locations.
Use Telephoto Compression
A telephoto lens compresses distance, making distant subjects appear closer to the background. This lets you shoot over crowds and isolate your subject against architectural backgrounds.
Even a 70-200mm lens gives you this capability. I have used this technique to photograph the Parthenon from a distance, completely avoiding the crowds at the actual site.
Technical Solutions: Long Exposure and Image Stacking
Camera techniques can physically remove moving people from your images. These methods require some equipment knowledge but deliver professional results.
Long Exposure with ND Filters
A long exposure of several seconds causes moving people to blur into invisibility while stationary architecture remains sharp. This technique works because people rarely stand completely still for more than a few seconds.
You need a neutral density filter to achieve these long exposures during daylight. A 6-stop or 10-stop ND filter lets you use shutter speeds of 2 to 30 seconds even in bright conditions.
Camera settings for long exposure crowd removal:
- ISO 100 for maximum image quality
- Aperture f/8 to f/11 for sharpness and depth
- Shutter speed 4 to 30 seconds depending on crowd movement
- Sturdy tripod absolutely required
Image Stacking and Median Mode
This technique involves taking multiple shots of the same scene from a fixed position. You then blend them in post-processing using median blending, which removes elements that move between frames.
Take 10 to 20 consecutive shots from your tripod. In Photoshop, load them as layers and use the median stack mode. Moving people disappear while static architecture remains.
This method works even when tripods are prohibited because you can handheld rapid bursts. I have successfully used this at museums and religious sites where tripods are banned.
Post-Processing Methods to Remove People
When in-camera techniques are not possible, editing software offers powerful removal tools. I use these methods as a backup when conditions do not allow for long exposures or stacking.
Layer Masking in Photoshop
If you captured multiple frames of the same scene, you can manually combine the empty portions of each shot. Load images as layers, then use layer masks to reveal only the crowd-free areas from each frame.
This requires more manual work than automatic stacking but gives precise control over the final result.
Clone Stamp and Healing Brush
For isolated people in your frame, the clone stamp and healing brush tools remove them convincingly. Sample clean areas of architecture and paint over unwanted figures.
This works best when people occupy small portions of the image. I regularly remove five to ten scattered tourists using this approach.
Content-Aware Fill and Remove Tools
Modern editing software includes AI-powered removal tools that work remarkably well. Photoshop’s Content-Aware Fill and Lightroom’s Remove tool can eliminate people with minimal manual effort.
Smartphone Photography in Crowded Destinations
You do not need expensive camera gear to use these techniques. Modern smartphones offer several crowd-elimination options.
Built-in Long Exposure Modes
Many smartphones now include live photo long exposure or night mode features. iPhone Live Photos can be converted to long exposures in the Photos app. Android phones often have dedicated long exposure or light trail modes.
Stacking Apps for Smartphones
Apps like Spectre Camera (iOS) use computational photography to remove moving objects automatically. You hold your phone steady for a few seconds while the app captures and processes multiple frames.
This approach requires no tripod and works handheld, making it perfect for travel situations where you cannot carry much gear.
How to Shoot Travel Photos in Crowded Tourist Destinations: Key Takeaways
The best approach combines multiple techniques. Start with timing strategies whenever possible, then use composition adjustments for remaining crowds, and finish with post-processing for any stubborn tourists still in your frame.
Remember that some crowds actually add authenticity to travel photos. I have learned that completely empty shots of famous landmarks can look artificial. Sometimes including a few well-placed people creates more compelling, believable images.
The most important thing is balancing your photography goals with actually enjoying your travel experience. Do not spend your entire vacation stressing about perfect shots. Sometimes the best memories come from embracing the chaos of crowded destinations.
Frequently Asked Questions
How to take photos in crowded places?
Use a combination of timing (arrive early or late), composition (shoot low angles, zoom in on details, find elevated positions), technical methods (long exposure with ND filters, image stacking), and post-processing (layer masking, clone stamp, content-aware fill) to eliminate or minimize crowds in your travel photos.
What is the 20 60 20 rule in photography?
The 20 60 20 rule suggests that 20% of your photos will be excellent, 60% will be acceptable, and 20% will be unusable. This helps photographers set realistic expectations and focus on capturing many shots to increase the chances of getting those top-tier images.
What is the 3/4 rule in photography?
The 3/4 rule typically refers to portrait lighting where the main light source is positioned at a 3/4 angle to the subject, creating dimensional shadows. In travel photography contexts, it can also mean filling 3/4 of your frame with your main subject while leaving 1/4 for environmental context.
What is the 300 rule in photography?
The 300 rule helps calculate the maximum shutter speed for sharp handheld shots without camera shake. Divide 300 by your lens focal length to get the slowest safe shutter speed. For example, with a 50mm lens, use 1/300 divided by 50, which equals 1/6 second maximum for handheld shooting.
Final Thoughts on Crowded Destination Photography
Mastering how to shoot travel photos in crowded tourist destinations takes practice and patience. Start with the timing strategies since they require no special equipment. Add composition techniques to your toolkit next. Then explore the technical and post-processing methods as your skills grow.
Every crowded location presents unique challenges and opportunities. The techniques in this guide have worked for me across dozens of countries and countless famous landmarks. Pick one or two methods to practice on your next trip, and you will see immediate improvements in your travel photography results.