Getting accurate colors in infrared photography starts with one critical step: setting the right white balance. Without proper calibration, your IR images will have an overwhelming red or magenta cast that makes post-processing a nightmare. I have spent years shooting with converted infrared cameras, and I can tell you that mastering custom white balance transforms your workflow from frustrating to predictable. In this guide, I will show you exactly how to set a custom white balance for infrared photography using both in-camera methods and post-processing techniques.
Why Custom White Balance is Critical for Infrared Photography
Infrared light behaves completely differently from visible light. When your camera sensor captures infrared wavelengths, the resulting image appears heavily skewed toward red and magenta tones. This happens because the red color channel in digital cameras is far more sensitive to infrared radiation than the blue and green channels.
Standard white balance presets like daylight, cloudy, or auto white balance are calibrated for visible light spectrum photography. These presets have nowhere near enough range to correct the extreme color cast produced by infrared photography. Your camera’s auto white balance might show a reading of 2500K when shooting IR, but even that extreme adjustment cannot fully compensate for the infrared color shift.
The solution is a custom white balance calibrated specifically for infrared wavelengths. This serves two purposes: it gives you a usable preview on your camera’s LCD screen so you can evaluate composition and exposure, and it provides a better starting point for post-processing your RAW files. Photographers working with false color infrared techniques especially benefit from accurate in-camera white balance because it simplifies the channel swap workflow.
How to Set a Custom White Balance for Infrared Photography
The most reliable in-camera method uses green foliage or grass as your white balance reference. This technique works because healthy vegetation reflects infrared light strongly and appears bright in IR photographs, making it an excellent neutral reference point. I have tested this method across multiple camera brands and filter wavelengths, and it consistently produces the most predictable results.
Step 1: Attach Your IR Filter
Install your infrared filter on your lens exactly as you would for shooting. The white balance reference photo must be taken through the same filter you will use for your actual photographs. If you are using a converted camera with an internal filter, this step is already complete.
Step 2: Find Healthy Green Foliage
Look for a patch of healthy green grass, leaves, or other vegetation. The key is finding vegetation that appears bright green in visible light and will appear bright white in infrared. Avoid dried or brown vegetation, as it reflects infrared differently.
Step 3: Fill the Frame with Your Reference
Compose your reference shot so that green foliage fills the entire frame. The reference surface should be evenly lit by the same light source you will use for your actual photographs. Make sure no shadows, sky, or other elements appear in the frame.
Step 4: Take the Reference Photo
Capture your reference image. Focus is not critical here since you only need the color information. A slightly out-of-focus shot works fine and may even provide more even color sampling.
Step 5: Navigate to Custom White Balance Menu
Enter your camera’s menu system and find the custom white balance option. On most cameras, this is located under the white balance settings menu. Select this option to begin the calibration process.
Step 6: Select Your Reference Image
Your camera will prompt you to select an image to use as the white balance reference. Navigate to the foliage photo you just captured and select it. The camera will analyze this image and create a custom white balance setting based on the color data.
Step 7: Apply and Test
After setting the custom white balance, take a test shot of your scene. The preview should now show a much more neutral color palette with vegetation appearing white or light gray rather than bright red. If the result still shows strong color casts, repeat the process with a different reference surface.
Alternative Reference Methods
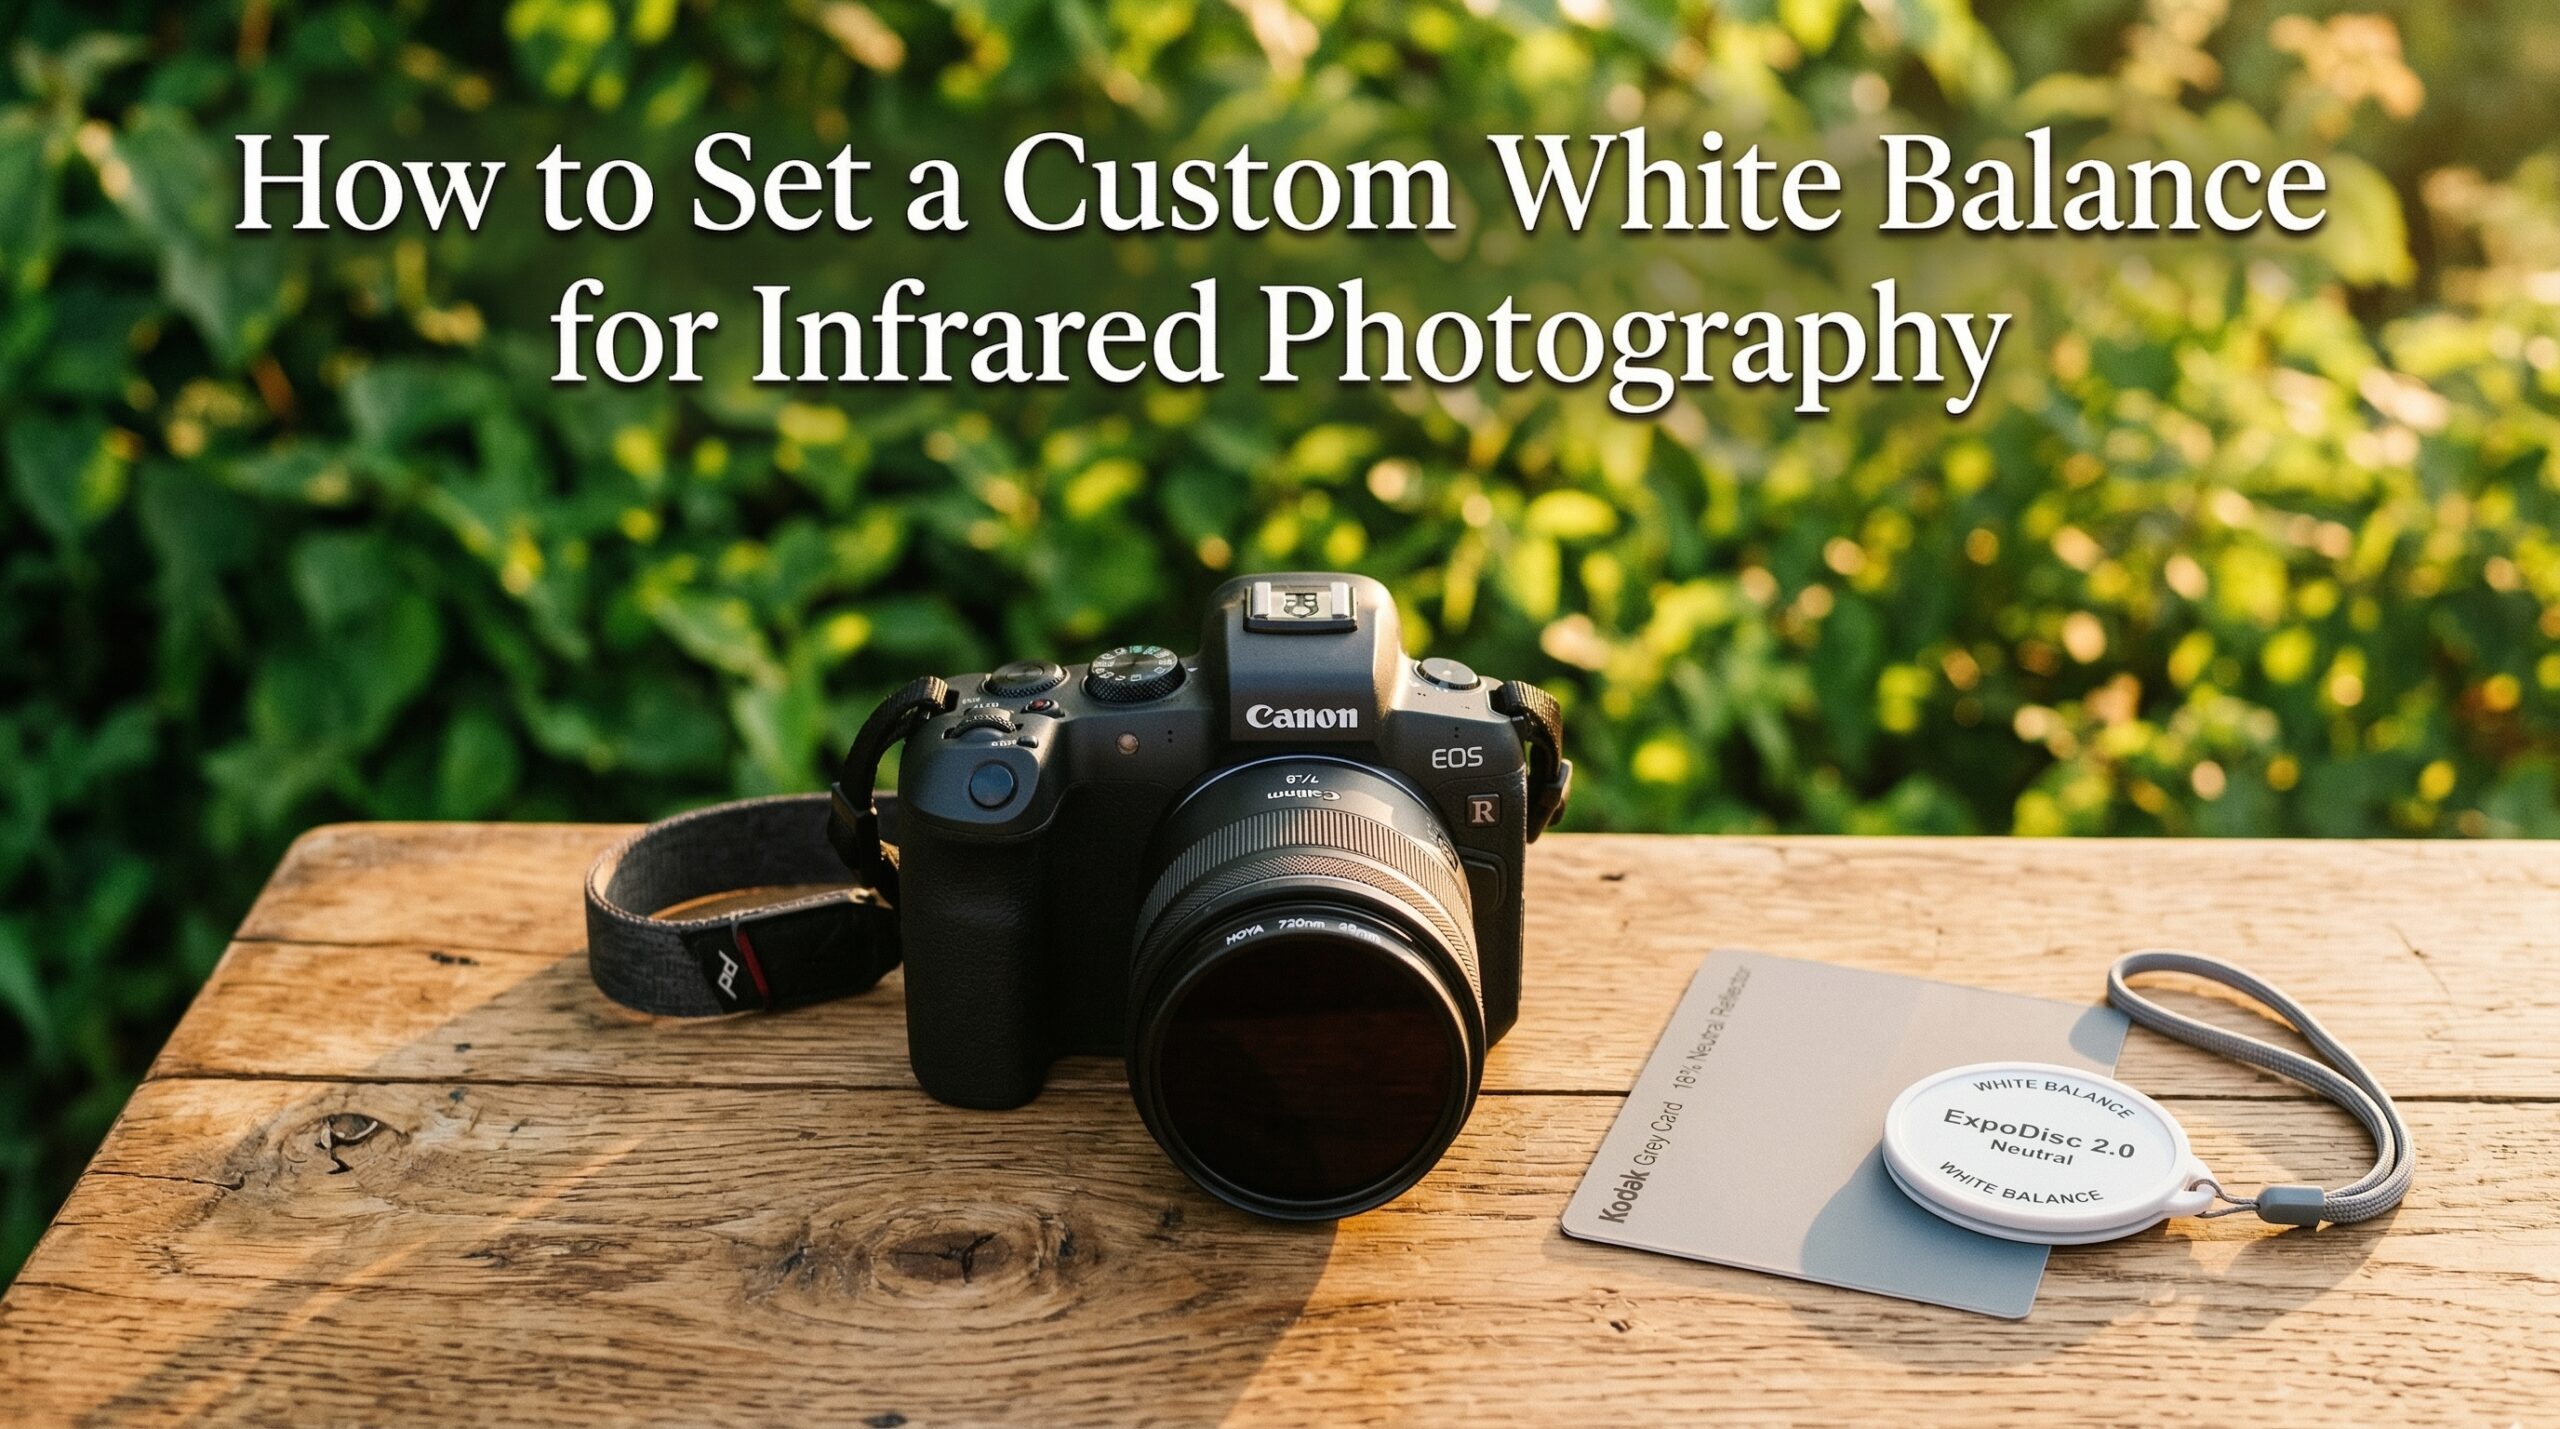
ExpoDisc Method: An ExpoDisc fits over your lens and diffuses incoming light to create a neutral reference. This tool is particularly useful for video work and consistent shooting environments. Point your camera toward your light source through the ExpoDisc and take a reference photo.
Grey Card Method: Grey cards work similarly to foliage but require you to photograph the card itself under your shooting conditions. Place the grey card in the same light as your subject, fill the frame with the card, and capture a reference image.
Concrete Pavement Method: For channel swap workflows that create false color IR effects with golden foliage, use sunlit concrete pavement as your reference. This technique produces dramatically different results than the foliage method.
Best Reference Surfaces for Different IR Effects
Green Grass/Foliage: Standard IR look, white vegetation, works for most false color workflows. Best for 720nm and deeper filters.
Concrete Pavement: Best for channel swap workflow, produces golden foliage effect in false color IR. Use when planning to exchange red and blue channels in post.
Grey Card: Most neutral reference, consistent results across lighting conditions. Good for scientific or technical infrared work.
ExpoDisc: Quick and repeatable, excellent for video and consistent shooting environments. Reduces setup time between location changes.
Camera Brand-Specific White Balance Instructions
Different camera manufacturers implement custom white balance in slightly different ways. Some cameras handle infrared white balance gracefully, while others refuse to set custom WB when detecting the unusual color temperature of IR light. I have compiled specific instructions for the most common camera brands based on extensive testing.
Canon Cameras
Canon DSLRs and mirrorless cameras generally handle infrared white balance well. Navigate to the shooting menu, select Custom White Balance, and choose your reference image. Canon cameras allow you to take reference photos using auto white balance, then apply that reference to future shots. If your Canon refuses to set custom WB, try overexposing your reference image slightly, as Canon cameras sometimes reject underexposed reference photos. Canon 5D series and EOS R cameras are particularly forgiving with infrared white balance calibration.
Nikon Cameras
Nikon cameras are notorious for refusing to set custom white balance with infrared filters attached. The camera’s internal validation often rejects the extreme color temperature as invalid. The workaround is to create a custom DNG profile using Adobe’s DNG Profile Editor, then apply this profile in post-processing. Some photographers have success taking the reference photo without the filter, then attaching the filter for actual shooting, though this method is less accurate. Nikon D800 series and Z cameras are especially strict about white balance validation.
Sony Cameras
Sony mirrorless cameras typically accept infrared white balance settings without issue. Access the white balance menu, select custom setup, and point your camera at your reference surface. Sony cameras with real-time preview make this process especially easy since you can see the white balance effect change live on your LCD or electronic viewfinder. Some older Sony models may require a firmware update for best results with extreme color temperatures. Sony A7 series cameras perform exceptionally well with infrared conversions.
Fuji Cameras
Fuji cameras can set white balance for infrared, but the results are often inadequate for 590nm and 665nm filters. The camera accepts the calibration but cannot fully compensate for the extreme color cast. For deeper IR filters, Fuji users typically need to rely on post-processing white balance adjustment. Fuji X-T series cameras work reasonably well with 720nm filters but struggle with shorter wavelengths.
Panasonic and Olympus Cameras
Micro Four Thirds cameras from Panasonic and Olympus generally accept infrared white balance without issues. These cameras often have excellent live view preview, making it easy to see the effects of your white balance adjustment in real time. The smaller sensor format can sometimes produce different infrared characteristics, so you may need to experiment with reference surfaces.
Post-Processing White Balance for Infrared Photography
When in-camera white balance fails or you need more control, post-processing offers the most flexible solution. The key tool here is the DNG Profile Editor, which allows you to create custom camera profiles that extend the white balance range beyond what your camera and editing software normally allow. I have used this technique for years when working with difficult camera and filter combinations.
Creating a Custom DNG Profile
Start by converting your RAW files to DNG format using the free Adobe DNG Converter. Open Adobe DNG Profile Editor and load one of your converted files. Navigate to the Color Matrices tab and find the White Balance Calibration section. Move the Temperature slider to -100 to extend the cool end of the white balance range. This adjustment tells Lightroom and Camera Raw to allow much cooler color temperatures than normal.
Save your profile with a descriptive name like “IR 720nm Custom.” Install the profile by copying it to the appropriate Camera Profiles folder on your computer. On Windows, this is typically C:\Users\YourName\AppData\Roaming\Adobe\CameraRaw\CameraProfiles. On Mac, it is /Users/YourName/Library/Application Support/Adobe/CameraRaw/CameraProfiles. Restart Lightroom or Photoshop, then select your new profile from the Camera Calibration panel. You will now have access to a much wider white balance range that can properly handle infrared images.
White Balance in Lightroom and Photoshop
Even with a custom DNG profile, you may need to push the temperature slider to its extreme cool setting for proper infrared white balance. The tint slider often needs adjustment toward green to counteract magenta casts. If you still cannot achieve proper white balance, try creating separate profiles for different IR filter wavelengths, as each filter produces a slightly different color shift.
For channel swap workflows where you exchange the red and blue channels to create false color infrared effects, start with white balance set on concrete or a neutral gray surface. After performing the channel swap in Photoshop or Lightroom, adjust white balance again to fine-tune the final colors. Golden foliage and blue skies are characteristic of this technique.
Capture One and Alternative Software
Some photographers report that Capture One offers better white balance range for infrared images than Adobe products. If you are struggling with Lightroom’s limitations, consider testing Capture One’s free trial. The color editing tools in Capture One work differently and may provide the adjustment range you need.
Darktable users can use the white balance tool with either camera WB or manual spot selection. This open-source alternative provides excellent infrared support without the need for custom DNG profiles in many cases.
White Balance for Different IR Filter Wavelengths
Different infrared filter wavelengths produce different color characteristics and require different white balance approaches. Understanding how filter wavelength affects white balance helps you choose the right technique for your equipment. I have tested all major filter wavelengths to develop these recommendations.
White Balance by Filter Wavelength
590nm Filters: These filters allow some visible light through alongside infrared. They produce the most colorful false color images but require aggressive white balance adjustment. Most cameras cannot set adequate in-camera white balance for 590nm filters, so a custom DNG profile is usually necessary. The strong color cast from these filters often exceeds the adjustment range of standard editing software.
665nm Filters: Similar challenges to 590nm but slightly easier to white balance. Custom DNG profiles are still recommended for best results. These filters produce vibrant false color with less visible light contamination than 590nm. In-camera white balance may be possible but is rarely adequate for final images.
720nm Filters: The most popular IR filter wavelength for general infrared photography. Most cameras can set adequate in-camera white balance with 720nm filters. Foliage appears white to light gray with good contrast between vegetation and sky. This is the easiest filter wavelength for beginners and produces excellent results with minimal post-processing.
850nm Filters: Deep infrared filters produce nearly monochromatic images. White balance is less critical because the final result is typically converted to black and white. In-camera white balance may not be necessary at all for pure 850nm shooting. Many photographers with 850nm conversions skip white balance entirely and work directly with the red cast.
Troubleshooting Common White Balance Problems
Even with proper technique, infrared white balance problems can occur. I have encountered every issue listed below during my infrared photography journey, and these solutions have proven effective across different camera systems and filter types.
Camera Won’t Set Custom White Balance
This is the most frequent complaint, especially from Nikon users. Your camera may reject the reference image if the color temperature is too extreme or the exposure is outside acceptable parameters. Try overexposing your reference photo by one or two stops. If that fails, create a custom DNG profile instead and handle white balance entirely in post-processing. Some cameras simply refuse to accept infrared white balance, and post-processing becomes your only option.
Limited White Balance Range in Software
Adobe Lightroom and Camera Raw have built-in limits on how far you can adjust white balance. If the temperature slider hits its limit before achieving proper white balance, you need a custom DNG profile. The DNG Profile Editor technique described earlier extends this range significantly. Without the custom profile, you are stuck with whatever range Adobe provides by default.
Photos Turn Pink Instead of Correct Colors
If your white balance adjustments create a pink cast rather than neutral colors, you are likely pushing the tint slider in the wrong direction. Infrared images typically need green tint adjustment to counteract magenta. Try moving the tint slider toward green rather than magenta. This issue is especially common with 590nm and 665nm filters where the initial color cast is extremely magenta-heavy.
Inconsistent Results Between Shots
Changing light conditions require updated white balance settings. If you shoot over a long period or move between sun and shade, your initial custom white balance may no longer be accurate. Reset custom white balance whenever lighting conditions change significantly. Shooting RAW gives you the flexibility to adjust white balance individually for each shot. This is why RAW is strongly recommended for all infrared photography.
Autofocus and Metering Issues
Infrared light focuses at a different point than visible light, which can cause focus issues. Many converted cameras require focus calibration for infrared use. Metering may also be inaccurate because camera meters are calibrated for visible light. Use live view for critical focus and check your histogram frequently to ensure proper exposure. Some converted cameras include autofocus microadjustment specifically for infrared use.
DNG Profile Editor Compatibility Issues
Mac users sometimes cannot open DNG Profile Editor due to software compatibility issues. The solution is to use an older version of the DNG Profile Editor that works with newer Mac operating systems. Adobe has not updated this tool recently, so compatibility problems are common. Windows users generally have fewer issues with the DNG Profile Editor.
White Balance Reverts Between Sessions
Some cameras do not save custom white balance settings when powered off. If you find your white balance resetting, try saving your custom setting to one of the camera’s custom WB slots if available. Otherwise, plan to reset custom white balance at the start of each shooting session. Keeping a reference photo of green foliage on your memory card makes this process quick and repeatable.
How to create a custom white balance for infrared photography?
Take a reference photo of healthy green foliage through your IR filter, then navigate to your camera’s custom white balance menu and select that reference image. The camera will calibrate color temperature based on the IR-reflective vegetation, which should appear white or neutral gray when white balance is properly set.
Why does my infrared photo look red or magenta?
Infrared light strongly affects the red color channel in digital cameras, creating an extreme red or magenta color cast. Standard white balance presets cannot compensate for this shift. You need custom white balance calibrated specifically for infrared wavelengths to neutralize the red cast.
Do I need RAW files for infrared photography?
RAW files are strongly recommended for infrared photography because they allow non-destructive white balance adjustment in post-processing. JPEG files have white balance baked in, limiting your editing options. RAW files also contain more color data for creating custom DNG profiles when camera white balance fails.
Can I set white balance for infrared video?
Yes, custom white balance works for infrared video just like still photography. Set your custom white balance before recording using the same foliage or reference surface technique. An ExpoDisc can be particularly useful for video work since it provides quick, repeatable white balance calibration between shots.
What is the best white balance reference for infrared photography?
Healthy green grass or foliage is the most popular and effective white balance reference for infrared photography. Vegetation reflects infrared strongly and provides a consistent neutral reference. For channel swap workflows that produce golden foliage, concrete pavement often works better as a reference surface.
Why won’t my camera set white balance with my IR filter?
Many cameras, especially Nikon models, reject infrared white balance because the color temperature falls outside the range the camera considers valid. The workaround is to create a custom DNG profile using Adobe DNG Profile Editor and handle white balance entirely in post-processing.
How do I white balance infrared in Lightroom?
Start by creating a custom DNG profile with extended temperature range using Adobe DNG Profile Editor. Install the profile, select it in Lightroom’s Camera Calibration panel, then adjust the temperature slider to its cool extreme and move tint toward green to counteract magenta casts.
Do different IR filters need different white balance settings?
Yes, different filter wavelengths require different white balance approaches. 590nm and 665nm filters need aggressive adjustment and custom DNG profiles. 720nm filters work well with standard in-camera white balance. 850nm filters produce nearly monochromatic images where white balance is less critical.
Conclusion
Mastering how to set a custom white balance for infrared photography removes one of the biggest frustrations from the IR workflow. Whether you use in-camera calibration with foliage, create custom DNG profiles for extended range, or combine both approaches, the result is more predictable images and faster post-processing. Remember that different filter wavelengths and camera brands may require different techniques, so experiment to find what works best for your equipment.
The foliage method works for most situations and should be your starting point. For channel swap workflows, try the concrete pavement reference method. When your camera refuses to set custom white balance, fall back on the DNG Profile Editor technique. With proper white balance established, you can focus on the creative aspects of infrared photography rather than fighting color casts in every image. The key is patience and experimentation—once you find the right combination for your camera and filter, save those settings and your infrared workflow becomes much more enjoyable.