If you’ve ever admired the consistent, professional looks that photographers achieve across their portfolios, you’ve seen the power of Lightroom presets in action. After spending years editing photos and testing hundreds of preset combinations, I’ve learned that creating your own presets isn’t just about saving time—it’s about developing your signature visual style that sets your work apart.
In this comprehensive guide, I’ll walk you through exactly how to create and install custom Lightroom presets from scratch, covering both Lightroom Classic and Lightroom Mobile, manual installation methods, file paths, and troubleshooting tips that most tutorials overlook.
What Are Lightroom Presets and Why Create Your Own
A Lightroom preset is essentially a saved recipe of editing adjustments that you can apply to any photo with a single click. Instead of manually adjusting exposure, contrast, color grading, and tone curve for every image, a preset records those settings and applies them instantly.
Creating your own presets transforms your editing workflow in three powerful ways. First, it saves tremendous time when processing large photo shoots—wedding photographers often process 500+ images from a single event using custom presets. Second, it ensures visual consistency across your entire portfolio, which is crucial for building a recognizable brand. Third, it helps you develop a signature editing style that becomes part of your artistic identity.
Professional photographers I’ve interviewed treat presets as sophisticated starting points rather than final edits. They create presets for specific lighting conditions, camera systems, and even client preferences. This strategic approach to preset creation separates hobbyists from professionals who understand that presets should accelerate creativity, not replace it.
Understanding Lightroom Versions and Preset Formats
Before diving into preset creation, it’s essential to understand that different Lightroom versions use different preset formats. Lightroom Classic, the desktop version preferred by most professionals, uses XMP files. These small text files contain your editing settings and can be easily shared and installed manually.
Lightroom Mobile (and the cloud-based Lightroom CC) uses a different approach. Instead of XMP files, mobile presets are often distributed as DNG files—special image files that contain the preset embedded within them. You import the DNG, copy the settings, and save them as your own preset. This method works around mobile operating system restrictions that prevent direct file access.
The compatibility between versions has improved recently. You can now sync presets between Lightroom Classic and Lightroom Mobile through Creative Cloud, but understanding the underlying XMP vs DNG difference is crucial when troubleshooting installation issues or sharing presets with others who use different Lightroom versions.
How to Create and Install Custom Lightroom Presets from Scratch
Creating professional Lightroom presets from scratch requires understanding both the technical process and the artistic decisions that make presets effective across different photos. Let me break down the complete workflow from creation to installation.
How to Create Custom Presets in Lightroom Classic
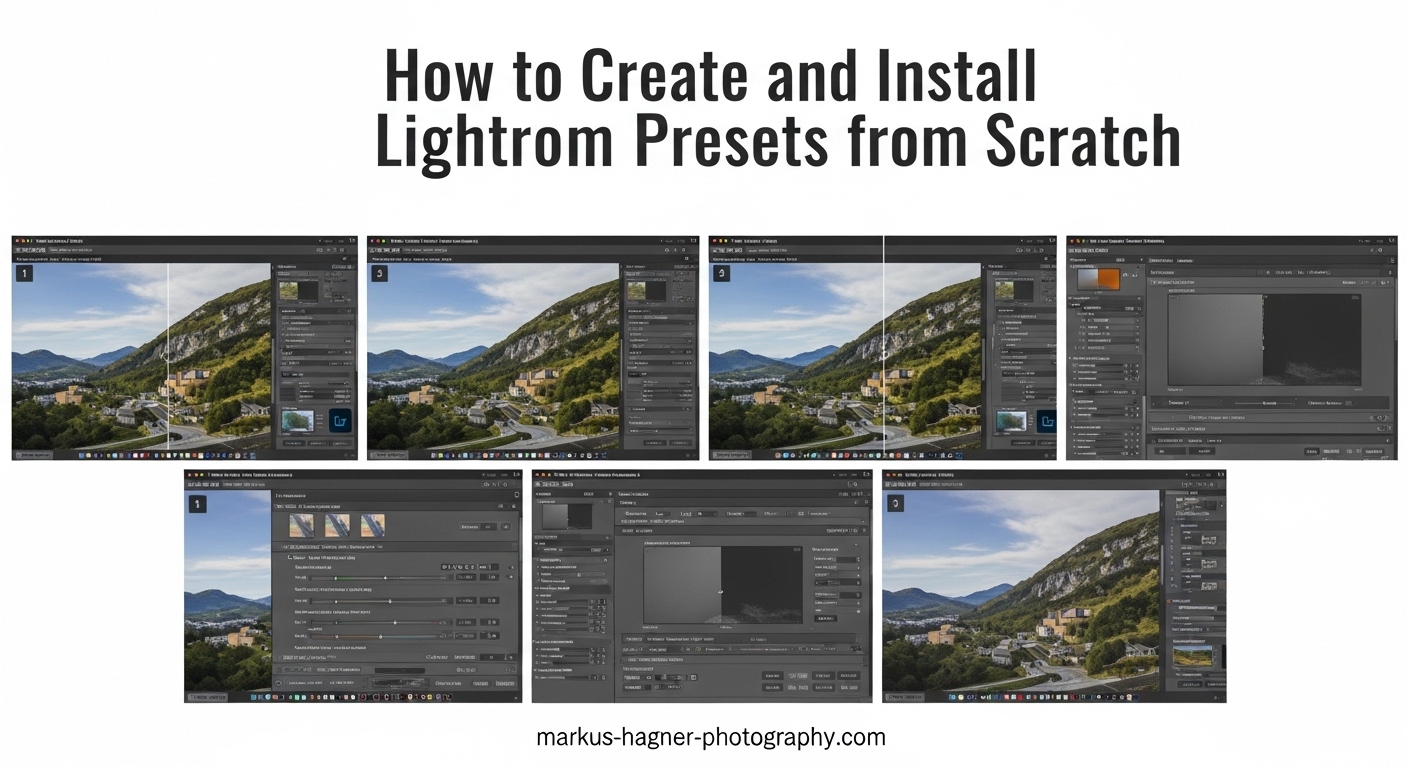
Creating presets in Lightroom Classic starts in the Develop module, where all the editing magic happens. Here’s the step-by-step process I’ve refined through years of preset creation:
Step 1: Open a representative photo in the Develop module. Choose an image that’s typical of your work—good exposure, normal lighting conditions, and representative colors. This ensures your preset will work well on similar photos in the future.
Step 2: Start with Profile selection at the top of the Basic panel. Profiles are foundational adjustments that dramatically affect your image’s look. Adobe Color, Adobe Standard, or Camera Matching profiles work best as preset foundations. Avoid Camera Vivid or Landscape profiles if you want versatility.
Step 3: Make your Basic panel adjustments. Set your white balance first (though you’ll typically exclude this from presets), then adjust exposure, contrast, highlights, shadows, whites, and blacks. I recommend creating slightly punchy presets—increase contrast by +10 to +15 and add clarity around +10 for a professional starting point.
Step 4: Move to the Tone Curve panel. The tone curve controls brightness and contrast more precisely than Basic panel sliders. A subtle S-curve (raise highlights slightly, lower shadows slightly) adds depth to most photos. Avoid extreme curves that won’t translate well across different images.
Step 5: Fine-tune colors in the HSL panel. This is where presets get their distinctive look. Adjust hue, saturation, and luminance for specific colors. For skin tone preservation, be conservative with orange and red adjustments—slight desaturation (+5 to -10) usually looks natural.
Step 6: Add color grading in the Color Grading panel (formerly Split Toning). Subtle color grading creates professional-looking presets. Try adding slight warmth to shadows and slight coolness to highlights, or vice versa for a cinematic look. Keep intensity below 10 for versatility.
Step 7: Apply lens corrections. Enable Profile corrections and Remove Chromatic Aberration in the Lens Corrections panel. These adjustments should generally be included in presets as they improve nearly every image regardless of lens or camera.
Step 8: Add subtle effects if desired. A small amount of vignette (-10 to -20) can draw attention to your subject. Grain works well for high-ISO or black-and-white presets but use sparingly.
Step 9: Create the preset. Click the Plus icon next to the Presets panel header and select “Create Preset.” Name your preset descriptively—”Warm Portrait,” “Cinematic Landscape,” or “Moody Street.” Choose which settings to include by checking or unchecking boxes.
Step 10: Select settings strategically. Generally EXCLUDE: White Balance, Exposure, Contrast, and Saturation. Generally INCLUDE: Tone Curve, HSL, Color Grading, Sharpening, Lens Corrections, and Effects. This approach allows your preset to add style without fighting the image’s natural exposure and color balance.
Step 11: Organize into folders. Create preset folders by category—”Portraits,” “Landscapes,” “Weddings,” or “Black & White.” This organization becomes crucial as your preset library grows.
Pro Tip: Always test your new preset on 5-10 different photos before finalizing. If it looks good on at least 70% of similar images, it’s a keeper. If it only works on one specific photo, it’s too specialized and needs adjustment.
How to Create Custom Presets in Lightroom Mobile
Creating presets in Lightroom Mobile follows a similar philosophy but uses a different interface. The mobile app has become surprisingly powerful, and many photographers now create presets entirely on their phones or tablets.
Step 1: Import and edit a photo in Lightroom Mobile. Tap the Edit icon at the bottom right, then work through Light, Color, and Effects tabs. The mobile interface rearranges some panels but offers most of Classic’s editing power.
Step 2: Complete your edit using similar principles to Classic—start with Light adjustments (exposure, contrast), move to Color (mix, color grading), and finish with Effects (vignette, grain). The Color Grading wheel in mobile works identically to Classic.
Step 3: Create the preset. Tap the Presets icon at the bottom, then tap the three dots in the upper right corner of the Presets panel. Select “Create Preset” from the menu.
Step 4: Name your preset and choose settings. The mobile interface simplifies this—you’ll see categories like Light, Color, Effects, and Details. Toggle switches for each category to include or exclude those settings.
Step 5: Save to Creative Cloud. Your mobile preset automatically syncs to your Creative Cloud account, making it available in Lightroom Mobile on other devices and in Lightroom Classic if sync is enabled.
Alternative Method: If you’ve purchased or downloaded mobile presets as DNG files, import the DNG into Lightroom Mobile, tap the three-dot menu, select “Copy Settings,” then paste those settings onto your own photo and save as a preset. This is how most mobile preset packs are distributed.
How to Install Presets from XMP Files (Manual Installation)
Installing presets manually gives you complete control and helps troubleshoot installation issues. This method works for both presets you’ve downloaded and backups of your own presets.
Windows File Path: Navigate to C:Users[YourUsername]AppDataRoamingAdobeLightroomDevelop Presets\. If the “Develop Presets” folder doesn’t exist, create it. Place your XMP preset files directly in this folder or in organized subfolders within it.
Mac File Path: Go to ~/Library/Application Support/Adobe/Lightroom/Develop Presets/. The tilde (~) represents your user folder. You can access this by opening Finder, pressing Command+Shift+G, and pasting the path. Again, organize presets into subfolders for easier management.
Lightroom Classic CC (Version 7.3+) Installation: Newer versions of Lightroom Classic use a different system. In Lightroom, go to File > Import Profiles & Presets. Navigate to your downloaded XMP files, select them, and click Import. Lightroom will automatically place them in the correct location and refresh your Presets panel.
Verification: After installation, right-click anywhere in the Presets panel and select “Show Lightroom Presets Folder.” This opens the file system location where Lightroom stores presets, confirming your files are in the right place.
Reloading Presets: If presets don’t appear immediately, right-click the Presets panel header and select “Refresh.” Sometimes Lightroom needs a manual refresh to recognize newly added files.
How to Install Presets from DNG Files (Mobile Method)
DNG preset installation is specific to Lightroom Mobile and requires a different approach. This method is commonly used for mobile preset packs you purchase or download.
Step 1: Download the DNG preset files to your phone or tablet. These files appear as regular images in your camera roll or downloads folder.
Step 2: Import the DNG into Lightroom Mobile. Tap the Add Photo icon, select the DNG file from your camera roll or files, and it will appear in your Lightroom catalog as a photo.
Step 3: Open the DNG file in Lightroom Mobile’s Edit view. You’ll see the preset effect already applied to the image—that’s how the preset is embedded in the DNG format.
Step 4: Copy the settings. Tap the three-dot menu in the upper right, select “Copy Settings,” and ensure all categories are checked.
Step 5: Create your preset. Open any photo (or a blank one), tap the three-dot menu again, select “Paste Settings,” then immediately create a preset from those pasted settings using the normal preset creation process.
Alternative: Many DNG preset packs include a “Settings” file that’s already blank except for the preset effect. Copy settings from this file, then the preset is yours to keep and use on any photo.
Exporting and Sharing Your Custom Presets
Once you’ve created valuable presets, you’ll want to export them for backup or sharing. In Lightroom Classic, right-click any preset or preset folder and select “Export.” Choose a destination folder, and Lightroom will create XMP files that you can share, backup, or sell.
For mobile presets, the process requires a workaround. Apply your preset to a blank or neutral photo, export that photo as DNG, and share the DNG file. Recipients will use the DNG installation method described above to access your preset.
Regular preset backups are essential. I recommend backing up your entire “Develop Presets” folder monthly, especially before major Lightroom updates. Presets can be lost during software updates or computer migrations, and recreating them from scratch is frustrating.
Applying Presets to Multiple Photos (Batch Editing)
The real power of presets emerges when applying them to multiple photos. In Lightroom Classic’s Library module, select multiple photos (Shift+click for continuous selection, Command/Ctrl+click for non-continuous), then click “Sync Settings” at the bottom right.
Check which settings to sync—typically, you’ll sync everything except Crop and Spot Removal. This batch applies your preset across dozens or hundreds of images instantly, reducing editing time from hours to minutes.
For even faster workflow, apply presets during import. In the Import window’s “Apply During Import” panel, select your preset from the “Develop Settings” dropdown. Every imported photo receives the preset automatically, perfect for consistent editing of photo shoots with identical lighting.
Preset Creation Best Practices
After years of creating and testing hundreds of presets, I’ve identified several best practices that separate amateur presets from professional ones.
Exclude White Balance and Exposure: Never include these settings in your presets. White balance varies dramatically between lighting conditions, and exposure should be adjusted per image. Including these settings makes presets less versatile and often requires immediate correction after application.
Create Lighting-Specific Presets: Different presets work better in different lighting. Create “Golden Hour” presets for warm sunset light, “Overcast” presets for flat lighting, and “Studio” presets for controlled artificial light. This specificity improves your hit rate—the percentage of photos where the preset looks good without adjustment.
Test on Multiple Photos: Before finalizing any preset, test it on at least 10 different photos with varied subjects, lighting, and colors. If it works on 70% or more, it’s a solid preset. Below 50%, it needs revision. This testing prevents creating presets that only work on the photo you created them with.
Use Virtual Copies: When developing presets, create virtual copies (Command/Ctrl+’) of your test photo. Apply different preset variations to each virtual copy, then compare them side-by-side. This non-destructive testing lets you iterate quickly without affecting your original image.
Create Preset Variations: Instead of one complex preset, create variations with different intensities—”Subtle,” “Medium,” and “Strong” versions of the same look. This gives you flexibility when the full-strength preset is too much for a particular image.
Build Signature Style Over Time: Don’t expect to create your signature look immediately. Most professional photographers evolve their presets over months or years, gradually refining their style based on what works across different types of images. Keep what works, discard what doesn’t, and your distinctive look will emerge naturally.
Troubleshooting Common Preset Issues
Even experienced photographers encounter preset problems. Here are solutions to the most common issues I see discussed in photography forums:
Preset Not Showing Up: If newly installed presets don’t appear, first verify you installed them in the correct version of Lightroom—Classic presets don’t automatically appear in Lightroom CC. Then right-click the Presets panel and select “Refresh.” For XMP files, ensure they’re in the “Develop Presets” folder, not a parent folder. Finally, check that the preset isn’t hidden—Lightroom allows you to hide presets from the panel.
Preset Looks Different on Other Photos: This is normal and expected. Presets aren’t magic—they’re starting points that work better on some images than others. Factors affecting preset performance include original exposure, white balance, lighting conditions, and even camera model. Solution: Create multiple presets for different scenarios, or treat presets as 80% complete and expect to make minor adjustments for each photo.
Settings Getting Replaced Instead of Added: By default, Lightroom presets replace existing settings rather than adding to them. To change this, create your preset with “Auto Tone” checked in the settings checkboxes. This makes the preset more additive, preserving some of your previous adjustments while applying new ones.
Version Compatibility Issues: Presets created in newer Lightroom versions may not work in older versions due to new features. For maximum compatibility, avoid including newer features like AI Denoise or Super Resolution in presets you plan to share. If you must upgrade Lightroom, export your presets first as a backup.
Raw vs JPEG Differences: The same preset often looks different on RAW files versus JPEGs because RAW files contain more data and respond more dramatically to adjustments. Solution: Create separate presets for RAW and JPEG if you shoot both formats, or test your presets on both file types during development.
Profile Missing Warnings: If a preset uses a specific camera profile that you don’t have installed, Lightroom will show a “Profile Missing” warning and the preset won’t look right. Solution: When creating presets to share, stick to Adobe Standard or Adobe Color profiles that everyone has. Avoid Camera Matching or custom profiles unless you’re certain recipients have the same camera model.
Frequently Asked Questions
How do I create my own preset in Lightroom?
Edit a photo in the Develop module until you achieve your desired look, then click the Plus icon next to Presets and select Create Preset. Name it, choose which settings to include (exclude white balance and exposure for versatility), and save. Test on multiple photos before finalizing.
What’s the difference between XMP and DNG presets?
XMP files are used by Lightroom Classic—they’re small text files containing editing settings that you install directly in the presets folder. DNG presets are used by Lightroom Mobile—the preset is embedded in an image file that you import, copy settings from, and save as your own preset.
Why are my presets not showing in Lightroom?
First verify you installed them in the correct Lightroom version. Right-click the Presets panel and select Refresh. Check that XMP files are in the Develop Presets folder, not a parent folder. Ensure presets aren’t hidden from the panel view. Restart Lightroom if issues persist.
Do professional photographers use Lightroom presets?
Yes, nearly all professional photographers use presets as part of their workflow. However, pros treat presets as sophisticated starting points rather than final edits. They create custom presets for specific lighting conditions, camera systems, and client preferences, then fine-tune each image individually.
Can I use Lightroom Classic presets on mobile?
Yes, if sync is enabled through Creative Cloud. However, some Classic features don’t exist in mobile, so certain presets may not translate perfectly. For best results, create presets using only features available in both Classic and Mobile versions.
How many presets should I create?
Quality matters more than quantity. Start with 5-10 versatile presets covering your most common shooting scenarios. Many professional photographers work with 15-25 well-tested presets rather than hundreds of mediocre ones. Focus on creating presets you actually use consistently.
Conclusion
Learning how to create and install custom Lightroom presets from scratch is a transformative skill that accelerates your editing workflow and helps develop your signature photographic style. We’ve covered preset creation in both Lightroom Classic and Mobile, manual installation methods with specific file paths for Windows and Mac, XMP versus DNG formats, and troubleshooting solutions for common preset problems.
The most important takeaway is that great presets are built through iteration and testing. Create presets, test them across dozens of different photos, refine what works, and discard what doesn’t. Your signature style will emerge naturally from this refinement process over weeks and months of consistent editing.
Start small—create just one or two presets this week based on your most common editing style. Apply them to your next photo shoot, observe how they perform across different lighting conditions, and adjust accordingly. The journey from preset novice to preset pro is one of the most rewarding skill developments in photography, opening doors to consistent, professional-looking edits that showcase your unique artistic vision.