Preparing images for commercial printing requires one essential step that many designers and photographers overlook: converting from RGB to CMYK color mode. I have worked with countless print projects over the years, and the difference between a properly converted image and one sent to press in RGB can mean the difference between vibrant, accurate colors and disappointing, muddy results.
In this guide, I will walk you through exactly how to convert images from RGB to CMYK for commercial printing in Photoshop. You will learn two reliable methods, which CMYK profiles work best for different print situations, and how to minimize color loss during conversion. I will also share advanced techniques like soft proofing and batch conversion that most tutorials skip.
Why RGB to CMYK Conversion Is Necessary for Commercial Printing
Commercial printing presses use four ink colors: Cyan, Magenta, Yellow, and Key (Black). This is the CMYK color model. Your computer screen, camera, and smartphone all display images using Red, Green, and Blue light – the RGB color model. These two systems create color in fundamentally different ways, and RGB contains colors that simply cannot exist in print.
RGB vs CMYK: Understanding the Fundamental Difference
RGB is an additive color model. Your screen starts black and adds colored light to create the full spectrum. CMYK is subtractive – white paper starts with all colors, and ink absorbs (subtracts) certain wavelengths to leave the desired color behind. This fundamental difference means RGB can display approximately 16.7 million colors, while CMYK can only reproduce a subset of those.
What Is Color Gamut and Why It Matters
A color gamut is the complete range of colors a system can produce. RGB has a wider gamut than CMYK, especially in bright greens, cyans, and oranges. When you convert an RGB image to CMYK, any colors outside the CMYK gamut get shifted to the nearest reproducible color. This is why bright, neon colors often look duller after conversion – they literally cannot exist in the printed output.
Professional printers report that understanding color gamut limitations before conversion is the single most important factor in setting realistic expectations for print results.
What Happens When You Skip Conversion
If you send an RGB file to a commercial printer, one of two things will happen. Either the printer’s prepress software will automatically convert it to CMYK (often with unpredictable results), or the job will be rejected entirely. Neither outcome gives you control over how your colors translate. Converting to CMYK in Photoshop lets you see and adjust the color shift before sending files to print.
How to Convert Images from RGB to CMYK for Commercial Printing in Photoshop
The exact process takes just a few clicks in Photoshop, but understanding your options helps you choose the right method for each project. Here are two approaches I use depending on the situation.
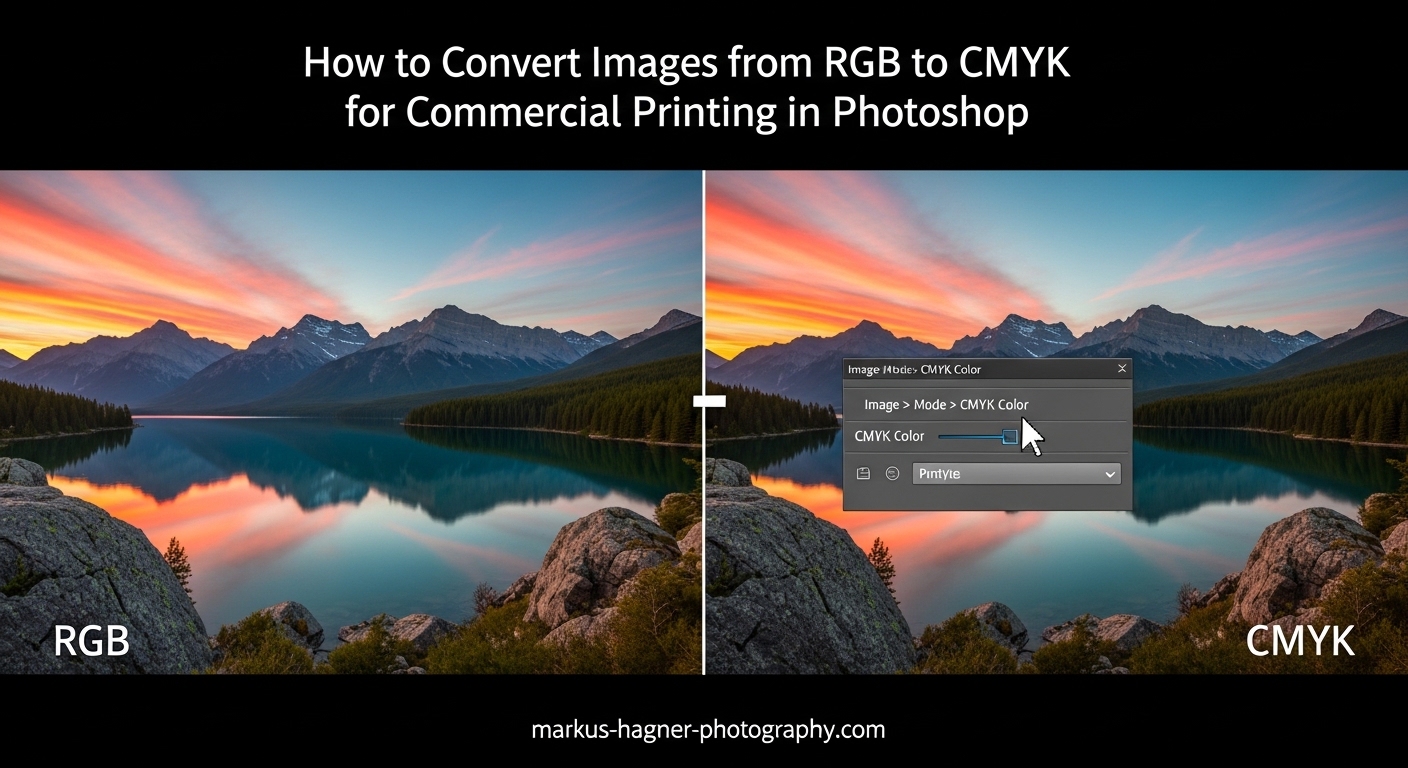
Method 1: Quick Conversion Using Image Mode
This is the fastest way to convert RGB to CMYK in Photoshop and works well for most standard projects.
Step 1: Open your RGB image in Photoshop. Check the document title bar – it should show RGB next to the color mode indicator.
Step 2: Go to the Image menu at the top of your screen and select Mode from the dropdown.
Step 3: Click on CMYK Color from the submenu. Photoshop may ask if you want to flatten layers – choose based on your needs (flattening is usually fine for final output).
Step 4: The conversion happens immediately. You will likely notice some color shift, particularly in bright areas.
Step 5: Save your converted file with a new name to preserve the original RGB version.
This method uses your current Photoshop color settings to determine the exact conversion. For most users, this defaults to U.S. Web Coated (SWOP) v2.
Method 2: Convert to Profile (Recommended for Control)
For commercial printing where color accuracy matters, I strongly recommend using Convert to Profile instead. This method gives you precise control over the conversion settings.
Step 1: Open your RGB image in Photoshop.
Step 2: Go to Edit in the menu bar and select Convert to Profile near the bottom of the dropdown.
Step 3: A dialog box appears showing your Source Space (current profile) and Destination Space. Click the Destination Space dropdown and select your target CMYK profile.
Step 4: For Conversion Options, use these recommended settings: Engine: Adobe (ACE), Intent: Relative Colorimetric, check both Black Point Compensation and Use Dither.
Step 5: Click OK to complete the conversion.
The Relative Colorimetric rendering intent preserves colors that fall within both gamuts while shifting out-of-gamut colors to the nearest printable equivalent. This gives the most accurate color reproduction for photographs.
Choosing the Right CMYK Profile
Not all CMYK profiles are created equal. Different printing conditions require different profiles.
U.S. Web Coated (SWOP) v2 is the most common profile for commercial offset printing in North America. Use this for brochures, magazines, catalogs, and general commercial print jobs on coated paper.
Japan Color 2001 Coated is preferred for printing in Asia or when working with overseas printers. Many print-on-demand services and international printers specify this profile.
GRACoL 2006 Coated offers a slightly wider gamut and works well for high-quality commercial printing with modern press technology.
When in doubt, ask your printer which profile they prefer. Most commercial printers are happy to provide their recommended CMYK profile or even a custom ICC profile for their specific press.
Soft Proofing: Preview Before You Convert
Soft proofing lets you see how your image will look in CMYK before you actually convert it. This helps you identify potential problems and make adjustments proactively.
Step 1: With your RGB image open, go to View and select Proof Setup, then Custom.
Step 2: In the Customize Proof Condition dialog, select the CMYK profile you plan to use from the Device to Simulate dropdown.
Step 3: Check Simulate Black Ink and Simulate Paper Color for the most accurate preview.
Step 4: Click OK, then press Ctrl+Y (Cmd+Y on Mac) to toggle soft proof on and off.
The soft proof view shows you exactly what colors will shift and how dramatic that shift will be. Make your color adjustments in RGB while viewing the soft proof, then convert to CMYK for final output.
Checking for Out-of-Gamut Colors
Some RGB colors have no direct equivalent in CMYK. Photoshop can highlight these problem areas before you convert.
Go to View and select Gamut Warning (or press Ctrl+Shift+Y / Cmd+Shift+Y). Any colors that fall outside the CMYK gamut appear highlighted in gray. This instantly shows you which areas of your image will change most dramatically during conversion.
Pay special attention to neon colors, bright greens, and saturated cyans – these are the most common culprits for gamut issues. You can adjust these colors in RGB before conversion to achieve a more predictable result.
Advanced Tips for Better CMYK Conversion Results
Beyond the basic conversion methods, several techniques can significantly improve your print results.
Working with Rich Black for Better Print Depth
Standard black in CMYK is simply 100% K (black ink). However, this often prints as a dark gray rather than a deep black. Rich black combines all four colors to create a deeper, more saturated black.
A common rich black formula is C60 M40 Y40 K100. This provides much better shadow depth for large black areas. However, avoid using rich black for small text (under 12 points), as registration issues between the four colors can cause blurriness.
Adjusting Colors After Conversion
Even with the best conversion settings, you may want to tweak colors after converting to CMYK. Work in CMYK mode to make these adjustments, using tools like Curves, Levels, or Hue/Saturation.
Focus on boosting areas that appear washed out after conversion. Small increases in saturation can help compensate for gamut compression. Just remember – you cannot push a color beyond the CMYK gamut, so adjustments should be subtle.
Batch Converting Multiple Images with Photoshop Actions
Professional photographers and designers often need to convert dozens of images at once. Photoshop Actions automate this process.
Step 1: Open one image and create a new Action in the Actions panel (Window menu).
Step 2: Record yourself converting the image to CMYK using your preferred method.
Step 3: Stop recording and save the Action.
Step 4: Go to File menu, select Automate, then Batch.
Step 5: Choose your Action, select the source folder containing your images, and choose a destination folder for the converted files.
Step 6: Click OK to process all images automatically.
This batch conversion workflow saves hours when preparing large photo collections or product catalogs for commercial printing.
Common Mistakes to Avoid When Converting to CMYK
Forum discussions reveal several recurring issues that trip up designers and photographers.
Converting multiple times: Each RGB to CMYK conversion degrades image quality slightly. Convert once and save the CMYK version for print.
Using the wrong CMYK profile: A profile mismatch between your file and your printer’s expectations causes color shifts. Always confirm the correct profile with your printer.
Ignoring gamut warnings: Bright neon colors in your RGB file will never print accurately. Either adjust these colors before conversion or accept the difference.
Skipping soft proofing: Without soft proofing, the first time you see color problems is in the printed proof. Preview first to catch issues early.
Not saving the original: Always keep your RGB source file. CMYK is an output format, not a working format. Future edits should come from the RGB original.
Saving and Exporting CMYK Files for Print
After converting to CMYK, save your file in a format that preserves the color profile.
TIFF: The most widely accepted format for commercial printing. It supports CMYK, layers (optional), and embeds ICC profiles.
PDF/X-1a: A standardized PDF format specifically for print production. All fonts are embedded, colors are CMYK only, and transparency is flattened.
PSD: Photoshop’s native format works if your printer accepts it. Useful for files that may need further editing.
Avoid saving as JPEG for print – the compression artifacts and lack of CMYK profile support make it unsuitable for commercial printing.
Frequently Asked Questions
How to convert RGB to CMYK in Photoshop for printing?
Go to Image menu, select Mode, then click CMYK Color. For more control, use Edit then Convert to Profile and select your target CMYK profile such as U.S. Web Coated SWOP v2 or Japan Color 2001 Coated. The conversion takes effect immediately, though you will likely see some color shift in bright areas.
How to convert RGB to CMYK without losing quality?
Some color loss is unavoidable because RGB has a wider color gamut than CMYK. However, you can minimize unwanted shifts by using soft proofing to preview changes first, adjusting out-of-gamut colors before conversion, and using Relative Colorimetric rendering intent with Adobe ACE engine. Designing in CMYK from the start also helps avoid conversion surprises.
Do I need to convert RGB to CMYK for printing?
Yes, commercial printing presses use CMYK inks, not RGB light. If you send RGB files to a printer, their prepress software will convert them automatically, often with unpredictable results. Converting to CMYK yourself in Photoshop gives you control over how colors translate and lets you see color shifts before committing to print.
How to convert PNG to CMYK in Photoshop?
Open your PNG file in Photoshop, then convert it the same way as any RGB image. Go to Image menu, select Mode, then CMYK Color. Since PNG files are typically RGB, the conversion process is identical. Note that PNG does not support CMYK natively, so save your converted file as TIFF, PDF, or PSD for print use.
Conclusion
Converting images from RGB to CMYK for commercial printing in Photoshop is straightforward once you understand the process. Use the quick Image Mode method for simple projects, or Convert to Profile when you need precise control. Always soft proof before converting, check gamut warnings, and save your files in print-appropriate formats like TIFF or PDF/X-1a. With these techniques, your printed pieces will match your creative vision far more closely than if you simply hope for the best with RGB files.