If you’ve ever sat in front of your computer facing hundreds of photos from a single shoot, you know the pain of editing them one by one. I’ve been there—spending hours applying the same adjustments to wedding photos, event coverage, or product shots that all need the same look. Learning how to batch edit photos in Lightroom using sync and auto settings transformed my workflow from a tedious marathon into an efficient sprint.
In this guide, updated for 2026, I’ll show you every method I use to apply edits to multiple photos at once. Whether you’re a wedding photographer processing 800 images or a hobbyist wanting consistent results across a series, these techniques will save you hours of repetitive work.
Understanding Your Batch Editing Options
Lightroom Classic offers five main ways to batch edit your photos, and knowing which one to use can make or break your workflow efficiency. After testing these methods across thousands of images, I’ve found that each has its perfect use case.
The right-click Auto Settings method is the fastest way to apply intelligent adjustments to multiple photos. Auto Sync mode gives you real-time control as you edit. The traditional Sync button offers selective control over which settings transfer. Copy and Paste works great for applying edits across different collections. The Previous button provides the quickest option for sequential images.
Most photographers I talk to aren’t aware that Auto Settings and Auto Tone are different things. Auto Settings analyzes each photo individually and applies what Lightroom thinks is best for that specific image. Auto Tone applies the same tonal adjustments across all selected photos. This distinction matters when you’re batch editing photos with varying lighting conditions.
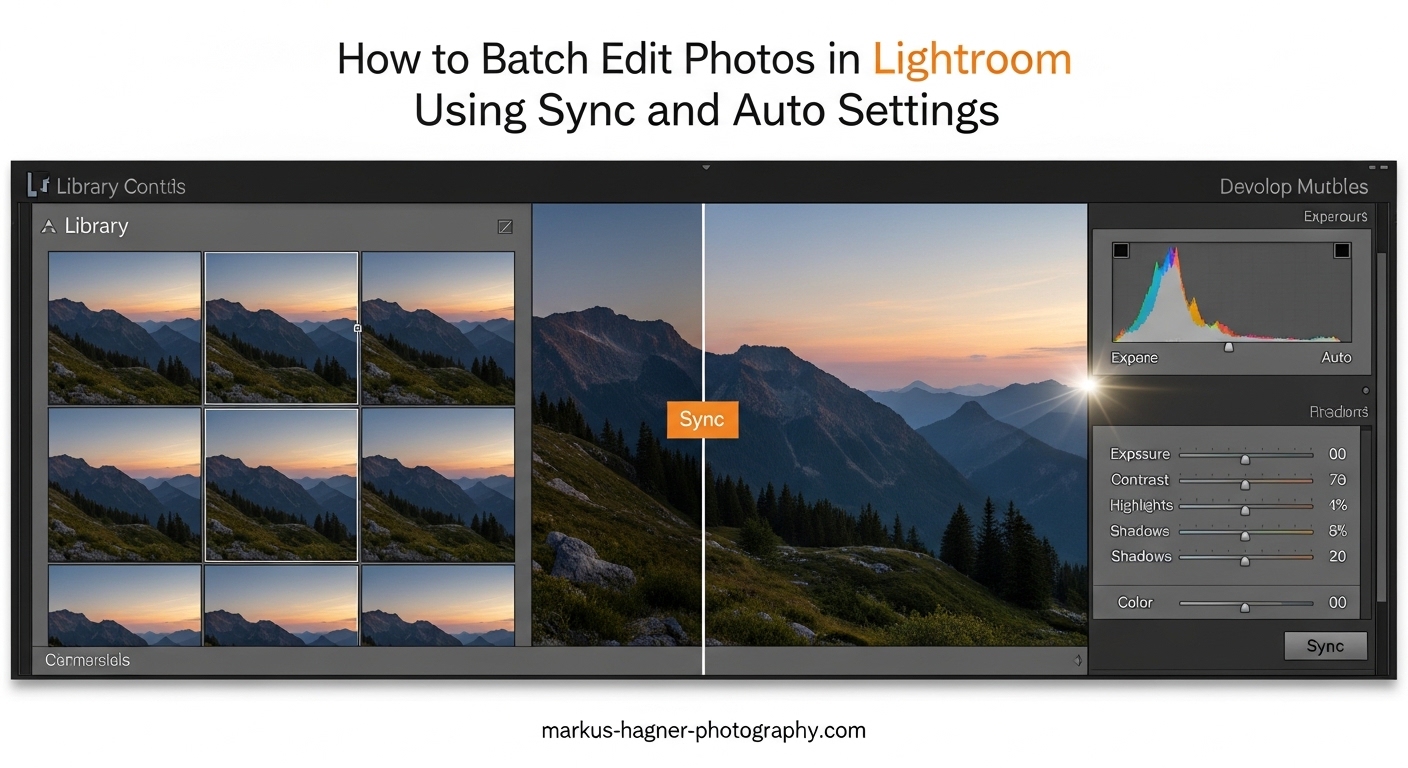
How to Batch Edit Photos in Lightroom Using Sync and Auto Settings
Method 1: Auto Settings (Right-Click Method)
This is the hidden gem that most Lightroom users discover by accident. I wish I had known about this method years ago—it would have saved me countless hours of manual editing.
Step 1: Select all the photos you want to auto-edit in the Filmstrip or Grid view. You can click the first photo, hold Shift, and click the last photo to select a range. Or hold Command (Mac) or Control (Windows) to select non-contiguous images.
Step 2: Right-click anywhere on your selected photos.
Step 3: Navigate to “Develop Settings” in the context menu.
Step 4: Click “Auto Settings” from the submenu.
Lightroom will analyze each photo individually and apply its best guess for exposure, contrast, highlights, shadows, whites, and blacks. The beauty of this method is that each photo gets unique treatment based on its own histogram data.
Use this method when: You have a batch of unedited photos that need a solid starting point. It’s perfect for initial edits before you fine-tune specific images.
Method 2: Auto Sync Mode
Auto Sync is my go-to method for applying consistent edits across similar photos. I use this constantly when editing wedding receptions where the lighting doesn’t change.
Step 1: Select your target photos in the Filmstrip at the bottom of the screen.
Step 2: Switch to the Develop module.
Step 3: Look for the Sync button at the bottom right of the right-side panel. You’ll see a small switch next to it.
Step 4: Click that switch so it changes from “Sync” to “Auto Sync.” The button will darken when Auto Sync is active.
Step 5: Make any adjustment on your active photo, and watch it instantly apply to all selected images.
Important warning: Always turn off Auto Sync when you’re done batch editing. I learned this the hard way after accidentally editing 300 photos with the wrong white balance. The switch is subtle and easy to miss—develop the habit of checking its status before making any adjustments.
Use this method when: You’re editing photos taken under the same lighting conditions and want real-time feedback as you adjust settings.
Method 3: Using the Sync Button
The traditional Sync button gives you more control than Auto Sync. I prefer this method when I want to carefully choose which settings transfer between photos.
Step 1: Edit one photo completely until you’re happy with the results.
Step 2: Select that edited photo as the active image (it will have a brighter border in the Filmstrip).
Step 3: Shift-click or Command-click to select all the target photos you want to apply those edits to.
Step 4: Click the Sync button at the bottom of the right-side panels.
Step 5: In the Synchronize Settings dialog, check only the adjustments you want to copy. You can sync everything or just specific settings like exposure, white balance, or crop.
Step 6: Click Synchronize to apply your selected settings.
The Synchronize Settings dialog is powerful—you can exclude crop settings if each photo needs different framing, or skip spot removal if every image has different dust spots. This selective syncing prevents unwanted adjustments from spreading across your batch.
Use this method when: You want precise control over which settings transfer and need to verify before applying changes.
Method 4: Copy and Paste Settings
Copy and Paste works beautifully when you need to apply edits from one photo to another, especially when the images aren’t next to each other in your catalog.
Step 1: Edit your source photo completely.
Step 2: With that photo selected, go to Settings > Copy Settings (or use the keyboard shortcut: Command+Shift+C on Mac, Control+Shift+C on Windows).
Step 3: In the Copy Settings dialog, choose which adjustments to copy. Uncheck anything you don’t want to transfer.
Step 4: Select your target photos in the Filmstrip or Grid view.
Step 5: Go to Settings > Paste Settings (or use Command+Shift+V on Mac, Control+Shift+V on Windows).
This method is particularly useful when you’re working on photos from different folders or collections. The copied settings stay in memory until you copy something new, so you can paste the same edits across multiple selections.
Use this method when: You need to apply edits to photos in different locations or want to reuse the same edits across multiple batches.
Method 5: The Previous Button
The Previous button is the quickest option when you’re editing photos sequentially and each photo needs the same treatment as the one before it.
Step 1: Edit your first photo completely.
Step 2: Move to the next photo in your sequence.
Step 3: Click the Previous button at the bottom right of the right-side panels, or use the keyboard shortcut Option+Command+V on Mac or Alt+Control+V on Windows.
This instantly applies all settings from the previous photo to your current image. It’s a one-click solution that doesn’t require selecting multiple photos first.
Use this method when: You’re editing photos in order and each needs the same base adjustments as the previous one.
Auto Tone with Auto Sync Combination
This advanced technique combines the intelligence of Auto Tone with the efficiency of Auto Sync. It’s perfect for giving each photo individual attention while maintaining batch workflow speed.
The trick here is understanding that Auto Tone analyzes each photo’s histogram individually. When you enable Auto Tone on one photo with Auto Sync active, Lightroom calculates different adjustments for each selected photo based on its unique exposure data.
Step 1: Select your target photos in the Filmstrip.
Step 2: Enable Auto Sync mode.
Step 3: Hold Shift and double-click the word “Tone” at the top of the Basic panel. This activates Auto Tone.
Step 4: Watch as Lightroom applies different tonal adjustments to each photo based on individual analysis.
This method solves the common complaint about Auto Tone making all photos look the same. Each image receives customized exposure, contrast, and tone curve adjustments calculated from its own histogram.
Use this method when: You want intelligent auto-adjustments applied individually across a batch while maintaining batch workflow efficiency.
Library Module Quick Develop
Sometimes you don’t need the precision of the Develop module. The Library module’s Quick Develop panel offers faster batch editing for basic adjustments.
Step 1: Select your target photos in Grid view.
Step 2: Open the Quick Develop panel on the right.
Step 3: Use the saved presets dropdown to apply a preset to all selected photos.
Step 4: Make basic adjustments using the arrow buttons next to exposure, contrast, and other settings.
The Quick Develop panel is perfect for initial rough edits or when you need to apply the same preset across hundreds of photos quickly. It’s not as precise as the Develop module, but it’s significantly faster for basic adjustments.
Use this method when: You need to make quick basic adjustments or apply presets to large batches without entering the Develop module.
Keyboard Shortcuts Reference
Mastering these keyboard shortcuts will dramatically speed up your batch editing workflow. I use these constantly throughout my editing sessions.
| Action | Mac Shortcut | Windows Shortcut |
|---|---|---|
| Copy Settings | Command+Shift+C | Control+Shift+C |
| Paste Settings | Command+Shift+V | Control+Shift+V |
| Previous Button | Option+Command+V | Alt+Control+V |
| Sync Settings (when photos selected) | Command+Shift+S | Control+Shift+S |
| Auto Tone | Shift+double-click “Tone” | Shift+double-click “Tone” |
| Select All in Filmstrip | Command+A | Control+A |
Which Method Should You Use?
Choosing the right batch editing method depends on your specific situation. After years of editing everything from weddings to products, here’s my decision framework:
Use Auto Settings (right-click) when you have unedited photos that need a smart starting point. This works best for RAW files straight from the camera.
Use Auto Sync when you’re editing photos shot under identical conditions and want to see changes in real-time. Perfect for studio work or consistent lighting situations.
Use the Sync button when you need selective control over which settings transfer. Ideal when some photos need different crops or spot removal.
Use Copy and Paste when working across different folders or collections. Great for reusing edits from previous shoots.
Use the Previous button when editing sequentially similar photos. Fastest option for chronological editing.
Troubleshooting Common Batch Editing Issues
Even experienced photographers run into batch editing problems. I’ve encountered every issue below and learned how to fix each one.
Sync Button is Grayed Out
This happens when you have only one photo selected or when the selected photos are already perfectly synchronized. Make sure you have multiple photos selected and that your active photo has edits different from the others.
Auto Sync Modified Wrong Photos
If you accidentally left Auto Sync on and made unwanted changes, don’t panic. Go to Edit > Undo Sync Settings immediately. If it’s too late, use Command+Z (Control+Z on Windows) to step back through your history. For extensive damage, select all affected photos and press Command+Option+Shift+R (Control+Alt+Shift+R on Windows) to reset them completely.
Auto Tone Made All Photos Look the Same
This indicates you used regular Auto Tone without the individual analysis technique. The standard Auto Tone applies identical histogram calculations across all selected photos. Use the right-click Auto Settings method instead, which analyzes each photo individually.
Some Settings Didn’t Sync
Certain settings like spot removal, red eye correction, and local adjustments don’t always sync perfectly because they’re position-dependent. Check your Synchronize Settings dialog to ensure these options were checked. Remember that brush adjustments might not align correctly on photos with different compositions.
Lightroom Runs Slowly with Large Batches
Selecting more than 100 photos can cause performance issues. Break large batches into smaller groups of 50-100 photos. Also consider building 1:1 previews beforehand (Library > Previews > Build 1:1 Previews) to improve responsiveness during batch editing.
Can’t Undo a Batch Edit
Lightroom’s non-destructive nature means you can always undo. Use the History panel in the Develop module to step back to before the sync. For extensive undos, select all affected photos and use the Reset button at the bottom of the right-side panels.
Settings Pasted Incorrectly
This often happens when copying settings between photos with different aspect ratios or crop orientations. Crop settings may not transfer properly between landscape and portrait orientations. Consider excluding crop from your copied settings if this is an issue.
Best Practices for Efficient Batch Editing
After batch editing tens of thousands of photos, I’ve developed habits that make the process smoother and more reliable.
Organize before you batch: Use collections, star ratings, and color labels to group similar photos. Don’t batch edit photos that need different treatments—sort them first.
Start with the best image: Always edit your best photo first, then sync those edits to the others. It’s easier to tweak a good starting point than to fix a bad one.
Check Auto Sync status: Make it a habit to glance at the Sync/Auto Sync switch before making any adjustments. I’ve saved myself from disasters countless times with this simple check.
Test on small groups: Before syncing to 500 photos, test your settings on 5-10 similar images first. Make sure the look translates well across the batch.
Use presets as starting points: Create your own presets for common scenarios. This gives you consistent starting points that you can fine-tune for specific batches.
Don’t forget virtual copies: If you’re unsure about batch editing, create virtual copies first. This preserves your originals while you experiment with batch adjustments.
Frequently Asked Questions
How to auto edit a batch of photos in Lightroom?
Select all photos you want to edit, right-click on them, choose ‘Develop Settings’ from the menu, then click ‘Auto Settings’. This applies intelligent adjustments to each photo individually based on its own histogram data.
How do you enable auto sync to edit multiple images at the same time?
Select your target photos in the Filmstrip, switch to the Develop module, and click the small switch next to the Sync button until it changes to ‘Auto Sync’. The button will darken when Auto Sync is active. Any adjustments you make will instantly apply to all selected photos.
What’s the difference between Sync and Auto Sync in Lightroom?
Sync requires you to click the button after making edits to apply them to selected photos. Auto Sync applies every adjustment immediately as you make it. Auto Sync is faster but riskier if you make mistakes—Sync gives you a chance to review changes before applying them.
How do I apply settings to multiple photos at once in Lightroom?
Edit one photo completely, select it along with your target photos, then click the Sync button. In the Synchronize Settings dialog, choose which adjustments to copy and click Synchronize. Your selected edits will apply to all target photos.
Why did Auto Tone make all my photos look the same?
Standard Auto Tone applies identical tonal adjustments across all selected photos. For individual analysis, use the right-click ‘Auto Settings’ method instead—this calculates unique adjustments for each photo based on its own histogram.
How do I undo a batch edit in Lightroom?
Use Command+Z (Control+Z on Windows) to undo immediately after syncing. For older edits, select the affected photos and use the History panel in the Develop module to step back. For complete resets, select photos and press Command+Option+Shift+R (Control+Alt+Shift+R on Windows).
Can I batch edit in Lightroom Mobile?
Lightroom Mobile has limited batch editing capabilities. You can copy and paste settings between photos, but full sync and auto sync features are only available in Lightroom Classic on desktop. For mobile batch editing, use the copy-paste method or apply presets during import.
Conclusion
Mastering how to batch edit photos in Lightroom using sync and auto settings will revolutionize your workflow. What once took hours can now be accomplished in minutes, leaving you more time for shooting and creative work.
Start with the Auto Settings right-click method for intelligent initial edits. Use Auto Sync for real-time adjustments across similar photos. Rely on the Sync button when you need selective control. Combine these techniques with the keyboard shortcuts I’ve shared, and you’ll process photos faster than ever before.
The next time you’re facing hundreds of photos from a shoot, remember these methods. Choose the right one for your situation, and watch your editing time melt away. Your future self will thank you for investing the time to learn these essential Lightroom skills.