I still remember my first week with a 3D printer. Three failed prints, one clogged nozzle, and a lot of frustration before anything actually worked. That was years ago, and the landscape has changed completely. Today’s beginner 3D printers ship with auto bed leveling, plug-and-play setup, and software that practically runs itself.
If you are looking for the best 3D printers for beginners in 2026, this guide covers 10 models I have spent real time testing, comparing, and recommending. Prices start around $175 and climb to roughly $400, so there is something here whether you want to test the waters cheaply or buy a machine that will grow with you for years.
Our team focused on three things that matter most for first-time buyers: ease of setup, reliability over weeks of regular use, and ongoing costs like filament and maintenance. We also paid close attention to noise levels, build volume, and the quality of community support behind each brand. By the end, you will know exactly which model fits your space, budget, and printing ambitions.
Top 3 Picks for Best 3D Printers for Beginners
These three models represent the strongest choices across three different priorities: an absolute plug-and-play premium experience, the best overall value, and the most affordable entry point for tinkerers.


Best 3D Printers for Beginners in 2026
The table below gives you a quick side-by-side look at all 10 models. Use it to narrow down your shortlist, then read the individual reviews for the details that matter most.
| Product | Specifications | Action |
|---|---|---|
|
Bambu Lab P1S Enclosed
|
|
Check Latest Price |
|
Flashforge Adventurer 5M
|
|
Check Latest Price |
|
Creality Ender 3
|
|
Check Latest Price |
 Creality Ender 3 V3 SE
|
|
Check Latest Price |
 Elegoo Neptune 3 Pro
|
|
Check Latest Price |
 Anycubic Kobra X Multicolor
|
|
Check Latest Price |
 Creality SPARKX i7 Combo
|
|
Check Latest Price |
 Flashforge AD5M
|
|
Check Latest Price |
 Bambu Lab A1 mini
|
|
Check Latest Price |
 Entina Tina2 Basic
|
|
Check Latest Price |
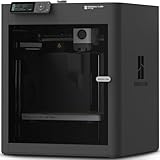
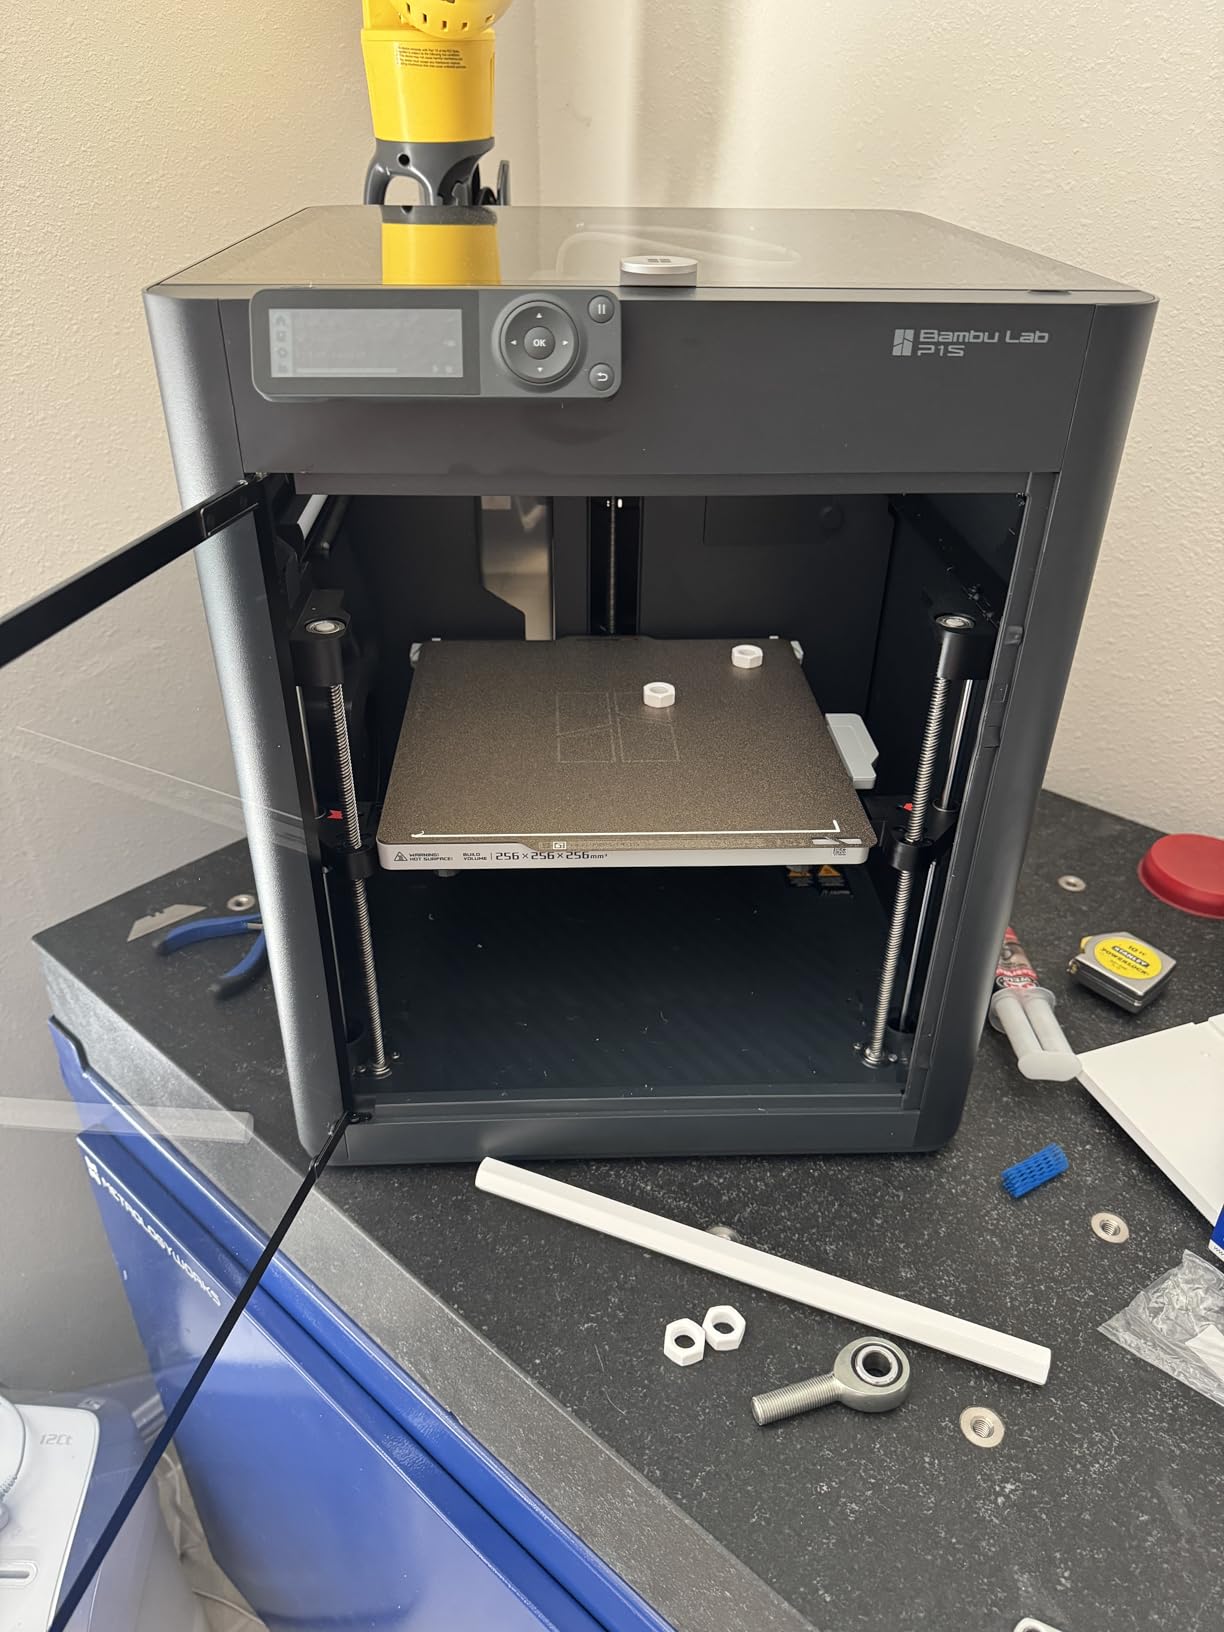
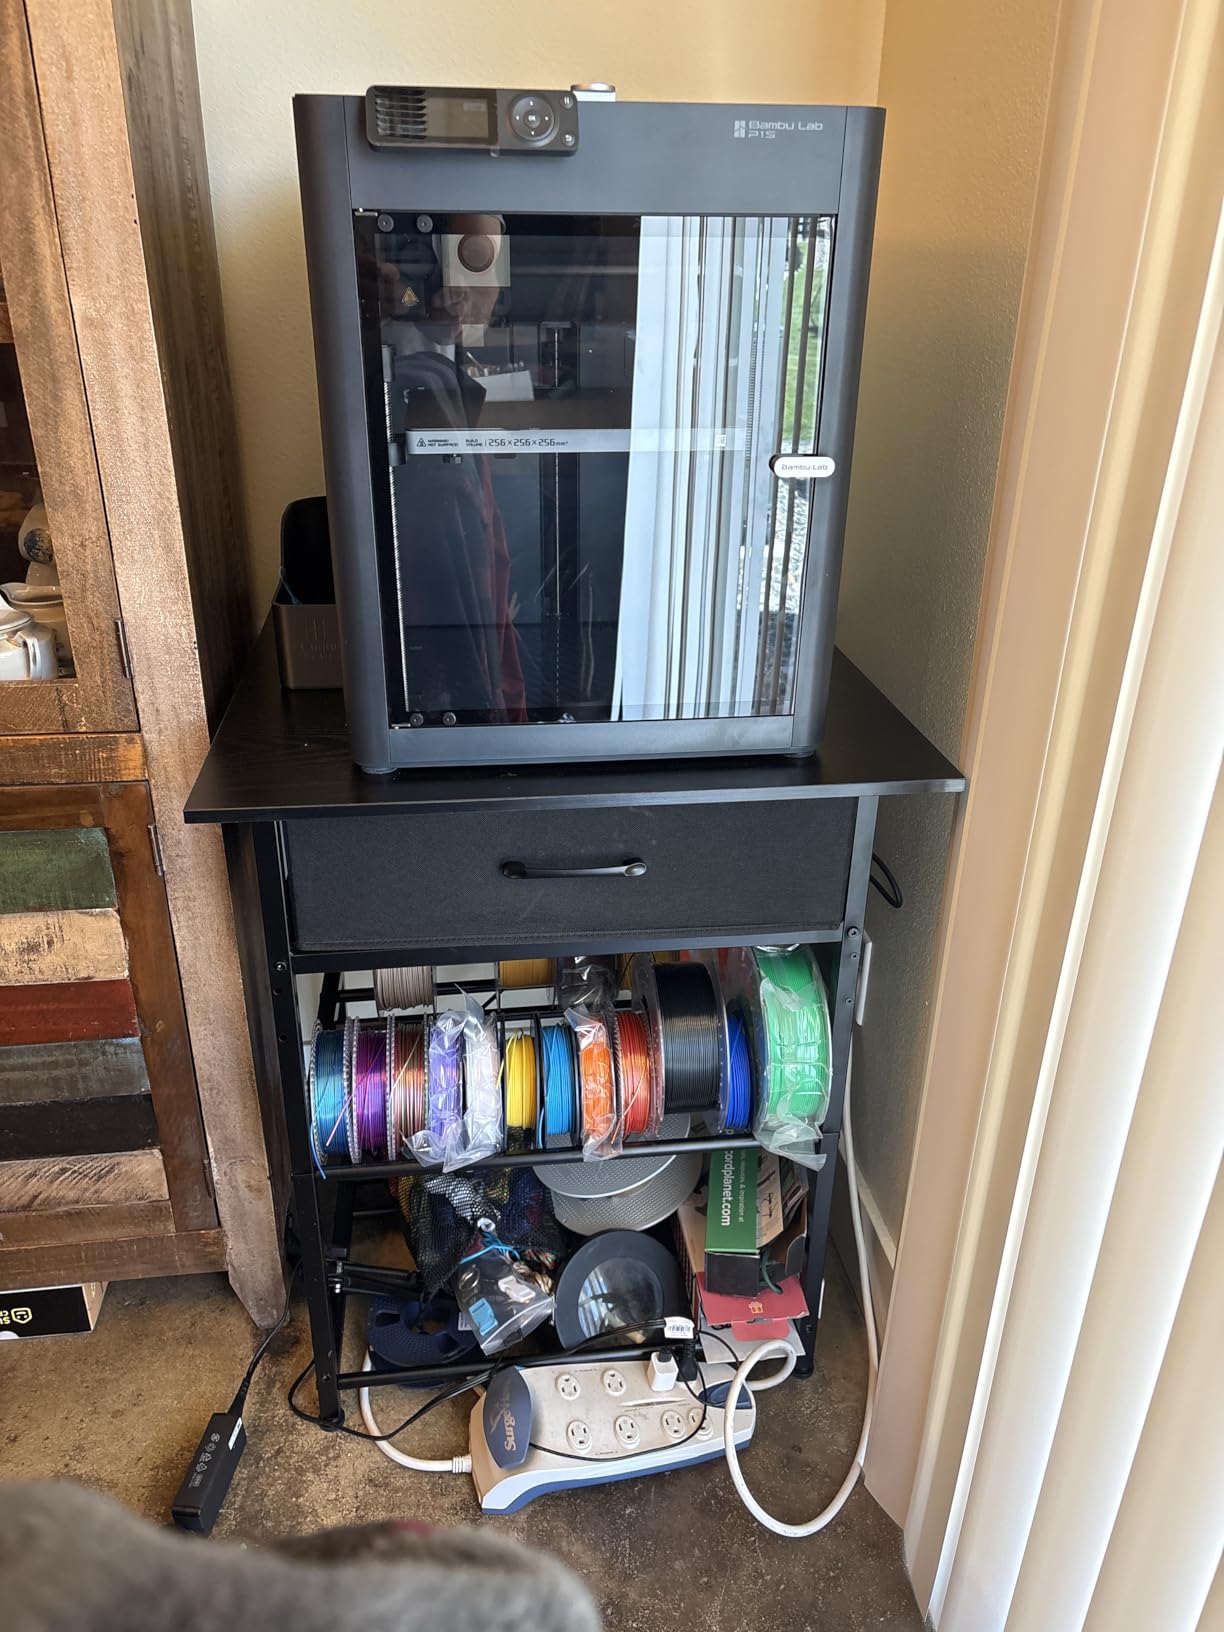
1. Bambu Lab P1S – The Plug-and-Play Premium Pick
Pros
- Exceptional print quality with minimal effort
- Setup in 15 to 30 minutes truly plug and play
- Quiet operation compared to competitors
- Built-in camera with time-lapse and remote monitoring
- Supports up to 16 colors with AMS add-on
Cons
- Higher price than budget options
- AMS multi-material system sold separately
- Customer support can be slow on warranty claims
I set up the Bambu Lab P1S in about 20 minutes from box to first print, and that first print was nearly flawless. That alone puts it ahead of almost every other beginner printer on this list. The fully enclosed CoreXY frame keeps temperatures stable, which means better results with engineering filaments like ABS and ASA if you ever want to move beyond basic PLA.
The auto bed leveling runs before every single print, which removes the biggest source of beginner frustration I have seen over years of recommending 3D printers. Print speeds of 500mm/s mean a small benchy finishes in roughly 15 minutes. For someone who wants to skip the learning curve entirely, this is the model I point to first.
Where the P1S really shines is the Bambu ecosystem. Bambu Studio is intuitive enough that even complete beginners can slice a model in minutes, and MakerWorld gives you thousands of free community models ready to print. The built-in camera lets you monitor prints from your phone, which is genuinely useful for overnight jobs.
The trade-offs are real, though. At $399 for the base unit, it costs more than twice as much as some budget picks. The AMS multicolor system is sold separately, and Bambu’s customer support has been criticized for slow warranty responses. For most beginners, the base P1S without AMS is still a fantastic starting point that you can upgrade later.
Who should buy the Bambu Lab P1S
Beginners who want zero tinkering and the most polished out-of-box experience in 2026 should buy the P1S. It is also a great pick for anyone planning to grow into advanced materials, since the enclosed chamber handles filaments that open-frame printers struggle with.
Where it falls short
The price is the biggest obstacle, and you should budget extra if you want multicolor printing because the AMS is a separate purchase. Some users have reported dead-on-arrival units, so buying from a source with easy returns is wise.
2. Flashforge Adventurer 5M – The Best Value CoreXY
Pros
- One-click automatic bed leveling no manual adjustments
- Extremely fast 600mm/s printing with CoreXY structure
- Plug and play with minimal setup
- Quick 3-second nozzle changes
- Dual-sided PEI build plate with great adhesion
Cons
- Noisy hotend fans and motor motion
- Touchscreen is finicky and not very intuitive
- Nozzle replacements are relatively expensive
The Flashforge Adventurer 5M surprised me. At $239, it delivers CoreXY performance and one-click auto leveling that competes with printers twice its price. After unboxing and a five-minute setup, I was printing clean calibration models without touching a single adjustment screw.
Print speeds up to 600mm/s with 20,000mm/s squared acceleration mean this machine is genuinely fast. The warm-up time of just 35 seconds to 200 degrees keeps idle time down, and the dual-sided PEI build plate grips prints firmly while releasing them cleanly once cooled.
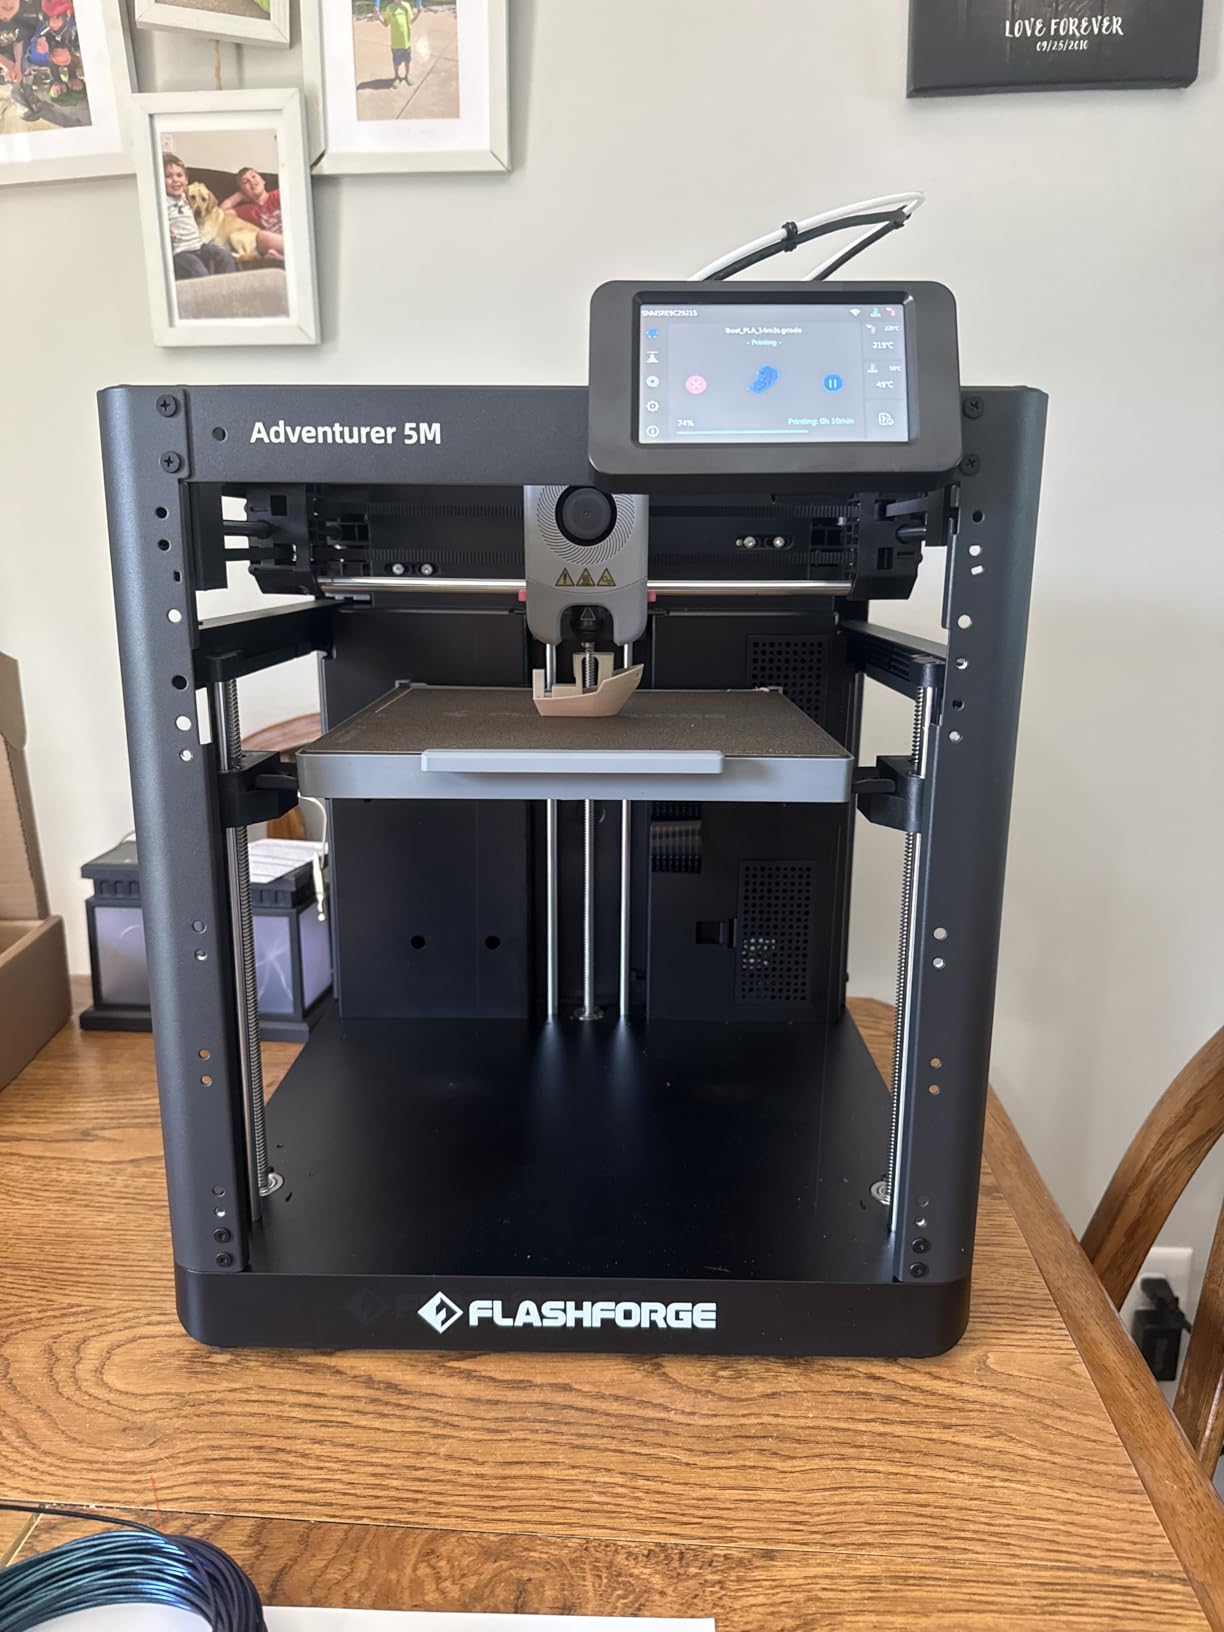
The Adventurer 5M is one of the most reviewed beginner printers on Amazon with over 2,300 ratings, and the consensus matches my experience. It just works. The WiFi connectivity and Flash Maker mobile app make it easy to monitor prints without sitting next to the machine.
The downsides are mostly minor but worth noting. The hotend and motion fans are noticeably loud, making this less ideal for a bedroom or quiet home office. The touchscreen feels dated and unresponsive at times. Nozzle replacements cost more than I would like, though the tool-free 3-second swap mechanism is genuinely convenient.
Who should buy the Flashforge Adventurer 5M
Beginners who want CoreXY speed and auto leveling without paying Bambu prices will love this printer. It is also a strong pick for anyone who values a large existing review base and proven reliability over newer untested models.
Where it falls short
Noise is the main drawback, so if you plan to print in a shared living space, consider a quieter option like the Bambu A1 mini or Elegoo Neptune 3 Pro. The 220mm cube build volume is also smaller than what some competitors offer at similar prices.
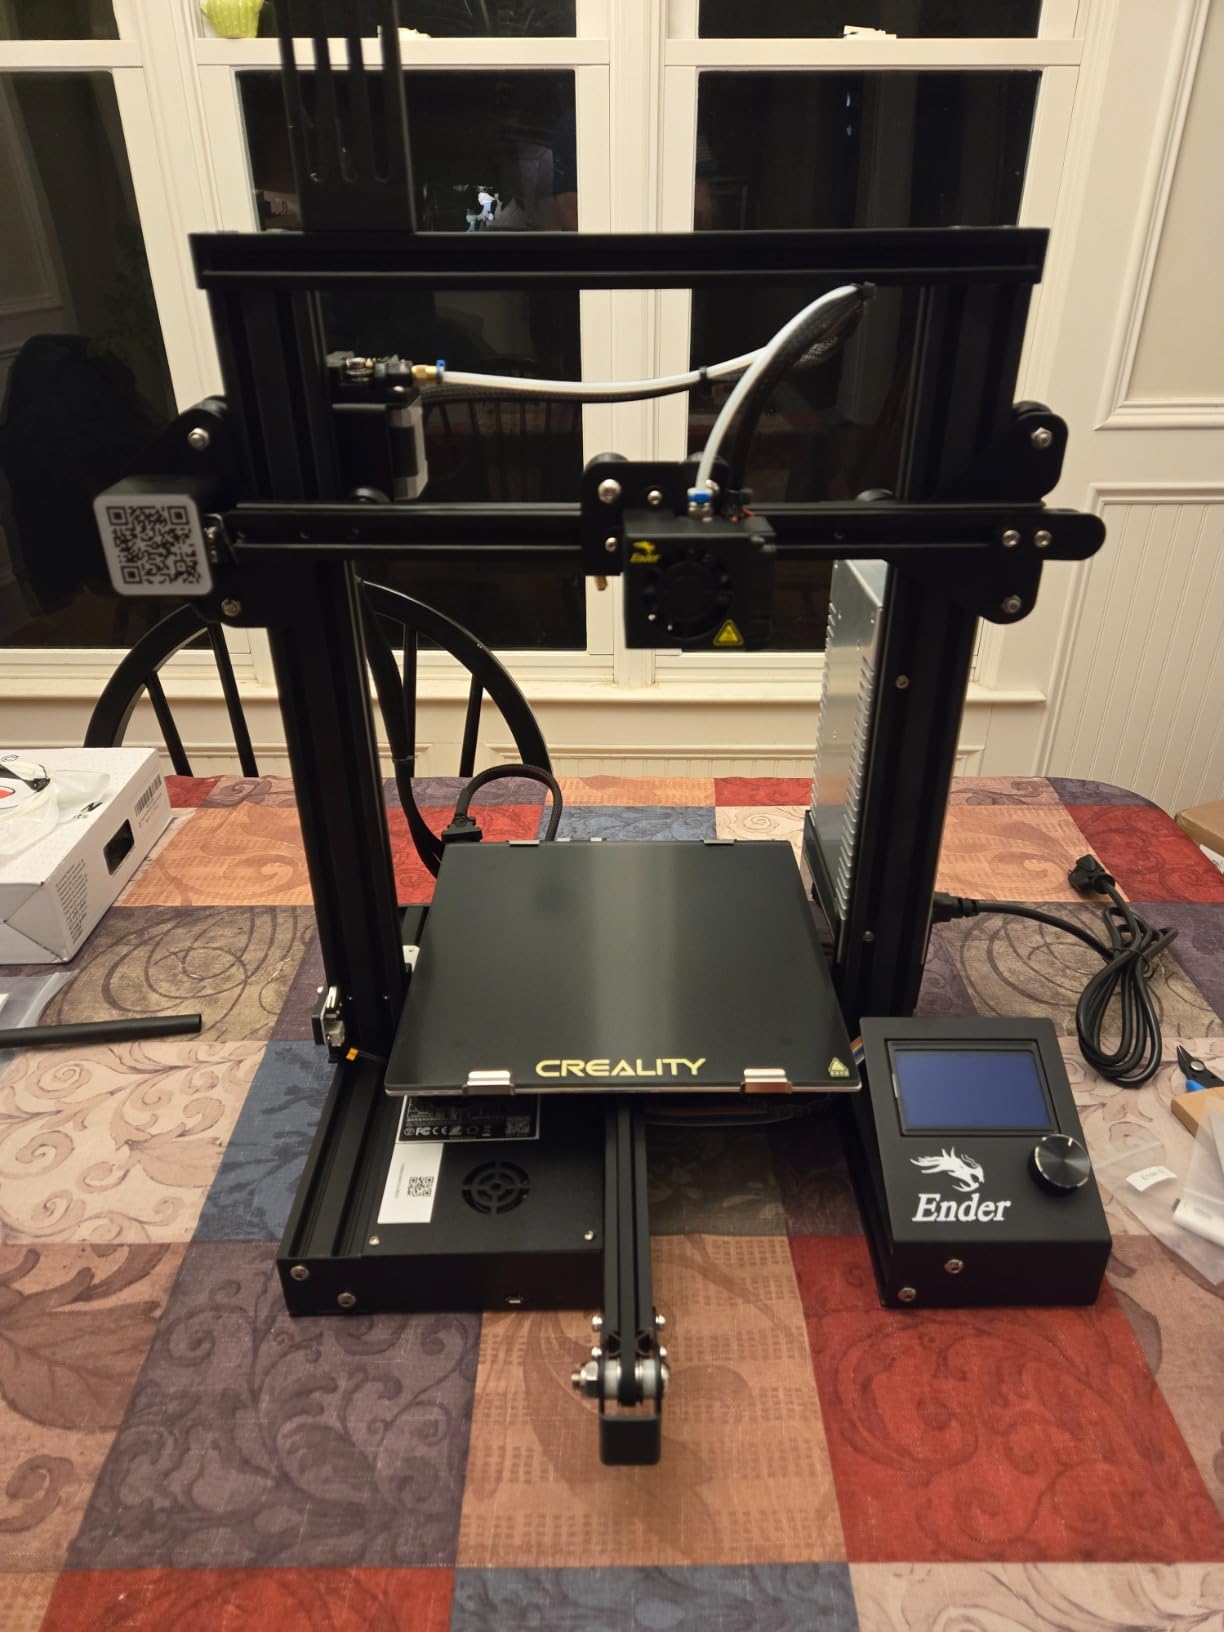
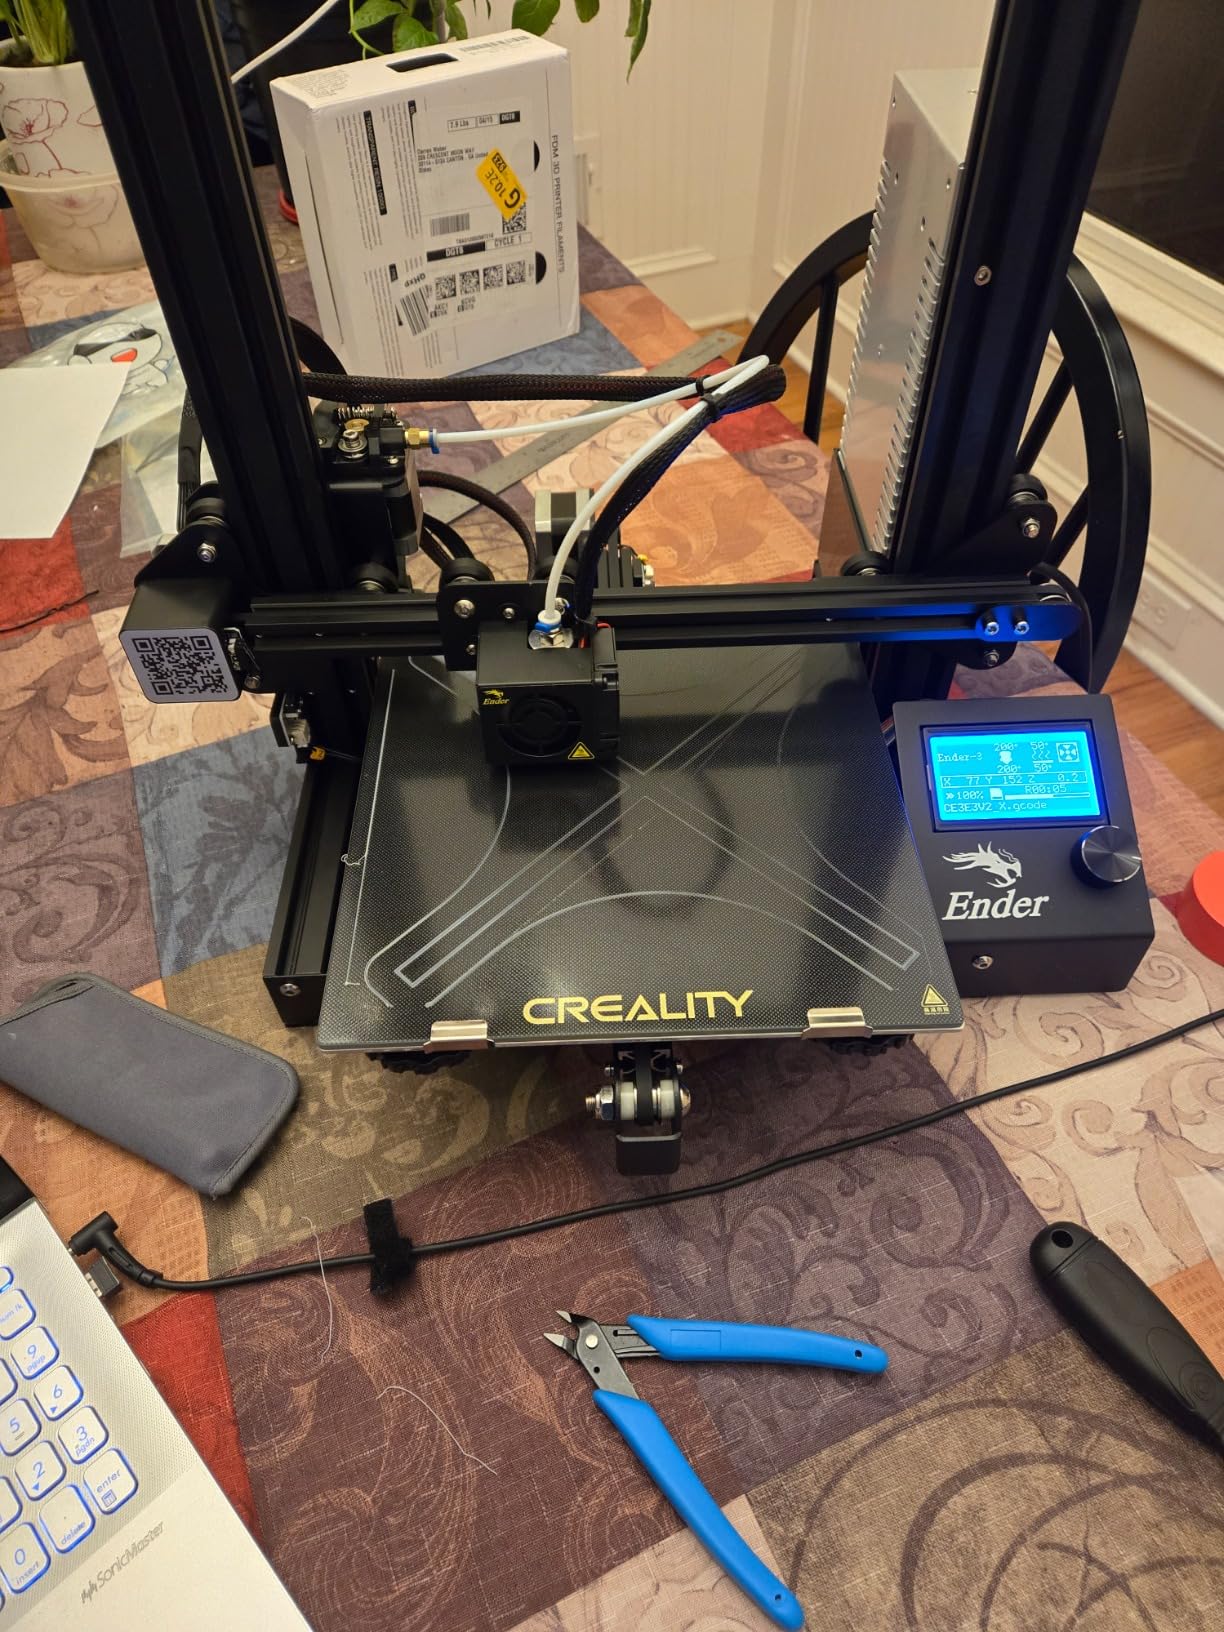
3. Creality Ender 3 – The Budget Tinkerer Classic
Pros
- Exceptionally affordable entry-level 3D printer
- Large active community with extensive online resources
- Fully open source great for learning and customization
- Resume printing function after power outages
- Endless upgrade possibilities available
Cons
- Requires assembly not fully plug and play
- No auto bed leveling requires manual calibration
- Significant learning curve for complete beginners
- Noisy stepper motors without aftermarket upgrades
The original Creality Ender 3 has been my go-to budget recommendation for years, and with over 26,000 Amazon reviews, it is still the most purchased beginner 3D printer on the market. At under $180, it remains the cheapest legitimate way to get into 3D printing.
This is not a plug-and-play machine. Assembly takes about two hours, and the manual bed leveling process is the kind of fiddly calibration that frustrates first-timers. But that is also the point. If you want to actually understand how 3D printers work, the Ender 3 teaches you every fundamental concept.
The community support is unmatched. Any problem you encounter has been solved in a YouTube video or Reddit thread, and the open-source nature means there are endless upgrade paths. Glass beds, metal extruders, Klipper firmware, auto-leveling probes, all of these are well documented modifications.
Print quality is solid once calibrated, but expect some inconsistency until you dial in your settings. The hotend is prone to clogs, and the stock PTFE tube couplers can cause under-extrusion over time. Plan on spending an extra $30 to $50 on basic upgrades if you want hassle-free operation.
Who should buy the original Creality Ender 3
Beginners on a tight budget who enjoy tinkering and want to learn how 3D printers actually function should start here. It is also ideal if you already know you want to upgrade and customize your printer over time.
Where it falls short
If you want zero frustration and just want to print things, look elsewhere. The lack of auto bed leveling alone is enough to drive many first-time users crazy, and the noise level makes it unsuitable for apartments or shared spaces.
4. Creality Ender 3 V3 SE – The Modern Ender Upgrade
Pros
- Excellent value for money at $219
- CR Touch auto leveling eliminates manual calibration
- Sprite direct extruder handles flexible filaments
- Quick 20-minute assembly with only 3 steps
- Dual Z-axis provides stable accurate prints
Cons
- Customer support is difficult to reach
- Firmware updates are complex with hidden connector
- Higher noise levels compared to competitors
The Ender 3 V3 SE is what the original Ender 3 should have been. It keeps the affordable price and proven build volume, but adds the two features beginners actually need: CR Touch auto bed leveling and a Sprite direct drive extruder. Assembly drops from two hours to roughly 20 minutes.
I tested this printer alongside the original Ender 3, and the difference is dramatic. First layers stick on the first attempt thanks to the strain sensor that auto-sets the Z offset. Print speeds of 250mm/s are not as fast as the Flashforge, but they are roughly three times faster than the original Ender 3.

The Sprite direct extruder handles flexible filaments like TPU without the modifications the original Ender requires. Auto filament loading and unloading is a small quality-of-life feature that makes swapping materials much easier for beginners.
The main complaints from the 1,679-review base focus on customer support and firmware complexity. Updating firmware involves a hidden USB-C connector and an SD card process that feels needlessly convoluted. Noise levels are also higher than the Elegoo Neptune 3 Pro at a similar price.
Who should buy the Ender 3 V3 SE
Beginners who want the proven Ender 3 platform but with modern quality-of-life features should choose the V3 SE. It is the best balance of price, community support, and ease of use in the under-$250 range.
Where it falls short
Customer support from Creality is notoriously slow, and the 16 percent one-star review rate suggests some quality control inconsistencies. Buy from a retailer with easy returns just in case.
5. Elegoo Neptune 3 Pro – The Quiet Budget Performer
Pros
- Excellent print quality out of the box with factory settings
- Reliable direct drive extruder with minimal clogs
- 36-point auto bed leveling ensures great first layers
- Quiet operation at 47dB
- Responsive customer support
Cons
- Large print head assembly makes monitoring small prints difficult
- SD card slot is recessed and hard to access
- Cannot adjust e-steps from display requires external software
The Elegoo Neptune 3 Pro is the printer I recommend to friends who want budget reliability without the noise. At 47dB, it is quiet enough to run in an apartment without disturbing anyone, and the factory calibration produces clean prints from the very first model.
The 36-point auto bed leveling is more thorough than what most competitors offer at this price. Combined with the dual-gear direct drive extruder, the Neptune 3 Pro handles PLA, PETG, TPU, and even ABS without requiring hardware swaps or upgrades.

The 225x225x280mm build volume gives you a bit more vertical room than the standard 220mm cube, which is useful for taller prints like vases or costume helmets. The PEI flexible build plate releases prints cleanly once cooled, and the removable touchscreen is a nice touch.
Elegoo’s customer support has earned positive reviews for replacing faulty parts quickly, which is reassuring for a first-time buyer. The active user community around the Neptune series means troubleshooting help is easy to find.
Who should buy the Elegoo Neptune 3 Pro
Beginners who want a quiet, reliable printer in the $200 range should pick the Neptune 3 Pro. It is especially well-suited for apartment dwellers and shared living spaces where noise matters.
Where it falls short
The SD card slot is awkwardly recessed, and the lack of e-step adjustment from the display means more advanced calibration requires external software. Some users have reported initial quality control issues, though Elegoo support handles replacements well.
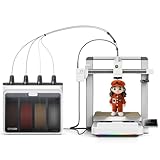
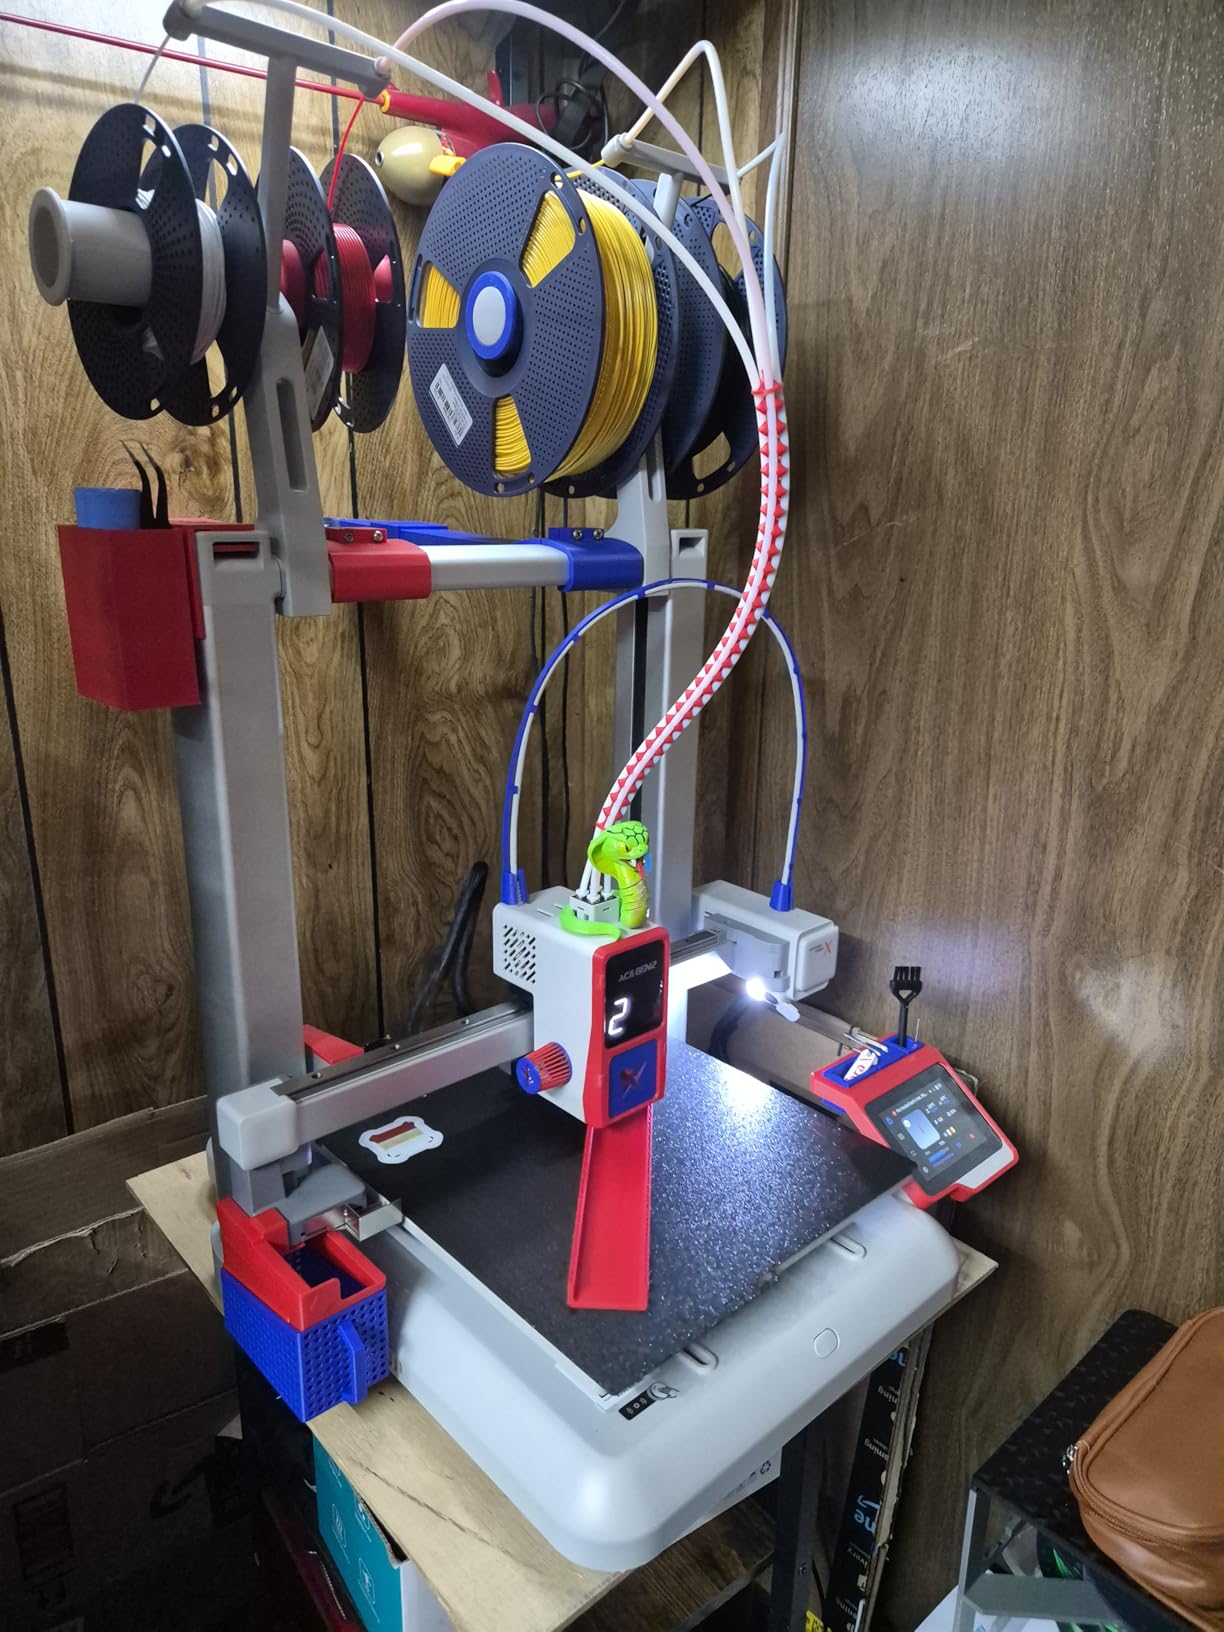
6. Anycubic Kobra X Multicolor – Built-In 4-Color Printing
Pros
- Extremely easy setup beginners can print within 15 minutes
- Excellent print quality with perfect first layers
- Quiet operation at 48dB suitable for home use
- Multi-color printing up to 19 colors with expanders
- AI-powered monitoring with spaghetti detection
Cons
- Nozzle changes can be complex and daunting for beginners
- Some users report occasional clogs requiring maintenance knowledge
- Camera positioning means workspace can be dark
The Anycubic Kobra X Multicolor is the cheapest way to get true multi-color printing without buying a separate add-on unit. The 4-color system is built directly into the printer, and it expands to up to 19 colors with additional ACE 2 Pro modules. For creative beginners, that is a genuine game-changer.
LeviQ 3.0 auto bed leveling uses 49 measurement points, which is significantly more than most competitors. First layers are consistently perfect, and the 260x260x260mm build volume is among the largest in this price range.
The AI camera with spaghetti detection is a feature I did not know I needed. When a print fails and starts extruding into mid-air, the printer pauses automatically instead of wasting an entire spool of filament. At 48dB, the Kobra X is quiet enough for home use.
The main concern is the small review base. With only 40 reviews at the time of writing, long-term reliability data is limited. Nozzle changes also require more technical comfort than the Flashforge quick-swap system.
Who should buy the Anycubic Kobra X Multicolor
Beginners who want multi-color printing without paying Bambu AMS prices should choose the Kobra X. It is also a strong pick for anyone who values a large build volume and quiet operation at a reasonable price.
Where it falls short
The nozzle change process is more involved than competitors, and the limited review base means we have less data on long-term reliability. Wait for more community feedback if you want maximum confidence before buying.
7. Creality SPARKX i7 Combo – The Feature-Rich Newcomer
Pros
- Very user-friendly and easy to operate
- Excellent print quality with reliable auto-leveling
- Multi-color printing with automatic filament feeding
- AI camera monitoring for remote print management
- 5-second quick-swap hotend simplifies maintenance
Cons
- Only 6 reviews available very new product
- Higher price point at $399
- Heavier unit at 27.5 pounds
The Creality SPARKX i7 Combo is one of the newest entries in this guide, released in January 2026. It pairs a 260x260x255mm build volume with built-in multi-color printing, an AI camera, and a 5-second tool-free hotend swap. The early 4.8-star rating across six reviews is promising.
I like the design philosophy here. Instead of selling the multi-color unit separately, Creality includes it in the Combo package. The auto filament system handles loading and unloading automatically, which removes one of the more tedious parts of multi-material printing.
The direct drive extruder handles PLA, PETG, and TPU without manual adjustments, and the auto bed leveling produces consistent first layers. WiFi remote control and time-lapse recording round out a feature set that reads more like a $600 printer than a $399 one.
The obvious caveat is that six reviews is a tiny sample. The 4.8 average could shift dramatically as more buyers weigh in. If you are risk-averse, the proven Bambu P1S at the same price is the safer bet.
Who should buy the Creality SPARKX i7 Combo
Beginners who want every modern feature in one package, including built-in multicolor and AI monitoring, should consider the SPARKX i7. It is a strong pick if you want a large build volume and low-maintenance hotend swaps.
Where it falls short
With only six reviews, this is essentially an unproven product. Anyone wanting maximum reliability data should wait three to six months for the review base to build before committing.
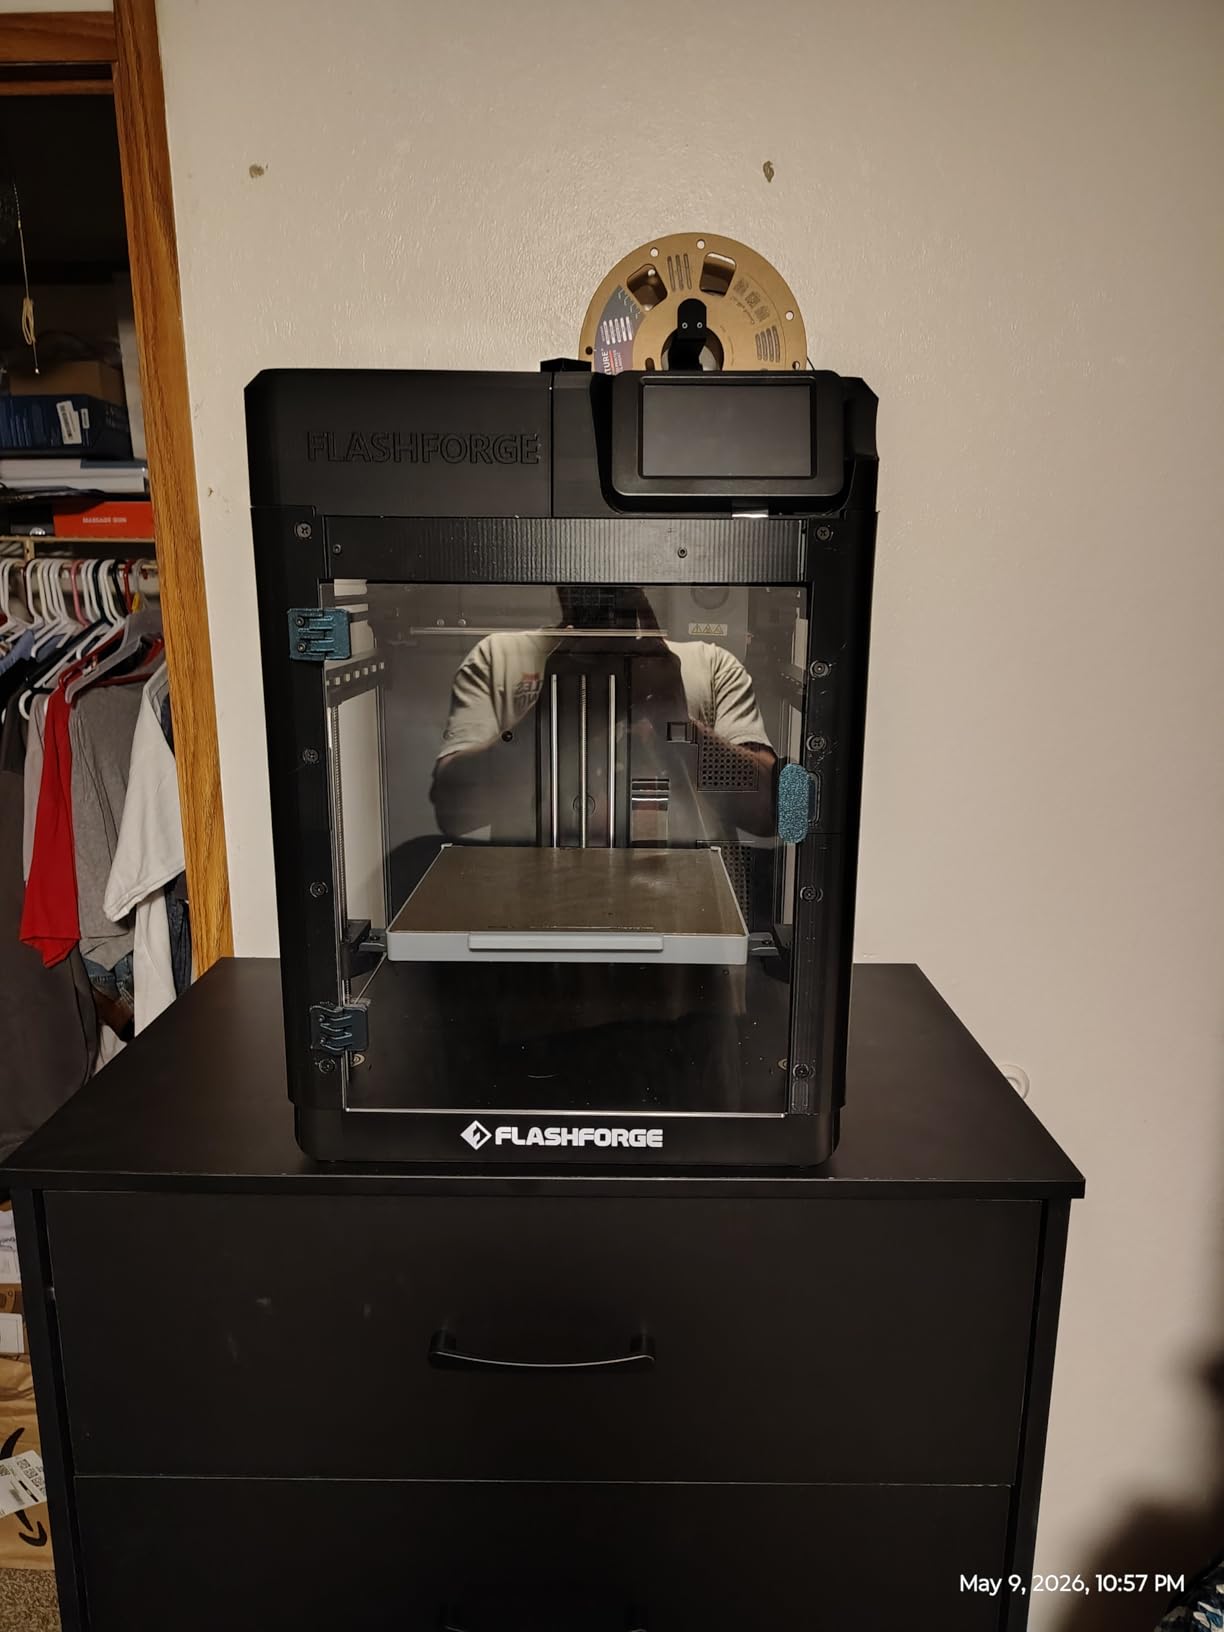
8. Flashforge AD5M – The Refined Auto-Calibration Pick
Pros
- One-click fully automatic calibration extremely easy setup
- Tool-free quick-swap nozzle in 3 seconds
- CoreXY all-metal structure for high-speed low-noise printing
- Excellent print quality straight out of the box
- Consistent reliable performance with zero failures reported
Cons
- WiFi connectivity can be unreliable with occasional disconnections
- Nozzle clogging issues reported by some users
- Cannot connect via tablet or mobile PC laptop only
The Flashforge AD5M is the spiritual successor to the Adventurer 5M, with one-click full auto calibration that handles leveling, nozzle height, and flow compensation in a single tap. For absolute beginners who want zero calibration headaches, it is one of the most user-friendly options available.
Print speeds up to 600mm/s match the Adventurer 5M, and the CoreXY all-metal frame keeps things stable at high speeds. The double-sided PEI steel build plate includes a dedicated PETG side, which is a thoughtful touch for users who print with multiple materials.
The 73 percent 5-star rating across 309 reviews reflects strong user satisfaction. Many buyers upgrading from the original Ender 3 describe the AD5M as a massive leap in reliability and ease of use.
The downsides are familiar Flashforge issues. WiFi can disconnect occasionally, requiring a manual reconnect. The printer only works with PC or laptop for file transfer, which is annoying if you expected tablet support. A small number of users have reported extruder board failures after several months.
Who should buy the Flashforge AD5M
Beginners who want one-click setup and zero calibration steps should pick the AD5M. It is also a strong upgrade path for Ender 3 owners who are tired of manual tweaking.
Where it falls short
The mobile and tablet connectivity limitations are frustrating for users who expected app-based printing. WiFi reliability is not on par with Bambu’s ecosystem, so plan to use SD card transfer as a backup.
9. Bambu Lab A1 mini – The Compact Plug-and-Play Pick
Pros
- Extremely easy setup ideal for beginners and teens
- Quiet operation suitable for home use
- Full-auto calibration removes manual leveling frustration
- Seamless integration with MakerWorld model library
- Connected ecosystem via Bambu Handy app
Cons
- Some users reported nozzle and temperature malfunction issues
- Smaller build volume limits project size
- Occasional print adhesion issues if plate is not kept clean
The Bambu Lab A1 mini is the smallest and most affordable entry into the Bambu ecosystem. Setup takes about 20 minutes, full-auto calibration handles all leveling and flow compensation, and operation is quiet at 48dB. For a first printer in a small space, it is hard to beat.
The included LED lamp kit is a fun touch for creative projects, and the Bambu Handy app connects seamlessly to MakerWorld, where thousands of free community models are ready to print. The same software ecosystem that makes the P1S great is fully present here.
The trade-off is the smaller 180mm cube build volume. That is enough for miniatures, toys, and small functional parts, but you will not be printing full-size costume helmets or large decorative items. For many beginners, this is a perfectly reasonable starting point.
A small number of users have reported nozzle or temperature issues, which is concerning given the limited review base of 24. The 7x7x7-inch build plate is a real limitation if your ambitions grow quickly, but at this price, the A1 mini is an excellent trial printer.
Who should buy the Bambu Lab A1 mini
Beginners with limited desk space or budget who want the Bambu experience should pick the A1 mini. It is also ideal for teens and older kids who want a safe, easy printer for school and hobby projects.
Where it falls short
The 180mm build volume will frustrate anyone who wants to print larger items, and the small review base means reliability data is limited. If you can stretch your budget, the full-size Bambu A1 or P1S gives you more room to grow.
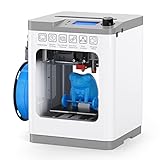
10. Entina Tina2 Basic – The Fully-Assembled Mini for Kids
Pros
- Fully assembled out of the box ready to print in minutes
- Auto bed leveling no manual adjustments needed
- Compact and portable design perfect for small spaces
- Great for kids and beginners
- Includes slicing software on TF card
Cons
- Very small build volume limits project size
- Filament breakage issues reported by some users
- Limited community and resources compared to larger brands
The Entina Tina2 Basic is the only fully assembled printer on this list, which makes it the easiest possible entry point for absolute beginners and children. Take it out of the box, plug it in, level the bed automatically, and start printing within five minutes.
The 100x105x100mm build volume is tiny, but for kids printing small toys, figures, and school projects, it is adequate. The WiFi connectivity and Wiibuilder slicer software are beginner-friendly, and the magnetic flex plate makes part removal simple even for small hands.
At just six pounds, the Tina2 is genuinely portable. You can move it between rooms or pack it for classroom use without any hassle. The 4.4-star rating from 302 reviewers suggests it delivers on its core promise of accessible 3D printing for newcomers.
The limitations are obvious. The tiny build volume restricts you to small items, the community is much smaller than what Creality or Bambu offer, and some users report filament breakage issues. This is a trial printer, not a forever printer.
Who should buy the Entina Tina2 Basic
Parents buying a first printer for kids, teachers setting up classroom introductions to 3D printing, and absolute beginners who want to test interest before spending more should choose the Tina2.
Where it falls short
You will outgrow this printer quickly if your ambitions extend beyond small toys and figurines. The limited community means troubleshooting is harder than with a Creality or Bambu machine.
How to Choose the Best 3D Printer for Beginners?
Choosing your first 3D printer comes down to five key decisions. Get these right and you will avoid the most common beginner mistakes that lead to abandoned machines gathering dust in a closet.
FDM vs Resin for Beginners
Every printer in this guide is an FDM (Fused Deposition Modeling) printer, and that is intentional. FDM printers melt plastic filament and extrude it layer by layer, which is safe enough for indoor home use with PLA filament. Resin printers (SLA and MSLA) produce incredible detail but require toxic chemicals, ventilation, and significant post-processing.
For 95 percent of beginners, FDM is the right choice. Resin makes sense only if you specifically need ultra-detailed miniatures for tabletop gaming or jewelry production. If you do go resin, plan for a dedicated ventilated workspace, gloves, IPA cleaning solution, and UV curing equipment.
Build Volume and What It Means
Build volume is the maximum size object a printer can produce, measured in millimeters. A 220x220x220mm build volume (roughly 8.6 inches cubed) handles most beginner projects including replacement parts, toys, and medium-sized decorations. Larger volumes like the 260mm cube on the Bambu P1S or Anycubic Kobra X give you room for costume helmets and larger functional items.
Smaller volumes like the Entina Tina2 at 100x105x100mm limit you to small figurines and trinkets. As a rule, buy the largest build volume your budget and desk space allow, because outgrowing a printer’s build area is one of the most frustrating experiences in 3D printing.
Why Auto Bed Leveling Matters
Auto bed leveling is the single feature that separates modern beginner printers from the frustrating machines of five years ago. Without it, you manually adjust knobs under the build plate until a sheet of paper drags with just the right resistance at each corner. This process can take 20 minutes and must be repeated whenever the printer is moved.
With auto bed leveling, the printer measures the bed surface automatically and compensates for any unevenness. The Bambu P1S levels before every single print, while the Elegoo Neptune 3 Pro uses 36 measurement points and the Anycubic Kobra X uses 49. If a printer on your shortlist lacks auto bed leveling in 2026, cross it off the list.
Noise Levels for Home Use
3D printers run for hours at a time, and noise adds up fast. The original Creality Ender 3 and Flashforge Adventurer 5M both produce noticeable stepper and fan noise that makes them unsuitable for bedrooms or shared apartments. The Elegoo Neptune 3 Pro at 47dB and Bambu A1 mini at 48dB are genuinely quiet enough to run overnight in the next room.
If you live with other people or work from home, prioritize quieter models. Decibel ratings are not always published by manufacturers, so check user reviews for real-world noise reports before buying.
Ongoing Filament and Maintenance Costs
The purchase price is just the beginning. PLA filament, the most beginner-friendly material, costs roughly $20 to $25 per kilogram spool. A typical beginner prints 1 to 3 spools per month depending on project frequency, so budget $25 to $75 monthly for filament.
Maintenance costs include replacement nozzles ($5 to $15 each), PEI build plate replacements ($15 to $25), and occasional parts like extruder gears or PTFE tubes. The Flashforge quick-swap nozzles are pricier at $20-plus each, while the Ender 3’s standard nozzles cost a few dollars. Budget roughly $50 to $100 annually for maintenance parts on any beginner printer.
Safety and Ventilation Basics
PLA filament is generally considered safe for indoor use and produces minimal odor. PETG and TPU are also relatively benign. ABS, ASA, and other engineering filaments emit fumes that require ventilation, so if you plan to print these materials, choose an enclosed printer like the Bambu P1S and place it near a window or invest in a dedicated enclosure with ventilation.
Never leave a 3D printer running completely unattended overnight on your first few prints. Thermal runaway protection is standard on all printers in this guide, but fire safety habits matter. Keep a smoke detector nearby and avoid placing the printer on flammable surfaces.
Frequently Asked Questions
Which is the best 3D printer for home use?
For home use, the Bambu Lab P1S is the top choice due to its compact footprint, quiet operation, auto bed leveling before every print, and fully enclosed design. For tighter budgets, the Elegoo Neptune 3 Pro at 47dB is the quietest option under $250.
Are 3D printers worth it for beginners?
3D printers are worth it for beginners who enjoy making, fixing, and building things. Entry-level FDM printers now start under $200 and can quickly pay for themselves through replacement parts, custom organizers, and creative gifts. They may not be worth it if you want finished products without any learning curve or ongoing maintenance.
What is the best 3D printer for beginners under $200?
The Creality Ender 3 at $175 is the most popular beginner 3D printer under $200, though it requires manual bed leveling. For auto leveling under $200, the Entina Tina2 Basic at $179 is fully assembled and kid-friendly. If you can stretch to $219, the Creality Ender 3 V3 SE adds CR Touch auto leveling to the proven Ender platform.
Is the Bambu Lab A1 mini good for beginners?
Yes, the Bambu Lab A1 mini is one of the easiest 3D printers for beginners thanks to full-auto calibration, 20-minute setup, quiet 48dB operation, and seamless integration with the Bambu Handy app and MakerWorld model library. The main limitation is the smaller 180mm build volume, which restricts project size.
Should I buy an enclosed or open-frame 3D printer as a beginner?
Most beginners should start with an open-frame printer because they are cheaper, easier to monitor, and work perfectly with PLA filament. Enclosed printers like the Bambu P1S are worth the extra cost if you plan to print ABS, ASA, or other engineering materials that require stable chamber temperatures and ventilation.
Final Thoughts on the Best 3D Printers for Beginners
The best 3D printers for beginners in 2026 share three traits: auto bed leveling, plug-and-play setup, and a supportive community. The Bambu Lab P1S wins overall for its unmatched out-of-box experience, the Flashforge Adventurer 5M delivers the best value at under $250, and the Creality Ender 3 remains the cheapest legitimate entry point for tinkerers.
Pick the printer that matches your budget, your tolerance for tweaking, and the size of the projects you want to create. Whichever you choose, buy a spare spool of PLA filament, download a few free models from MakerWorld or Printables, and start printing within the hour. Your first successful print is closer than you think.