Learning how to use the Healing Brush in Lightroom completely changed my photo editing workflow. After years of switching to Photoshop for every small imperfection, I discovered this powerful tool could handle 90% of my retouching needs right inside Lightroom.
In this guide, I’ll show you exactly how to use the Healing Brush tool to remove distracting objects, blemishes, and imperfections from your photos. You’ll learn the step-by-step process, understand when to use Heal versus Clone mode, and discover pro tips that took me months to figure out.
Whether you’re dealing with sensor dust, stray hairs, or unwanted background elements, the Healing Brush in Lightroom gives you professional results without leaving your RAW workflow.
What Is the Healing Brush Tool in Lightroom?
The Healing Brush tool (also called the Spot Removal tool) is a retouching feature in Lightroom’s Develop module that removes unwanted elements by sampling texture from one area and blending it with another. Unlike the Clone tool which copies pixels exactly, the Healing Brush matches color and tone for seamless results.
What makes this tool special is its intelligent algorithm. When you paint over a blemish or distracting object, the healing brush automatically samples nearby texture and blends it with the original area’s color and lighting. This creates natural-looking repairs that don’t look obviously retouched.
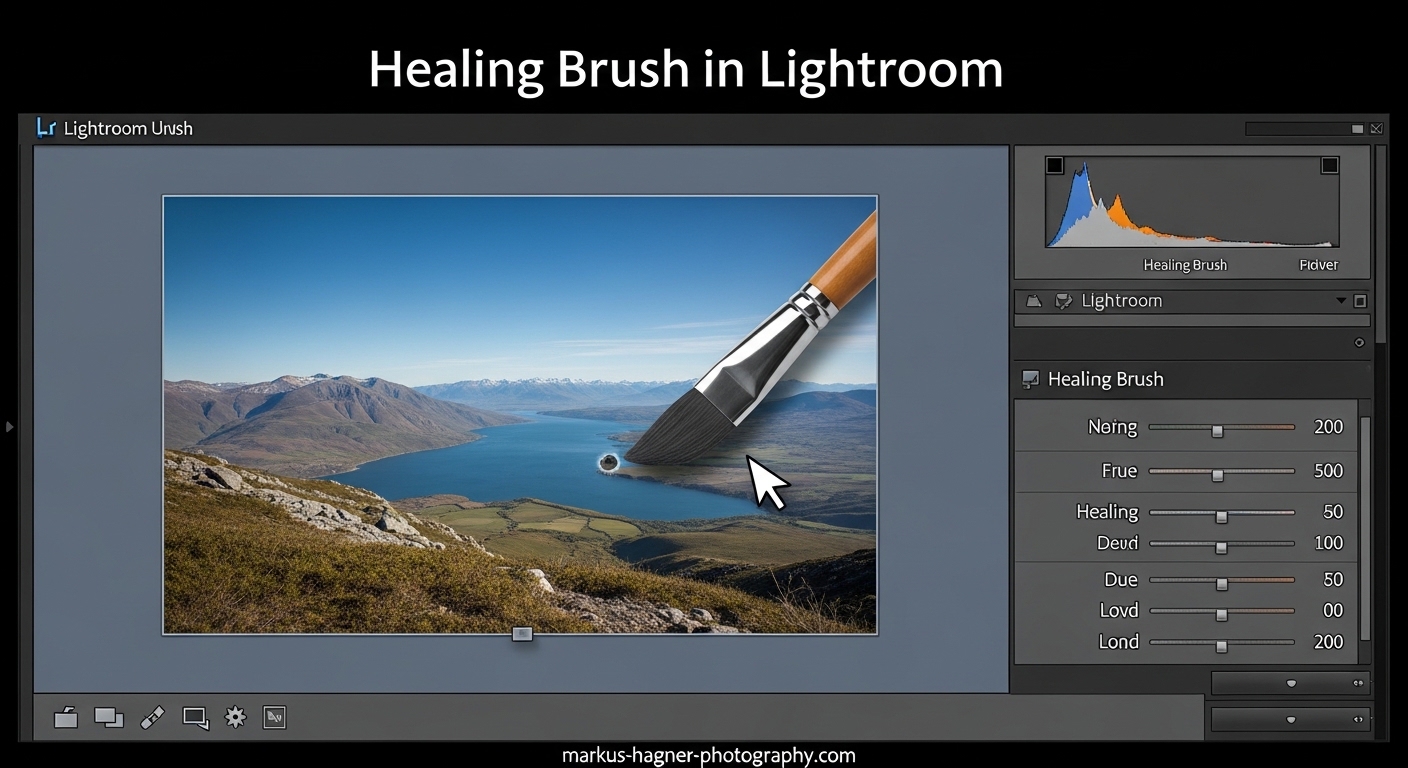
The tool appears as a band-aid icon in the Develop module toolbar. Click it or press Q to access the healing brush settings panel, where you’ll find options for brush size, feathering, and opacity.
How the Healing Brush Algorithm Works
The healing brush algorithm works by borrowing texture from your source selection while preserving the color and tone of your target area. It analyzes the pixels in both locations and creates a seamless blend that maintains the natural appearance of your photo.
This process happens automatically once you select your target area. Lightroom finds the best source nearby, though you can manually reposition it if needed. The algorithm excels at removing small imperfections while preserving surrounding details.
Understanding this helps explain why the healing brush works better on small spots than large areas, and why complex patterns sometimes challenge the algorithm.
How to Use the Healing Brush in Lightroom?
Using the healing brush follows a simple three-step process: select the tool, adjust your settings, and paint over imperfections. Let’s break down each step with detailed instructions.
Step 1: Locating the Healing Brush Tool
You’ll find the Healing Brush tool in the Develop module, located in the toolbar directly beneath the histogram. Look for the band-aid icon – that’s your healing brush tool.
Click the icon or press the Q key to activate the tool. This opens the Spot Removal panel where you can adjust brush settings and see your healing adjustments listed.
The tool works in both Lightroom Classic and Lightroom CC, though the interface looks slightly different. In Classic, you’ll see the band-aid icon; in CC, it’s called the “Heal” tool and appears in the editing panel.
Step 2: Understanding the Healing Brush Settings
Before you start healing, you need to understand the three main adjustment sliders: Size, Feather, and Opacity.
Size: Controls how large your brush is. Use the slider or bracket keys [ and ] to adjust. For small blemishes, use a brush just slightly larger than the imperfection.
Feather: Controls the softness of your brush edges. Higher feather values create smoother transitions. I typically use 50-75% feather for most retouching work.
Opacity: Controls how strong the healing effect is. At 100%, you get complete replacement. Lower values blend more subtly. I rarely go below 80% for imperfection removal.
Step 3: Applying the Healing Brush to Remove Objects
Now for the actual healing process. Zoom into your photo to 100% or higher to see imperfections clearly. Position your cursor over the blemish, dust spot, or distracting object you want to remove.
Click once on the imperfection. Lightroom automatically creates a target area (where you clicked) and a source area (where it samples from). You’ll see two pins connected by a line – white is your target, green is your source.
For larger areas, click and drag to paint over the distraction. The healing brush works best when you keep your selections relatively small. For extensive repairs, use multiple small strokes rather than one large one.
If you don’t like the automatic source selection, drag the green pin to a better location. Look for areas with similar texture and lighting for the most natural result.
Step 4: Switching Between Heal and Clone Mode
Lightroom offers two modes in the Spot Removal tool: Heal and Clone. Each works differently for specific situations.
Heal Mode: This is the default and most commonly used. It blends texture from your source area with color and tone from your target area. Use this for removing blemishes, sensor dust, and most imperfections.
Clone Mode: This copies pixels exactly from source to target without blending. Use clone when you need precise duplication, like removing an object by copying similar background texture.
To switch modes, use the A key or click the Mode dropdown in the Spot Removal panel. I use Heal mode about 90% of the time, switching to Clone only when dealing with distinct patterns that need exact copying.
Advanced Tips and Troubleshooting
After using the healing brush for hundreds of photos, I’ve learned several techniques that make the tool more effective and discovered solutions to common problems.
Using the Visualize Spots Feature
Finding every dust spot can be challenging. The Visualize Spots feature makes this much easier. Press A or click the Visualize Spots checkbox in the toolbar.
This displays your image in high-contrast black and white, making dust spots and imperfections stand out clearly. Adjust the slider to control sensitivity. I use this feature religiously when cleaning up landscape photos and sky areas.
When Visualize Spots is active, you can still use the healing brush normally. The tool automatically turns off the visualization while you’re healing, then returns to it afterward.
Keyboard Shortcuts for Efficient Workflow
Keyboard shortcuts speed up your healing workflow significantly. Here are the essential ones:
Q: Activate/Deactivate Healing Brush tool
[ and ]: Decrease/Increase brush size
A: Toggle between Heal and Clone modes
V: Show/Hide pins (helpful for viewing results)
Delete: Remove selected healing adjustment
/ (forward slash): Automatically find new source area
Visualize Spots: A key toggles this on/off
Learning these shortcuts cut my retouching time in half. The forward slash key is particularly useful when Lightroom picks a poor source area.
Common Healing Brush Problems and Solutions
Forum discussions reveal several common issues with the healing brush. Here are the problems I see most often and how to solve them.
Problem: Healing creates bright or dark spots
Solution: This happens when the source area has different exposure than the target. Manually move the source pin to an area with matching brightness.
Problem: Complex patterns look unnatural after healing
Solution: Use smaller brush strokes and multiple healing operations. For difficult patterns, switch to Clone mode or consider using Photoshop’s more advanced tools.
Problem: Healing brush isn’t working at 100% opacity
Solution: Check if you’re healing on a previously healed area. The tool sometimes struggles with stacked healing. Delete existing adjustments and start fresh.
Problem: Tool leaves obvious edges or halos
Solution: Increase your feather setting to 75-100% for softer transitions. Also ensure your brush size isn’t dramatically larger than the area you’re healing.
When to Use Lightroom vs Photoshop for Healing
The Healing Brush in Lightroom works wonderfully for small imperfections, but it has limitations. Understanding when to switch to Photoshop saves time and frustration.
Use Lightroom Healing Brush for: sensor dust, small blemishes, stray hairs, minor distractions, and basic portrait retouching. These quick fixes keep you in your RAW workflow.
Use Photoshop for: complex patterns, large object removal, extensive retouching, situations requiring content-aware fill, or when healing creates visible artifacts. Photoshop’s healing tools are more sophisticated.
I follow a simple rule: if I need more than 20 healing adjustments on one image, or if any single adjustment requires multiple attempts to look natural, I take it to Photoshop. This preserves Lightroom’s non-destructive workflow for simpler edits.
Frequently Asked Questions
How to use the healing brush tool in Lightroom?
Click the band-aid icon in the Develop module or press Q. Adjust brush size, feather, and opacity. Click on imperfections to remove them. Lightroom automatically samples nearby texture and blends it with the target area’s color and tone.
How do I use the healing brush tool?
Zoom to 100%, select the healing brush tool, adjust brush size to slightly larger than the imperfection, click on the spot you want to remove. Drag the source pin if needed to sample better texture. Use Heal mode for blending or Clone mode for exact copying.
What does the healing tool look like in Lightroom?
The healing tool appears as a band-aid icon in the Develop module toolbar directly beneath the histogram. When activated, you’ll see a circular brush cursor and the Spot Removal panel opens showing Size, Feather, and Opacity sliders.
What is the hot key for using the spot healing brush?
Press Q to activate the Healing Brush tool. Press A to toggle between Heal and Clone modes. Use bracket keys [ and ] to adjust brush size, and V to show/hide adjustment pins. Press the A key to toggle Visualize Spots mode.
Conclusion
The Healing Brush in Lightroom is one of the most useful retouching tools for photographers who want to remove distracting objects without leaving their RAW workflow. By understanding the difference between Heal and Clone modes, mastering the adjustment settings, and learning keyboard shortcuts, you’ll dramatically speed up your photo editing process.
Remember that the healing brush works best for small imperfections rather than major retouching projects. For complex patterns or extensive removals, Photoshop still offers more sophisticated tools. But for sensor dust, blemishes, stray hairs, and minor distractions, the Lightroom healing brush delivers professional results quickly and non-destructively.
Start with simple spots and gradually work your way to more complex healing tasks. Before you know it, you’ll be cleaning up photos in seconds rather than minutes.