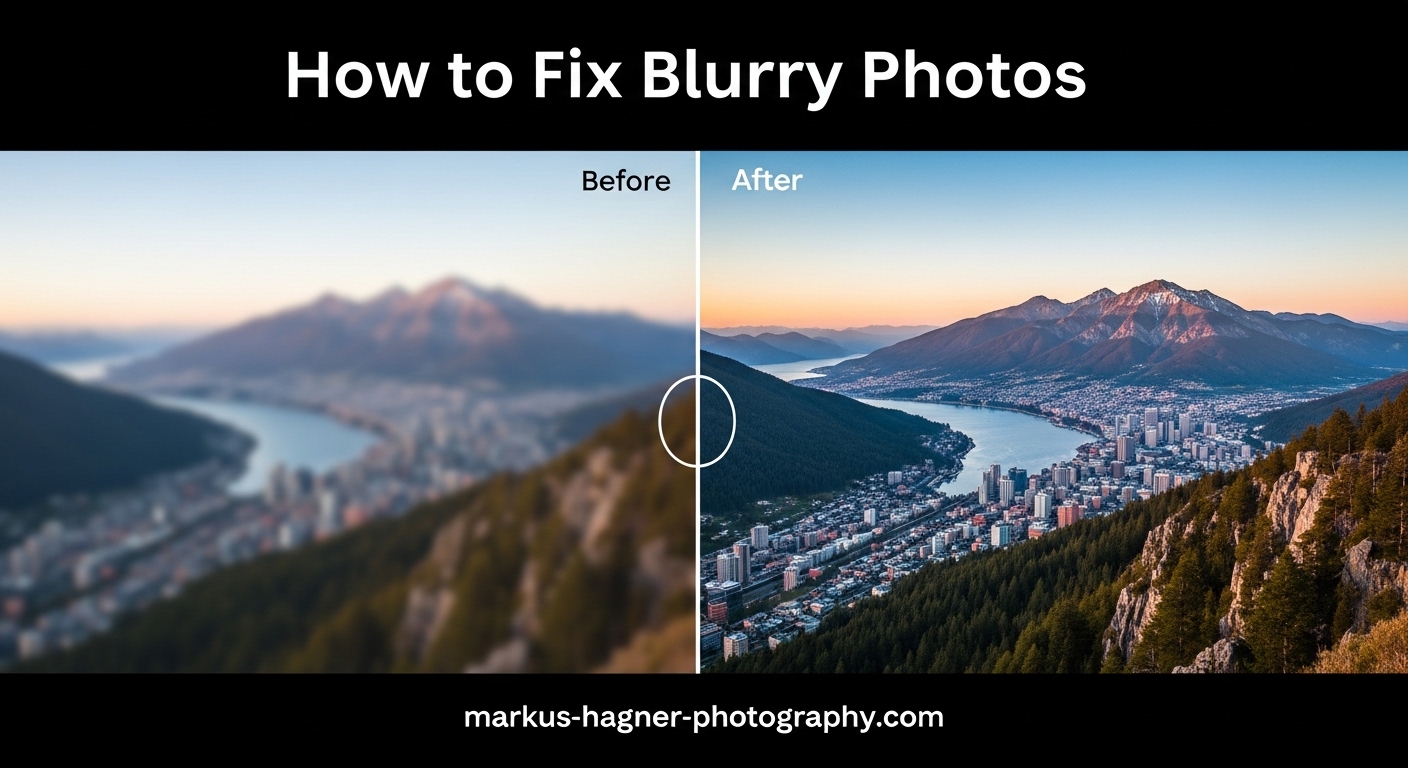
Blurry photos frustrate every photographer at some point. You take what seems like a great shot, only to discover it is soft or completely unusable when you review it on a larger screen. The two most common culprits are camera shake and missed focus. Learning how to fix blurry photos caused by camera shake vs missed focus starts with understanding which problem you actually have. Each issue has completely different causes and solutions. What works for camera shake will not help with focus problems, and vice versa.
In this guide, I will help you identify exactly what type of blur is affecting your images. I have spent years analyzing blurry photos from my own shooting and helping other photographers diagnose their sharpness issues. The key is learning to recognize the visual patterns that distinguish each type of blur. Once you can identify the problem, the fix becomes straightforward.
How to Identify Camera Shake vs Missed Focus
The ability to distinguish between camera shake and missed focus is one of the most valuable skills for any photographer. These two problems create distinctly different blur patterns once you know what to look for. Camera shake produces directional blur with visible streaking or ghosting effects. Missed focus creates a uniform, soft blur that looks the same in all directions.
Visual Characteristics of Each Blur Type
Camera shake has a telltale directional quality. When you zoom in to 100% on your image, you will see fine lines or streaks running in a specific direction. These streaks happen because the camera moved slightly during the exposure, causing each point of light to trace a tiny path across the sensor. The direction of the streaks corresponds to the direction of camera movement.
Missed focus produces a completely different look. Instead of directional streaks, you get a soft, dreamy blur that is uniform in all directions. Out-of-focus areas look smooth and circular rather than streaky. The blur looks like a softening filter was applied to that part of the image.
The Sharpness Check
One of the quickest diagnostic methods is to check whether anything in your image is actually sharp. If absolutely nothing in the photo is in focus, camera shake is almost certainly the culprit. Camera shake affects the entire image equally because the whole camera moved during exposure.
If you can find some areas that are sharp while others are soft, you are likely dealing with a focus issue. Maybe the camera focused on the background instead of your subject, or your depth of field was too shallow to keep everything you wanted sharp.
Quick Reference Comparison Table
Here is a quick comparison to help you diagnose your blurry photos:
Camera Shake Signs:
- Directional streaks or ghosting visible at 100% zoom
- Nothing in the image is truly sharp
- Blur appears uniform across entire frame
- Often worse in low light situations
- More noticeable at longer focal lengths
Missed Focus Signs:
- Soft, uniform blur without directional streaks
- Some areas are sharp, others are soft
- Background or foreground may be sharp instead of subject
- Common when using wide apertures
- Focus point may be visible on wrong subject
What Is Camera Shake and How to Fix It
Camera shake occurs when the camera moves during the exposure. Even tiny movements of just a few millimeters can cause visible blur, especially at slower shutter speeds. This movement can come from your hands trembling, pressing the shutter button too forcefully, wind, or even the internal mechanics of the camera itself.
The Reciprocal Rule for Shutter Speeds
Photographers have long used the reciprocal rule as a guideline for minimum shutter speeds when shooting handheld. The rule states that your shutter speed should be at least the reciprocal of your focal length. If you are shooting with a 200mm lens, you need at least 1/200 second shutter speed. A 50mm lens would need 1/50 second or faster.
This rule becomes even more important with modern high-resolution sensors. What looked acceptably sharp on a 12-megapixel camera might show visible blur on a 45-megapixel sensor. Many photographers now recommend doubling the reciprocal rule for best results with high-resolution cameras.
Image Stabilization Benefits and Limitations
Image stabilization, whether built into the lens or the camera body, can help significantly with camera shake. Modern stabilization systems can provide 3 to 8 stops of correction, meaning you can use shutter speeds much slower than the reciprocal rule would suggest. However, image stabilization has limits.
Stabilization only corrects for camera movement. It does nothing to freeze subject movement. If you are photographing a moving subject, you still need a fast enough shutter speed regardless of your stabilization system. Stabilization also works best with small, high-frequency movements. Large, abrupt camera movements may exceed what the system can correct.
Proper Hand-Holding Technique
Your body position dramatically affects stability. Start by bringing your elbows in against your sides to create a stable platform. Keep your feet shoulder-width apart for a solid stance. Press the camera gently against your face rather than holding it at arm’s length. Breathe slowly and squeeze the shutter button rather than jabbing it.
I have found that the way you hold the camera makes a bigger difference than most photographers realize. A firm but not tense grip, with your left hand supporting the lens from below rather than gripping it from the side, provides much better stability. Practice this technique until it becomes natural.
When to Use a Tripod
A sturdy tripod remains the most reliable solution for camera shake. Any time you can use one, you should. This is especially true for landscape photography, macro work, and any situation where you need shutter speeds slower than you can reliably handhold. Even with image stabilization, a tripod will give you consistently sharper results.
When a tripod is not practical, consider alternatives like a monopod, beanbag, or simply bracing against a wall or tree. Any support is better than none. For long exposures, even pressing the camera against a solid surface while using the self-timer can eliminate shake.
Shutter Shock and Mirror Slap
Some cameras and lenses can actually cause their own vibration problems. Mirror slap in DSLRs can cause blur at certain shutter speeds, typically between 1/60 and 1/200 second. Using mirror lock-up or live view eliminates this issue. Some lenses have a phenomenon called shutter shock, where the mechanical shutter causes vibration. Electronic shutter or delay settings can help here.
What Is Missed Focus and How to Fix It
Missed focus happens when your camera’s autofocus system locks onto something other than your intended subject, or when your depth of field is too shallow to keep everything you want in focus. Unlike camera shake, focus problems affect only certain parts of the image while leaving others sharp.
Why Autofocus Misses
Autofocus systems are not perfect. They can be fooled by low contrast, low light, repetitive patterns, or subjects behind other objects. A focus point might land on a high-contrast background element instead of your subject. Understanding why autofocus fails helps you anticipate and prevent these issues.
Modern cameras offer multiple autofocus modes and area selections. Using the wrong mode for your subject is a common cause of missed focus. Single-point AF gives you precise control but requires you to place the point exactly where you want focus. Wide-area or subject-tracking modes are more forgiving but sometimes lock onto the wrong thing.
Depth of Field Problems
Shallow depth of field creates beautiful background blur, but it also makes focus more critical. At f/1.4, your depth of field might be just a few millimeters. Any slight movement by you or your subject can push the focus plane outside that narrow range. The subject might look sharp in the viewfinder but turn out soft in the final image.
If you consistently get soft images with fast lenses, try stopping down slightly. Even going from f/1.4 to f/2.8 significantly increases your depth of field while still providing good subject isolation. Most lenses are also sharper stopped down a bit from their widest aperture.
Focus Point Selection
Selecting the right focus point is crucial for accurate focus. Many photographers leave their camera in automatic point selection, trusting the camera to figure out what to focus on. This works well for some situations but fails when you have a specific subject in mind.
I recommend learning to manually select focus points. Single-point AF with manual selection gives you complete control over what the camera focuses on. For portraits, place your focus point on the eye closest to the camera. For landscapes, focus about one-third into the scene to maximize depth of field.
The Focus-Recompose Problem
A common technique is to focus on your subject using the center focus point, lock focus, and then recompose the shot. This works reasonably well at moderate apertures, but it can cause focus errors with shallow depth of field. When you recompose, you change the distance between the camera and subject, potentially moving the subject out of the plane of focus.
If you use focus-recompose with wide apertures, you might be introducing focus errors without realizing it. Instead, select a focus point closer to where your subject will be in the final composition. This keeps the focus plane parallel to your subject during recomposition.
Autofocus Mode Selection
Continuous autofocus (AF-C or AI Servo) tracks moving subjects and constantly adjusts focus. Single-shot autofocus (AF-S or One Shot) locks focus once and holds it. Using single-shot mode on a moving subject guarantees missed focus. Using continuous mode on a stationary subject can cause the focus to drift.
Match your autofocus mode to your subject. Stationary subjects like landscapes and posed portraits work best with single-shot AF. Moving subjects like children, pets, or sports require continuous AF. Some cameras offer automatic mode switching that can handle mixed situations.
Minimum Focus Distance Issues
Every lens has a minimum focus distance, the closest distance at which it can achieve focus. Trying to focus closer than this distance will result in soft images or the autofocus hunting endlessly. Macro lenses are specifically designed to focus very close, but standard lenses often have minimum focus distances of 1-3 feet.
If your close-up shots are consistently soft, check your minimum focus distance. Step back slightly and see if focus improves. Extension tubes can reduce minimum focus distance for macro-like work with standard lenses.
Practical Prevention Techniques for Sharp Photos
Prevention is always better than trying to fix blur after the fact. Here are practical techniques to ensure consistently sharp photos.
Camera Settings for Different Scenarios
Portrait Photography:
- Use shutter speed of at least 1/125 second to freeze small subject movements
- Stop down to f/2.8 or f/4 for more depth of field if needed
- Select single-point AF and place on the nearest eye
- Use single-shot autofocus mode
Landscape Photography:
- Use a tripod whenever possible
- Stop down to f/8 or f/11 for maximum depth of field
- Focus about one-third into the scene
- Use manual focus or single-shot AF with magnified live view
Action Photography:
- Use shutter speed of at least 1/500 second or faster
- Select continuous autofocus mode
- Use burst shooting mode
- Consider zone focusing for predictable subjects
Low Light Photography:
- Use a tripod or other stable support
- Turn on image stabilization
- Open aperture wide to allow faster shutter speeds
- Use higher ISO rather than slower shutter speeds
Equipment Recommendations
A sturdy tripod is the single best investment for sharp photos. Look for one that can support at least twice the weight of your camera and heaviest lens. Carbon fiber tripods offer excellent vibration damping while remaining lightweight enough to carry.
Remote releases eliminate shake from pressing the shutter button. Cable releases work well, or use your camera’s self-timer if you do not have one. Wireless releases are convenient for self-portraits or when you need to trigger the camera from a distance.
Quick Checklist for Sharp Photos
Before pressing the shutter, run through this mental checklist:
- Is my shutter speed fast enough for my focal length?
- Have I selected the correct focus point on my subject?
- Is my autofocus mode appropriate for my subject?
- Am I holding the camera correctly?
- Do I need a tripod or other support?
- Is my lens clean?
Blur Diagnosis Troubleshooting Guide
When you find a blurry photo, use this troubleshooting approach to identify the cause.
Step-by-Step Diagnosis
Step 1: Zoom to 100% and look for directional streaks. Streaks indicate camera shake.
Step 2: Check if any part of the image is sharp. If nothing is sharp, it is camera shake.
Step 3: If some areas are sharp, identify what is in focus. If the background is sharp instead of your subject, it is a focus issue.
Step 4: Check your EXIF data. Was your shutter speed faster than the reciprocal of your focal length? If not, camera shake is likely.
Step 5: Review your aperture. Wide apertures with shallow depth of field can make focus appear missed even when technically correct.
When to Suspect Lens Issues
If you consistently get soft images even with proper technique, your lens might need calibration. Some lenses have slight front-focus or back-focus issues that can be adjusted in-camera or by a service center. A dirty or smudged lens element can also cause overall softness. Check your lens cleaning routine.
Frequently Asked Questions
Does camera shake cause blurring?
Yes, camera shake is one of the most common causes of blurry photos. When the camera moves during exposure, even by a tiny amount, it creates blur in the image. The blur appears as directional streaks or ghosting rather than uniform softness. Camera shake is especially problematic at slower shutter speeds and with longer focal length lenses.
How to fix blurry camera pictures?
The fix depends on the cause. For camera shake, use faster shutter speeds (follow the reciprocal rule), enable image stabilization, improve your hand-holding technique, or use a tripod. For missed focus, select the correct focus point, use appropriate autofocus mode for your subject, and consider stopping down your aperture for more depth of field. Identifying which issue you have is the first step.
Can you fix a photo that’s slightly out of focus?
Mild focus issues can sometimes be improved with sharpening tools in post-processing, but you cannot truly fix a blurry photo. Lightroom, Photoshop, and specialized tools like Topaz Sharpen AI can help recover some detail, but the results are never as good as getting it right in camera. Prevention is always the best approach.
Can blurry photos be restored?
Blurry photos cannot be fully restored to perfect sharpness, but modern AI-powered tools can significantly improve them. Software like Topaz Photo AI, Adobe Photoshop’s Neural Filters, and similar tools can reduce blur and recover some detail. However, these tools work best on minor blur. Severely blurry photos will always show some quality loss regardless of processing.
Conclusion
Understanding how to fix blurry photos caused by camera shake vs missed focus is essential for any photographer who wants consistently sharp images. The key is learning to identify which problem you have by examining the blur pattern. Directional streaks and uniform softness across the frame point to camera shake. Isolated sharp areas with soft subjects indicate focus issues.
Once you can diagnose the problem, the solutions are straightforward. Camera shake requires faster shutter speeds, better technique, or stabilization equipment. Focus problems need attention to focus point selection, autofocus mode, and depth of field management. Neither problem has a one-size-fits-all solution, which is why proper diagnosis matters so much.
The techniques in this guide will help you prevent both types of blur before they happen. Start with proper camera settings for your shooting situation, maintain good hand-holding technique, and do not be afraid to use a tripod when conditions warrant it. With practice, you will spend less time wondering why your photos are blurry and more time creating sharp, compelling images.