Photographing tall buildings presents a unique challenge that every architectural photographer faces: converging vertical lines. You know the look–those majestic skyscrapers that appear to lean backward, with vertical edges that seem to converge toward each other at the top. I’ve spent years refining my architectural photography technique, and I’m going to share exactly how to photograph building exteriors while keeping those vertical lines perfectly straight.
This guide covers both in-camera prevention techniques and post-processing correction methods. Whether you’re shooting with professional equipment or working with a basic setup, you’ll learn practical solutions that deliver professional results.
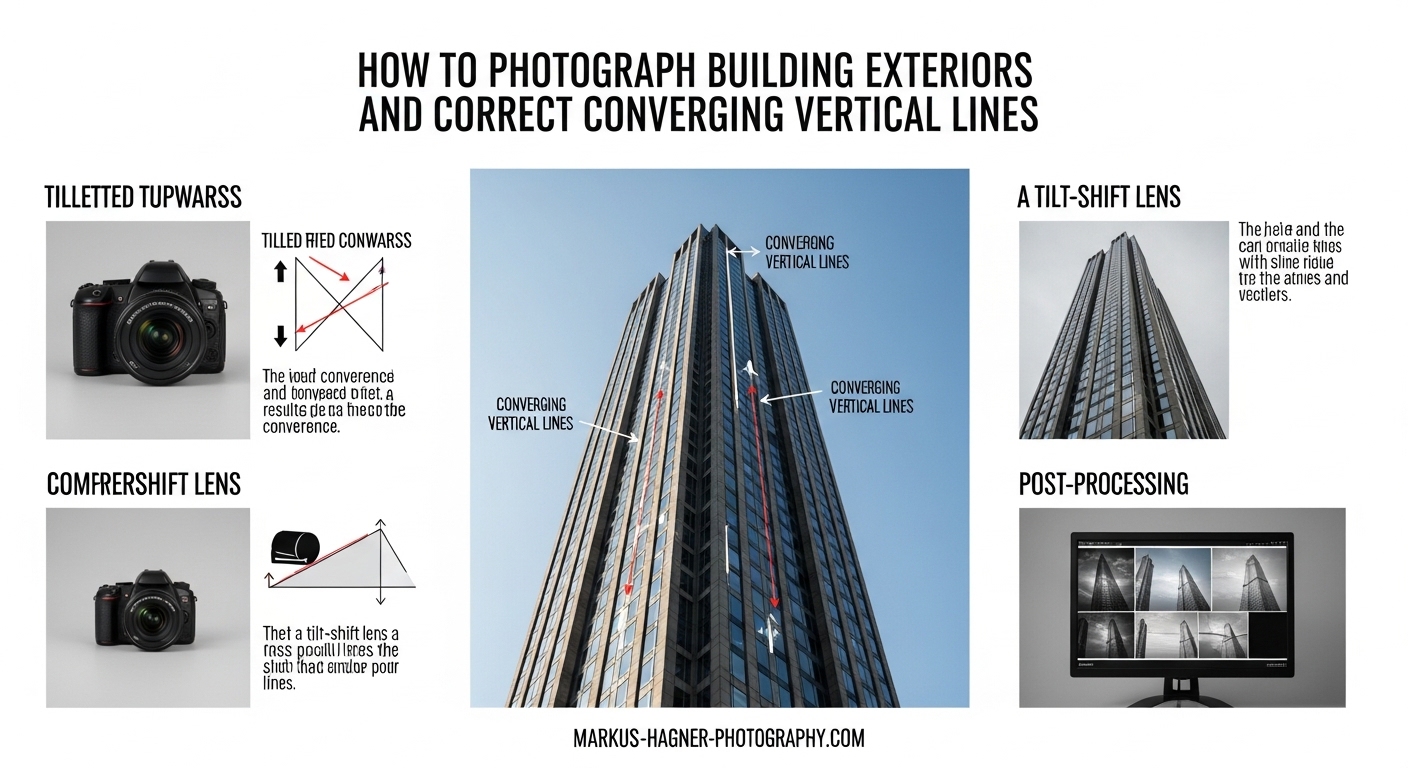
What Are Converging Vertical Lines?
Converging verticals occur when parallel vertical lines in a scene appear to lean inward or converge toward each other in a photograph. This effect happens most often when photographing tall buildings–the edges of the building seem to meet at a vanishing point rather than remaining parallel.
The cause is simple: perspective distortion. When you tilt your camera upward to capture a tall building, you’re changing the angle of your camera sensor relative to the subject. Your camera sensor is no longer parallel to the vertical elements of the building, which creates the converging effect. This is also known as the keystone effect, named after the wedge-shaped stone at the top of an arch.
In professional architectural photography, converging verticals are typically considered a technical flaw. Clients expect buildings to be represented accurately, with straight vertical lines that mirror reality. However, there are artistic situations where converging verticals can enhance the drama of an image–more on that later.
How to Photograph Building Exteriors Without Converging Verticals
The best solution for converging verticals is to prevent them in-camera. Post-processing correction can degrade image quality and require significant cropping, so getting it right during capture is always preferable. Here are the techniques I use when photographing building exteriors.
Keep your camera sensor perfectly vertical. This is the single most important principle. Your camera’s sensor plane should remain parallel to the vertical lines of the building. Any upward tilt will introduce convergence. I use my camera’s electronic level or a hot-shoe bubble level to ensure perfect vertical alignment.
Increase your shooting distance. Moving further back from the building allows you to keep your camera level while still capturing the entire structure. This is why you’ll often see architectural photographers standing as far back as possible–sometimes across the street or even from adjacent buildings. More distance equals less need to tilt the camera upward.
Elevate your shooting position. Getting to a higher vantage point can dramatically reduce converging verticals. If you can photograph the building from a mid-level floor rather than street level, you’ll need less upward tilt to capture the full height. I’ve shot from parking garages, rooftops, and even second-story windows to achieve better angles.
Use a longer focal length. Wide-angle lenses exaggerate perspective distortion and make converging verticals more apparent. Moving back and using a longer lens (50mm or longer) compresses perspective and minimizes the convergence effect. I typically shoot architecture in the 24-70mm range, avoiding ultra-wide angles unless I plan to correct in post.
Allow for extra composition space. When you know you’ll need to correct perspective in post-processing, compose with extra space around the building. Perspective correction always requires cropping–sometimes significantly. Frame wider than you normally would so you don’t lose important elements after correction.
Use a tripod and level carefully. Handholding makes it difficult to maintain perfect vertical alignment. A sturdy tripod allows precise positioning, and many tripods have built-in bubble levels. I spend more time positioning my tripod than I do actually shooting–it’s that important for architectural work.
Correcting Converging Verticals in Lightroom
Despite our best efforts, sometimes converging verticals are unavoidable. Limited shooting space, surrounding structures, or client requirements might force a less-than-ideal camera position. That’s where Lightroom’s Transform tools come in. I’ve corrected hundreds of architectural images using these methods.
Start with lens profile correction. Before addressing perspective, enable Lens Corrections > Enable Profile Corrections. This removes barrel or pincushion distortion that could interfere with perspective correction. Think of it as cleaning up optical issues before tackling geometric ones.
Open the Transform panel. You’ll find it in the Develop module, right below the Lens Corrections section. Lightroom offers several automated options, each designed for different types of perspective issues.
The Auto option analyzes your image and attempts to correct both vertical and horizontal perspective automatically. In my experience, Auto works well for straightforward architectural shots but often under-corrects severe convergence. It’s a good starting point but rarely the final solution.
The Vertical option specifically addresses converging verticals, which is exactly what we need for building photography. This is often more effective than Auto for architectural subjects because it focuses solely on vertical alignment without trying to fix horizontal elements.
For precise control, I recommend the Guided option. This tool lets you draw vertical lines on your image to guide the correction. Click to place at least two vertical guides along elements that should be perfectly straight–typically the building’s corners. Lightroom will analyze your guides and apply correction based on your input. This is consistently the most accurate method for architectural work.
After applying correction, you’ll likely need to adjust the Scale and Aspect sliders. Perspective correction crops into your image and can make buildings appear unnaturally wide or narrow. Scale helps recover some of the cropped areas, while Aspect restores natural proportions. I typically increase Scale to 100-105 and adjust Aspect until the building looks natural.
Fixing Converging Verticals in Photoshop
Photoshop offers more advanced perspective correction tools than Lightroom, particularly useful for complex architectural shots or when you need pixel-perfect precision. The workflow is different but equally effective.
The most straightforward method uses the Perspective Warp tool. Found under Edit > Perspective Warp, this tool allows you to define a grid over your image and adjust perspective planes. You’ll create two layouts–one for the vertical plane of the building and one for the ground plane if visible. Then you can manipulate each plane independently to correct convergence while maintaining realistic perspective.
For traditional correction, the Transform tools work well. Open your image and press Ctrl+T (Windows) or Cmd+T (Mac) to enter Free Transform mode. Right-click within the transform bounding box and select Perspective from the menu. Dragging the top corners outward will counteract converging verticals, making vertical lines parallel again. Hold Shift while dragging to maintain proportions.
The Distort option under the same Transform menu offers even more control, allowing you to adjust each corner independently. This is useful when only one side of the building shows convergence or when the building itself isn’t perfectly symmetrical.
For the most professional results, I recommend using the Lens Correction filter. Found under Filter > Lens Correction, this dedicated tool offers both Auto and Custom correction modes. The Custom tab includes Vertical Perspective sliders that let you dial in precise correction values. You can also adjust horizontal perspective, angle, and scale from one interface.
Work non-destructively by converting your background layer to a smart object before applying the Lens Correction filter. This preserves your original image and allows you to revisit and adjust the correction at any time.
Enable the grid overlay (Ctrl+’ or Cmd+’) to verify vertical alignment. Toggle the correction on and off frequently to compare your results and avoid over-correction, which can make buildings appear unnaturally wide or create reverse convergence.
Equipment Options for Architectural Photography
While software correction has made architectural photography more accessible, specialized equipment still offers advantages. Understanding your options helps you make informed decisions based on your budget and shooting requirements.
Tilt-shift lenses represent the gold standard for architectural photography. These specialized lenses allow you to shift the optical axis upward without tilting the camera body, maintaining perfect sensor alignment with the subject. The shift mechanism captures the full height of tall buildings without introducing converging verticals. Tilt-shift lenses from major manufacturers range from $1,500 to $2,500, making them a significant investment. However, they produce the highest-quality results with minimal cropping required.
Wide-angle tilt-shift lenses (17mm, 24mm) are ideal for tight urban environments where distance from the subject is limited. Longer tilt-shift lenses (45mm, 90mm) work better for detailed architectural shots and situations where you can maintain more distance from the building.
For photographers on a budget, standard lenses combined with careful technique and software correction produce excellent results. Modern cameras have enough resolution that the cropping required for perspective correction still yields detailed, high-quality images. I’ve shot professional architectural work using standard zoom lenses and proper post-processing technique.
A sturdy tripod is arguably more important than specialized lenses. The ability to precisely level your camera and maintain position while composing is invaluable. Look for a tripod with a built-in bubble level and consider adding a hot-shoe level for additional precision. Ball heads with separate panning controls make fine adjustments easier.
Common Mistakes to Avoid
Over-correction is the most frequent error I see when photographers fix converging verticals. The goal is parallel vertical lines, not outward-leaning lines. When you over-correct, buildings appear unnaturally wide and viewers immediately sense something is wrong. Toggle your corrections on and off frequently to compare with the original and stop when verticals are parallel.
Shooting from too close with a wide-angle lens creates extreme perspective distortion that’s difficult to correct naturally. If possible, move back and use a longer focal length. Your corrections will be subtler and your final image will look more realistic.
Forgetting to enable lens profile correction before perspective adjustment is another common mistake. Lens distortion and perspective distortion interact with each other, so always apply lens corrections first. This creates a clean starting point for perspective correction.
Ignoring horizontal lines while fixing verticals can create unbalanced results. A perfectly corrected vertical perspective with crooked horizontals looks unnatural. Check both vertical and horizontal alignment in your corrections–most architectural subjects have both elements that need attention.
Cropping too tightly during composition leaves no room for perspective correction. Remember that all perspective correction requires cropping. Frame wider than you think you need, especially when shooting with the intention to correct converging verticals in post.
When to Embrace Converging Verticals?
While professional architectural photography typically demands straight verticals, there are situations where converging verticals enhance an image. Urban street photography often benefits from the dynamic energy of converging lines. The exaggerated perspective can convey the overwhelming scale of city environments.
Artistic architectural interpretations sometimes intentionally use converging verticals for dramatic effect. When photographing from an extremely low angle with a wide-angle lens, the convergence can emphasize height and create a sense of awe. Fine art architectural photographers often employ this technique to create more subjective interpretations rather than documentary representations.
The key is intent. If converging verticals result from careless camera work, they look like mistakes. If they’re a deliberate creative choice to enhance mood or emphasize scale, they can be powerful compositional elements. Make the decision consciously rather than accidentally.
Frequently Asked Questions
What causes converging verticals in architectural photography?
How do I avoid converging verticals when photographing tall buildings?
Do I need a tilt-shift lens for architectural photography?
Should I correct converging verticals in Lightroom or Photoshop?
When should I embrace converging verticals instead of correcting them?
Final Thoughts on Photographing Building Exteriors
Mastering converging verticals is an essential skill for any photographer interested in architectural work. The combination of proper in-camera technique and effective post-processing correction gives you the flexibility to handle any shooting situation. Start with prevention–maintain distance, keep your camera level, and use appropriate focal lengths. When correction is necessary, Lightroom’s Transform tools and Photoshop’s perspective controls provide reliable solutions.
Practice these techniques on buildings in your area before applying them to paid work. Architectural photography requires patience and precision, but the results are worth the effort. Whether you’re photographing skyscrapers, historic buildings, or residential architecture, straight vertical lines communicate professionalism and attention to detail.