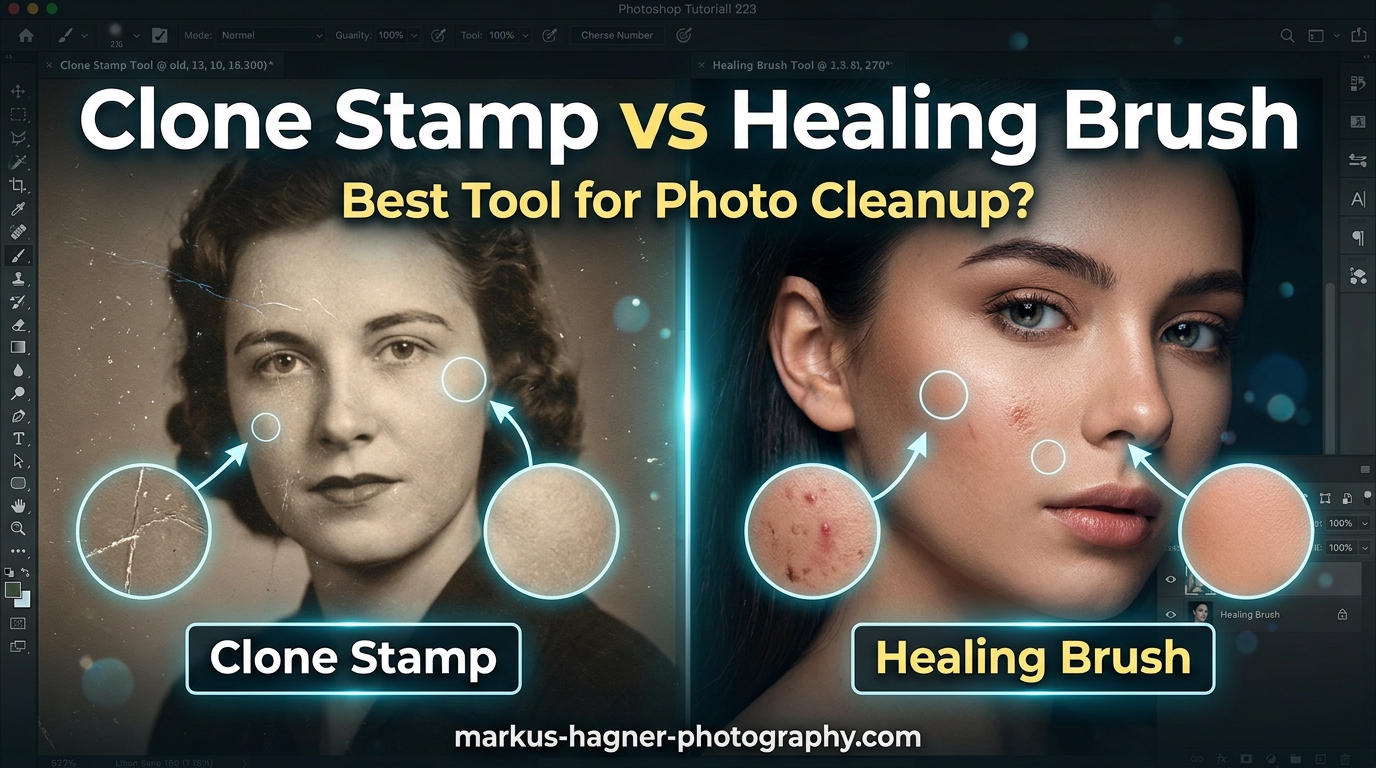
When editing photos in Photoshop, knowing when to use Clone Stamp vs Healing Brush can make the difference between invisible retouching and obvious edits. I have spent years testing both tools on everything from sensor dust removal to complex object elimination, and each has distinct strengths that matter for different scenarios.
The Clone Stamp creates an exact pixel copy from your sampling point, while the Healing Brush blends texture and tone from the sample with the luminance of your target area. Choosing the right tool determines whether your photo cleanup looks natural or amateurish.
For most photo cleanup tasks, I recommend using both tools together. Clone Stamp handles edges and defined areas with precision, while Healing Brush excels at seamless blending in open, uniform areas.
Clone Stamp vs Healing Brush: Quick Comparison
| Feature | Clone Stamp | Healing Brush |
|---|---|---|
| How It Works | Exact pixel copy | Blends texture, tone, and luminance |
| Edge Handling | Preserves defined edges | can smear near edges |
| Best For | Edges, patterns, defined areas | Isolated spots, open areas |
| Result Type | Exact duplicate | Seamless blend |
| Learning Curve | Easy | Moderate |
| Keyboard Shortcut | S | J |
This comparison shows why both tools belong in your retouching workflow. Clone Stamp gives you control and precision, while Healing Brush delivers speed and seamless blending.
Clone Stamp Tool Explained
The Clone Stamp Tool in Photoshop copies pixels exactly from one area to another. You set a sampling point by Alt-clicking (Option-clicking on Mac), then paint those exact pixels over the area you want to repair or replace.
I use Clone Stamp whenever I need to maintain sharp edges or replicate specific patterns. The tool creates a perfect duplicate, which makes it ideal for situations where blending would create unwanted smearing or softness.
How Clone Stamp Works
When you activate the Clone Stamp (keyboard shortcut S), Photoshop displays a preview inside your brush cursor showing what will be cloned. This visual feedback helps you align your sampling point precisely before you start painting.
The tool samples pixels relative to your brush position. As you move across the image, the sample point moves proportionally. This aligned sampling maintains spatial relationships, which is crucial for replicating textures and patterns accurately.
When to Use Clone Stamp
Use Clone Stamp for photo cleanup when you need to preserve defined edges. The tool excels at removing objects that touch distinct boundaries like horizons, architectural lines, or subject edges.
I reach for Clone Stamp in these specific situations:
- Removing objects near edges or boundaries
- Repairing patterns that must remain consistent
- Fixing areas with strong highlights and shadows
- Eliminating sensor dust on detailed textures
- Cloning specific elements like grass, bricks, or fabric
Clone Stamp Advantages
The main advantage of Clone Stamp is predictability. You see exactly what you will get before you paint, which eliminates surprises. The tool never introduces unexpected color shifts or texture blending.
Clone Stamp also gives you complete control over the source area. You choose exactly which pixels to duplicate, making it possible to match specific textures, patterns, or lighting conditions.
Clone Stamp Limitations
The downside is that Clone Stamp can create obvious duplicates if you are not careful. Repeating patterns become visible when the same texture appears multiple times. The tool also requires more skill to achieve seamless results in gradual tonal areas.
For isolated spots in open areas, Clone Stamp requires more work than Healing Brush. You must manually match tone and texture, while Healing Brush handles this automatically.
Healing Brush Tool Explained
The Healing Brush Tool samples texture from one area and blends it with the luminance and color of your target area. Unlike Clone Stamp, it does not create an exact copy. Instead, it analyzes both the sampled and destination pixels to create a seamless blend.
I use Healing Brush for removing blemishes, spots, and isolated distractions in open areas where the surrounding pixels provide a good tonal reference. The tool handles the blending work automatically.
How Healing Brush Works
When you paint with Healing Brush (keyboard shortcut J), Photoshop samples texture from your source point but preserves the lighting, shading, and color of the destination area. This intelligent blending makes repairs virtually invisible.
The tool calculates the difference between sampled and target pixels, then applies a mathematical blend that maintains texture while matching tone. This is why Healing Brush results look natural without manual color matching.
When to Use Healing Brush
Use Healing Brush for photo cleanup in open, uniform areas where seamless blending matters more than edge precision. The tool excels at removing isolated imperfections without leaving traces.
I reach for Healing Brush in these situations:
- Removing isolated blemishes or spots
- Eliminating sensor dust in sky areas
- Cleaning up skin imperfections
- Repairing scratches in uniform backgrounds
- Fixing small distractions away from edges
Healing Brush Advantages
The biggest advantage of Healing Brush is speed. You can remove dozens of spots in seconds without worrying about tone matching. The automatic blending handles luminance differences that would require careful work with Clone Stamp.
Healing Brush also produces more natural-looking results for organic textures like skin, sky, and natural surfaces. The mathematical blending mimics how light and texture interact in the real world.
Healing Brush Limitations
The Achilles heel of Healing Brush is edge handling. When your brush touches a defined edge, the tool samples from both sides and creates smearing. This is the most common complaint I hear from photographers learning retouching.
Healing Brush can also produce unpredictable results when the surrounding area lacks consistent texture or tone. The algorithm needs reference pixels to calculate the blend, so isolated or high-contrast areas can cause problems.
Head-to-Head Comparison
Edge Handling: Clone Stamp Wins
For any photo cleanup near defined edges, Clone Stamp is the clear winner. The tool preserves sharp boundaries without smearing, which is essential for architectural elements, horizons, and subject outlines. Healing Brush almost always creates visible artifacts when it crosses edges.
Blending Quality: Healing Brush Wins
In open areas with gradual tonal transitions, Healing Brush produces superior results. The automatic tone matching creates invisible repairs that would require extensive manual work with Clone Stamp. For sky cleanup and skin retouching, Healing Brush is more efficient.
Speed: Healing Brush Wins
Healing Brush is faster for most spot removal tasks because it handles tone matching automatically. Clone Stamp requires more precision and often multiple attempts to achieve seamless results. For batch spot removal, Healing Brush saves significant time.
Control: Clone Stamp Wins
When you need predictable, controlled results, Clone Stamp gives you complete authority over the outcome. The preview cursor shows exactly what will appear, eliminating surprises. This control matters for professional work where consistency is essential.
Advanced Techniques and Pro Tips
Non-Destructive Workflow
Both Clone Stamp and Healing Brush work on empty layers when you enable Sample: Current and Below in the options bar. This non-destructive approach preserves your original image and allows unlimited adjustments later.
I always create a new empty layer before retouching. If I make a mistake or want to reduce opacity, the original pixels remain untouched below. This professional workflow takes seconds to set up but saves hours of rework.
Combining Both Tools
The most effective photo cleanup workflow uses both tools strategically. I start with Clone Stamp near edges to create clean boundaries, then switch to Healing Brush for the interior areas. This combination gives you edge precision with seamless blending.
For complex objects, Clone Stamp first, then use Healing Brush to blend any visible seams. The two-step approach handles situations where neither tool alone produces satisfactory results.
Keyboard Shortcuts for Speed
Efficient retouching requires fast tool switching and brush adjustments. These shortcuts will speed up your workflow significantly:
- S: Switch to Clone Stamp
- J: Cycle through Healing tools (Healing Brush, Spot Healing, Patch)
- [ and ]: Decrease or increase brush size
- Shift + [ or ]: Decrease or increase brush hardness
- Alt/Option + Click: Set sampling point
Frequently Asked Questions
What is the difference between healing brush and Clone Stamp?
The Clone Stamp creates an exact pixel copy from your sampling point, duplicating texture, tone, and color precisely. The Healing Brush samples texture but automatically blends it with the luminance and color of your target area, creating seamless repairs without manual tone matching.
When should I use Clone Stamp vs Healing Brush?
Use Clone Stamp near defined edges, for pattern replication, or when you need exact control. Use Healing Brush for isolated spots in open areas, skin retouching, and situations where automatic tone blending saves time. Combine both for complex edits.
Is Clone Stamp destructive editing?
Clone Stamp can be destructive if applied directly to your image layer. However, you can use it non-destructively by creating an empty layer and setting Sample to Current and Below. This preserves your original pixels while allowing unlimited adjustments.
Why does Healing Brush smear edges?
Healing Brush samples texture and blends it with surrounding pixels. When your brush touches a defined edge, the tool pulls pixels from both sides and creates a blended smear. Always use Clone Stamp instead when working near boundaries or sharp edges.
Verdict: Which Tool Should You Use?
The Clone Stamp vs Healing Brush decision depends entirely on your specific photo cleanup task. Neither tool is universally better. Understanding when each excels is the key to professional retouching results.
Use Clone Stamp when working near defined edges, when you need to preserve patterns exactly, or when you want complete control over the result. The tool delivers predictable duplicates that maintain sharpness and detail.
Use Healing Brush for isolated spots in open areas, when speed matters more than precision, or when you want automatic tone matching. The tool excels at seamless blending that would require extensive manual work otherwise.
For most photo cleanup projects, combining both tools delivers the best results. Clone Stamp handles edges and boundaries while Healing Brush tackles interior areas. This professional workflow produces invisible retouching every time.