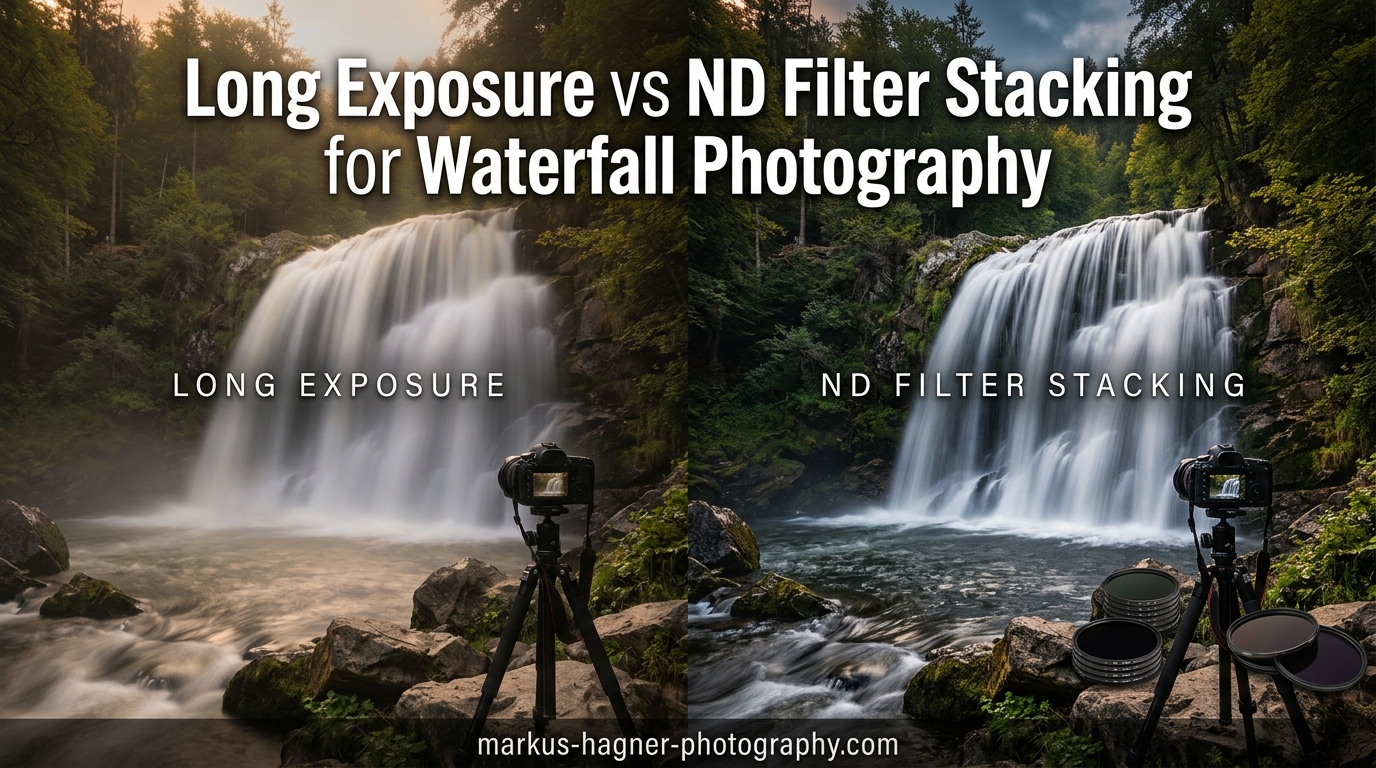
Capturing that dreamy, silky water effect in waterfall photography comes down to two main approaches. You can use a neutral density (ND) filter to slow your shutter speed in-camera, or you can shoot multiple shorter exposures and blend them together in post-processing. Both methods work, but they each have distinct advantages depending on your shooting conditions, budget, and workflow preferences.
After testing both techniques extensively across dozens of waterfall shoots, I have developed strong opinions about when each approach makes the most sense. The long exposure vs ND filter stacking for waterfall photography debate often comes down to a choice between convenience and flexibility. ND filters give you immediate results in-camera, while image stacking requires more post-processing time but offers greater control over the final look.
In this guide, I will break down exactly how each method works, compare their strengths and weaknesses, and help you decide which approach suits your waterfall photography style. I will also share the specific ND filters I recommend for photographers who prefer the in-camera approach.
Quick Comparison: ND Filters for Long Exposure
| Product | Specifications | Action |
|---|---|---|
 K&F Concept ND1000 (10-Stop)
|
|
Check Latest Price |
 K&F Concept Variable ND2-ND400
|
|
Check Latest Price |
 NEEWER Variable ND Filter
|
|
Check Latest Price |
 NiSi Circular ND Filter Kit
|
|
Check Latest Price |
Understanding the Two Approaches
Before diving into the comparison, let me clarify what each technique actually involves. The ND filter method uses a dark piece of glass in front of your lens to reduce incoming light, allowing you to use slower shutter speeds even in bright conditions. You capture one long exposure that creates the silky water effect directly in-camera.
The image stacking method takes a different approach. You shoot a sequence of shorter exposures (typically 10-30 images) without any filter, then use Photoshop or similar software to mathematically average those images together. The result simulates a longer exposure time.
Both techniques produce similar visual results, but the path to getting there differs significantly. Your choice affects everything from the gear you carry to the time you spend processing images after the shoot.
Method 1: ND Filter Long Exposure
Using a neutral density filter remains the traditional approach for waterfall photography. The concept is straightforward: attach a dark filter to your lens, which reduces the amount of light reaching your sensor by a specific number of stops. This reduction allows you to use shutter speeds of 1/4 second or longer even under bright midday sun.
Most waterfall photographers reach for a 10-stop ND filter (also called ND1000 or ND3.0) for bright conditions. This filter reduces light by 1000x, transforming a 1/125 second exposure into approximately 8 seconds. For overcast days or forest environments, a 6-stop ND filter often provides enough light reduction.
Step-by-Step ND Filter Workflow
Here is the exact workflow I use when shooting waterfalls with ND filters:
Step 1: Set up your tripod. A sturdy tripod is non-negotiable for either method. I use a remote shutter release or the camera’s self-timer to eliminate any camera shake during the exposure.
Step 2: Compose and focus without the filter. ND filters are too dark to see through, so I always compose my shot and lock focus before attaching the filter. Switching to manual focus after focusing prevents the lens from hunting.
Step 3: Calculate your base exposure. Without the filter attached, I set my camera to aperture priority at f/8-f/11, ISO 100, and note the shutter speed the camera suggests. Let’s say it reads 1/125 second.
Step 4: Attach the ND filter and adjust. With a 10-stop filter, I multiply my base exposure by approximately 1000. A 1/125 second becomes roughly 8 seconds. I switch to manual mode and dial in the new shutter speed.
Step 5: Take the shot and review the histogram. Long exposures can fool your camera’s metering, so I always check the histogram to ensure proper exposure. Adjust shutter speed if needed.
Common ND Filter Challenges
ND filters come with their own set of problems that frustrate many photographers:
Color cast: Cheaper filters often introduce unwanted color tints, typically a warm or magenta shift. Quality filters from brands like NiSi, Lee, or Breakthrough minimize this issue, but even premium filters may require white balance correction in post.
Light leak: When using strong ND filters (10+ stops), any stray light entering through the viewfinder can ruin your shot. I always cover the viewfinder eyepiece during long exposures.
Vignetting: Wide-angle lenses combined with thick filter frames often produce dark corners. Using slim-profile filters and avoiding filter stacking helps reduce this problem.
Difficulty focusing: You cannot see through a 10-stop filter in most conditions. Pre-focusing before attaching the filter is essential, and any focus shift after mounting can result in soft images.
Equipment Needed for ND Filter Method
Beyond the filter itself, successful long exposure waterfall photography requires:
A sturdy tripod that can withstand wind and flowing water vibrations. Carbon fiber tripods dampen vibration better than aluminum. A remote shutter release or cable release eliminates camera shake from pressing the shutter button. Alternatively, use your camera’s 2-second self-timer.
A filter holder system if using square filters, or simply screw-in circular filters for convenience. Many photographers prefer variable ND filters for their flexibility, though they can introduce the X-pattern artifact at extreme settings.
Recommended ND Filters for Waterfall Photography
Based on my testing and real-world use, here are four ND filters that excel for waterfall photography:
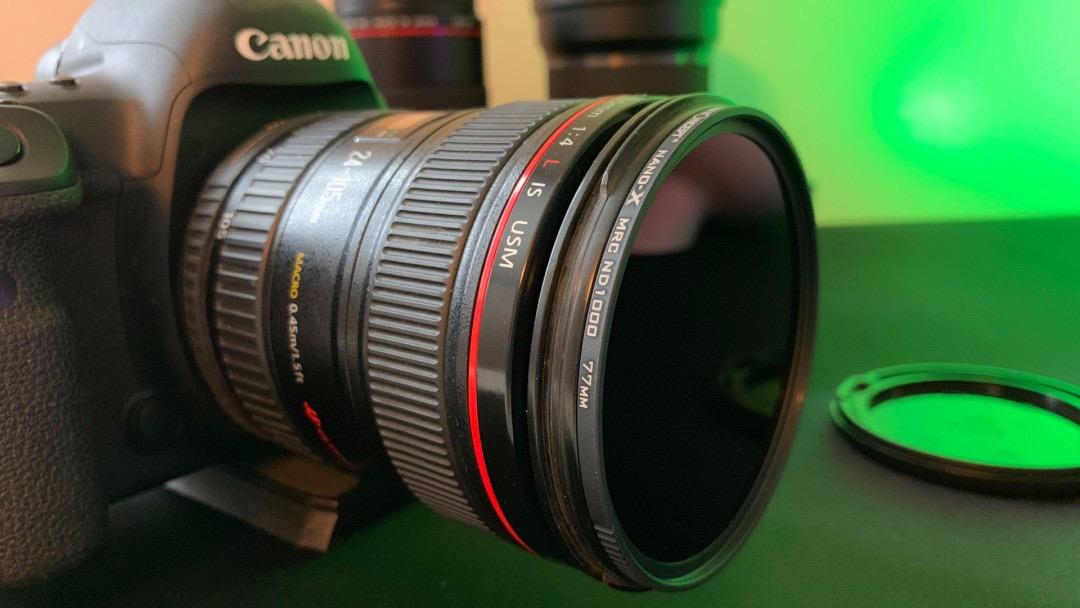
K&F Concept ND1000 (10-Stop Fixed ND Filter)
Pros
- Premium Japanese AGC optical glass quality
- 28-layer multi-resistant coating
- Budget-friendly price point
- Slim design prevents vignetting
- No color cast issues
- Auto-focus compatible
Cons
- May have slight warm bias in certain conditions
- Possible vignetting on wide-angle lenses
- Focusing through filter can be difficult
The K&F Concept ND1000 delivers impressive optical quality at an entry-level price point. I have used this filter extensively for waterfall shoots, and the 28-layer multi-coating effectively suppresses flare and ghosting. The Japanese AGC optical glass produces sharp results with minimal color shift.
What impresses me most is how this budget filter avoids the severe color cast issues that plague cheaper alternatives. You might notice a slight warm bias in some conditions, but this is easily corrected in post-processing. For photographers just starting with long exposure waterfall photography, this filter offers excellent value without sacrificing image quality.

The aviation aluminum alloy frame feels solid and mounts smoothly onto lenses. I appreciate the slim profile, which prevents vignetting on most lenses wider than 24mm. The scratch-resistant coating has held up well after months of field use.
One limitation to consider: focusing through a 10-stop filter in low light conditions proves challenging. I always compose and focus before attaching the filter, then switch to manual focus to prevent any shift. This workflow becomes second nature after a few shoots.
K&F Concept Variable ND2-ND400 Filter
Pros
- Excellent value for money
- True color with minimal color shift
- Smooth rotation mechanism
- Wide range of adjustable ND settings
- Great for long exposures in daylight
- Durable and well-made construction
Cons
- Adds slight green/yellow hue at max ND
- Vignetting appears at maximum ND stop
- Dark X cross pattern at extreme settings
- Changes outer thread diameter
This variable ND filter from K&F Concept offers tremendous versatility for waterfall photography. The ability to adjust from 1 to 9 stops means you can adapt to changing light conditions without carrying multiple fixed filters. I find this particularly useful when shooting waterfalls in forest environments where light levels shift constantly.
The 18-layer multi-coating produces clean images with true color reproduction throughout most of the adjustment range. The smooth rotation mechanism allows precise control over light reduction, making it easy to dial in exactly the shutter speed you want.
However, variable ND filters have inherent limitations. At maximum ND settings (7-9 stops), you may notice a dark X-pattern crossing your image. This artifact appears when the two polarizing elements reach certain angles relative to each other. I avoid using the extreme ends of the range for critical shots.

For most waterfall scenarios, I keep this filter in the 3-6 stop range, where image quality remains excellent and the X-pattern is not an issue. This range covers the majority of lighting conditions I encounter in forest waterfall photography.
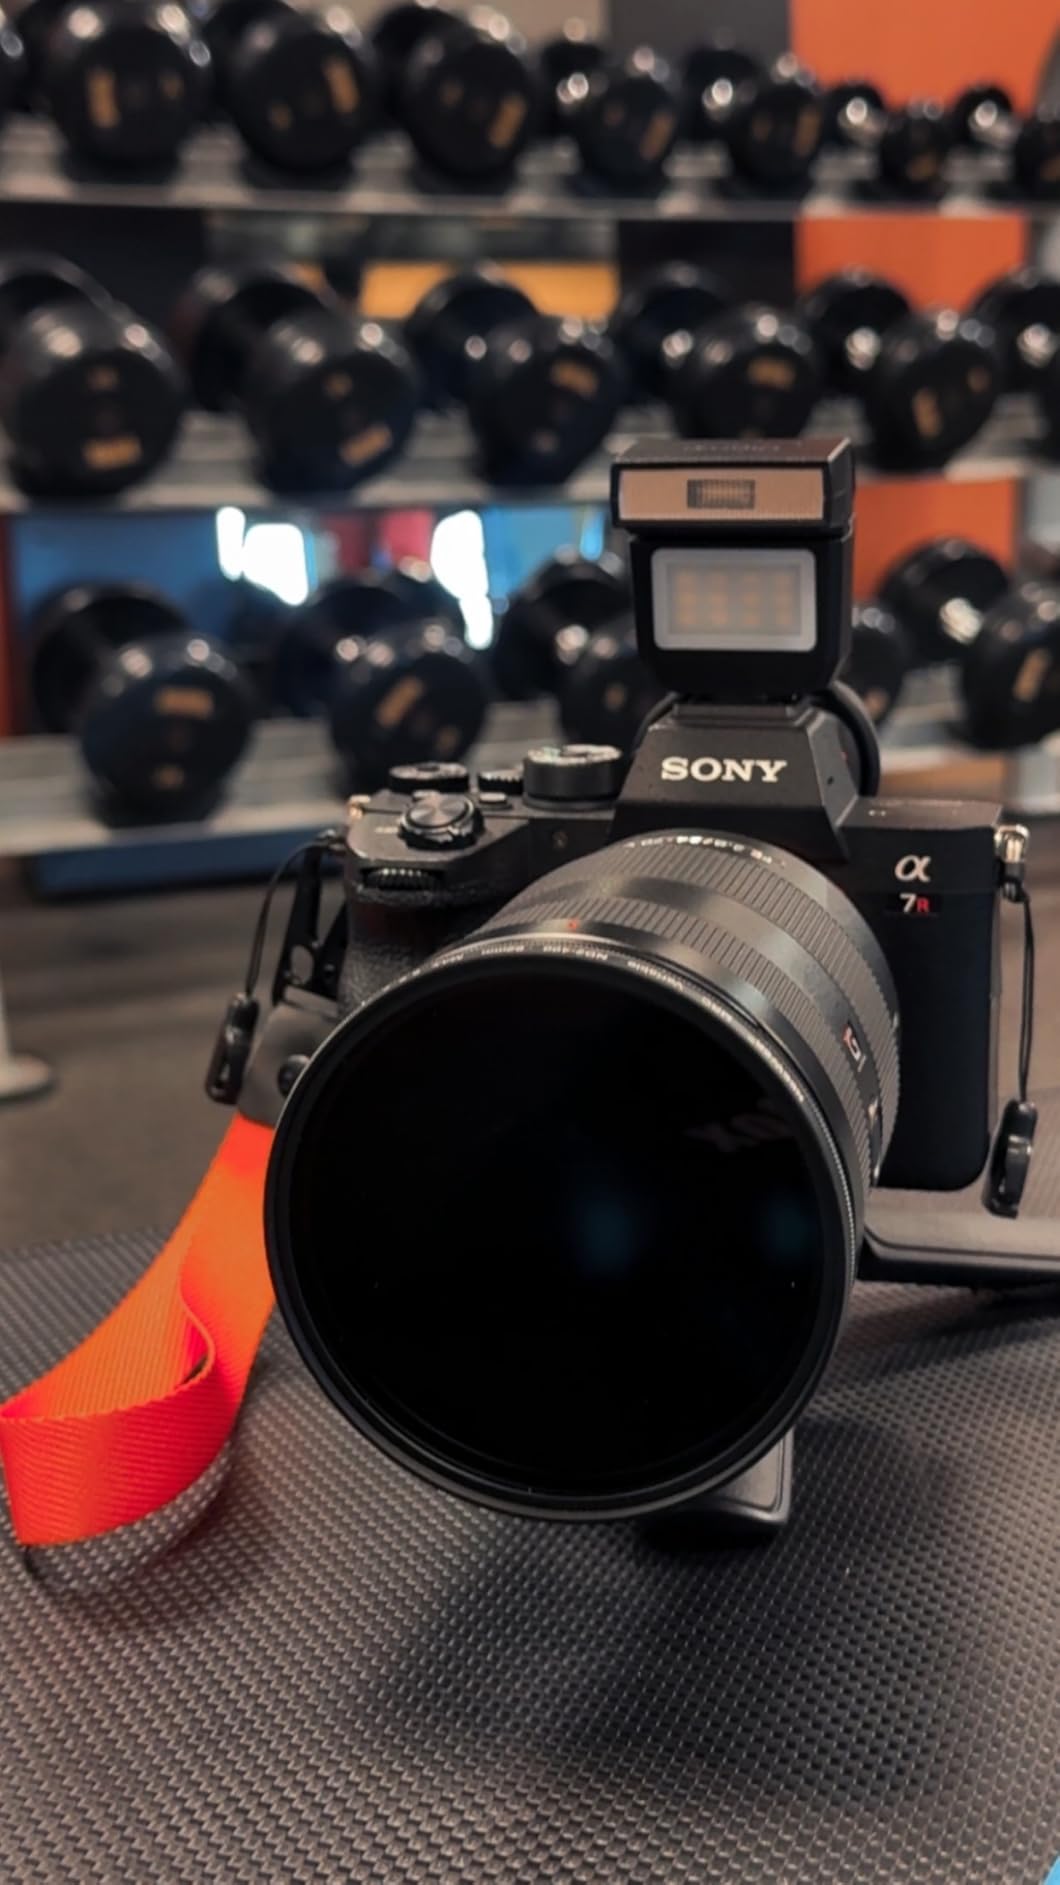
NEEWER Variable ND Filter ND2-ND400
Pros
- Exceptional build quality and durability
- Japanese NITTO polarising film
- Precise contrast and color reproduction
- Multiple nanocoatings protect against elements
- Ultra thin frame prevents vignettes
- Great value for money
Cons
- Dark cross pattern at certain settings
- Vignetting can occur on wide-angle lenses
- Ghostly X pattern at maximum ND
- Lens cap may not fit properly when attached
The NEEWER Variable ND Filter stands out for its use of Japanese NITTO polarizing film, which delivers superior neutrality compared to many competitors. The 4-element optical glass construction produces sharp, contrast-rich images that hold up well for landscape and waterfall photography.
I am impressed by the advanced nanocoatings that make this filter resistant to water, oil, dust, and scratches. Shooting around waterfalls means dealing with spray and moisture, and these coatings have proven their worth in challenging conditions. A quick wipe with a microfiber cloth restores clarity after exposure to waterfall mist.
The 9.5mm ultra-thin metal frame minimizes vignetting on wide-angle lenses, though you may still see some darkening at focal lengths wider than 20mm. The precise threading mounts smoothly without cross-threading issues I have experienced with cheaper filters.
Like all variable ND filters, this one exhibits the X-pattern artifact at extreme settings. I recommend staying below 7 stops for landscape work where sky is present in the frame. For waterfalls surrounded by forest canopy, even the maximum settings work well since the X-pattern is less noticeable against foliage.
NiSi 82mm Circular ND Filter Kit
Pros
- Premium professional quality glass
- True color with zero color shift
- NiSi Pro Nano Coating
- ND64+CPL dual-purpose versatility
- Excellent clarity and sharpness
- No noticeable vignette
Cons
- Premium price point
- Aluminum frames rather than brass
- Low stock availability
- Some units report quality issues with 10-stop
For photographers seeking professional-grade results, the NiSi Circular ND Filter Kit represents the pinnacle of filter quality. This three-filter kit includes an ND8 (3-stop), an ND64+CPL combination (6-stop with polarizer), and an ND1000 (10-stop), covering virtually every waterfall shooting scenario.
The standout feature is the innovative ND64+CPL filter, which combines a 6-stop neutral density filter with a rotating circular polarizer. This combination is incredibly useful for waterfall photography because the polarizer cuts glare on wet rocks and enhances color saturation while the ND component provides the light reduction needed for long exposures.
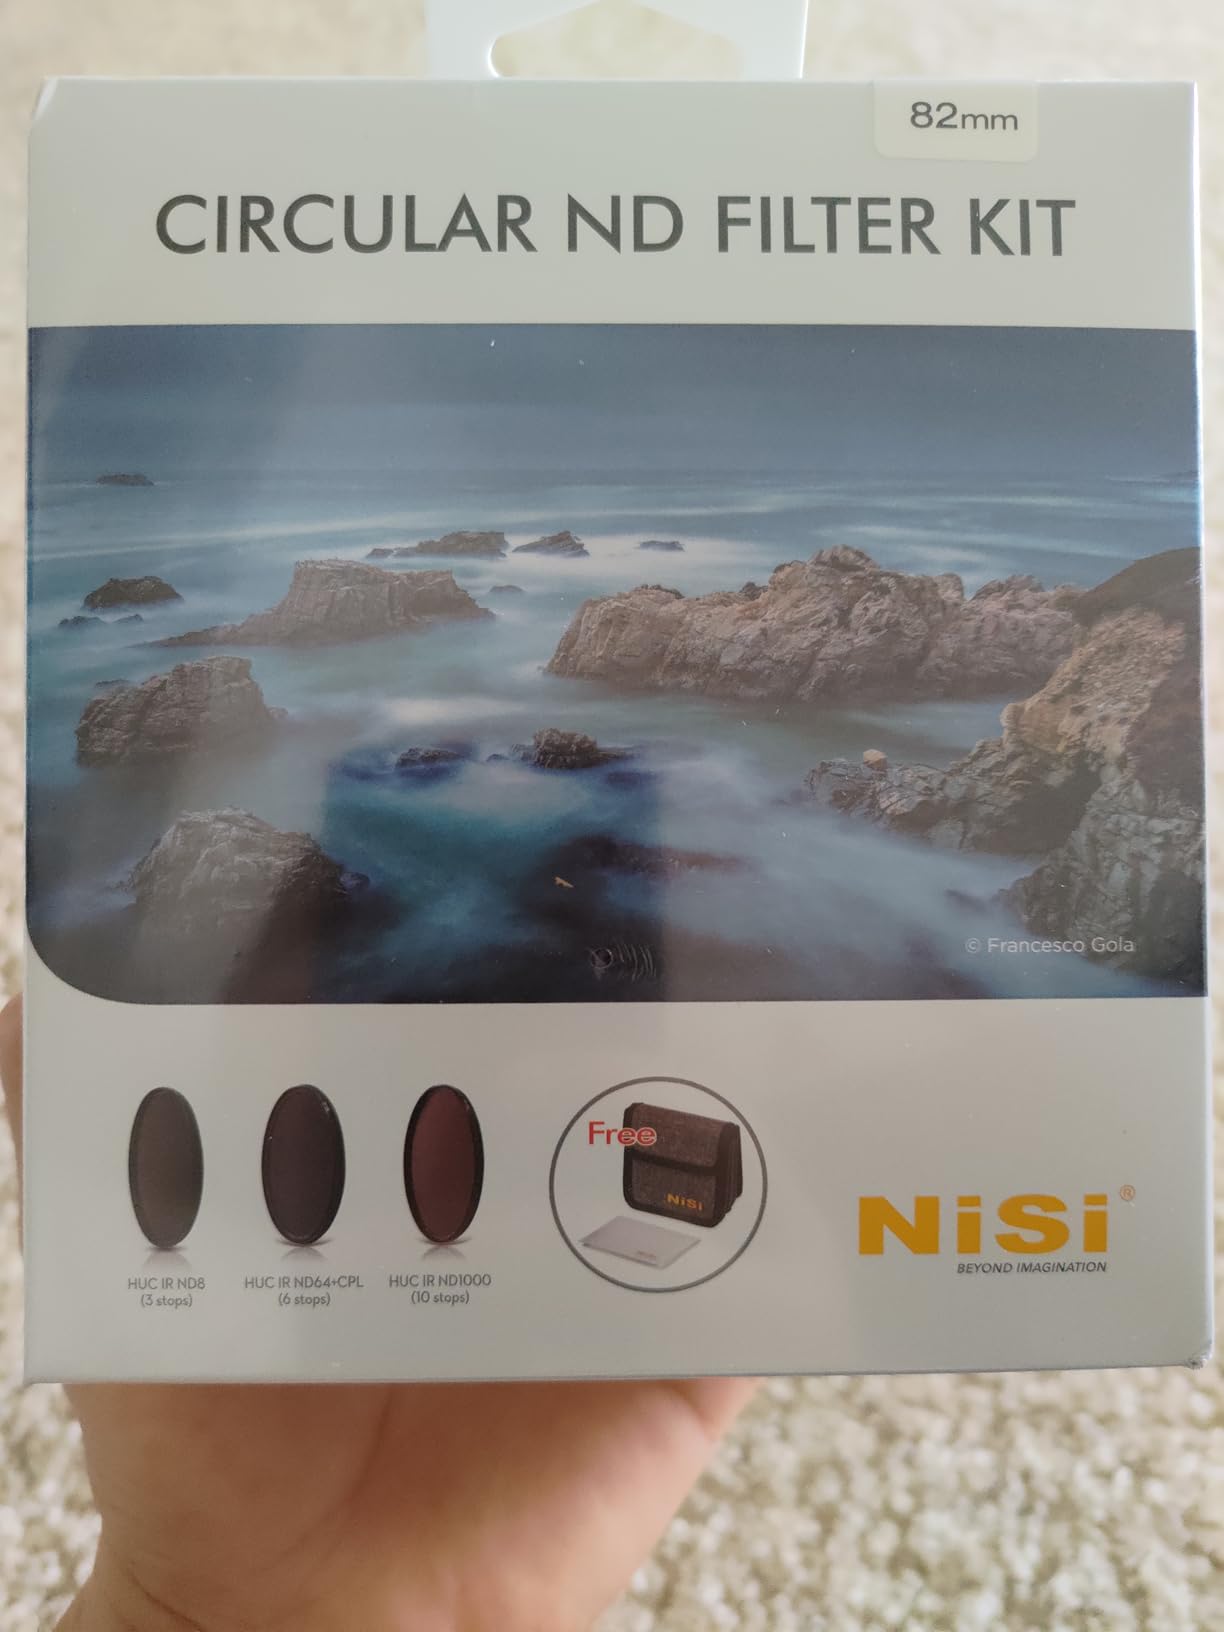
NiSi’s Pro Nano Coating delivers exceptional optical performance with true color reproduction and zero color shift. The waterproof, dust-proof, and scratch-resistant coating has held up beautifully through extensive field use. Images shot through these filters exhibit excellent contrast and sharpness.

The kit includes a 4-pocket filter case and microfiber cleaning cloth, making it easy to keep your filters protected and clean in the field. While the price point is significantly higher than budget options, the optical quality justifies the investment for serious landscape and waterfall photographers.
Method 2: Image Stacking for Long Exposure Effect
Image stacking offers an alternative approach that completely bypasses the need for ND filters. Instead of capturing one long exposure, you shoot a sequence of shorter exposures and use software to combine them. The mathematical averaging of multiple images simulates the look of a longer exposure time.
The technique works on a simple principle: if you shoot 30 images at 1/30 second each and average them together, the result looks similar to a single 1-second exposure. The water motion blends smoothly, while stationary elements like rocks and trees remain sharp.
Step-by-Step Image Stacking Workflow
Here is the exact process I use for the stacking method:
Step 1: Set up your tripod and compose. Just like with ND filters, a stable tripod is essential. Any camera movement between frames will create blur in the final image.
Step 2: Set your camera settings. I use aperture priority or manual mode at f/8-f/11, ISO 100, with whatever shutter speed the lighting allows. The key is keeping settings consistent across all frames.
Step 3: Shoot a sequence of images. I typically capture 20-50 frames using my camera’s interval timer or continuous shooting mode. More frames produce smoother water but require more processing time.
Step 4: Load images into Photoshop. Go to File > Scripts > Load Files into Stack. Select all your images and check “Attempt to Automatically Align Source Images” and “Create Smart Object after Loading Layers.”
Step 5: Apply stack mode. With the Smart Object selected, go to Layer > Smart Objects > Stack Mode > Mean. This averages all the images together, creating the long exposure effect.
Advantages of Image Stacking
The stacking method offers several compelling benefits that make it attractive for certain shooting scenarios:
No filter investment required: Quality ND filters cost anywhere from $50 to $300 or more. Stacking requires only software you likely already own, making it an attractive option for photographers on a budget.
Flexibility in post-processing: Because you have multiple source images, you can experiment with different stack modes (mean, median) or use only a subset of frames. This flexibility allows fine-tuning the final look after the shoot.
No color cast or filter artifacts: Without a filter in front of your lens, you avoid issues like color shift, vignetting, and the X-pattern that plague variable ND filters. Your images retain accurate colors straight from the camera.
Ability to remove moving elements: The median stack mode naturally removes transient elements like tourists walking through your frame. This is incredibly useful for popular waterfall locations where crowds are unavoidable.
Disadvantages of Image Stacking
Despite its advantages, stacking comes with significant drawbacks that make it less practical for many situations:
Time-intensive post-processing: Processing 30-50 images through Photoshop’s stack mode takes considerable time. A single waterfall image might require 10-15 minutes of computer processing, plus the time to load and organize files.
Massive storage requirements: Shooting 50 RAW files for a single image quickly fills memory cards and hard drives. A typical waterfall shoot using stacking might generate several gigabytes of data.
Wind and subject movement: Any movement in foliage between frames creates ghosting artifacts in the final stack. On windy days, this can render the technique nearly unusable for waterfall scenes surrounded by trees.
Computer resource demands: Loading and processing dozens of high-resolution images requires significant RAM and processing power. Older computers may struggle or crash when handling large stacks.
Long Exposure vs ND Filter Stacking: Head-to-Head Comparison
Now let me directly compare these two methods across the factors that matter most for waterfall photography:
| Factor | ND Filter Method | Image Stacking Method |
|---|---|---|
| Upfront Cost | $50-300 for quality filter | Free (software required) |
| Post-Processing Time | Minimal (single image) | 10-15 minutes per image |
| Storage Needed | One file per shot | 30-50 files per shot |
| Color Accuracy | May need correction | Excellent (no filter) |
| Wind Tolerance | Good (single exposure) | Poor (ghosting issues) |
| Convenience | Immediate results | Requires computer work |
| Flexibility | Limited to captured exposure | Can adjust in post |
| Removing People | Not possible | Yes (median mode) |
When to Choose ND Filters
I reach for ND filters in these situations:
When shooting in windy conditions where foliage movement would cause ghosting in stacked images. A single long exposure freezes any momentary movement in leaves and branches.
When traveling light without my laptop or when I want to review results immediately on-site. ND filters let me see the silky water effect on my camera’s LCD right after shooting.
When photographing multiple waterfalls in one day. Processing dozens of stacked images for each location would consume hours of post-processing time.
When shooting large, powerful waterfalls that generate significant spray. Constant mist on your lens makes shooting 30+ consecutive frames impractical, as you need to wipe the lens between shots.
When to Choose Image Stacking
The stacking method becomes my go-to in these scenarios:
When I forgot my ND filters or want to travel without the extra weight. Stacking provides a reliable backup that always works.
When shooting at crowded tourist locations where people constantly walk through the frame. The median stack mode automatically removes moving subjects.
When I want maximum flexibility to experiment with different looks after the shoot. Having all those source images gives me creative options a single exposure cannot provide.
When shooting small, intimate waterfalls in calm, windless forest environments. The controlled conditions minimize ghosting issues, and the stacking technique produces beautiful results.
Camera Settings for Waterfall Photography
Regardless of which method you choose, these camera settings form the foundation of successful waterfall photography:
ISO: Always use your camera’s base ISO (typically ISO 100 or 64). This minimizes noise and maximizes dynamic range, which is crucial for retaining detail in both bright highlights (the white water) and deep shadows (wet rocks).
Aperture: Shoot between f/8 and f/16 for optimal sharpness and depth of field. Very narrow apertures (f/22) can introduce diffraction softening, so I rarely go smaller than f/16 unless absolutely necessary.
Shutter Speed: For silky water, aim for 1/4 second to 2 seconds. Faster speeds freeze water too much; slower speeds can turn flowing water into an indistinct white blur. Experiment to find the look you prefer.
Focus: Focus about one-third into the scene for maximum depth of field. Use live view magnification to ensure critical focus on the main waterfall, then switch to manual focus to lock it in.
White Balance: I shoot in RAW and set white balance to cloudy or shade for warm tones. If using an ND filter with color cast, you can correct this in post-processing with a custom white balance adjustment.
Hybrid Approach: Combining Both Methods
Some photographers use a hybrid approach that combines elements of both techniques. I have experimented with this method and found it useful in specific situations.
The hybrid approach involves using a lighter ND filter (3-6 stops) combined with a shorter sequence of stacked images. Instead of shooting 30+ frames, you might shoot 8-10 longer exposures. This reduces post-processing time while still providing some of the flexibility benefits of stacking.
This technique works particularly well when you want to remove moving elements (people, birds) while still achieving a longer effective exposure time than your ND filter alone would allow. It also provides a backup if your single ND filter exposure has any issues.
The trade-off is that you still need to invest in an ND filter, and you add post-processing time compared to the pure ND filter approach. However, for critical shots where you want maximum flexibility and insurance against mistakes, the hybrid method offers the best of both worlds.
Frequently Asked Questions
Is short or long exposure better for waterfalls?
The ideal exposure depends on the waterfall and effect you want. Large, powerful waterfalls often look best with faster shutter speeds (1/250 to 1/500 second) that capture their raw power and individual droplets. Smaller to medium waterfalls benefit from slower speeds (1/4 to 2 seconds) that create the dreamy, silky water effect most photographers seek. Experiment with both approaches to find what suits each specific waterfall and your artistic vision.
What are the best settings for waterfall photography?
Use a sturdy tripod, ISO 100 (or your camera’s base ISO), aperture between f/8 and f/16, and shutter speed between 1/4 second and 2 seconds for silky water. Attach a remote shutter release or use the 2-second self-timer to eliminate camera shake. In bright conditions, add an ND filter (6-10 stops) to achieve these shutter speeds. Always shoot in RAW for maximum editing flexibility.
How many photos do I need to stack for long exposure effect?
For effective image stacking, shoot 20-50 frames depending on your base shutter speed and desired effect. More frames produce smoother water blending but increase processing time and storage requirements. If your base exposure is 1/30 second and you want to simulate a 1-second exposure, you need approximately 30 frames. For a 2-second equivalent, shoot around 60 frames.
What ND filter strength is best for waterfalls?
A 6-stop ND filter works well for overcast days and forest environments where light is naturally reduced. For bright daylight conditions, a 10-stop ND filter (ND1000) provides the light reduction needed for 1-8 second exposures. Many photographers carry both strengths or use a variable ND filter (1-9 stops) for maximum flexibility across different lighting conditions.
Conclusion: Which Method Should You Choose?
The choice between long exposure vs ND filter stacking ultimately depends on your priorities as a photographer. Both techniques produce beautiful results when executed properly.
Choose ND filters if you value convenience, immediate results, and minimal post-processing. This approach works best for photographers who shoot frequently, travel to multiple locations, or work in challenging conditions with wind or spray. The upfront investment pays off through countless hours saved in front of the computer.
Choose image stacking if you are on a budget, shoot primarily in calm conditions, or frequently deal with crowded locations. This technique rewards patience and planning with maximum flexibility and the ability to remove unwanted elements from your scenes.
For most serious waterfall photographers, I recommend investing in quality ND filters as your primary approach while keeping the stacking technique in your toolkit as a backup. The K&F Concept ND1000 offers excellent value for beginners, while the NiSi Filter Kit provides professional results for those who demand the best optical quality.
Whichever method you choose, the key to stunning waterfall photography remains the same: understanding your equipment, practicing your technique, and developing an eye for composition. The silky water effect is just one element of a compelling waterfall image.