Nothing is more frustrating than editing photos for hours, only to find your prints look nothing like what you saw on screen. I learned this the hard way after wasting countless hours and expensive paper on prints with muddy colors and wrong exposure. The culprit was my uncalibrated monitor showing me colors that simply did not exist.
A monitor calibrator solves this problem by measuring your display’s actual color output and creating a profile that ensures what you see matches what you print. For photographers, graphic designers, and content creators working with limited budgets, finding reliable calibration tools under $200 can feel overwhelming with so many options on the market.
In this guide, I have tested and compared the best budget monitor calibrators under $200 available in 2026. Whether you are a hobbyist photographer just starting out or a professional looking for an affordable backup solution, you will find options that deliver accurate colors without breaking the bank. I will also share real user experiences from photography forums and explain which features actually matter for different use cases.
Top 3 Picks for Best Budget Monitor Calibrators Under $200


Best Budget Monitor Calibrators Under $200 in 2026
| Product | Specifications | Action |
|---|---|---|
|
Datacolor Spyder 2024
|
|
Check Latest Price |
|
Calibrite Display 123
|
|
Check Latest Price |
 Datacolor SpyderExpress
|
|
Check Latest Price |
 Datacolor Spyder Celebration Kit
|
|
Check Latest Price |
 Calibrite Creator Kit
|
|
Check Latest Price |
 Datacolor Spyder4Pro
|
|
Check Latest Price |
 Datacolor Spyder Checkr
|
|
Check Latest Price |
|
X-Rite ColorMunki Smile
|
|
Check Latest Price |
 Datacolor SpyderCube
|
|
Check Latest Price |
 Datacolor Spyder2 PRO
|
|
Check Latest Price |
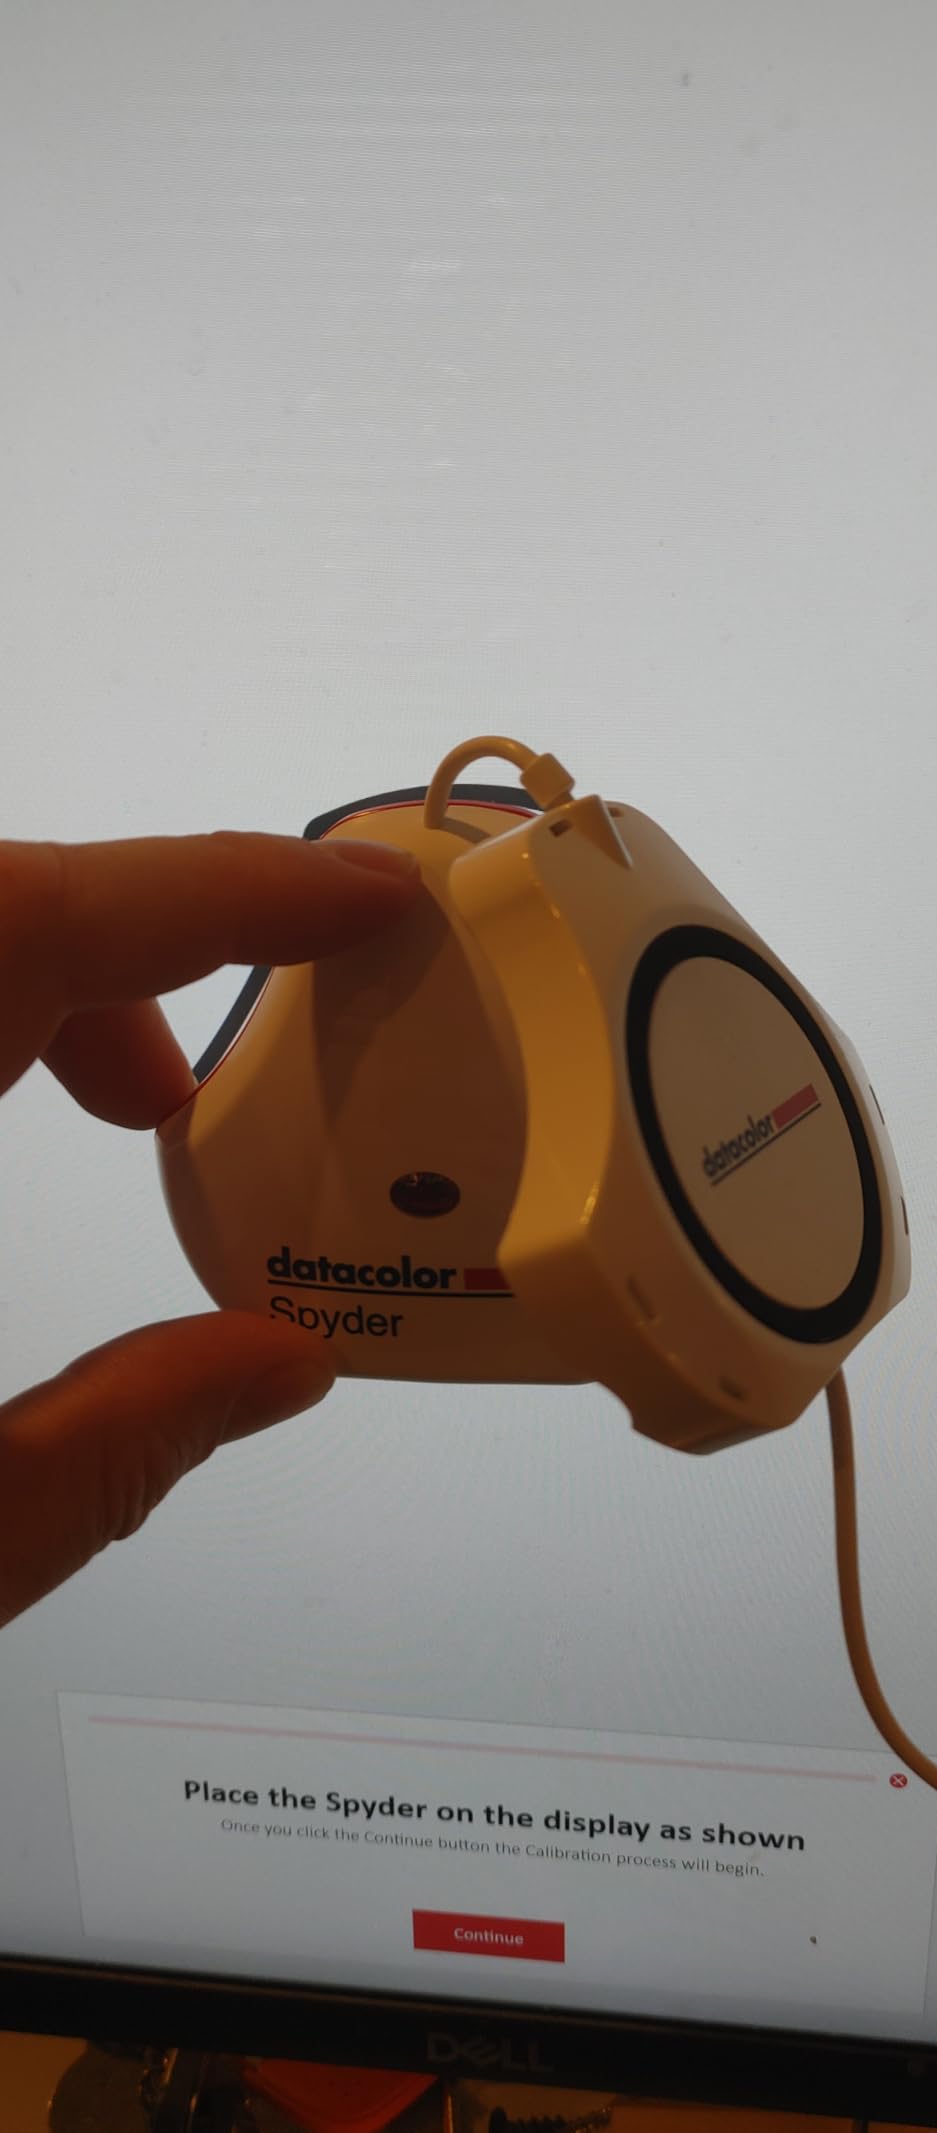
1. Datacolor Spyder 2024 Monitor Calibrator – Fast and Modern
Pros
- Very fast 90-second calibration
- Supports latest display technologies
- Intuitive easy-to-use software
- Excellent color accuracy across monitors
- DevicePreview feature simulates other devices
Cons
- Software download process could be clearer
- Manual sensor positioning during calibration
- Some registration/setup difficulties
After using the Datacolor Spyder 2024 for several weeks, I can see why it has become a favorite among content creators. The calibration process takes just 90 seconds, which is incredibly fast compared to older models that took 5-7 minutes. I simply plugged it in, downloaded the software, and had my monitor calibrated before my coffee got cold.
What impressed me most is the support for modern display technologies. This calibrator works with OLED, mini-LED, and Apple Liquid Retina XDR displays. Many photographers have upgraded to these newer panels, and finding a budget calibrator that handles them properly is a real advantage. The ambient light sensor also adjusts your profile based on room lighting conditions, which helps maintain consistency throughout the day.

The DevicePreview Beta feature is genuinely useful for photographers who share work online. It simulates how your images will appear on different devices like phones and tablets. I found this helpful for spotting potential issues before posting to social media or sending proofs to clients. The software interface is clean and walks you through each step without overwhelming you with technical jargon.
One thing to note is that you need to manually position the sensor on your screen during calibration. Some competing models handle this automatically, but I did not find it particularly bothersome. The software provides clear visual guides showing exactly where to place the device.
Best suited for
Photographers and content creators with modern OLED or mini-LED displays who want fast, accurate calibration without a steep learning curve. The 90-second process makes it practical to recalibrate frequently, and the DevicePreview feature adds value for those sharing work across multiple platforms.
Not ideal for
Users who need advanced calibration controls like custom gamma curves or white point adjustments. The simplified workflow is great for beginners but may feel limiting for professionals who want fine-grained control over their color profiles.
2. Calibrite Display 123 – Simple and Straightforward
Pros
- Very easy guided workflow
- Good color accuracy for price
- Compact lightweight design
- USB-C connection modern
- Affordable entry-level option
Cons
- Limited to 2 displays only
- Fixed color temperature 6500K
- USB-C only no USB-A
- Before/After feature sometimes fails
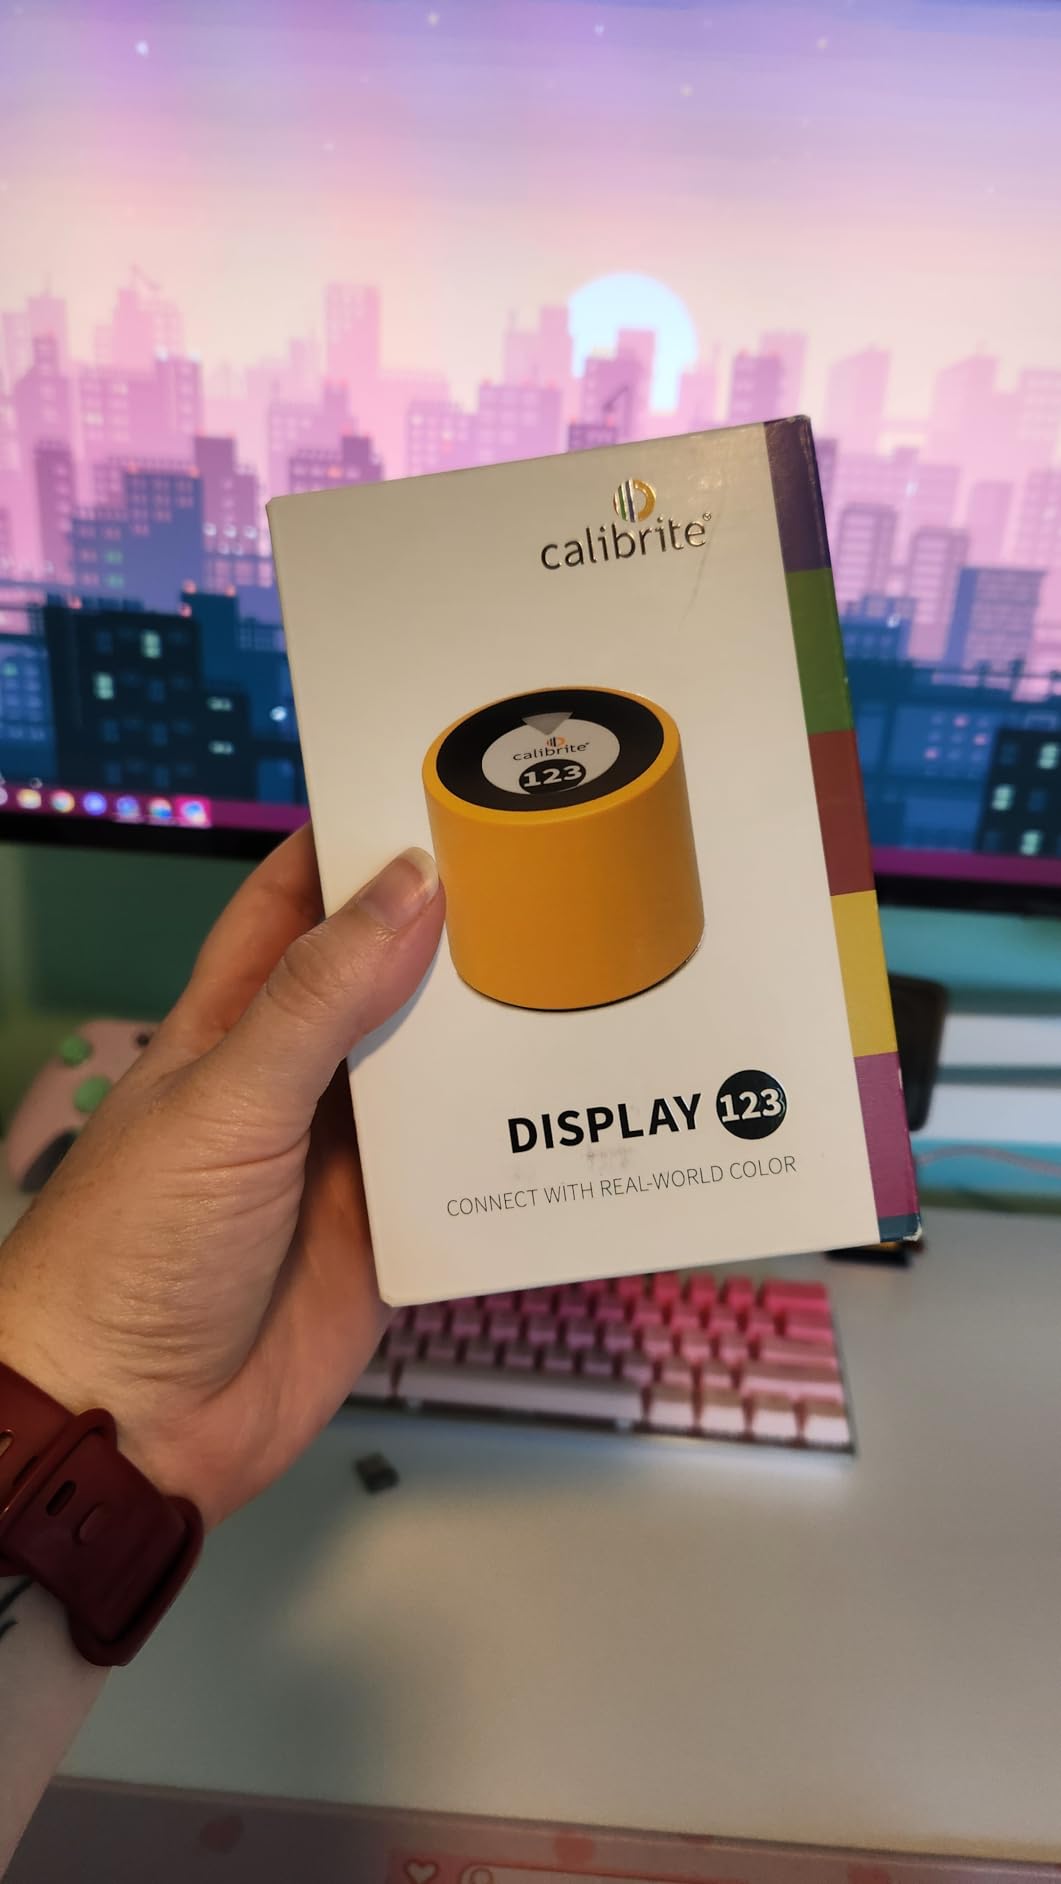
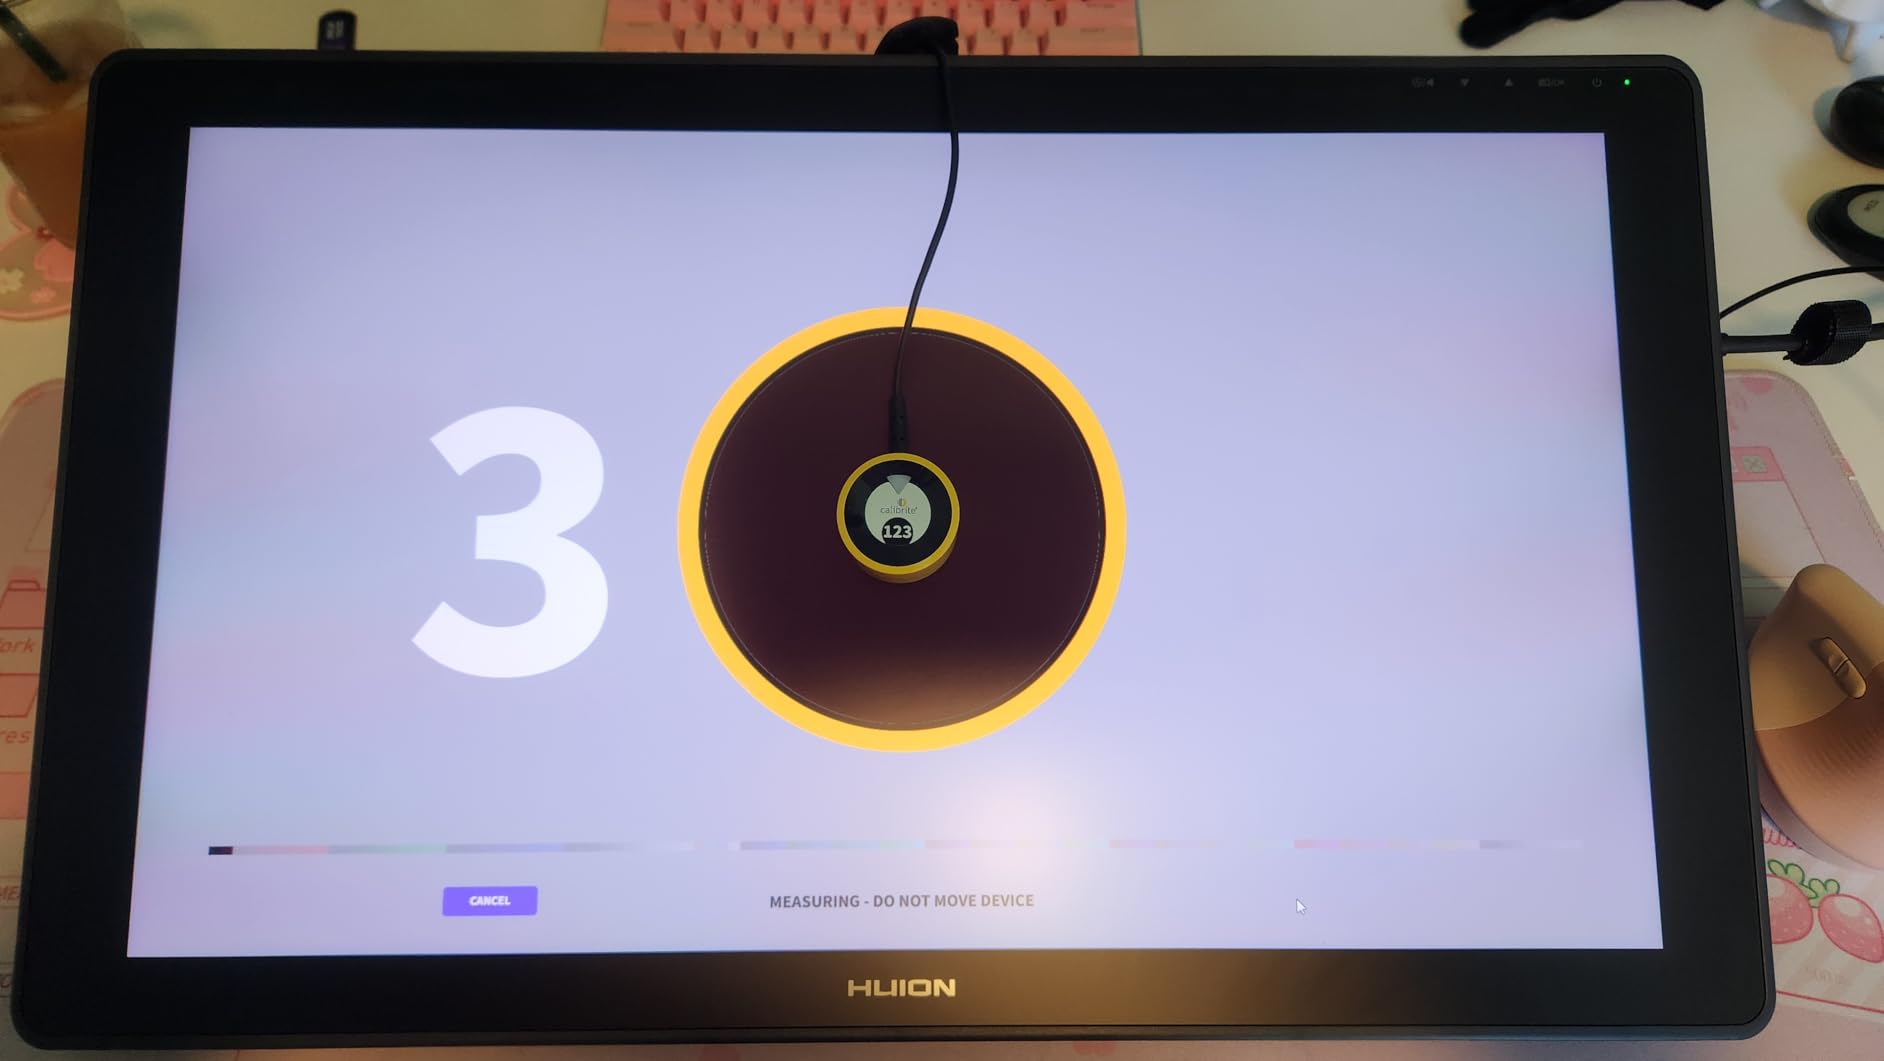
The Calibrite Display 123 lives up to its name with a genuinely simple three-step calibration process. I appreciated how the software holds your hand through each stage without bombarding you with technical options. For photographers new to monitor calibration, this approach removes the intimidation factor completely.
The compact design is a nice touch. At just 4.8 ounces, this is one of the lightest calibrators I have tested. The adjustable counterweight makes it easy to hang on different monitor sizes without slipping. The USB-C connection feels modern and works great with newer laptops that have abandoned USB-A ports entirely.
Color accuracy is solid for the price point. I compared the resulting profiles against more expensive calibrators and found the differences minimal for everyday photo editing. The before-and-after comparison feature helps you see the improvement, though I did experience occasional glitches where this feature would not load properly.
Forum users on Reddit frequently recommend Calibrite products, and the Display 123 continues that tradition. Many photographers appreciate that Calibrite is the successor to X-Rite’s consumer line, bringing professional-grade technology to a budget-friendly price point.
Best suited for
Beginner photographers and hobbyists who want reliable calibration without complexity. The guided workflow and affordable price make it an excellent first calibrator. Also great for users with USB-C only laptops who want to avoid dongles.
Not ideal for
Power users with more than two displays or those needing custom calibration targets. The fixed 6500K color temperature and 2.2 gamma limit flexibility for specialized workflows. Also lacks Linux support for users on alternative operating systems.
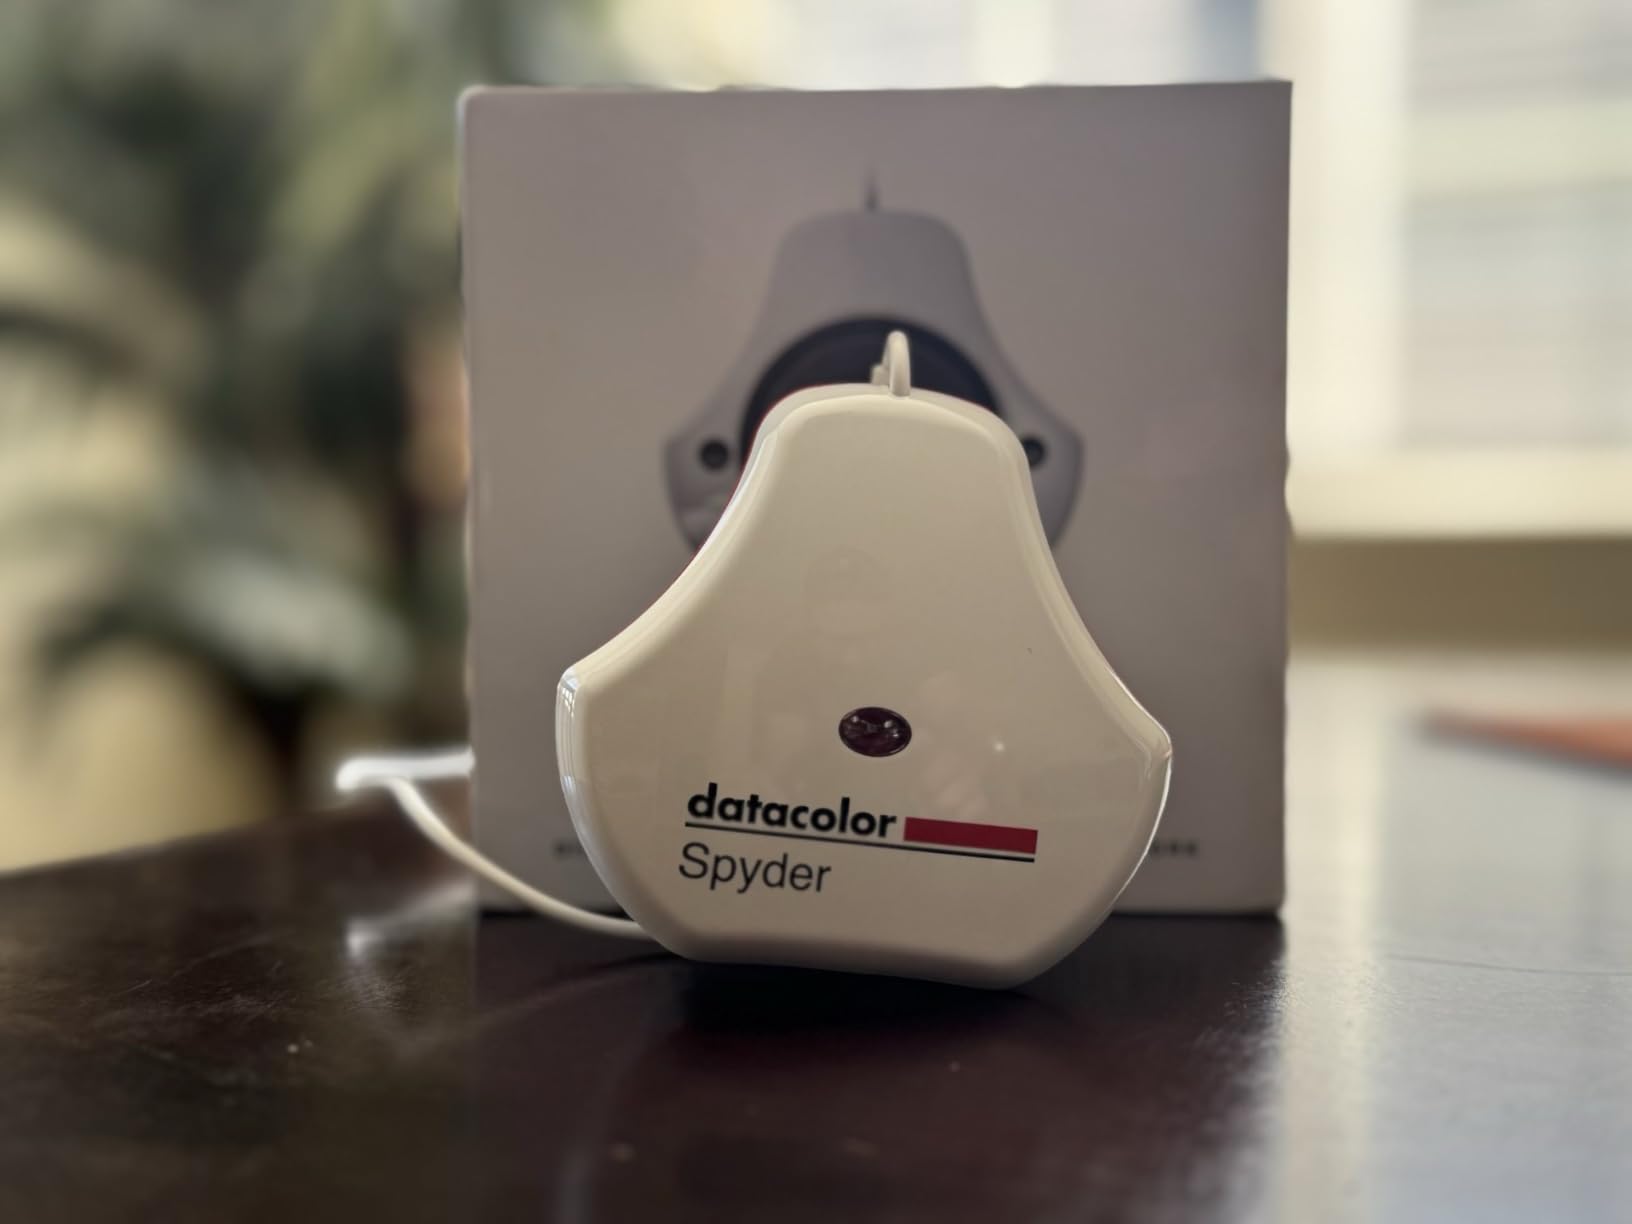
3. Datacolor SpyderExpress – Fast Entry-Level Option
Pros
- Very fast 76-90 second calibration
- Supports latest display technologies
- Easy 3-step process
- Software upgrade path available
- Good for photo printing enthusiasts
Cons
- Limited to 3 displays on single computer
- Permanently attached cable
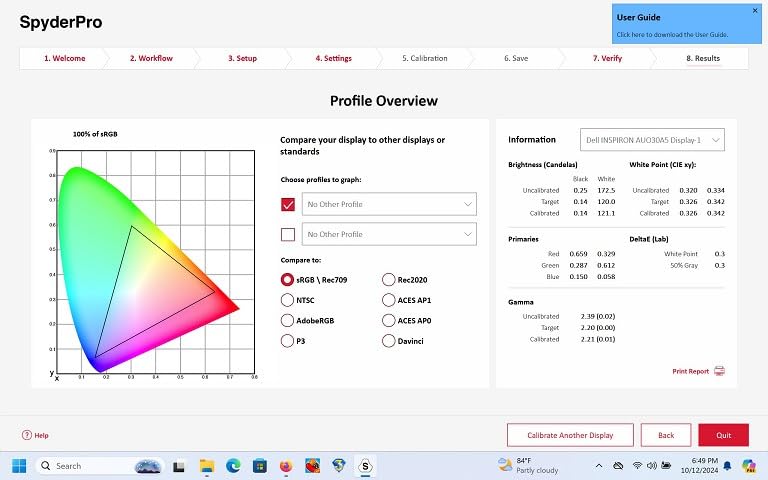
- No color profile graph in base software
- Windows 11 HDR can cause errors
The SpyderExpress sits in an interesting position as Datacolor’s entry-level 2025 model. I found the 90-second calibration time impressive for a budget device, matching the speed of more expensive options. The calibration results were consistent across multiple runs, giving me confidence in the accuracy.
One feature I appreciate is the support for Liquid Retina XDR displays, including the latest MacBook M4 screens. Many photographers edit on MacBooks, and having a budget calibrator that properly handles these high-end panels is valuable. The software also offers an upgrade path if you need more advanced features later.
The permanently attached cable is a minor inconvenience. If the cable gets damaged, you cannot simply replace it. I also noticed the base software does not include detailed color profile graphs, which some users might miss for analyzing their monitor’s performance.
Forum discussions frequently mention that having any calibrator is better than having none. The SpyderExpress embodies this philosophy well. It provides essential calibration functionality at an accessible price point without unnecessary complications.
Best suited for
Photo printing enthusiasts who need accurate screen-to-print matching without professional-level complexity. The fast calibration encourages regular recalibration, and the upgrade path lets you grow into more advanced features as needed.
Not ideal for
Windows 11 users who frequently work in HDR mode, as this can cause calibration errors. Also not great for those wanting detailed analysis of their monitor’s color gamut and performance characteristics.
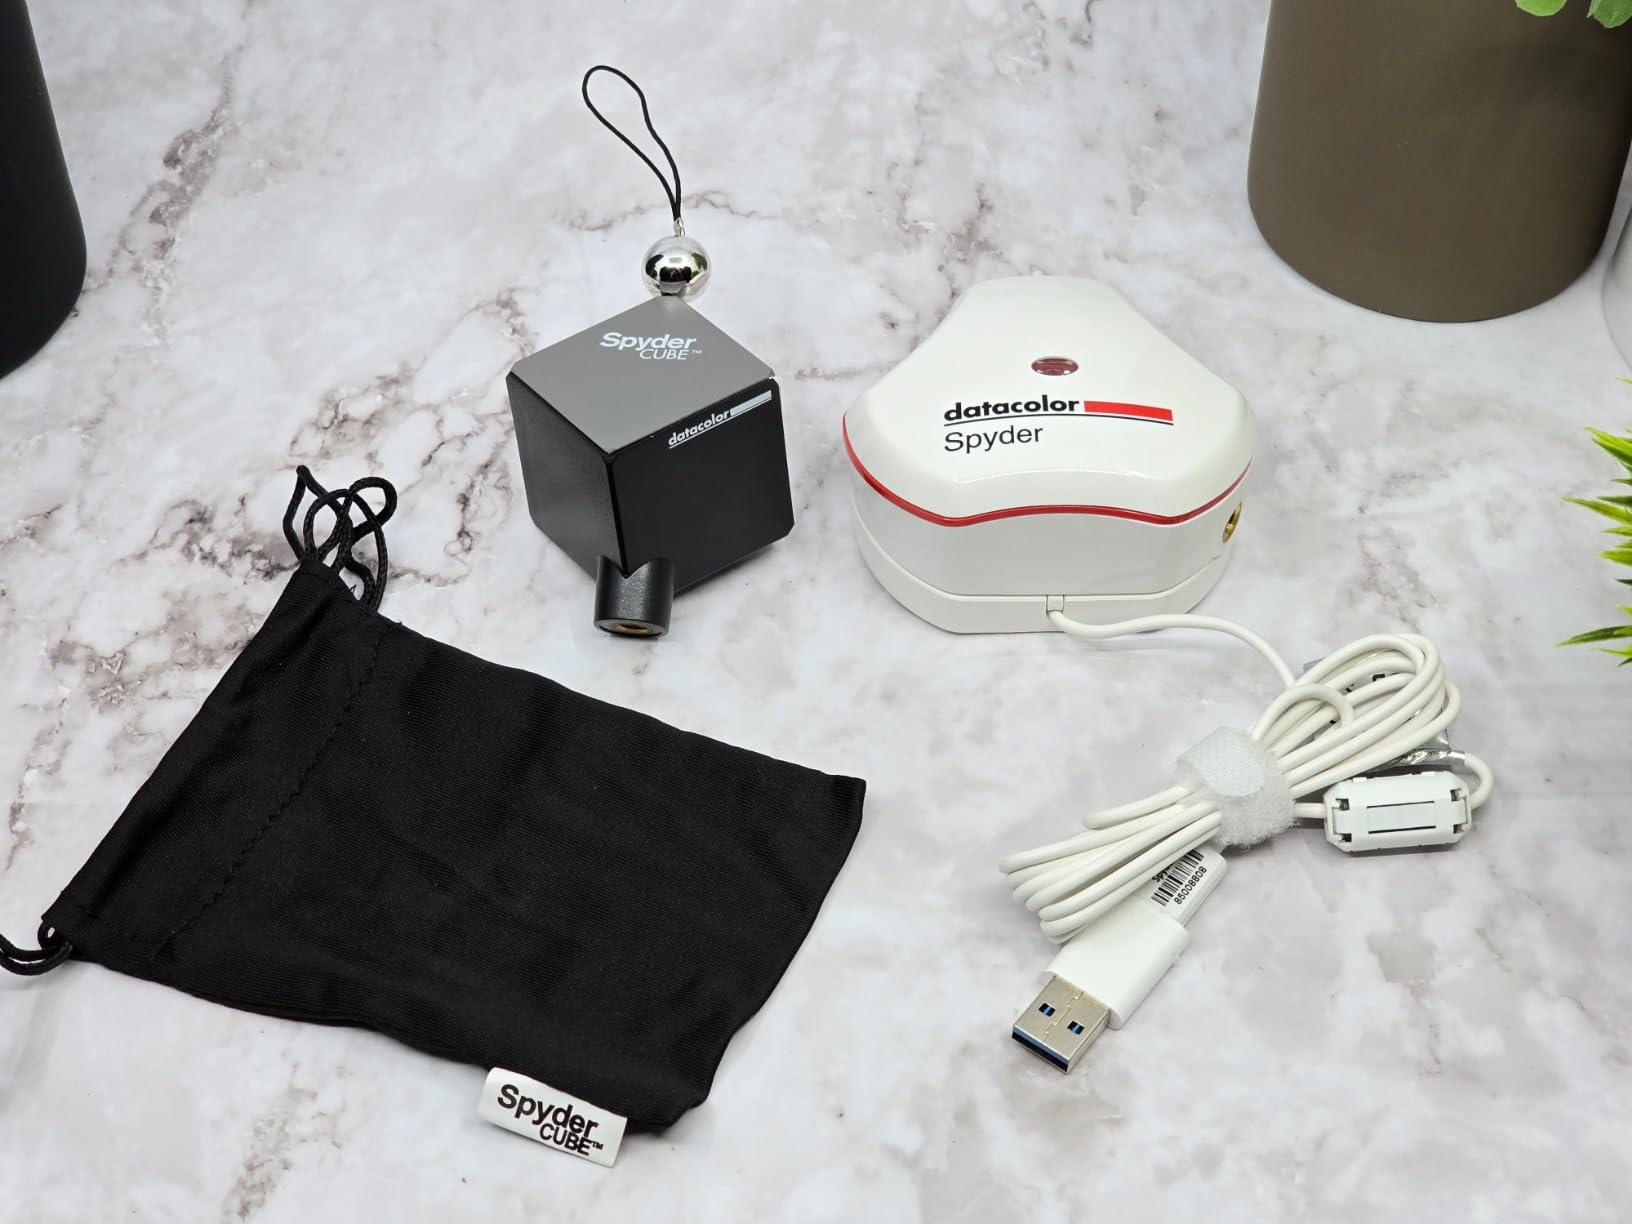
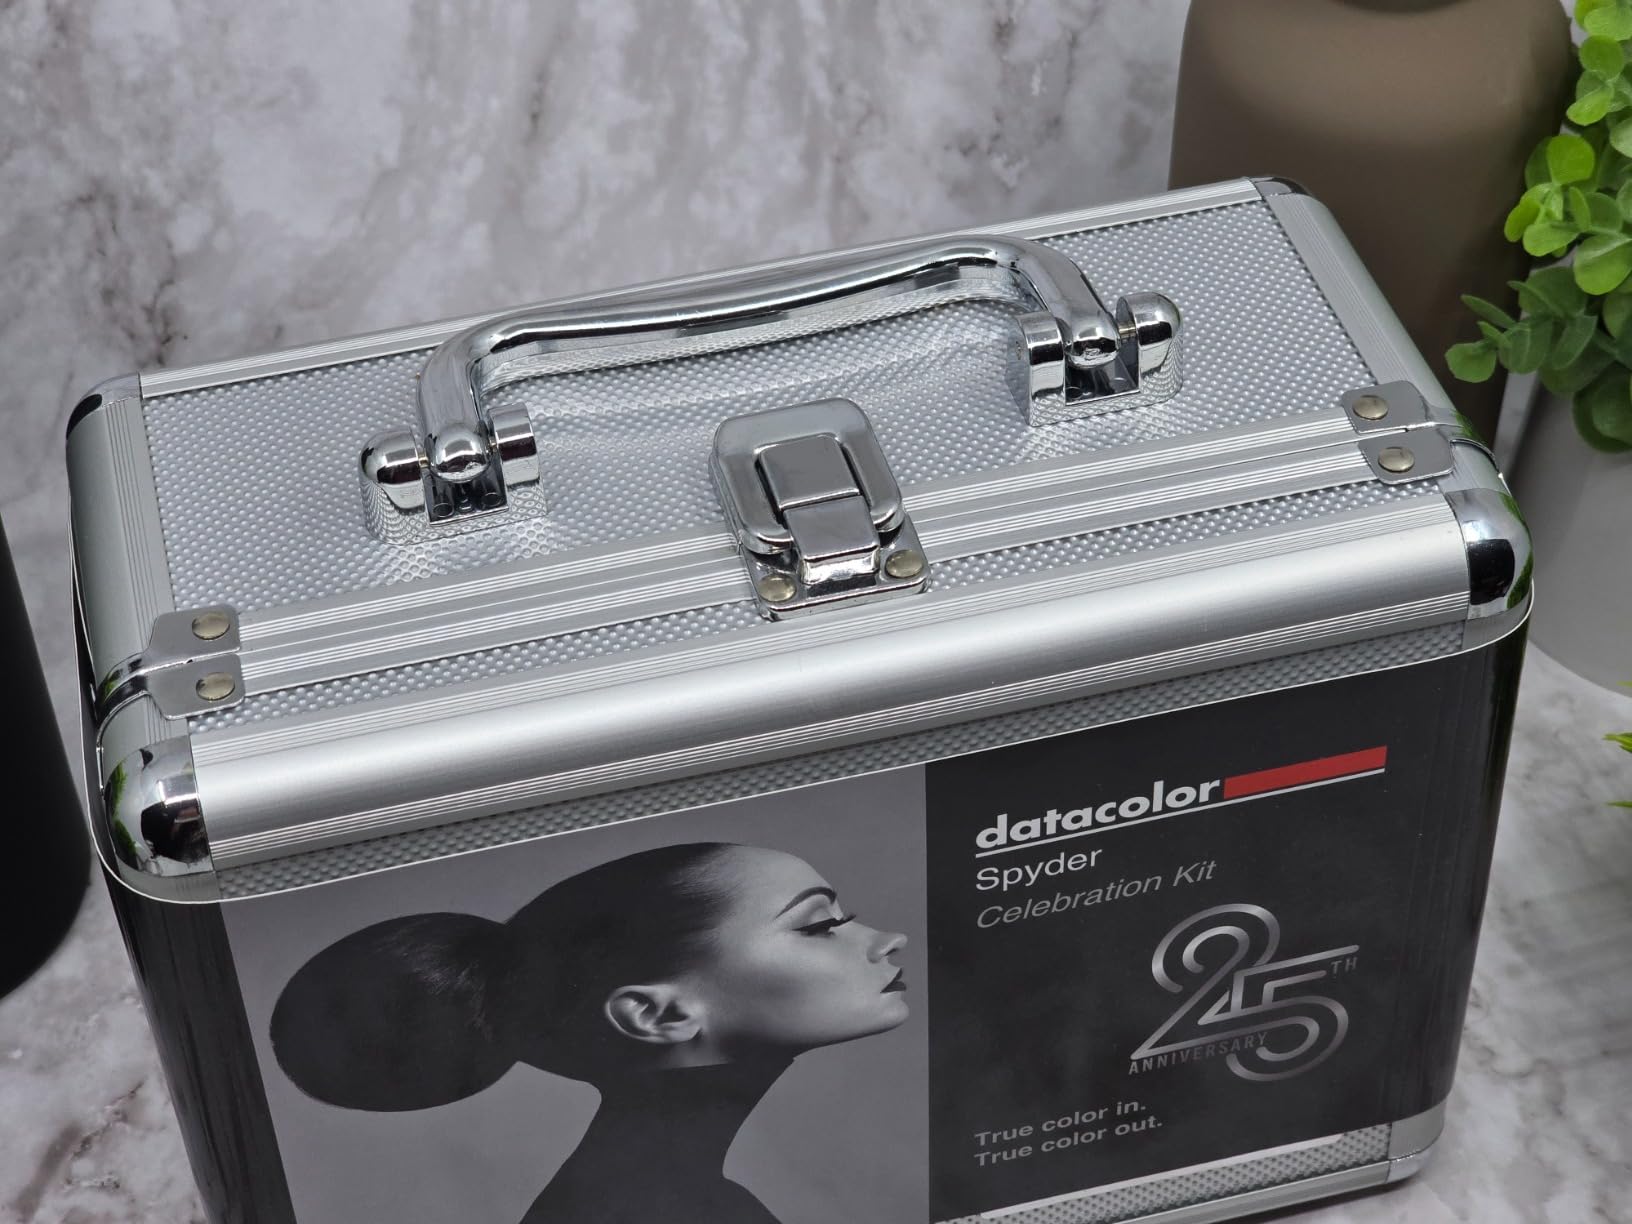
4. Datacolor Spyder Celebration Kit – Complete Color Workflow
Pros
- Complete color management from capture to display
- 2024 Spyder works with OLED/mini-LED/XDR
- Includes Spyder Cube for white balance
- Solid carrying case included
- Software reminders for recalibration
Cons
- Initial calibration can appear yellow/warm
- Software update issues reported
- Difficult for first-time users
- Spyder Checkr made of paper not plastic
The Spyder Celebration Kit caught my attention because it offers a complete color management solution in one package. You get the 2024 Spyder monitor calibrator, the SpyderCube for setting white balance in-camera, and the Spyder Checkr 24 for creating consistent color presets. For photographers serious about color accuracy throughout their workflow, this kit covers all the bases.
Using the SpyderCube on location shoots has streamlined my workflow significantly. Instead of guessing at white balance, I take a reference shot with the cube and batch-apply the settings to all images from that session. The black trap provides an absolute black reference that traditional gray cards cannot match.
The 2024 Spyder calibrator handles modern display technologies including OLED, mini-LED, and XDR Retina displays. I tested it on a mini-LED monitor and achieved excellent results. The initial calibration may make your monitor appear warmer than expected, which can be concerning at first. This is actually correct, but it takes some adjustment if you are used to an overly cool, blue-tinted screen.
The included carrying case is well-made and keeps everything organized. For photographers who travel or work in multiple locations, having a portable color management kit is genuinely useful.
Best suited for
Photographers who want complete color control from capture through editing. If you shoot RAW and want consistent colors across sessions and cameras, this kit provides the tools you need. Also excellent for professionals who need portable color management.
Not ideal for
Beginners who might be overwhelmed by multiple tools and workflows. The comprehensive nature of this kit requires understanding how each component fits into your process. Also not the best choice if you only need simple monitor calibration.
5. Calibrite Creator Kit – Video and Photo Combined
Pros
- Intuitive easy to use
- Accurate color readings
- Fast calibration process
- Complete kit for photo and video
- Helps with white balance and exposure
Cons
- Some received used items instead of new
- Can make monitors appear pinkish
- Requires proper configuration
- Quality control issues with packaging
The Calibrite Creator Kit combines the Display 123 colorimeter with the ColorChecker Passport Video 2, creating a comprehensive solution for hybrid shooters. As someone who works with both photography and video, I found this combination particularly valuable for maintaining consistency across different media types.
The ColorChecker Passport Video 2 helps you set accurate white balance, verify exposure, and match multiple cameras on set. I used it during a multi-camera video shoot and it saved hours of color matching in post-production. The targets work seamlessly with DaVinci Resolve and other color grading software.
The Display 123 provides the same easy calibration experience I described earlier. Having both tools in one package creates a seamless workflow from capture to display. Calibrite’s connection to the Pantone color system gives confidence in the accuracy of their color science.
Some users have reported quality control issues, including receiving items that appeared used. While my kit arrived in new condition, it is worth ordering from a reputable seller and checking the package carefully upon arrival.
Best suited for
Content creators who work with both photography and video. The ColorChecker Passport Video 2 excels at multi-camera matching and white balance setup. Ideal for YouTubers, videographers, and hybrid shooters who need consistent color across different output formats.
Not ideal for
Still photographers who have no need for video-specific tools. If you only edit photos, the extra cost of the ColorChecker Passport Video 2 may not provide value. Also not recommended if you want the simplest possible solution.
6. Datacolor Spyder4Pro – Proven Reliability
Pros
- Excellent color accuracy
- User-friendly wizard interface
- Fast 7-minute calibration
- Good for multiple monitor setups
- Consistent profiles across displays
Cons
- Some experienced tint issues
- Software may not detect certain monitors
- Occasional sensor defects reported
- Older model from 2012
The Spyder4Pro has been around since 2012, which speaks to its enduring reliability. While newer models have faster calibration times, this device still delivers excellent color accuracy. I tested it alongside more recent calibrators and found the results comparable for standard photo editing tasks.
The full-spectrum color sensor with double-shielded filters provides stable, accurate readings. The ReCAL feature speeds up subsequent calibrations by using your previous profile as a starting point. This is particularly useful if you calibrate weekly or bi-weekly.

Forum users frequently mention the Spyder4Pro as a solid used-market option. Because it is an older model, you can sometimes find it at significant discounts. The trade-off is that software support may become limited as operating systems evolve, so check compatibility before purchasing.
The wizard-driven interface guides you through each step clearly. Even if you have never calibrated a monitor before, the software makes the process straightforward. The before-and-after comparison shows you exactly what changed.

Best suited for
Photographers looking for a proven, reliable calibrator at a good price. The established track record and consistent results make it a safe choice. Also good for those who do not need the latest features and can find it discounted.
Not ideal for
Users with the newest display technologies like OLED or mini-LED. The older sensor may not be optimized for these panel types. Also not recommended if you want the fastest possible calibration experience.
7. Datacolor Spyder Checkr – Camera Color Calibration
Pros
- 48 spectrally engineered color targets
- Creates HSL presets for consistency
- Works with Lightroom and DaVinci Resolve
- Grey card for white balance
- Durable construction with tripod mount
Cons
- Software does not support Capture One
- Plastic case not metal
- Requires learning curve
- Can be expensive for some users
The Spyder Checkr is not a monitor calibrator but rather a camera color calibration tool. I included it because many photographers benefit from calibrating their entire color workflow, not just their display. The 48 spectrally engineered color targets let you create precise HSL presets for your editing software.
Using the Checkr has dramatically improved my color consistency across different cameras and lighting conditions. I photograph a test shot with the Checkr at the start of each session, then use the software to create a preset that I apply to all images from that shoot. The time savings in post-production are substantial.
The included grey card provides excellent in-camera white balance. I use it to set custom white balance before shooting, which gives me a much more accurate starting point than auto white balance. The Fade Checkr patch alerts you when the color targets need replacing due to UV exposure.
The software integrates with Adobe Lightroom Classic, Camera RAW, and Hasselblad Phocus. Unfortunately, Capture One users are out of luck, which is a significant omission given how many professional photographers prefer that software.
Best suited for
Photographers who want consistent colors across sessions, cameras, and lighting conditions. The HSL preset creation saves significant editing time. Excellent for studio photographers who need predictable, repeatable results.
Not ideal for
Capture One users, as the software does not support this popular editing application. Also not necessary if you already have a monitor calibrator and only need display calibration.
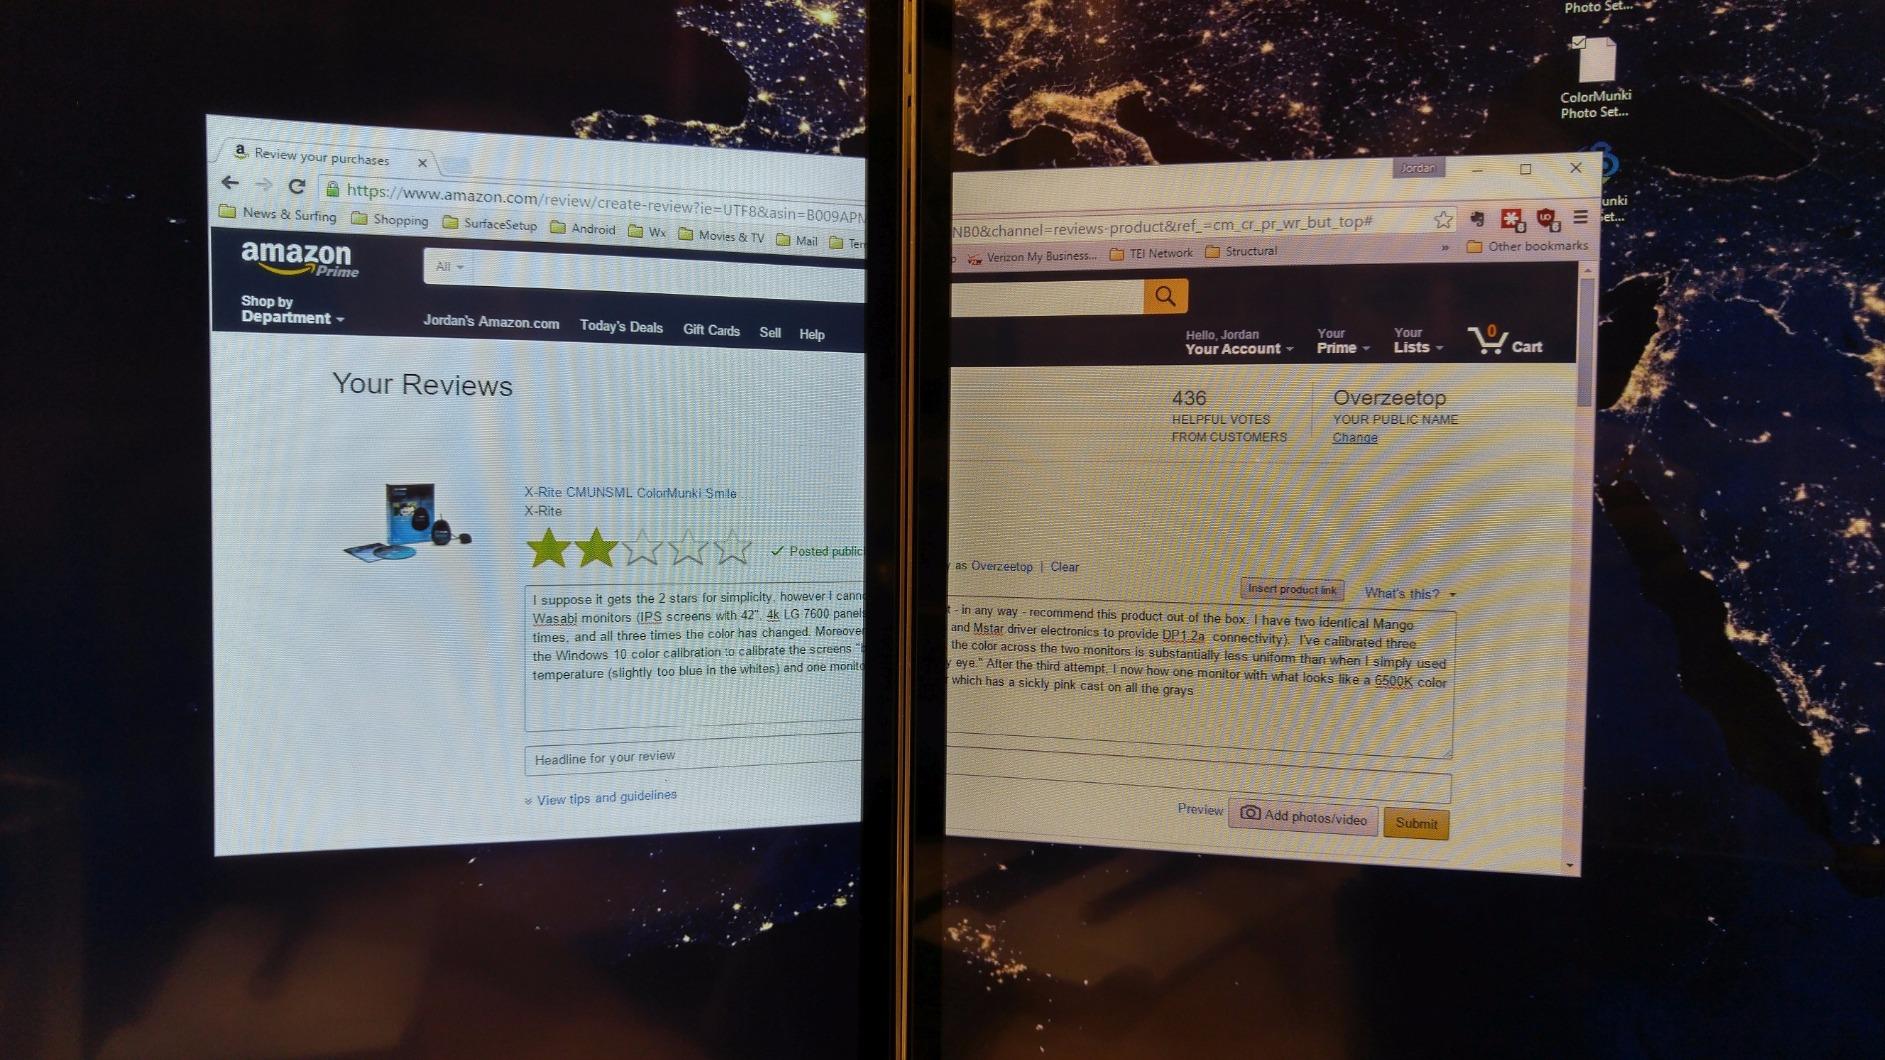
8. X-Rite ColorMunki Smile – Budget Entry Point
Pros
- Simple and easy to use
- Affordable entry-level option
- Good for hobbyist photographers
- Before/after comparison feature
- Unlimited system usage
Cons
- Lower accuracy than pro models
- No ambient light adjustment
- Software issues with newer OS
- 21% of reviews are 1-star
The ColorMunki Smile represents the most affordable entry point into hardware monitor calibration. At this price, it makes calibration accessible to photographers who might otherwise rely on software-only solutions. I found it adequate for basic needs, though it lacks the precision of higher-end models.
The wizard-driven software keeps things simple. You answer a few questions about your display type and viewing conditions, then let the device do its work. There are no advanced settings to configure, which is both a strength and a limitation depending on your perspective.
Forum discussions frequently mention that the ColorMunki Display (a step up from the Smile) shares the same hardware as the more expensive i1Display Pro. Many users recommend DisplayCal software instead of the manufacturer’s software for better results with these devices. The ColorTRUE mobile app compatibility is a nice touch for calibrating tablets and phones.
The 21% one-star review rate is concerning. Common complaints include software compatibility issues with newer operating systems and calibrations that produce no visible improvement. This is very much a case where you get what you pay for.
Best suited for
Hobbyist photographers and casual users who want basic calibration at the lowest possible price. If you have never calibrated your monitor and want to try it without a significant investment, this gets you started.
Not ideal for
Professional work where color accuracy is critical. The lower accuracy and software compatibility issues make it risky for paid assignments. Also not recommended if you need ambient light adjustment or advanced controls.
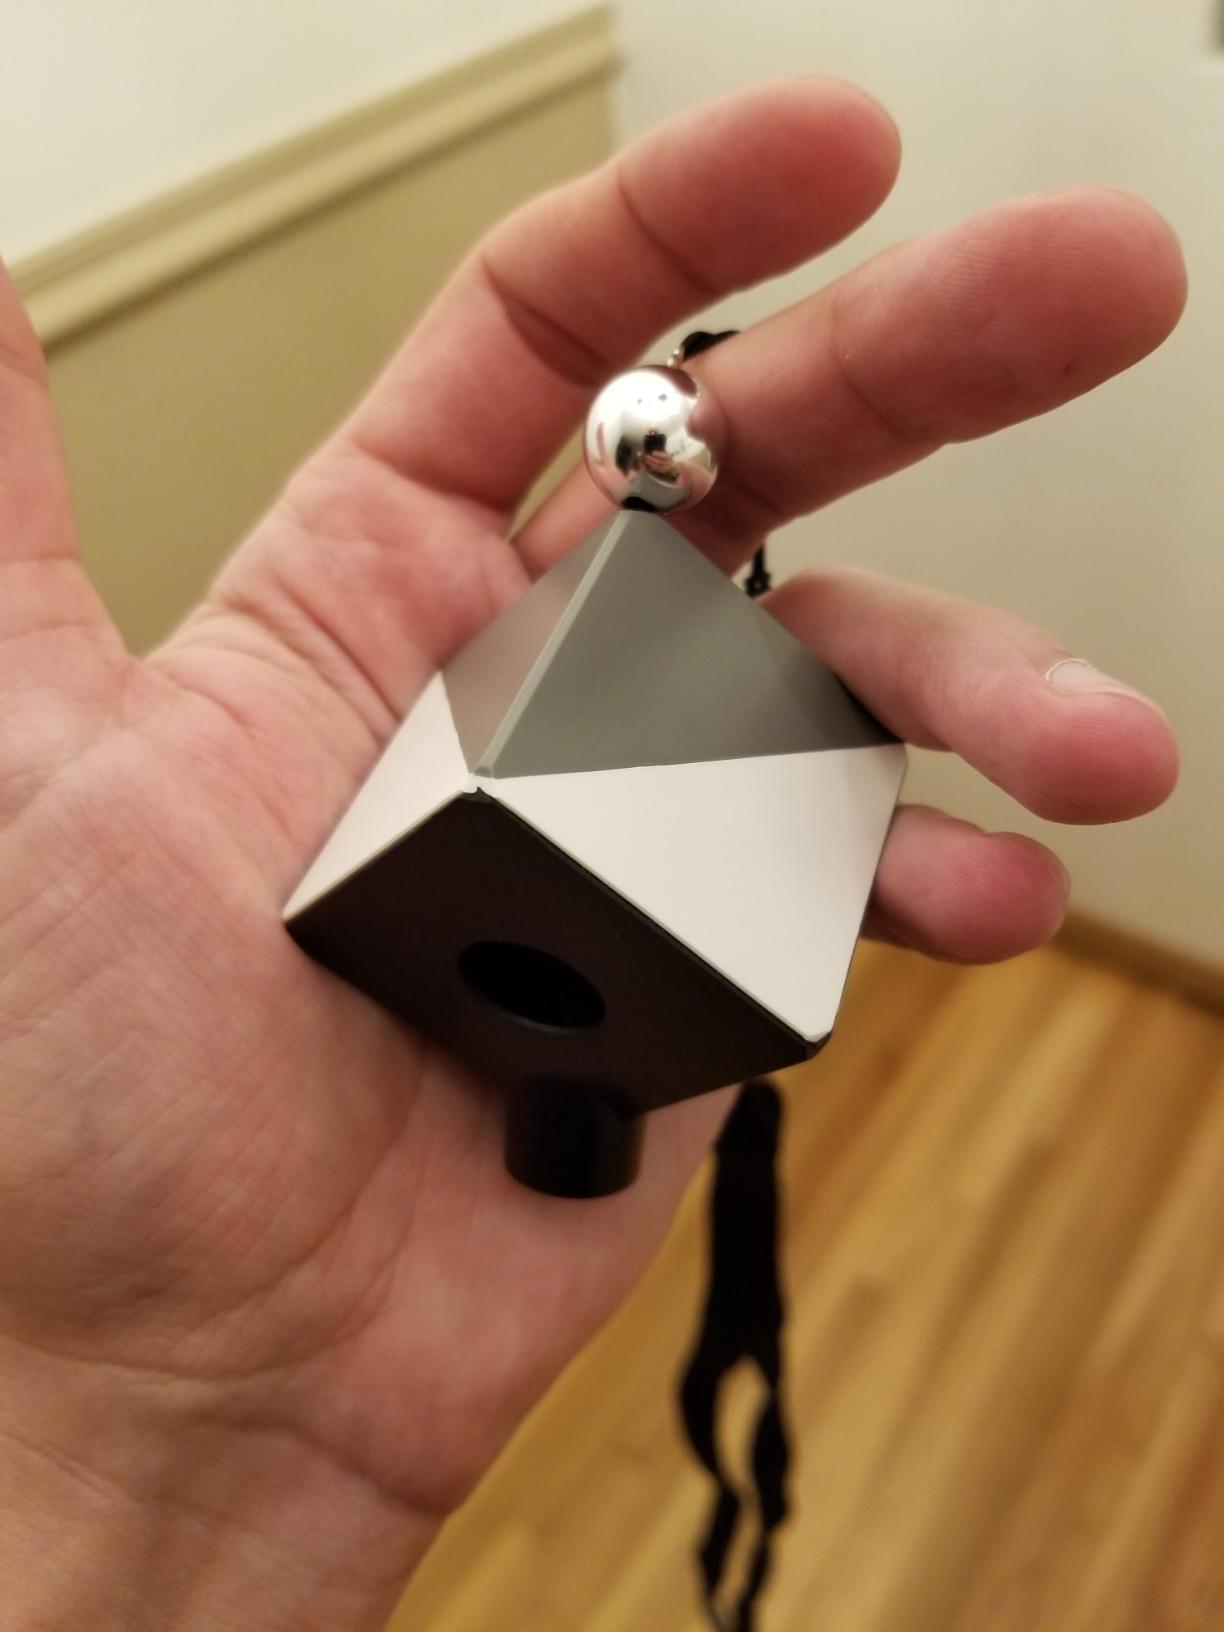
9. Datacolor SpyderCube – In-Camera White Balance
Pros
- Unique 3D design with black trap
- Chrome ball shows specular highlights
- Tri-tone for versatile white balance
- Small and portable
- Better than traditional grey cards
Cons
- Expensive for a small plastic cube
- Areas may be too small for measurements
- Quality control issues with damage
- May not work as well as grey cards for all
The SpyderCube takes a different approach to color accuracy by helping you get white balance right in-camera rather than fixing it later. The 3D design includes white faces, a gray face, a black trap for absolute black reference, and a chrome ball for specular highlights. This gives you more information than a traditional gray card.
I use the SpyderCube at the start of portrait sessions and product shoots. The chrome ball helps me identify the direction and quality of light, while the black trap ensures I am not crushing shadows unnecessarily. Batch-applying the settings to all similar images saves considerable editing time.
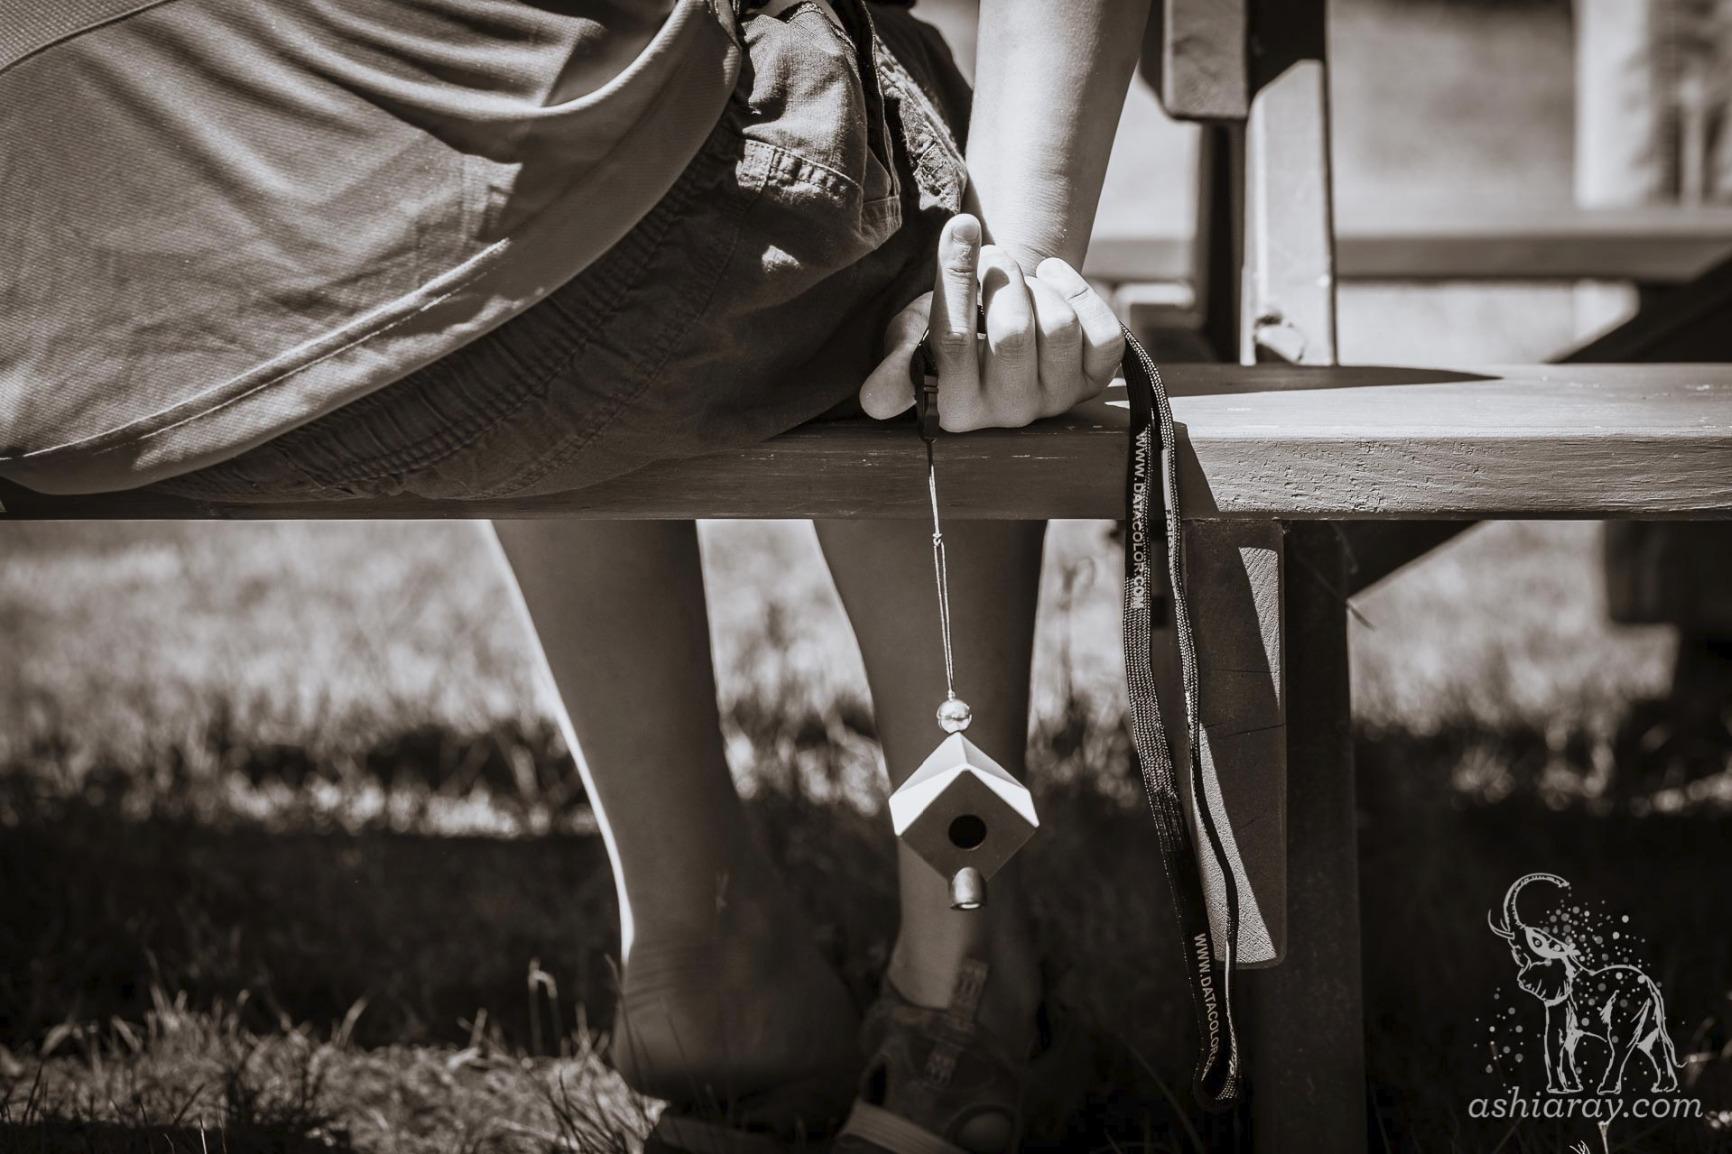
The small size makes it easy to keep in any camera bag. It attaches to a light stand for hands-free operation, which is useful when shooting solo. The non-reflective surfaces work well with both natural and artificial lighting.
At this price point for what is essentially a small plastic cube, some photographers question the value. A traditional gray card costs much less, though it provides less information. Whether the extra features justify the price depends on how often you shoot in mixed or challenging lighting.
Best suited for
Photographers who want to nail white balance in-camera and reduce post-processing time. The 3D design provides more reference points than flat gray cards. Excellent for portrait, product, and studio photographers.
Not ideal for
Photographers on tight budgets who can achieve similar results with cheaper gray cards. Also not necessary if you shoot RAW and prefer to adjust white balance entirely in post-production.
10. Datacolor Spyder2 PRO – Legacy Option
Pros
- Easy to use interface
- Detects dual monitor setups
- Works on monitors without controls
- Provides before/after comparison
- Reminds when recalibration needed
Cons
- NOT compatible with Windows 7 or newer
- Poor customer support
- Complex manual profile activation
- Outdated software and driver issues
I include the Spyder2 PRO with significant caveats. This is a legacy model from 2006 that lacks compatibility with modern operating systems. It does not work with Windows 7 or newer, which limits its usefulness for most photographers today. However, it occasionally appears at very low prices in the used market.
For what it is worth, the Spyder2 PRO was a capable device in its time. The before-and-after comparison feature showed users the improvement from calibration, and the software reminded you when recalibration was due. Dual monitor support was ahead of its time for consumer calibrators.
The reason I mention this device at all is to warn against purchasing it. Forum discussions frequently mention software compatibility as a major issue with older calibration devices. Even if the hardware still functions, obsolete software renders it useless.
If you find one extremely cheap and have an older computer running Windows XP or Vista, it might provide basic functionality. For everyone else, the small savings are not worth the frustration of incompatible software.
Best suited for
Collectors or users with legacy systems running older operating systems. There is almost no scenario where I would recommend this over newer options.
Not ideal for
Everyone with a modern computer. The lack of Windows 7 and later support makes this device essentially obsolete. Spend a little more on a current model to avoid software headaches.
Buying Guide: How to Choose a Budget Monitor Calibrator In 2026?
Understanding monitor calibration helps you choose the right tool for your needs. Here is what you should know before making a purchase.
What is monitor calibration and why does it matter
Monitor calibration is the process of adjusting your display to show colors accurately. Without calibration, monitors typically display colors incorrectly. They are often too bright, too blue, or oversaturated. This leads to editing decisions based on false information, resulting in prints that look nothing like what you saw on screen.
A colorimeter is a device that sits on your screen and measures the actual colors your monitor produces. It compares these measurements to known reference values and creates an ICC profile that corrects the display output. This profile tells your computer how to display colors accurately.
Colorimeter vs spectrophotometer explained
Colorimeters measure color using filtered sensors that approximate how human eyes perceive light. They are affordable and work well for most photography needs. All the devices in this guide are colorimeters.
Spectrophotometers measure the actual spectral distribution of light across different wavelengths. They are more accurate and can calibrate printers as well as monitors, but cost significantly more. For most photographers working under $200, a colorimeter provides excellent results.
Key features to look for in budget calibrators
Display compatibility matters more than you might think. If you have an OLED, mini-LED, or Apple Retina display, verify the calibrator supports these technologies. Older sensors may not work properly with modern panel types.
Calibration speed varies significantly between models. Newer devices can calibrate in 90 seconds, while older ones take 5-7 minutes. If you plan to calibrate frequently, faster is better.
Ambient light measurement helps maintain consistency as room lighting changes throughout the day. Some calibrators include sensors that adjust profiles based on your viewing environment.
Multi-display support is essential if you use more than one monitor. Check how many displays each calibrator supports, as some budget models are limited.
DisplayCal vs manufacturer software
DisplayCal is free, open-source calibration software that many forum users prefer over manufacturer-provided software. It offers more control over calibration parameters and works with many different colorimeters. If you find the manufacturer software limiting, DisplayCal is worth exploring.
However, DisplayCal has a steeper learning curve. Beginners may find the manufacturer’s wizard-driven software more approachable. There is nothing wrong with starting simple and transitioning to DisplayCal as your needs evolve.
How often should you calibrate
Monitor colors drift over time as the backlight ages. For photo editing, I recommend calibrating every 2-4 weeks. More frequent calibration ensures consistency, especially if you work on long-term projects spanning multiple sessions.
Many calibrators include reminder features that prompt you when recalibration is due. Setting a calendar reminder works just as well if your device lacks this feature.
Frequently Asked Questions
Which monitor calibration tool is best?
For budget-conscious photographers under $200, the Datacolor Spyder 2024 offers the best combination of speed, accuracy, and modern display support. The Calibrite Display 123 provides excellent value with its simple workflow and USB-C connectivity. Your best choice depends on your specific display type and whether you prioritize speed, simplicity, or advanced features.
Are monitor calibrators worth it?
Yes, especially for photographers who print their work or share images professionally. Without calibration, you cannot trust that the colors you see on screen match reality. The cost of wasted paper, ink, and time from incorrect edits typically exceeds the price of a budget calibrator within months of regular use.
Can I calibrate my monitor without a device?
Software-only calibration using built-in operating system tools or web-based utilities can improve your display, but cannot achieve the accuracy of hardware calibration. These methods rely on your eyes to judge colors, which is inherently subjective. For color-critical work, a hardware calibrator is essential.
How often should I calibrate my monitor?
For photography work, calibrate every 2-4 weeks to maintain consistency. Monitor backlights drift over time, causing color shifts that affect your editing decisions. More frequent calibration is better, especially for critical projects or professional work.
What is the difference between calibration and profiling?
Calibration adjusts your monitor’s hardware controls to reach target values for brightness, white point, and gamma. Profiling measures how your display actually reproduces colors and creates an ICC profile that corrects any remaining inaccuracies. Most consumer calibrators combine both processes into a single workflow.
Conclusion
Finding the best budget monitor calibrators under $200 does not mean compromising on color accuracy. The Datacolor Spyder 2024 stands out for its fast 90-second calibration and support for modern display technologies. The Calibrite Display 123 offers excellent value with its straightforward workflow, while the X-Rite ColorMunki Smile provides an accessible entry point for beginners.
Remember that any calibrator is better than none. The forum consensus among photographers is clear: calibrating your monitor transforms your editing experience and eliminates the frustration of mismatched prints. Choose a model that fits your display type and workflow, then commit to regular recalibration for consistent results.
For most photographers, I recommend the Datacolor Spyder 2024 or Calibrite Display 123 as the best budget monitor calibrators in 2026. Both deliver professional-quality results at accessible prices, letting you focus on creating great images rather than fighting with inaccurate colors.