Every photographer has faced it: you are at a beautiful location or an important event, and the sun is blazing directly overhead. The light is harsh, the shadows are deep, and every shot you take has blown-out highlights or dark, unflattering shadows on faces. I have struggled through countless midday shoots over my 15 years as a photographer, and I can tell you that mastering harsh light is one of the most valuable skills you can develop.
In this guide on how to photograph in harsh midday sun without blowing out highlights, I will share the exact techniques I use when golden hour is not an option. Whether you are shooting a wedding at noon, capturing travel photos during peak sunlight, or simply want to expand your lighting skills, these methods will transform your midday photography results.
Here is what we will cover: understanding why midday light creates problems, essential camera settings to protect highlights, positioning techniques that flatter your subjects, lighting modifiers that tame harsh sun, creative approaches for challenging conditions, and post-processing tips to recover any lost detail. Let’s dive in.
Understanding Why Midday Light Causes Problems
Before fixing the problem, we need to understand what makes midday sun so challenging for photographers. When the sun sits high in the sky between 10 AM and 3 PM, its light travels through less atmosphere than during golden hour. This means less diffusion and more direct, intense illumination hitting your subjects.
The result is extreme contrast. Your camera sensor has a limited dynamic range, typically 12 to 15 stops for modern full-frame cameras. Midday scenes often contain 16 to 20 stops of difference between the brightest highlights and deepest shadows. Your camera simply cannot capture everything in a single exposure.
This is when blown highlights occur. The bright areas of your image, like skies, white clothing, or reflective surfaces, exceed what your sensor can record. Once those highlights clip to pure white, no amount of editing can recover the detail. That data is permanently lost.
The Sunny 16 Rule Explained
Experienced photographers use the Sunny 16 rule as a starting point for midday exposure. This rule states that on a bright, sunny day, you can achieve proper exposure at ISO 100, f/16, and a shutter speed of 1/100 second (or 1/125 on most cameras). From this baseline, you can adjust your settings while maintaining equivalent exposure.
However, I rarely shoot at f/16. That aperture often introduces diffraction that softens images. Instead, I use this rule as a mental reference point. If I want to shoot at f/4, I know I need to increase my shutter speed accordingly to maintain proper exposure while protecting highlights.
The key takeaway is that midday sun provides abundant light. You have flexibility with your settings. The challenge is managing that light to avoid blowing out your highlights while still capturing shadow detail.
Essential Camera Settings for Harsh Midday Sun
Your camera settings form the foundation of highlight protection in harsh light. I recommend shooting in manual mode for consistent results, though aperture priority with exposure compensation works well too. Let me break down each setting and why it matters.
ISO: Keep It Low
Start with ISO 100, your camera’s base ISO. This gives you maximum image quality and the most dynamic range your sensor can deliver. Higher ISO settings compress dynamic range, making it harder to recover highlights in post-processing. In bright midday sun, you have plenty of light, so there is no reason to increase ISO.
I have seen photographers accidentally leave their ISO at 800 or higher from a previous indoor shoot. This mistake limits highlight recovery and introduces unnecessary noise. Always check your ISO before shooting outdoors.
Aperture: Balance Depth of Field and Light Control
For portraits in harsh light, I typically shoot between f/2 and f/4. Wider apertures let in more light, requiring faster shutter speeds that help freeze motion and reduce the total light hitting your sensor. They also create pleasing background separation that draws attention to your subject.
For landscapes or scenes where you want front-to-back sharpness, f/8 to f/11 provides a good balance between depth of field and image quality. Avoid f/16 or smaller apertures unless absolutely necessary, as diffraction will soften your images.
Shutter Speed: Fast Enough to Control Light
In bright sun at ISO 100 and f/4, your shutter speed might need to be 1/2000 or faster. This is where many photographers run into problems with flash sync speeds or their camera’s maximum shutter speed. If your images are still overexposed, you may need to stop down your aperture or use a neutral density filter.
I always recommend using your camera’s highlight warning (blinkies) or zebra stripes to identify clipping in real time. These visual alerts help you adjust shutter speed before you lose important highlight detail.
Metering Mode: Switch to Spot Metering
Matrix or evaluative metering considers the entire scene when calculating exposure. In high-contrast midday situations, this often results in averaged exposures that blow highlights. Spot metering lets you measure light from a specific area, typically the center of your frame or your active focus point.
When photographing people in harsh light, I spot meter on their skin tones and adjust exposure to keep those tones properly rendered. Skin is forgiving if slightly underexposed, but a blown-out sky cannot be saved.
Exposure Compensation: When to Underexpose
Many photographers shoot slightly underexposed in harsh light, typically -1/3 to -2/3 stops. This approach, called exposing to the left, protects highlights while preserving the ability to lift shadows in post-processing. Modern sensors handle shadow recovery much better than highlight recovery.
I use this technique when shooting high-contrast scenes where I know highlights are at risk. A slightly darker image with protected highlights gives you more editing flexibility than a brighter image with clipped whites.
Reading Your Histogram
The histogram is your most reliable tool for evaluating exposure in the field. This graph shows the distribution of tones from black (left) to white (right). In harsh light, watch for data pushed against the right edge of the histogram, which indicates clipped highlights.
A well-exposed harsh-light image may show a spike on the left (shadows) but should taper off before hitting the right edge. If you see a vertical line at the far right, your highlights are blown and you need to reduce exposure.
Positioning Techniques for Midday Photography
Camera settings alone cannot solve every harsh-light problem. How you position yourself and your subject relative to the sun makes an enormous difference in your final images. These positioning techniques have saved countless midday shoots for me.
Finding and Using Open Shade
Open shade is your best friend in midday photography. This refers to shaded areas near large objects like buildings, trees, or canyon walls that block direct sun but still receive ambient light from the sky. The light in open shade is soft, directional, and much easier to expose for than direct sun.
When I arrive at a midday location, I immediately scout for open shade. The north side of buildings often provides consistent shade throughout the day. Large trees create dappled shade that can work beautifully if you position your subject in the even patches.
The quality of open shade varies. Shade near a white building reflects beautiful soft light onto your subject. Shade under a dense tree canopy can be too dark. Look for shade that is bright enough for handheld shutter speeds but protected from direct sun beams.
Backlighting Your Subject
When no shade is available, I position subjects with their backs to the sun. This puts their faces in their own shadow, eliminating harsh shadows and squinting. The sun creates a bright rim of light around their hair and shoulders that separates them from the background.
Backlighting requires careful exposure. Your subject’s face will read as underexposed to your camera’s meter because it sees all the bright light behind them. I spot meter on the face and may add 1 to 2 stops of exposure compensation to brighten skin tones while keeping the background from completely blowing out.
This technique works especially well for portraits with light or blonde hair, where the rim light creates a beautiful glow. For subjects with dark hair, the rim light still provides separation but may be less pronounced.
Side Lighting and Angled Positioning
Another approach is positioning your subject at a 45 to 90 degree angle to the sun. This creates partial illumination on the face with one side brighter than the other. While still challenging, this creates more dimensional lighting than direct front-lighting.
I use this technique when I want some shadow definition on the face but not the extreme contrast of direct front-lighting. A reflector on the shadow side can fill in shadows while maintaining the directional quality of the light.
Posing Strategies for Harsh Light
How your subject poses can minimize harsh-light problems. Ask them to tilt their head slightly up toward the light source to reduce shadows under eyes and nose. This classic posing adjustment helps avoid the “raccoon eyes” effect that direct overhead sun creates.
For full-body shots, having your subject shift weight and turn their body can change how light falls across their features. I often demonstrate poses myself to show subjects exactly what I want. Communication prevents frustration on both sides.
If your subject is squinting, ask them to close their eyes and open them on the count of three. This gives you a brief window where their eyes are relaxed before the squint returns. Alternatively, have them look slightly away from the camera and toward a shaded area.
Embracing and Using Shadows Creatively
Sometimes the best approach is to work with harsh shadows rather than against them. Strong shadows create graphic, dramatic images that stand out from the typical soft-light portrait. Look for interesting shadow patterns from architecture, trees, or other objects.
I have created some of my favorite images by positioning subjects within dramatic shadow patterns. The key is intentional composition. Place your subject where the shadows enhance rather than distract from their features. Shadows across the body can be artistic; shadows across the face in unflattering ways should be avoided.
Lighting Modifiers That Tame Harsh Sun
Sometimes positioning is not enough, or you want more control over your lighting. Several tools can modify harsh sunlight to create more flattering conditions for your subjects.
Using Reflectors Effectively
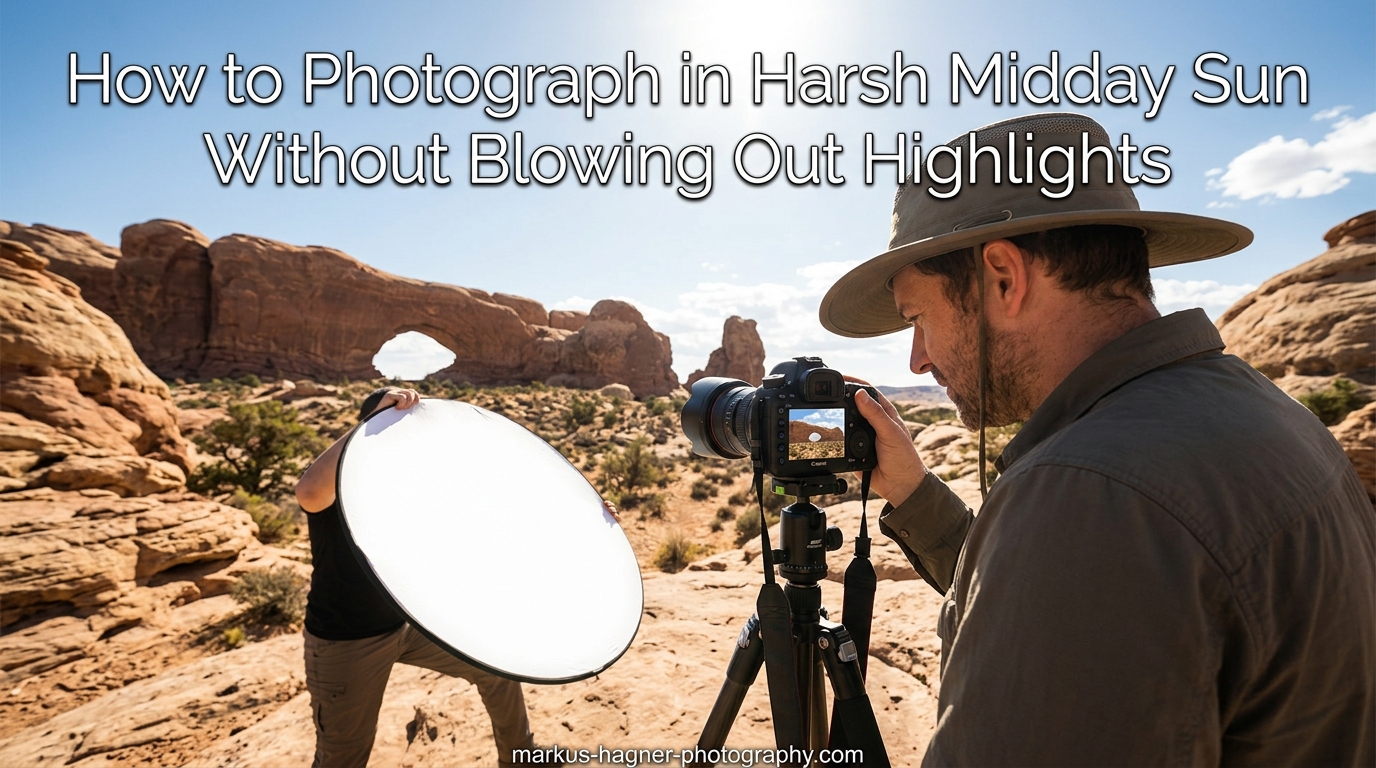
A reflector bounces existing light back onto your subject, filling in shadows and reducing contrast. In harsh light, position the reflector low and angled upward to bounce light into shadow areas under eyes and chin. White reflectors give soft, neutral fill. Silver reflectors provide more intensity but can be harsh on skin tones. Gold reflectors add warmth that may not match the cool daylight.
I carry a 5-in-1 reflector that includes white, silver, gold, and black surfaces plus a diffuser. For midday sun, I most often use the white side for subtle fill or the diffuser (more on that next). Having an assistant hold the reflector gives you precise control, but you can also prop it against objects or use a reflector stand.
The key mistake I see photographers make with reflectors is positioning them too close or using too bright a surface. You want to fill shadows, not create a second harsh light source. Start with the reflector far away and move it closer until you see gentle fill without harsh edges.
Diffusers and Scrims
While reflectors bounce light, diffusers and scrims block and soften it. A diffuser placed between the sun and your subject creates instant shade with soft, even illumination. This is essentially creating your own open shade anywhere.
Scrims come in different densities. A single-layer scrim reduces light by about one stop. Double-layer scrims reduce two stops. For harsh midday sun, I often use a double scrim to bring the exposure into a manageable range while softening the quality of light.
The challenge with diffusers is that you need someone to hold them or a sturdy stand system. Wind becomes a major factor. I have had scrim stands blow over on windy days, so I now use sandbags and weighted bases for stability.
Polarizing Filters for Midday Photography
A circular polarizing filter can help with midday photography in specific situations. These filters reduce glare from reflective surfaces like water, glass, and foliage. They also deepen blue skies, which can help prevent washed-out backgrounds in your images.
Polarizers work best when the sun is at a 90-degree angle to your lens. At midday when the sun is overhead, this means pointing your camera toward the horizon in any direction. The effect diminishes when shooting directly toward or away from the sun.
Be aware that polarizers reduce light by 1.5 to 2 stops. This can actually help in harsh sun by forcing a slower shutter speed or wider aperture. However, it also means you lose some flexibility in your exposure settings.
Lens Hoods and Lens Shade Techniques
Never underestimate your lens hood. This simple accessory blocks stray light from hitting your lens at angles that cause flare and reduce contrast. In harsh midday sun, flare can wash out your entire image even if your exposure is technically correct.
I always use my lens hood when shooting outdoors. If I need extra shade, I use my hand or a card positioned to block direct sun from hitting the front element. Some photographers carry small flags or cards specifically for this purpose.
Lens flare can be used creatively, but unintentional flare destroys image quality. If you see flare in your viewfinder, reposition yourself or add shading until it disappears.
Fill Flash Techniques
When natural light and reflectors are not enough, fill flash can balance exposure between your subject and a bright background. The goal is not to overpower the sun but to add just enough light to open up shadows on your subject’s face.
Start with your flash at low power, around -2 to -3 stops of exposure compensation. Take a test shot and gradually increase flash power until shadows are filled but the image still looks natural. You want viewers to notice your subject, not your flash.
High-speed sync (HSS) allows you to use flash at shutter speeds faster than your camera’s sync speed, which is essential in bright conditions. Without HSS, you would be limited to around 1/200 second, requiring very small apertures that may not give you the look you want.
Creative Techniques for Challenging Conditions
Sometimes the best approach is to embrace harsh light rather than fighting it. These creative techniques turn challenging conditions into artistic opportunities.
Black and White Conversion
High-contrast images that look harsh in color often transform beautifully into black and white. Without color information, the viewer focuses on form, texture, and tonal relationships. Deep shadows and bright highlights become dramatic elements rather than problems to solve.
When I know I will convert to black and white, I expose to preserve as much highlight and shadow detail as possible. In post-processing, I can then push contrast in either direction to create the mood I want. The high contrast of midday sun naturally suits the black and white aesthetic.
Street photographers have long embraced harsh light for black and white work. The graphic shadows and bright highlights create the bold, dramatic images associated with masters like Henri Cartier-Bresson and Garry Winogrand.
HDR and Exposure Bracketing
For extreme contrast scenes where you need detail throughout the tonal range, exposure bracketing combined with HDR processing can capture what a single exposure cannot. Take three to five shots at different exposure values, typically -2, -1, 0, +1, and +2 stops, then blend them in post-processing.
Modern cameras often have built-in HDR modes and auto-bracketing features that simplify this process. The key is using a tripod and ensuring your subject does not move between exposures. Ghosting from movement creates artifacts in the final blended image.
I use HDR sparingly because over-processed HDR images look unnatural. The goal is to compress the dynamic range while maintaining realistic tonal relationships. Subtle HDR blending can rescue a midday landscape that would otherwise have blown skies or black shadows.
Silhouette Photography in Midday Sun
When your subject is backlit and you expose for the bright background, your subject becomes a silhouette. This technique works beautifully for recognizable shapes like people in action, architectural features, or natural forms like trees and mountains.
To create clean silhouettes, expose for the brightest part of your background, typically the sky. Your camera’s spot metering helps isolate this reading. The result is a properly exposed background with your subject rendered as pure black shape.
Silhouettes work best when your subject has a clear, recognizable outline. Position them in profile for portraits so their features are distinguishable. Avoid poses where limbs overlap in confusing ways. The goal is graphic simplicity.
Smartphone Photography in Harsh Light
Smartphone cameras face the same harsh-light challenges as dedicated cameras, but you have fewer manual controls. Most phones automatically meter for the overall scene, which often blows highlights in high-contrast situations.
On both iPhone and Android, you can tap and hold on the brightest area of your screen to lock exposure and focus, then slide your finger down to darken the exposure. This simple trick protects highlights when shooting in harsh sun.
Many phones now offer RAW capture through their native or third-party camera apps. Shooting RAW gives you significantly more highlight recovery capability in post-processing. If your phone supports it, enable RAW for challenging light situations.
Phone lenses are particularly prone to flare in harsh sun. Use your hand to shade the lens, or reposition until flare disappears. A small lens cloth helps remove fingerprints that worsen flare and reduce contrast.
Post-Processing Tips for Highlight Recovery
Even with perfect technique in the field, some images benefit from highlight recovery in post-processing. Shooting RAW gives you the most flexibility, but even JPEG images can often be improved.
Recovering Highlights in Your RAW Processor
In Lightroom, Capture One, or similar RAW processors, the Highlights slider is your primary tool for recovery. Drag it negative to pull detail back into blown areas. The effectiveness depends on how severely the highlights were clipped. Slightly clipped areas recover well; completely white areas will not improve.
The Whites slider affects the brightest tones differently. Reducing Whites can help tame overall brightness while preserving the subtle tonal gradations that the Highlights slider might flatten. I often use both sliders together for optimal results.
Some processors offer dedicated highlight recovery tools. Lightroom’s “Highlight” preference in the Camera Raw defaults can automatically protect highlights. Capture One’s High Dynamic Range tool provides sophisticated tone mapping for challenging images.
RAW vs JPEG Considerations
RAW files typically contain 12 to 14 bits of data per channel, giving you enormous latitude for highlight recovery. JPEGs contain only 8 bits and have already had processing applied. A RAW file with blown highlights might still contain recoverable data; a JPEG with the same clipping is permanently lost.
I shoot RAW exclusively for outdoor photography where highlight management is critical. The larger file sizes are worth the insurance of having maximum editing flexibility. If you must shoot JPEG, be even more conservative with your in-camera exposure to protect highlights.
Shadow Recovery Without Introducing Noise
When you underexpose to protect highlights, you will often need to lift shadows in post-processing. Modern RAW processors handle shadow recovery well, but pushing too far introduces noise and banding.
Apply shadow recovery gradually and zoom to 100% to check for noise. If shadows become grainy, you have pushed too far. Noise reduction can help, but aggressive noise reduction also destroys detail. Finding the balance takes practice.
Some photographers intentionally expose for the highlights and use fill light in post rather than reflectors or flash in the field. This approach works but requires more editing time and high-ISO-capable cameras for best results.
Frequently Asked Questions
What camera settings are best for harsh sunlight?
For harsh sunlight, use ISO 100 (your lowest setting), aperture between f/4 and f/8 for portraits, and shutter speed fast enough to prevent overexposure (often 1/1000 or faster). Switch to spot metering and consider exposure compensation of -1/3 to -2/3 stops to protect highlights. Always shoot in RAW format for maximum recovery potential.
What is the Sunny 16 rule in photography?
The Sunny 16 rule states that on a bright sunny day, proper exposure can be achieved at ISO 100, f/16, and a shutter speed of 1/100 second (or 1/125). This baseline lets you calculate equivalent exposures: if you open up to f/4 (four stops wider), you need a shutter speed four stops faster (1/1600) to maintain the same exposure.
How to take photos in midday sun?
To photograph in midday sun: find open shade whenever possible, position subjects with their backs to the sun for backlighting, use reflectors or diffusers to modify harsh light, keep ISO at 100, use fast shutter speeds, and underexpose slightly to protect highlights. Consider converting high-contrast images to black and white for a creative approach.
What is the 20-60-20 rule in photography?
The 20-60-20 rule refers to time allocation when learning photography: spend 20% of your time studying theory, 60% practicing with your camera, and 20% reviewing and editing your work. While not specific to harsh light, this balanced approach helps build the skills needed for challenging lighting situations through consistent practice.
Conclusion: Mastering Midday Photography
Learning how to photograph in harsh midday sun without blowing out highlights transforms a limitation into an opportunity. With the right camera settings, thoughtful subject positioning, appropriate lighting modifiers, and creative post-processing techniques, you can create stunning images at any time of day. The key is practice: take your camera out during peak sunlight hours and experiment with these methods until they become second nature.