As a photographer who’s spent countless hours chasing the perfect bloom, I’m excited to share my 14 perfect flower photography tips that will transform your floral images from ordinary to extraordinary. I’ve learned these techniques through years of trial and error in gardens, meadows, and studios, and I can’t wait to help you capture stunning blooms today.
Why Flower Photography Captivates Us
There’s something magical about flower photography that keeps me coming back season after season. Maybe it’s the way light dances through petals, or the challenge of capturing nature’s perfect designs. Whatever draws you to floral photography, I promise these tips will elevate your game and help you create images that make people stop scrolling.
Essential Gear for Flower Photography
1. Choose the Right Lens
I’ve tested countless lenses over the years, and I can tell you that lens choice makes or breaks your flower photos. My go-to setup includes a 105mm macro lens for those incredible close-up shots where you can see every tiny detail. For wider shots, I love my 50mm f/1.4 prime lens – it’s versatile and creates that beautiful background blur that makes flowers pop.
When I first started, I made the mistake of thinking I needed expensive gear. The truth is, you can get amazing results with a 50mm f/1.8 lens (often called the “nifty fifty”) that costs less than $200. What matters most is understanding how to use what you have.
2. Camera Body Considerations
While you don’t need the latest and greatest camera body, having one with good autofocus and decent low-light performance helps immensely. I use a mirrorless camera because I love seeing exactly what my exposure will look like before I press the shutter. The articulating screen is a game-changer for shooting at awkward angles – something I do constantly when photographing low-growing flowers.
3. Don’t Forget Support
I learned this lesson the hard way: a sturdy tripod is non-negotiable for sharp flower photos, especially in low light or when using macro lenses. I use a lightweight carbon fiber tripod that I can easily carry to remote locations. For even more stability, especially in windy conditions, I add a small bean bag to weigh it down.
Mastering Camera Settings
4. Perfect Your Aperture
Understanding aperture changed my flower photography completely. For most flower shots, I shoot between f/2.8 and f/5.6. This creates that dreamy background blur (called bokeh) while keeping the flower sharp. When I want the entire flower field in focus, I stop down to f/11 or f/16.
Here’s a pro tip I discovered: the closer you are to your subject, the shallower your depth of field becomes. So when you’re doing macro work, even f/8 might give you a very narrow focus area. That’s why focus stacking is such a valuable technique for macro flower photography.
5. Nail Your Shutter Speed
Flowers move, even when you think they’re not. A gentle breeze can ruin an otherwise perfect shot. I never shoot below 1/200 second handheld, and on windy days, I push it to 1/500 or faster. When I’m using a tripod, I can go slower, but I still watch for movement.
I once spent an entire morning trying to capture a perfect tulip shot, only to realize later that every image was slightly soft because of subtle movement. Now I always err on the side of faster shutter speeds.
6. ISO Management
Keep your ISO as low as possible for the cleanest images. I start at ISO 100 and only increase it when I absolutely need to. Modern cameras handle higher ISOs well, but I still try to stay below 800 if possible. The trade-off between noise and sharpness isn’t worth it in flower photography.
Lighting Techniques That Work
7. Embrace Overcast Days
My favorite flower photography days are cloudy ones. The soft, diffused light creates even illumination and brings out subtle colors without harsh shadows. I’ve captured some of my best flower images on days that other photographers stayed home.
When the sun is out, I look for open shade or create my own using a diffuser. Direct sunlight creates harsh shadows and blown-out highlights that are nearly impossible to recover in post-processing.
Also Read: 12 Best Memory Cards For Fujifilm X H2s
8. Golden Hour Magic
The hour after sunrise and before sunset (golden hour) provides the most beautiful light for flower photography. The low angle creates side lighting that reveals texture and depth. I’ve found that flowers seem to glow during these times, with colors appearing more vibrant and saturated.
I once captured a rose garden at golden hour, and the images looked like they were painted with light. The warm tones and long shadows created a magical atmosphere that flat midday light could never achieve.
9. Backlighting for Drama
Backlighting is my secret weapon for creating ethereal flower images. When you position the sun behind your subject, petals become translucent and glow from within. This technique works especially well with thin-petaled flowers like poppies and cosmos.
The key to successful backlighting is to use a lens hood to prevent flare and to slightly overexpose your image to maintain detail in the petals. I often use exposure compensation of +1 to +2 stops when backlighting flowers.
Composition Mastery
10. Rule of Thirds in Flower Photography
The rule of thirds isn’t just for landscapes – it’s crucial for compelling flower compositions too. I place my main subject at one of the intersection points rather than centering it. This creates more dynamic and interesting images.
When I’m photographing multiple flowers, I use the rule of thirds to create balance and flow. I might place the dominant flower at the upper right intersection point and use other flowers as leading lines toward it.
11. Get Low and Change Perspectives
I can’t tell you how many times I’ve seen photographers shooting flowers from standing height. The problem? That’s how everyone sees flowers. To create unique images, you need to shoot from different angles.
I often lie on the ground to shoot up at flowers, creating a dramatic perspective against the sky. Other times, I shoot straight down for a bird’s-eye view. Changing your angle completely transforms the story your image tells.
12. Fill the Frame
Sometimes, the most powerful flower images are the simplest ones. I love filling the entire frame with a single bloom, letting the flower’s natural beauty speak for itself. This approach works especially well with bold, graphic flowers like sunflowers or orchids.
When filling the frame, pay attention to the edges. I make sure no important elements are cut off and that the composition feels balanced. It’s amazing how a slight adjustment can make the difference between a good shot and a great one.
Advanced Techniques
13. Create Perfect Backgrounds
The background can make or break a flower photo. I’ve learned to pay as much attention to what’s behind my subject as to the subject itself. A cluttered background distracts from the flower, while a clean, simple background makes it pop.
My favorite background technique is using a wide aperture to create beautiful bokeh. I look for distant elements that will blur into pleasing shapes and colors. Sometimes I’ll even hold a colored card behind the flower to create a specific background color.
14. Focus Stacking for Maximum Sharpness
Focus stacking is a game-changing technique I discovered a few years ago. It involves taking multiple images at different focus points and combining them in post-processing for incredible depth of field. This is especially useful for macro photography where depth of field is extremely limited.
I typically take 5-10 images, moving the focus point slightly deeper into the flower with each shot. Then I use software like Helicon Focus or Photoshop to combine them into one perfectly sharp image. The results are stunning and impossible to achieve with a single shot.
Post-Processing Tips
While this article focuses on capture techniques, I’d be remiss not to mention that post-processing is where good flower photos become great. I use Lightroom and Photoshop to enhance colors, adjust contrast, and fine-tune sharpness. The key is subtlety – you want to enhance the natural beauty of the flower, not create something artificial.
Common Mistakes to Avoid
After years of teaching flower photography workshops, I’ve noticed the same mistakes appearing again and again. Here are the most common ones and how to avoid them:
- Shooting in harsh midday sun: Wait for better light or create your own shade
- Ignoring the background: Always check what’s behind your subject
- Using too slow a shutter speed: Increase shutter speed to avoid motion blur
- Forgetting to check focus: Use magnified view to ensure critical sharpness
- Over-processing: Enhance, don’t transform your images
Seasonal Considerations
Different seasons offer different flower photography opportunities. Spring brings delicate blooms and fresh greens, summer offers vibrant colors and abundance, fall provides rich tones and interesting textures, and winter… well, winter is when I practice with indoor flowers or travel to warmer climates.
I’ve learned to plan my flower photography around the seasons, researching what blooms when in my area. This planning ensures I never miss the perfect moment to capture specific flowers at their peak.
Also Read: 8 Best Memory Cards For Fujifilm X T30 Ii
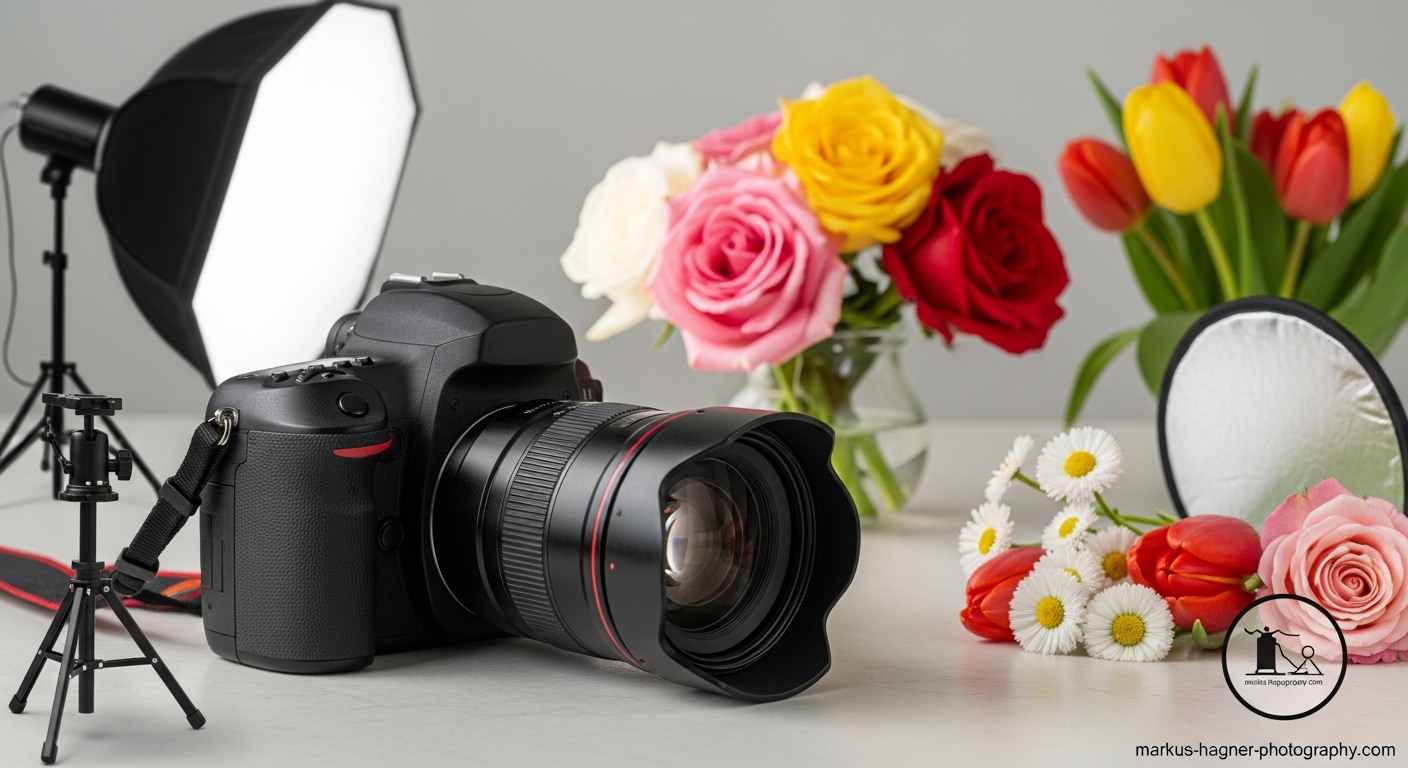
Equipment Recommendations
Based on my experience, here’s my recommended starter kit for flower photography:
- Camera: Any DSLR or mirrorless with manual controls
- Lens: 50mm f/1.8 or 105mm macro lens
- Support: Lightweight tripod with ball head
- Accessories: Reflector, diffuser, remote shutter release
As you progress, you might want to add specialized equipment like focus rails, macro lighting, or higher-end macro lenses. But remember, the best equipment is what you have with you and know how to use.
FAQ: Flower Photography Questions
What’s the best time of day for flower photography?
The best times are early morning and late afternoon when the light is soft and directional. Overcast days also provide excellent lighting conditions for flower photography.
Do I need an expensive camera for flower photography?
Not at all! While professional gear offers advantages, you can capture stunning flower images with any camera that allows manual control. The key is understanding composition, lighting, and basic camera settings.
What aperture should I use for flower photography?
For most flower shots, use apertures between f/2.8 and f/5.6 to create background blur while keeping the flower sharp. For group shots or when you want everything in focus, use f/11 or smaller.
How do I prevent wind from ruining my flower photos?
Shoot on calm days, use faster shutter speeds (1/500 or faster), or create a windbreak. A small clamp or stake can help stabilize flowers in light breezes.
What’s the best lens for flower photography?
A 105mm macro lens is ideal for close-up work, while a 50mm f/1.8 is perfect for general flower photography. Both offer excellent value and versatility.
Pro Photography Tips Section
Quick Tip: Always carry a small spray bottle with water. A few drops on petals can create beautiful dew effects and add visual interest to your flower photos.
Advanced Technique: Try focus bracketing for ultimate control over depth of field in macro flower photography. This technique allows you to combine multiple focus points for incredible sharpness throughout the image.
Conclusion
Flower photography is a rewarding pursuit that combines technical skill with artistic vision. These 14 tips have served me well over the years, and I’m confident they’ll help you capture stunning blooms too. Remember, the most important tip is to practice consistently and develop your own unique style.
I encourage you to bookmark this guide and return to it as you progress in your flower photography journey. The more you shoot, the more you’ll discover your own preferences and techniques. Happy shooting!