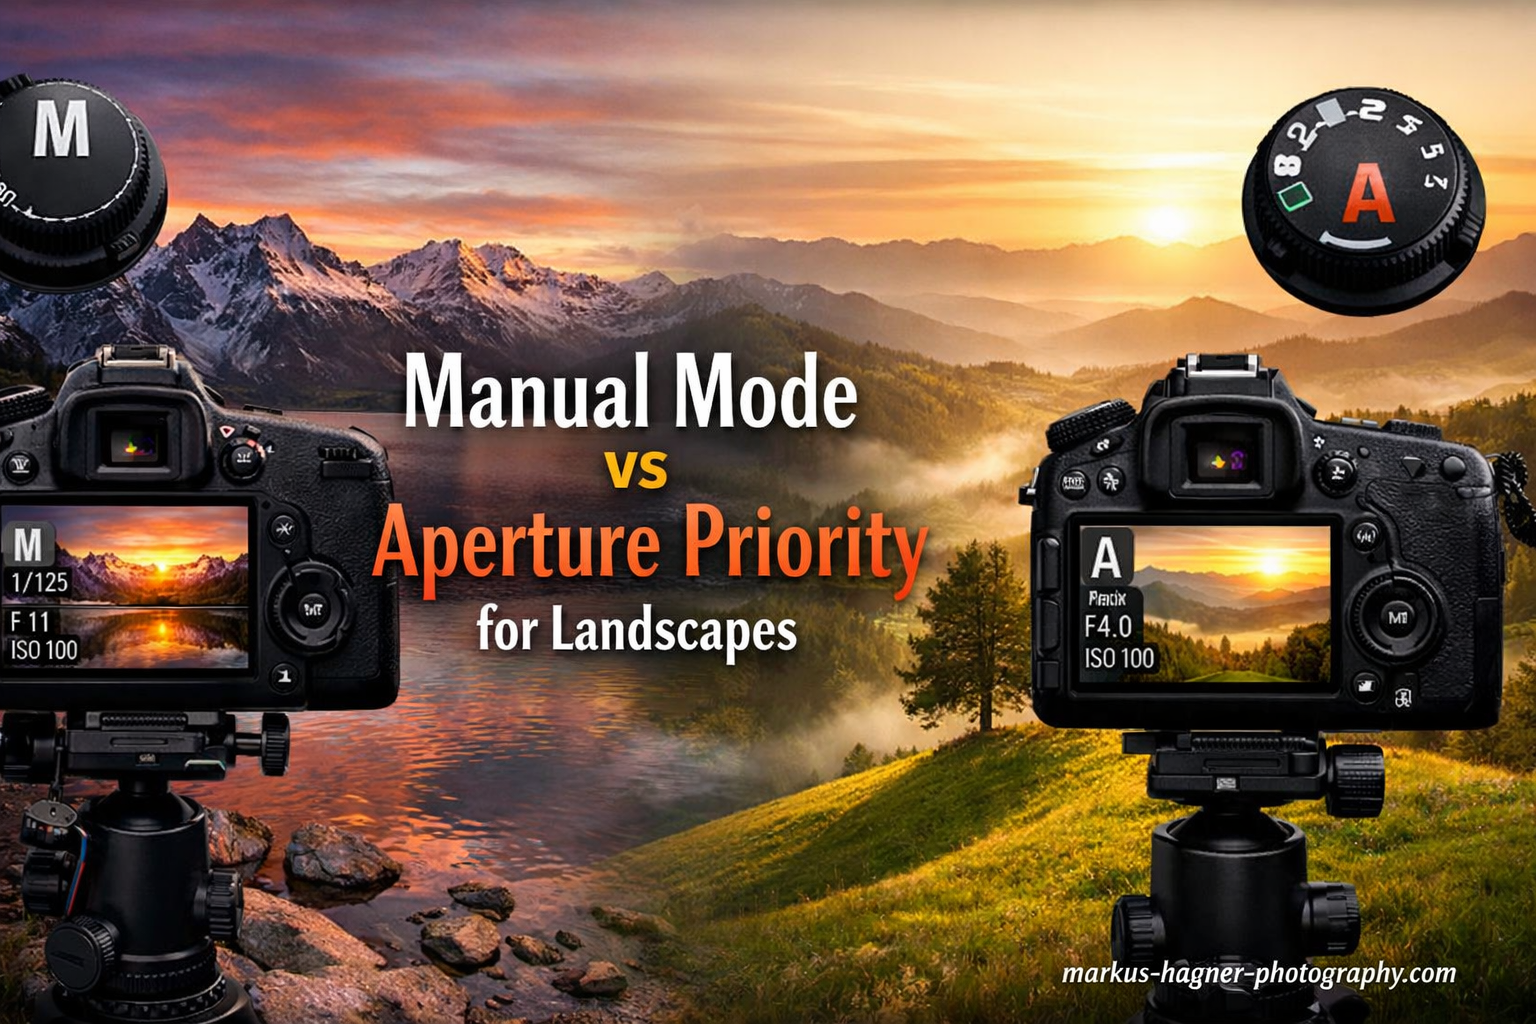
One of the biggest debates in landscape photography is whether to shoot in Manual Mode or Aperture Priority. After years of shooting landscapes in both modes, I can tell you the answer is not as straightforward as many photographers make it seem. The choice between Manual Mode vs Aperture Priority for landscapes depends on your specific shooting conditions, your experience level, and what you are trying to achieve.
Aperture Priority mode is the better choice for most landscape photography situations. It gives you control over depth of field while letting the camera handle shutter speed adjustments automatically. However, Manual Mode has its place for specific scenarios like long exposures, panoramas, and night photography where consistent exposure is critical.
In this comparison, I will break down exactly when to use each mode, the pros and cons of both approaches, and share real-world scenarios from my own landscape photography experience. By the end, you will have a clear framework for choosing the right mode for any landscape situation.
Manual Mode vs Aperture Priority: Quick Comparison
Here is a side-by-side look at how these two shooting modes compare for landscape photography:
| Product | Specifications | Action |
|---|---|---|
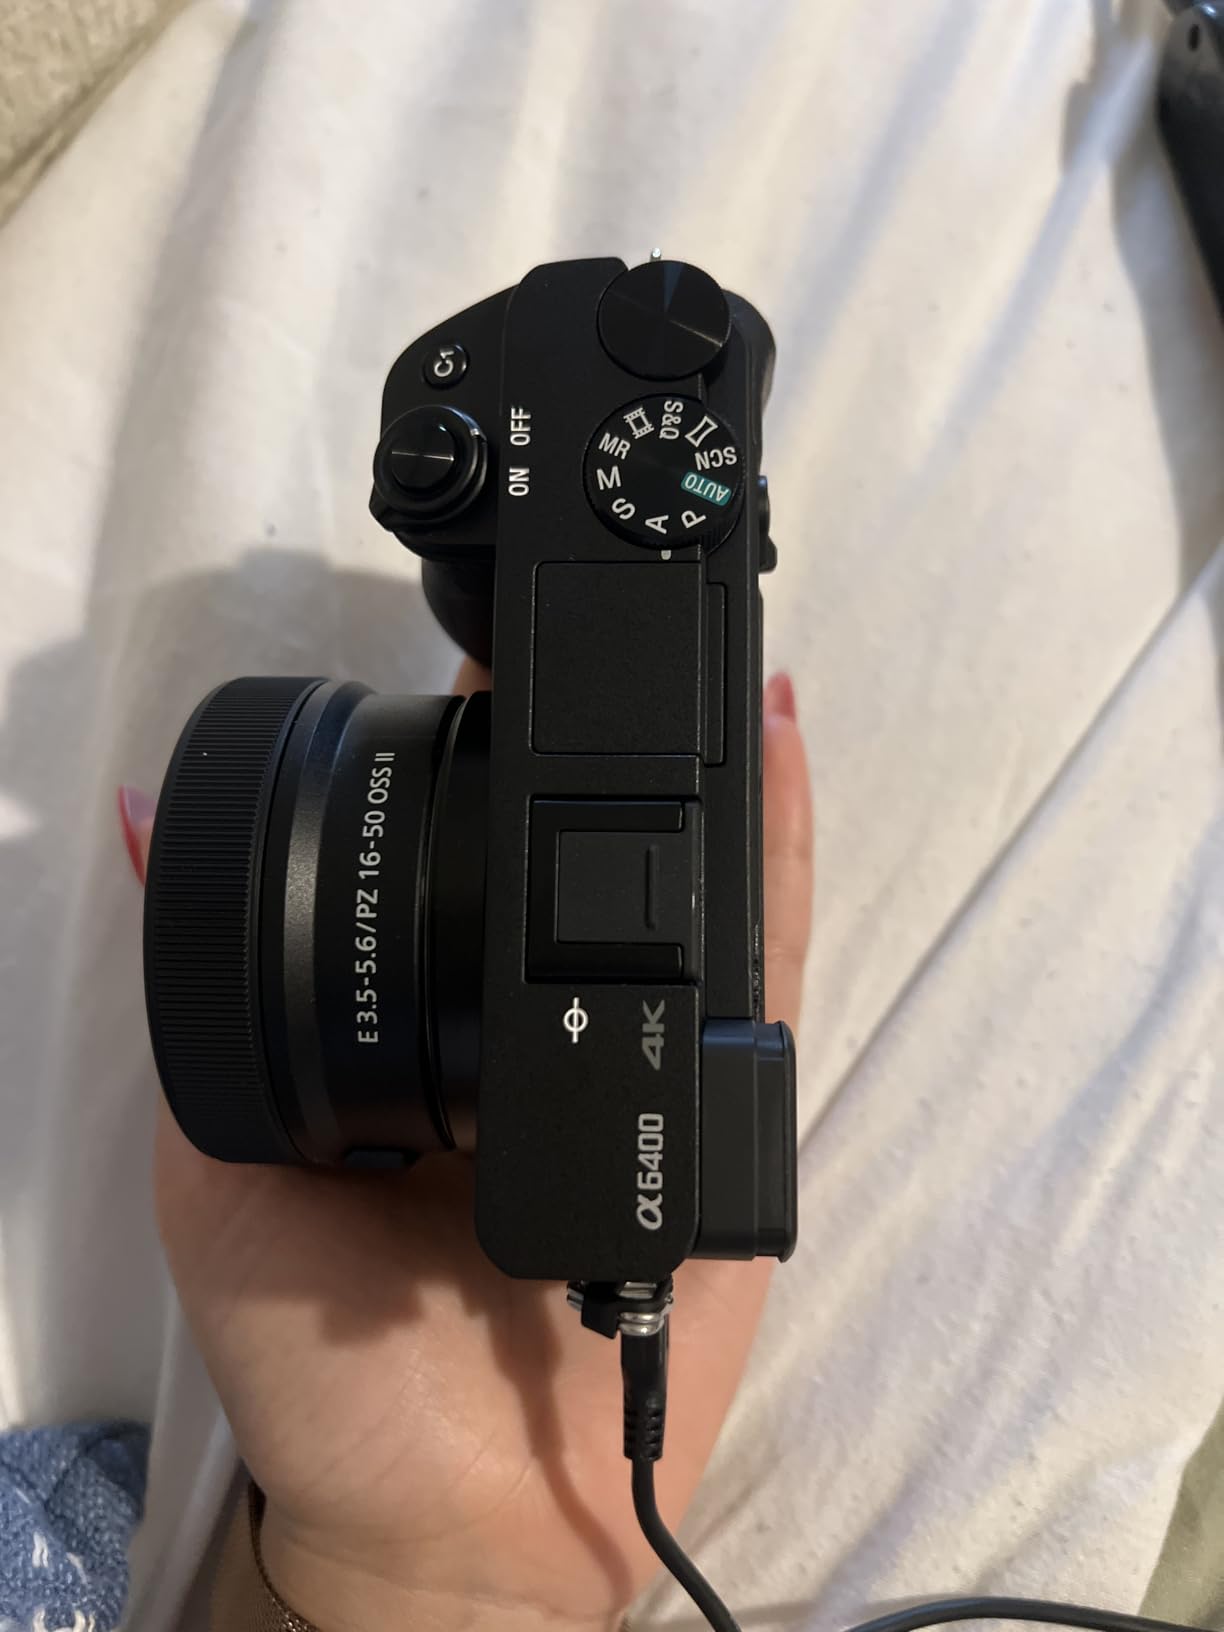
 Sony Alpha a6400 Camera
|
|
Check Latest Price |
 Canon RF16mm F2.8 Lens
|
|
Check Latest Price |
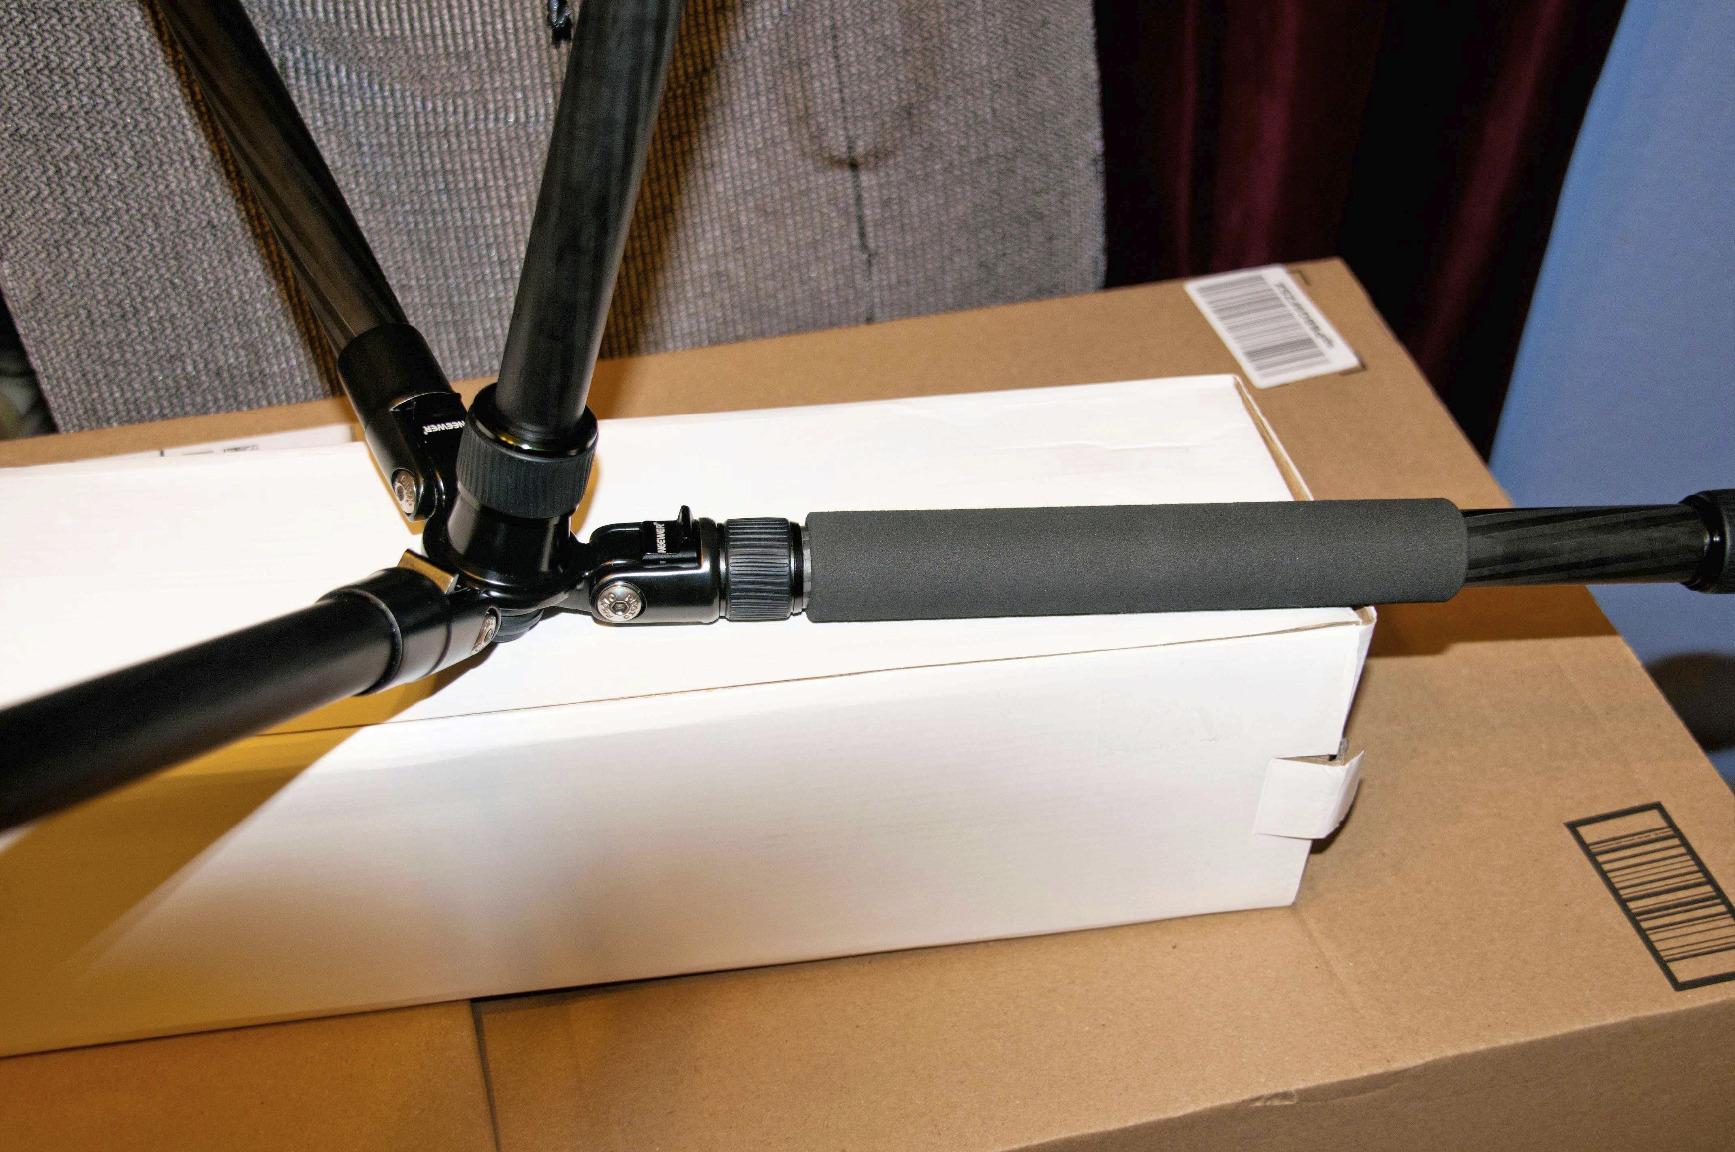
 NEEWER Carbon Fiber Tripod
|
|
Check Latest Price |
 K and F Concept Filter Kit
|
|
Check Latest Price |
Manual Mode for Landscape Photography
Pros
- Full control over all exposure settings
- Consistent exposure across multiple shots
- Essential for long exposures and ND filters
- Best for panorama exposure consistency
- Required for night and astrophotography
Cons
- Slower workflow in changing light
- Requires more technical knowledge
- Easy to miss shots during golden hour
- More post-processing if exposures vary
Manual Mode gives you complete control over all three elements of the exposure triangle: aperture, shutter speed, and ISO. For landscape photography, this level of control can be both a blessing and a curse depending on your shooting conditions.
I use Manual Mode when I need precise, consistent exposures across multiple frames. This is essential for panorama stitching, focus stacking, and HDR bracketing where varying exposures between shots can create visible seams or inconsistencies in the final image.
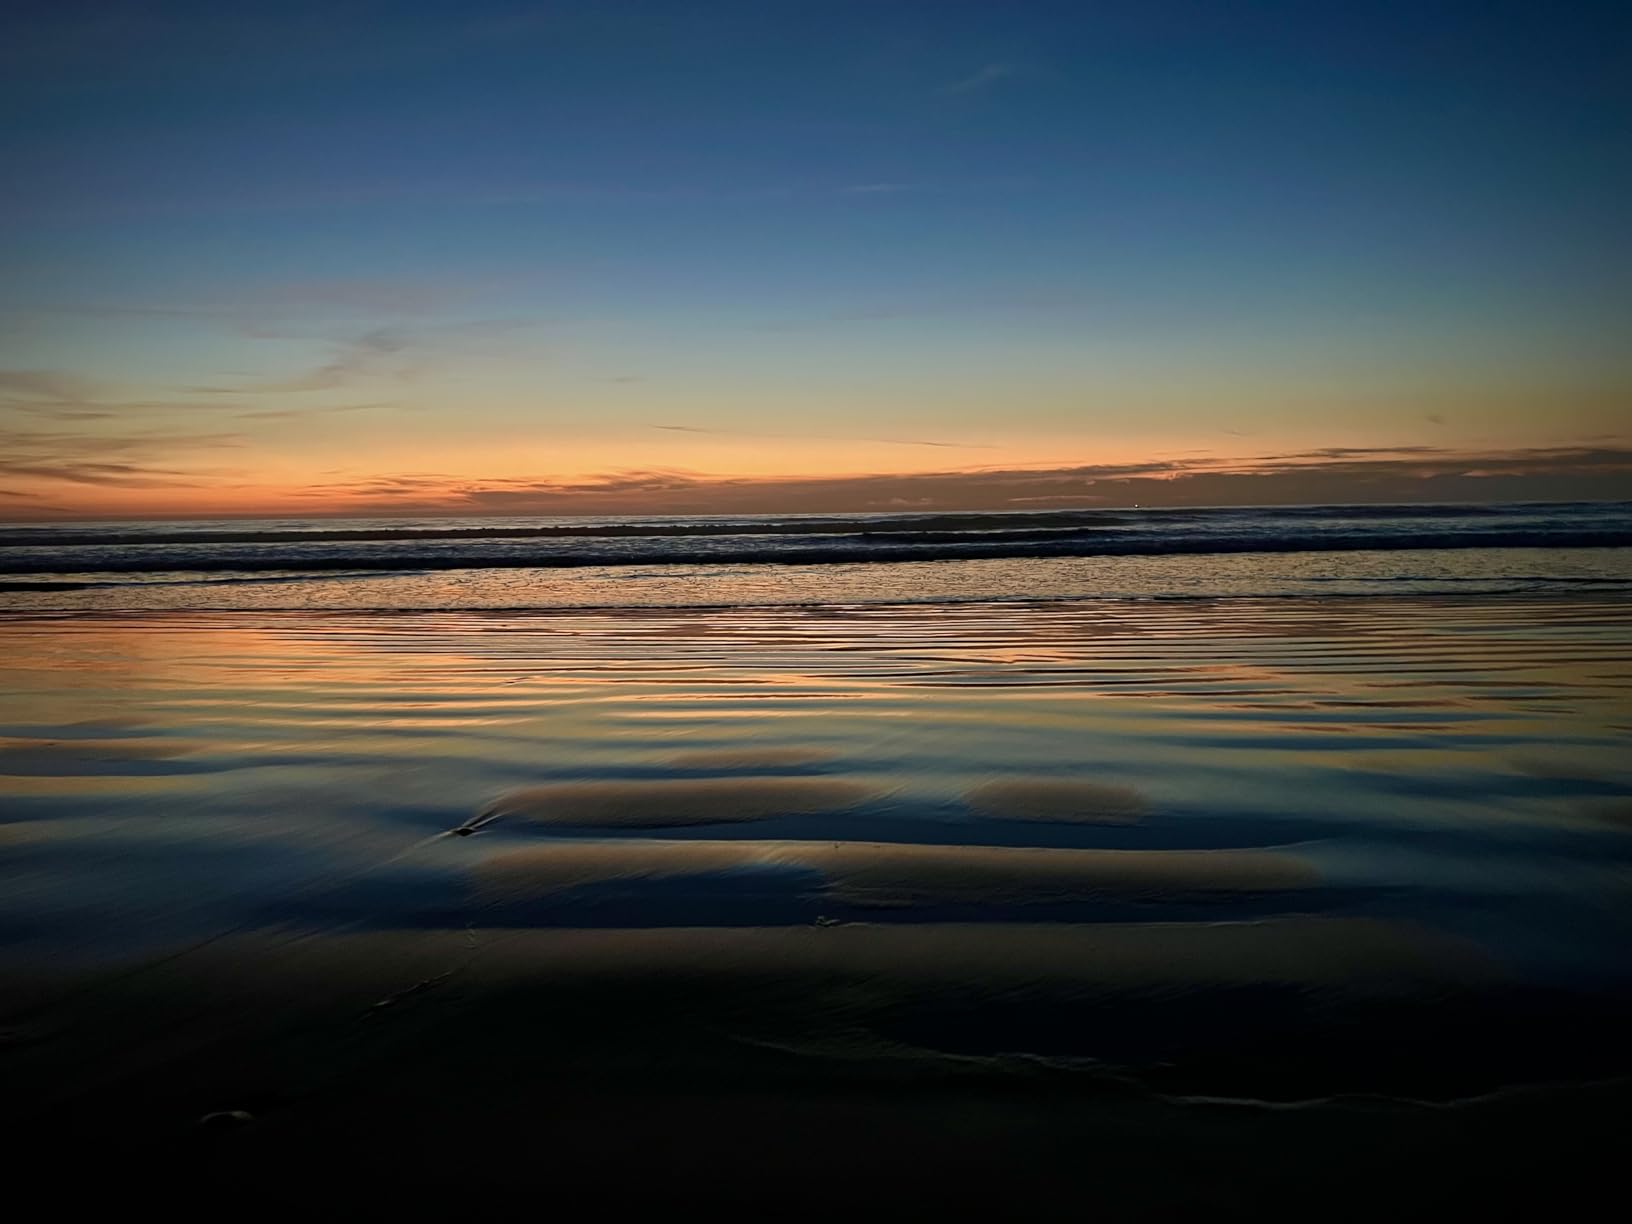
Manual Mode really shines when using neutral density filters for long exposures. When you are shooting waterfalls, seascapes, or any scene with moving water, you need to set a specific shutter speed to achieve the desired motion blur effect. Aperture Priority cannot do this automatically because it prioritizes aperture over shutter speed.
The downside of Manual Mode becomes apparent during golden hour when light conditions change rapidly. You might set your exposure perfectly at the start of sunset, but five minutes later the light has shifted and your settings are now wrong. This is when aperture priority becomes the more practical choice.
Here is when I specifically choose Manual Mode for landscapes:
Long exposures with ND filters: You need to control shutter speed precisely to get the right amount of motion blur in water or clouds. Start at base ISO (usually 100 or 64), set your aperture to f/8 or f/11 for optimal sharpness, then adjust shutter speed based on the filter strength.
Panorama shooting: Consistent exposure across all panorama frames prevents visible bands in the final stitched image. Set your exposure manually for the brightest part of the scene and lock it in.
Night and astrophotography: Camera meters struggle in extremely low light. Manual Mode lets you set the exact aperture, shutter speed, and ISO you need without the camera trying to compensate.
Aperture Priority for Landscape Photography
Pros
- Fast workflow in changing light
- Perfect for golden hour shooting
- Camera handles shutter speed automatically
- Easy exposure compensation adjustment
- Works well with Auto ISO
Cons
- Less control over shutter speed
- Can struggle with extreme contrast
- May need frequent exposure compensation
- Not ideal for long exposures
Aperture Priority mode lets you control the aperture while the camera automatically sets the shutter speed based on its metering. For landscape photography, this is often the most practical choice because depth of field is usually your primary creative concern.
I shoot in Aperture Priority about 80 percent of the time for landscape work. It simply works faster and more efficiently when light is changing, which happens constantly during sunrise, sunset, and when clouds are moving across the sky.

The key to using Aperture Priority effectively is understanding exposure compensation. Your camera meter tries to make everything middle gray, which can lead to underexposed snow scenes or overexposed dark forests. I typically dial in +0.7 to +1.3 exposure compensation for bright scenes like snow or fog, and -0.3 to -0.7 for dark forest scenes.
One technique I use is Expose to the Right (ETTR). This means pushing your exposure as bright as possible without clipping highlights. In Aperture Priority, you do this by increasing exposure compensation until the histogram just touches the right side. This captures maximum shadow detail while preserving highlights.

Here is when I specifically choose Aperture Priority for landscapes:
Golden hour and sunrise/sunset: Light changes every few minutes during these times. Aperture Priority automatically adjusts shutter speed so you can focus on composition rather than constantly recalculating exposures.
Handheld landscape work: When hiking or traveling without a tripod, Aperture Priority with Auto ISO ensures you always get a fast enough shutter speed for sharp images.
Quick scouting shots: When exploring a location and taking test shots to evaluate compositions, Aperture Priority lets you work faster without worrying about exposure settings.
Head-to-Head Comparison: When to Use Each Mode
Let me break down specific landscape photography scenarios and declare a clear winner for each:
Workflow Speed and Efficiency
Winner: Aperture Priority
Aperture Priority wins hands down for workflow speed. When I am shooting during rapidly changing light, I can focus entirely on composition and timing while the camera handles exposure adjustments. In Manual Mode, I would need to constantly check and adjust settings, potentially missing the best light.
Long Exposure Photography
Winner: Manual Mode
Pros
- Lightweight carbon fiber construction
- Converts to monopod using one leg
- 360 degree panoramic ball head
- Arca Swiss compatible plate
- Great value for the price
Cons
- Quick release plate not as secure as premium brands
- Some plastic components
- No rubber spikes on feet
- Instructions could be clearer
For long exposures with ND filters, Manual Mode is essential. You need precise control over shutter speed to achieve the desired motion blur effect. Using a sturdy tripod like the NEEWER Carbon Fiber model combined with Manual Mode gives you complete control over the exposure.

The NEEWER 66 inch Carbon Fiber Tripod is an excellent choice for long exposure work. Its carbon fiber construction absorbs vibrations better than aluminum, and the 26.5lb max load capacity provides stability even in windy conditions. The ability to convert one leg into a monopod is a nice bonus for scouting locations.
Changing Light Conditions
Winner: Aperture Priority
During golden hour, light can change dramatically in just a few minutes. Aperture Priority automatically compensates for these changes, keeping your exposures consistent. With Manual Mode, you would need to adjust settings every time the light shifts.
Panorama and Focus Stacking
Winner: Manual Mode
When shooting panoramas or focus stacks, you need identical exposures across all frames. Manual Mode locks in your settings so every shot has the same exposure values. This prevents visible seams or exposure bands in your final composite.
Beginner Friendliness
Winner: Aperture Priority
For photographers learning landscape techniques, Aperture Priority is more forgiving. You only need to understand aperture and depth of field, while the camera handles shutter speed. This lets you focus on composition and gradually learn the exposure triangle.
Night and Low Light Photography
Winner: Manual Mode
Camera meters are unreliable in extremely low light situations. Manual Mode lets you set the exact exposure you need based on experience and test shots, rather than relying on the meter to guess correctly.
Verdict: Which Mode Should You Choose?
For most landscape photography situations, Aperture Priority is the better choice. It offers the right balance of control and convenience, allowing you to focus on composition while the camera handles exposure adjustments. I use it for roughly 80 to 90 percent of my landscape work.
Choose Aperture Priority if: You shoot during golden hour or changing light conditions, you want to work faster and more efficiently, you are hiking or traveling and want to capture spontaneous compositions, or you are still learning the exposure triangle.
Choose Manual Mode if: You are shooting long exposures with ND filters, you need consistent exposures across panorama or focus stack frames, you are doing night or astrophotography, or you want complete creative control over every aspect of exposure.
The truth is, most experienced landscape photographers use both modes depending on the situation. There is no rule saying you must stick to one mode exclusively. The key is understanding when each mode serves your creative goals better.
Essential Equipment for Landscape Photography
Regardless of which shooting mode you prefer, having the right equipment makes landscape photography more enjoyable and produces better results. Here are my top recommendations:
Pros
- Complete 3-filter kit for landscapes
- CPL reduces glare and enhances colors
- ND4 for 2-stop light reduction
- Excellent value for the price
- Includes storage pouch
Cons
- ND4 only provides 2 stops
- Not professional grade quality
- May cause slight vignetting on wide lenses
The K and F Concept filter kit is particularly useful when shooting in Manual Mode for long exposures. The ND filter allows you to extend shutter speed to capture smooth water motion, while the CPL filter helps reduce glare from wet rocks and foliage.
FAQ
Is manual or aperture priority better for landscape photography?
Aperture Priority is better for most landscape photography situations because it handles changing light conditions automatically while giving you control over depth of field. Manual Mode is better for specific scenarios like long exposures with ND filters, panorama shooting, and night photography where you need consistent, precise control over exposure.
What is the best shooting mode for landscape photography?
Aperture Priority (A or Av mode) is generally considered the best shooting mode for landscape photography because it lets you control depth of field through aperture selection while the camera automatically adjusts shutter speed for proper exposure. This combination offers the best balance of creative control and workflow efficiency for most landscape situations.
When should I use manual mode for landscapes?
Use Manual Mode for landscapes when shooting long exposures with ND filters, creating panoramas that require consistent exposure across frames, doing focus stacking, shooting at night or for astrophotography, or when the camera meter is being fooled by extreme lighting conditions like snow or very dark scenes.
When should I use aperture priority for landscapes?
Use Aperture Priority for landscapes when shooting during golden hour or rapidly changing light, when hiking or traveling without a tripod, when taking quick scouting shots to evaluate compositions, when you want to focus on creativity rather than technical settings, or when you are still learning the exposure triangle.
Do professional landscape photographers use aperture priority?
Yes, many professional landscape photographers use Aperture Priority for the majority of their work. Experienced photographers understand that the mode does not determine skill level. What matters is understanding exposure and choosing the right tool for each situation. Many pros report using Aperture Priority 80 to 90 percent of the time and Manual Mode only for specific technical requirements.