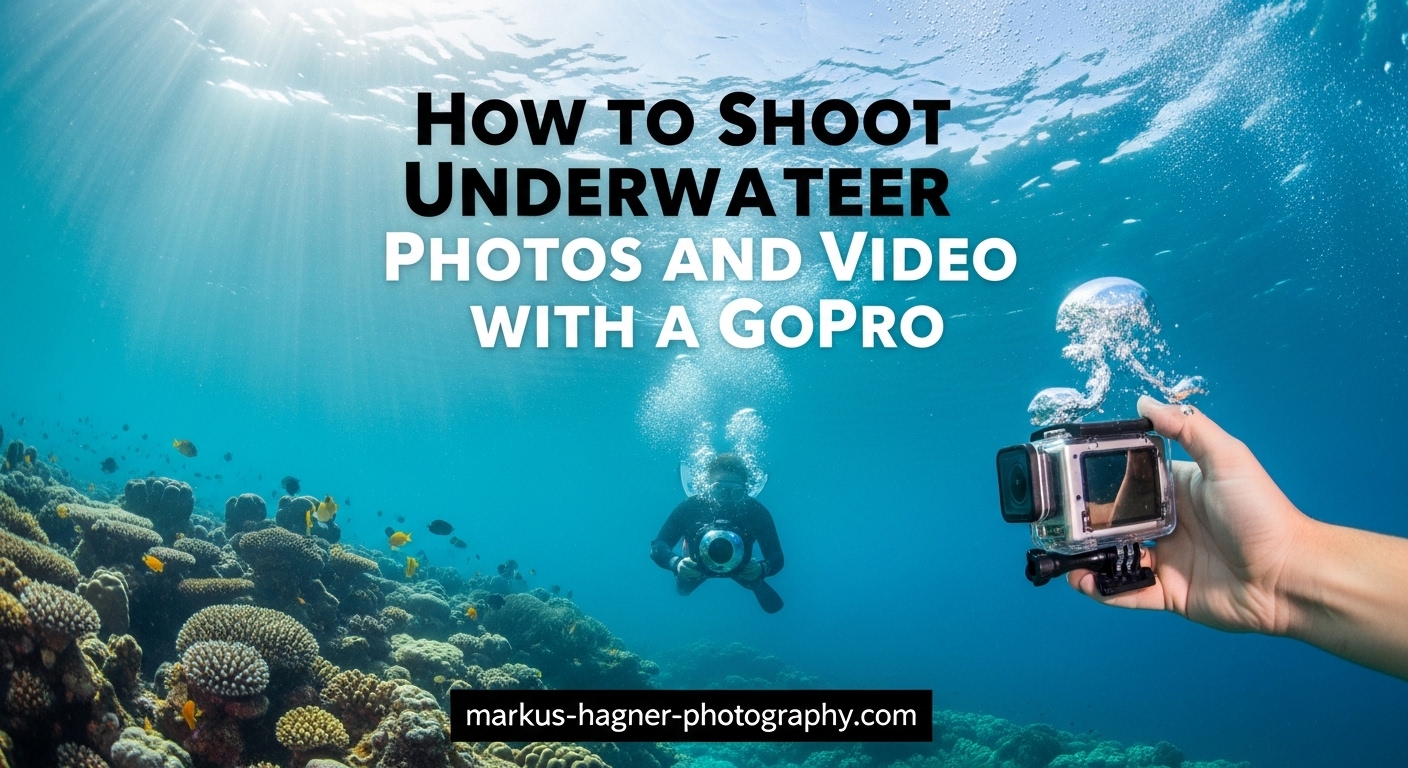
Capturing the underwater world with a GoPro opens up possibilities that traditional cameras simply cannot match. When I first started shooting underwater photos and video with a GoPro, I made every mistake in the book, from foggy housings to washed-out colors. After years of diving and countless hours of footage, I have learned what actually works. This guide covers everything from pre-dive preparation to advanced shooting techniques that will transform your underwater imagery.
The beauty of using a GoPro underwater lies in its simplicity. You do not need expensive housings for shallow dives, and the wide-angle lens captures more of the scene than most dedicated underwater cameras. However, water behaves differently than air when it comes to light, and understanding these differences is the key to getting professional-looking results.
In this comprehensive guide, you will learn the exact settings I use for both video and photos, how to handle the unique challenges of underwater lighting, and the accessories that make a real difference. Whether you are snorkeling in tropical waters or scuba diving at depth, these techniques will help you capture stunning underwater footage.
Why GoPro Works Well for Underwater Photography?
GoPro cameras have become the go-to choice for underwater shooters for several compelling reasons. The most obvious advantage is their waterproof design, which allows you to take the camera down to 33 feet (10 meters) without any additional housing. This makes them perfect for snorkeling, pool sessions, and shallow free diving.
The fixed-focus wide-angle lens is actually a benefit underwater. With a minimum focus distance of about 12 inches (30 cm), everything beyond that distance stays sharp. This is ideal for underwater scenes where you want both your subject and the surrounding environment in focus. The wide field of view also helps compensate for the magnification effect of water, which makes everything appear about 25% larger and closer than it actually is.
Size matters when you are already carrying dive gear. A GoPro mounted on a small handle takes up minimal space, leaving your hands free for swimming or managing other equipment. The mounting ecosystem also means you can attach the camera to your dive mask, chest mount, or even a drone for unique perspectives.
That said, GoPros do have limitations underwater. The small sensor struggles in low light conditions, which are common at depth. Colors fade quickly as you descend, with reds disappearing first. Understanding these limitations and knowing how to work around them is what separates mediocre underwater footage from stunning captures.
Essential Pre-Dive Preparation
The work that determines your success happens before you ever get wet. I learned this the hard way after a dive trip where half my footage was unusable because I skipped basic preparation steps. Here is the pre-dive checklist I now follow religiously.
First, charge your batteries fully and bring at least one spare. Cold water and constant recording will drain batteries faster than you expect. For a full day of diving, I carry three fully charged batteries. Store them in a waterproof bag separate from your main gear.
Memory cards need attention too. Shooting 4K video at 60fps fills cards quickly, so bring at least 128GB of storage per dive day. I prefer multiple smaller cards over one massive card. If a card fails, you lose less footage. Format your cards before each trip to ensure they are clean and ready.
Fogging is the enemy of underwater photography. The temperature difference between warm air and cool water causes condensation inside the housing or camera body. Anti-fog inserts solve this problem. Place one inside your housing before sealing it. For cameras without housing, let the camera acclimate to the water temperature slowly before turning it on.
Test your housing seals if you are using one. A tiny grain of sand or a strand of hair on the O-ring can let water in. I inspect the seal visually and do a submersion test without the camera inside before every significant dive. This 30-second check has saved my equipment more than once.
GoPro Underwater Video Settings
Getting your video settings right before entering the water is critical because you cannot change them once submerged. The touchscreen does not work underwater, and even if it did, you would be wasting dive time fiddling with menus. Here are the settings I have found work best across various underwater conditions.
Resolution and Frame Rate
For most underwater video, 4K resolution at 60fps provides the best balance of quality and flexibility. The 4K resolution captures fine details in coral, fish scales, and water textures. The 60fps frame rate gives you smooth motion and the option to slow footage down to 24fps for a cinematic half-speed effect.
If you are shooting fast-moving subjects like sharks or dolphins, consider 120fps or even 240fps. These higher frame rates allow for dramatic slow-motion sequences. The trade-off is lower resolution (typically 2.7K or 1080p at these speeds), so get closer to your subject to maintain detail.
White Balance Settings
Never use auto white balance underwater. The auto setting will constantly shift as you move through different light conditions, creating jarring color changes in your footage. Instead, set your white balance manually based on your depth and lighting conditions.
For shallow water (0-15 feet), try a white balance setting around 4800K to 5200K. As you descend deeper, increase the Kelvin value to compensate for the loss of warm light. At 30 feet and beyond, settings between 5500K and 6500K help restore natural colors. If you are using video lights, match your white balance to the light color temperature, typically 5600K for most dive lights.
ISO Configuration
Underwater environments are inherently lower in light than above water, but cranking up ISO creates noise and degrades image quality. I set my minimum ISO to 100 and my maximum to 800 for most conditions. If you are diving deep or in murky water, you might need to push the maximum to 1600, but expect some grain in darker areas of the frame.
The key is finding the balance between bright enough footage and acceptable noise levels. Underwater video often looks better slightly underexposed with less noise than overexposed with grain. You can always brighten footage in post-processing, but you cannot remove noise without losing detail.
Color Profile and Bitrate
For the most flexibility in post-processing, shoot in the Flat color profile. This preserves more dynamic range and gives you more latitude for color correction later. The footage will look washed out straight from the camera, but that is intentional. You will add contrast and saturation during editing.
Set your bitrate to High or High+ if your GoPro model supports it. Higher bitrates mean larger file sizes, but they also preserve more detail in complex underwater scenes. The extra storage is worth the improvement in image quality.
Stabilization Settings
HyperSmooth stabilization works well for surface shots, but underwater it can sometimes create artifacts when light levels drop. I typically enable HyperSmooth on Auto Boost for most underwater video. If you notice weird warping or stretching in your footage, try turning stabilization down or off. A steady hand and smooth swimming technique often produce better results than digital stabilization alone.
GoPro Underwater Photo Settings
Photos require a different approach than video. While video captures motion over time, a photo freezes a single moment. This means you need to get your exposure and composition right in that instant. Here are the settings that will give you the best underwater photos.
RAW vs JPEG
Always shoot in RAW format for underwater photos. RAW files contain all the data captured by the sensor, giving you tremendous flexibility for color correction and exposure adjustment. Underwater lighting is tricky, and you will almost always need to adjust white balance and recover shadow detail. RAW makes this possible without degrading image quality.
The downside is larger file sizes and the need to process every photo. But the improvement in final image quality is substantial. I only shoot JPEG when I need to share photos immediately and have no time for editing.
ISO Limits for Photos
Keep your ISO as low as possible for photos, ideally at 100. Noise is much more visible in still images than in video. The small sensor in a GoPro already produces some noise, so adding more through high ISO settings will give you grainy, soft photos.
In bright shallow water, ISO 100 works perfectly. As light decreases, resist the temptation to boost ISO. Instead, look for lighter subjects or wait for moments when sunlight penetrates the water column. If you must increase ISO, try to stay below 400 to maintain acceptable quality.
Sharpness, Noise Reduction, and Color
Set sharpness to Low or Medium. The default High setting often creates artificial-looking edges that become more obvious after color correction. You can always add sharpness during editing, but removing over-sharpening artifacts is nearly impossible.
For noise reduction, choose Low. The camera’s noise reduction can smooth away fine details in coral textures and fish scales. It is better to capture the detail and apply careful noise reduction during post-processing where you have more control.
Color settings matter less when shooting RAW since you will adjust these in editing software. However, setting Color to Flat or Natural gives you a better preview of what the raw data actually captured.
Field of View Options
The Wide field of view is the default choice for underwater photography. It captures the most scene and works well for expansive reef shots and large marine life. The distortion at the edges can actually add a sense of immersion to underwater images.
Linear field of view removes the fisheye distortion but also crops the image, effectively reducing your resolution. Use Linear when you want straight lines to appear straight, such as when photographing shipwrecks or underwater structures.
Narrow field of view provides the most zoomed-in perspective. This works for subjects that are farther away, but remember that water reduces clarity with distance. Getting closer is almost always better than zooming in underwater.
Burst Mode for Action
When photographing fast-moving marine life, burst mode is your friend. Set your GoPro to capture 10-30 photos in rapid succession. This increases your chances of getting at least one perfectly timed shot. I use burst mode for dolphins, sharks, and schooling fish that move unpredictably.
SuperPhoto mode attempts to optimize settings automatically for each shot. While convenient, it does not always make the best choices underwater. I prefer manual control for consistent, predictable results.
Understanding White Balance Underwater
White balance is perhaps the most important concept to understand for underwater photography. Water filters light differently than air, and this filtering effect increases with depth. Without correction, your underwater photos and videos will have a strong blue or green color cast.
Why Colors Change Underwater
As sunlight enters water, different wavelengths are absorbed at different rates. Red light is absorbed first, disappearing completely by about 15 feet. Orange follows, then yellow. Blue and green light penetrate deepest, which is why underwater scenes appear predominantly blue or green.
This is why a red fish at 30 feet might appear gray or brown to your eyes. The red light simply does not reach that depth. Your camera records what is actually there, not what your brain expects to see. This creates the classic underwater color problem.
Manual White Balance Solutions
Setting white balance manually tells your camera what white looks like in your current lighting conditions. The camera then adjusts all colors accordingly. For underwater use, you will typically set white balance to higher Kelvin values than you would on land.
At the surface, daylight is around 5500K. Underwater, you might need 6500K or higher to restore warm colors. Some photographers carry a white or gray card to set custom white balance, though this is more practical for planned shots than for general diving.
Filters vs Video Lights
Red filters work by blocking some of the blue and green light that dominates underwater. This forces the camera to use longer exposures, bringing out warmer colors. Filters work best in bright conditions at moderate depths. They are simple to use and require no batteries.
Video lights provide actual illumination that restores the full color spectrum. Lights work at any depth and in any ambient light condition. They are essential for night diving and very deep dives. The downside is cost, bulk, and battery management.
For most recreational diving, a combination works well. Use a red filter for ambient light shots and add video lights for close-up work where you want maximum color saturation.
Depth-Specific Settings Guide
Different depths require different approaches. The lighting conditions at 10 feet are vastly different from those at 60 feet. Here is a practical guide to settings at various depths.
Shallow Water (0-15 Feet)
Snorkeling and shallow free diving offer the best natural light conditions. You can use lower ISO settings and faster shutter speeds. Set white balance between 4800K and 5200K. A red filter is usually not necessary at these depths unless you are shooting in very blue water.
This is the ideal depth range for beginners to practice. You have plenty of light, colors are still visible, and you can easily return to the surface if something goes wrong. Master these conditions before attempting deeper dives.
Mid-Depth (15-30 Feet)
As you descend, red light disappears and the scene becomes increasingly blue. Increase your white balance to 5200K-5800K. Consider adding a red filter if you are shooting video. For photos, you can correct more in post-processing when shooting RAW.
At these depths, start paying attention to your ISO. You may need to increase the maximum to 800 or 1000 to maintain proper exposure. Watch your histogram if available, or review test shots to ensure you are not underexposing.
Deep Water (30+ Feet)
Deep diving presents the most challenging lighting conditions. Colors are severely muted, and ambient light levels are low. Set white balance to 5800K-6500K or higher. Video lights become almost essential for good color at these depths.
Accept that some noise is inevitable and focus on capturing interesting subjects and compositions rather than perfect technical quality. The unique scenes available at depth, such as deep wrecks and pelagic marine life, make these challenges worthwhile.
Shooting Techniques for Better Underwater Shots
Even with perfect settings, your technique determines whether your footage succeeds or fails. These techniques took me years to develop, and they will immediately improve your underwater imagery.
Respect the Minimum Focus Distance
The GoPro’s minimum focus distance is about 12 inches (30 cm). Anything closer than this will be blurry. This is the most common mistake I see new underwater shooters make. They try to get too close to small subjects, resulting in soft, disappointing images.
Instead, maintain at least 12 inches between your camera and subject. For small marine life, this means you need to be a bit farther away than your instincts suggest. If you want to fill the frame with a small subject, consider adding a macro lens attachment that reduces the minimum focus distance.
Stabilize Your Camera
Water movement makes stable shooting difficult. Even small currents translate into shaky footage. The solution is a proper handle or mount. A simple floating grip gives you something solid to hold and keeps the camera from sinking if you drop it.
For the steadiest shots, use two hands and brace your elbows against your body. Move slowly and deliberately. The smoothest underwater videographers barely seem to move at all. Their footage looks like floating through space rather than swimming.
Move Slowly and Smoothly
Fast movements create turbulence that scares marine life and produces blurry footage. Move at about half the speed you think is necessary. When changing direction, do so gradually. Think of your camera as a slow-moving observer rather than an action sports device.
For video, plan your shots before you start recording. Position yourself, start the camera, then execute a smooth pass by your subject. Stop recording, reposition, and repeat. This produces much better footage than swimming around with the camera constantly running.
Composition Underwater
Basic composition rules apply underwater, but with some modifications. The rule of thirds still works, but remember that the surface often creates a natural horizon line. Shooting up toward the surface can create dramatic silhouettes and shows marine life in its environment.
Get low and shoot upward whenever possible. This separates your subject from the background and creates a more engaging perspective. Shooting down shows the subject against the reef or sand, which is often cluttered and less interesting.
Get Close to Your Subject
Water reduces clarity and color with every foot of distance between you and your subject. The best underwater photographers are also excellent divers who can approach marine life closely without disturbing it. This skill takes practice but pays dividends in image quality.
Fill the frame with your subject while staying outside the minimum focus distance. The less water between you and your subject, the clearer and more colorful your images will be.
Essential Underwater GoPro Accessories
While a bare GoPro can capture great underwater footage, a few key accessories dramatically improve your results. Here are the additions I consider essential.
Red Filters
A red filter is the single most impactful accessory for underwater video. It screws onto the front of the housing or lens port and blocks excess blue and green light. Use red filters below 15 feet when shooting without lights. Remove them when using video lights or shooting in very shallow water.
Different filter strengths exist for different water types and depths. Pink or magenta filters work better in green water. Standard red filters are ideal for blue tropical water.
Underwater Housing
While newer GoPros are waterproof to 33 feet, a dedicated housing offers several advantages. It protects the camera from impacts, allows deeper diving, and provides mounting points for lights and handles. For scuba diving below 30 feet, a housing is essential.
Look for housings with flat lens ports rather than domed ones. Flat ports work better with the GoPro’s fixed focus and produce sharper images. Make sure the housing has easily accessible buttons for the shutter and mode controls.
Video Lights and Dive Lights
Video lights restore the full color spectrum at any depth. For close-up work and macro photography, a single light may suffice. For wide-angle scenes, consider dual lights positioned on either side of the camera for even illumination.
Choose lights with at least 1000 lumens output for video use. Still photography requires less light since you can use longer exposures. Dive lights designed for navigation are usually too focused for video use.
Macro Lenses and Close-Up Attachments
Add-on macro lenses reduce the minimum focus distance, allowing you to capture small subjects like nudibranchs and coral polyps. These attach to the front of your housing with a flip mount so you can switch between macro and wide-angle shots during a dive.
Close-up lenses are different from true macro lenses. They provide moderate magnification and work well for fish portraits. True macro lenses offer higher magnification for tiny subjects.
Dome Ports for Split Shots
Split-level photography, also called over-under shots, captures both the underwater scene and the above-water environment in one frame. A dome port makes this possible by placing the lens at the waterline in a way that minimizes droplets on the above-water portion.
These shots are challenging but rewarding. They work best in calm water with good visibility. Practice in a pool before attempting them in the ocean.
Handles, Grips, and Poles
A good handle improves stability and gives you a secure grip on your camera. Floating grips prevent the camera from sinking if released. Longer poles help you reach subjects without getting too close, which is useful for shy marine life.
I use a simple floating grip for most dives and a longer pole for situations where I cannot approach closely. Both fit easily in a dive bag.
Troubleshooting Common Problems
Even experienced underwater shooters encounter problems. Here are solutions to the most common issues you will face.
Fogging Inside the Housing
Fogging occurs when warm moist air inside the housing condenses on the cold lens port. Prevention is the best solution. Always use anti-fog inserts inside your housing. Store your housing in a cool, dry place before diving. If possible, seal the housing in an air-conditioned environment with low humidity.
If fogging occurs during a dive, there is little you can do underwater. Some divers carry a spare housing and swap cameras between dives. Others accept the foggy footage and try to salvage what they can in post-processing.
Blurry or Out-of-Focus Shots
Blurry underwater photos usually have one of three causes: shooting too close (inside minimum focus distance), camera movement during exposure, or dirty lens port. Check your distance first. If you are beyond 12 inches, examine your technique for stability issues.
A dirty lens port creates soft images. Salt crystals, fingerprints, and even tiny bubbles can degrade image quality. Rinse your housing in fresh water after each dive and clean the lens port with a microfiber cloth.
Strong Blue or Green Color Cast
Color cast indicates incorrect white balance or lack of filtration. Review your footage or photos after a test dive. If everything appears too blue or green, adjust your white balance higher or add a color filter. Shooting in RAW format gives you more latitude for color correction in editing.
Battery Draining Too Quickly
Cold water and constant recording drain batteries fast. Always start with fully charged batteries. Turn off the camera when not actively shooting. Consider a battery bacpac for extended dive times. Carry spare batteries in a waterproof container.
Touchscreen Not Working Underwater
This is normal behavior. The capacitive touchscreen does not work when submerged. Pre-set all your settings before entering the water. Use the physical buttons on the camera or housing to start and stop recording. Some housings provide access to more buttons than others.
Marine Life Etiquette and Environmental Responsibility
Great underwater photography should never come at the expense of the marine environment. As underwater photographers, we have a responsibility to minimize our impact on the ecosystems we document.
Never touch, chase, or harass marine life. Getting a shot is not worth stressing an animal. Many marine species are sensitive to disturbance, and repeated harassment can cause them to abandon feeding or breeding areas.
Learn to dive well before focusing on photography. Good buoyancy control prevents you from accidentally damaging coral or stirring up sediment. The best underwater photographers are first and foremost skilled divers.
Respect marine protected areas and follow all local regulations. Some locations prohibit certain activities or require permits for underwater photography. When in doubt, ask local dive operators about guidelines.
How to Shoot Underwater Photos and Video with a GoPro
Let me summarize the key steps to successfully shooting underwater photos and video with a GoPro. This quick reference covers the essential workflow from preparation to shooting.
Step 1: Prepare your gear the night before. Charge all batteries, format memory cards, and test your housing seals. Pack anti-fog inserts and spares of everything critical.
Step 2: Set your camera settings before entering the water. For video, use 4K at 60fps, white balance manually set for your expected depth, ISO 100-800, Flat color profile, and HyperSmooth enabled. For photos, shoot RAW, ISO 100-400, Wide field of view, and Low sharpness.
Step 3: Enter the water carefully and let your camera acclimate to the temperature. Check for fogging before you start shooting.
Step 4: Maintain at least 12 inches from your subjects. Move slowly and smoothly. Shoot upward when possible. Get as close as you can while staying outside minimum focus distance.
Step 5: Review your footage between dives if possible. Adjust settings based on what you see. Look for exposure, color, and focus issues.
Step 6: Process your footage or photos with appropriate color correction and exposure adjustment. Underwater content almost always requires post-processing to look its best.
Frequently Asked Questions
How to take good underwater pictures with GoPro?
Set your GoPro to shoot RAW photos at ISO 100-400, use Wide field of view, and maintain at least 12 inches distance from subjects. Get close to your subject while respecting the minimum focus distance, shoot upward when possible, and use natural light or video lights for color. Always process RAW files with color correction to restore warm tones lost underwater.
How to make a GoPro underwater shot look better?
Use manual white balance set appropriately for your depth (higher Kelvin values at greater depths), add a red filter below 15 feet, use video lights for color restoration, and shoot in Flat color profile for maximum post-processing flexibility. Get close to subjects to minimize water between you and them, and always color correct your footage during editing.
How to take underwater photos and videos?
Prepare settings before entering the water since touchscreens do not work underwater. For video use 4K at 60fps with manual white balance and ISO 100-800. For photos shoot RAW with ISO 100-400. Move slowly and smoothly, maintain 12+ inches from subjects, and use video lights or filters for color correction. Always review and adjust settings between dives.
What are the best video settings for underwater?
The best underwater video settings are 4K resolution at 60fps for smooth motion and slow-motion options, manual white balance set to 5200K-6500K based on depth, ISO minimum 100 and maximum 800, Flat color profile, High bitrate, and HyperSmooth stabilization on Auto. Never use auto white balance as it causes constant color shifts underwater.
Final Thoughts
Shooting underwater photos and video with a GoPro rewards preparation and patience. The techniques in this guide will help you avoid common mistakes and capture footage that truly represents the beauty of the underwater world. Remember that great underwater photography is a combination of technical skill, diving ability, and respect for the marine environment.
Start in shallow water where conditions are forgiving. Practice your settings and technique until they become second nature. As your skills improve, venture deeper and tackle more challenging subjects. Every dive teaches you something new.
The underwater world is worth documenting well. With the right preparation, settings, and technique, your GoPro can capture images and video that rival dedicated underwater camera systems costing many times more. Get out there, dive safely, and bring back stunning footage from beneath the surface.