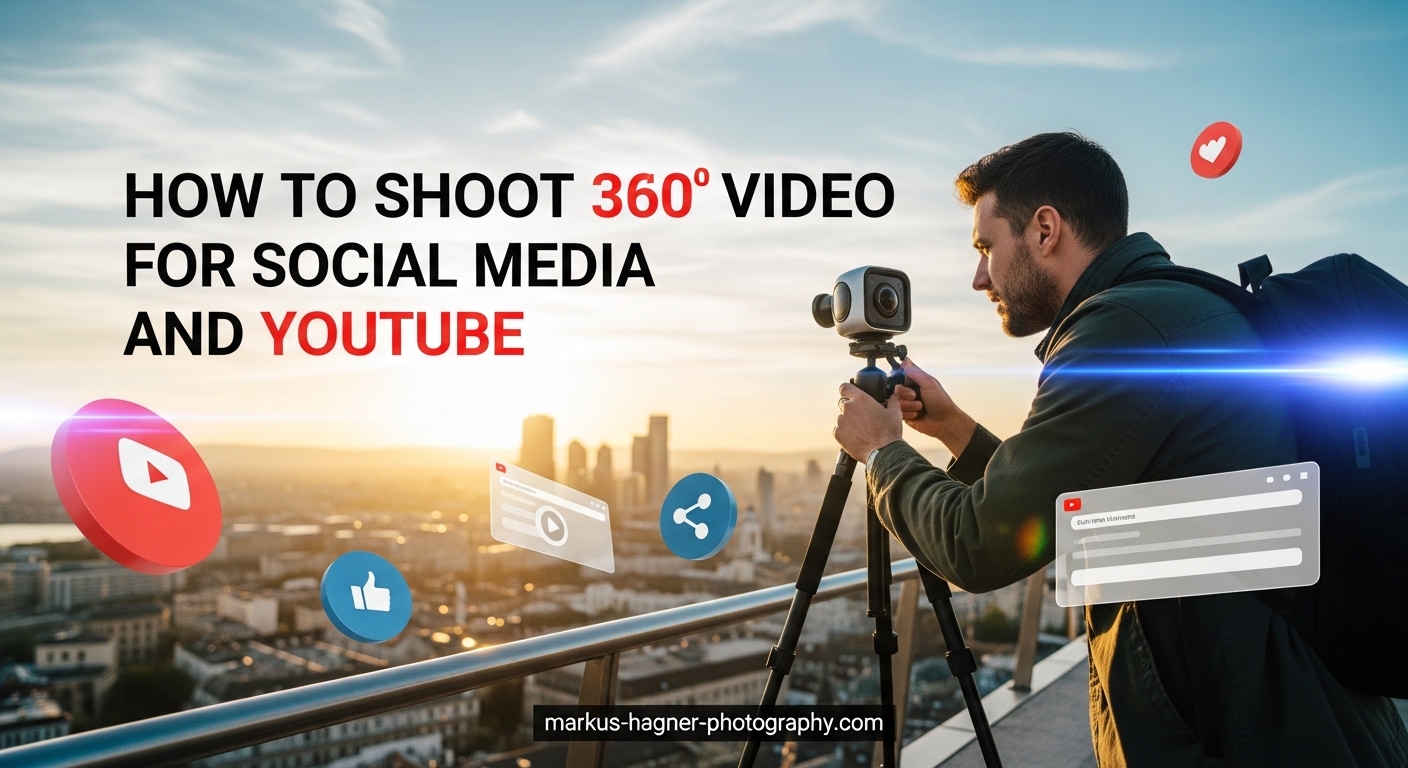
Learning how to shoot 360 video opens up an entirely new way to capture and share experiences with your audience. Unlike traditional video where you frame every shot, 360-degree video records everything happening around the camera in every direction simultaneously. Viewers can then explore the scene by dragging their screen or moving their phone, creating an immersive experience that puts them right in the middle of the action.
I have been shooting 360 video for several years now, and the technology has improved dramatically. What once required expensive professional equipment now fits in a compact camera you can hold in your hand. Whether you want to create travel vlogs, real estate virtual tours, or unique content for your YouTube channel, understanding the fundamentals of 360 video will help you produce footage that stands out on social media.
In this guide, I will walk you through everything you need to know about capturing, editing, and publishing 360 video across all major platforms. From choosing the right equipment to avoiding common mistakes that ruin footage, you will have a complete workflow by the end of this article.
What Equipment Do You Need to Shoot 360 Video?
Getting started with 360 video requires fewer pieces of equipment than you might expect. The core setup consists of a 360 camera, a mounting solution, and adequate storage for the large files these cameras produce.
360 Camera Options
The camera market has consolidated around a few excellent options that deliver professional-quality results without breaking the bank. Insta360 dominates the consumer and prosumer space with cameras like the X4, ONE RS, and GO series. These cameras offer excellent image stabilization, intuitive mobile apps, and robust software for post-processing. The GoPro Max remains a solid alternative, particularly if you already use GoPro accessories and want seamless integration with their ecosystem.
For beginners, I recommend starting with an Insta360 camera because their mobile app and desktop software make the entire workflow smoother. The automatic stitching and reframing tools save hours of editing time compared to older methods.
Mounts and Support Gear
Your mounting choice significantly impacts the final video quality. A monopod or invisible selfie stick is essential for most 360 shooting scenarios. These mounts extend from the camera base, allowing the software to erase them from the final footage, creating the illusion that the camera is floating. Tripods work well for stationary shots like real estate tours or product demonstrations where you want the camera to remain perfectly still.
When choosing a mount, look for one specifically designed for 360 cameras. Standard selfie sticks often appear in the frame because they extend from the side rather than below the lens array.
Memory Cards and Storage
360 video files are massive compared to standard footage. A single minute of 5.7K 360 video can consume 1-2GB of storage. I recommend using UHS-I V30 or faster memory cards with at least 128GB capacity. Always carry backup cards because you will fill them faster than expected.
For post-production, ensure your computer has adequate storage space. A typical 10-minute 360 project can easily exceed 50GB when you factor in raw footage, proxies, and export files.
7 Essential Tips for Shooting 360 Video
These seven tips form the foundation of capturing professional-looking 360 footage. I have tested these techniques across dozens of shoots, and they address the most common problems beginners encounter.
1. Keep the camera in the center of the action. Unlike traditional cameras where you frame subjects, 360 cameras work best when placed where a viewer would naturally stand. Position the camera where the experience happens, not off to the side observing it.
2. Maintain distance from subjects. Objects closer than 3 feet from the camera often appear distorted or cut off at stitch lines. Keep your main subjects at least 4-5 feet away for the most natural appearance.
3. Ensure even lighting across all directions. 360 cameras capture the entire sphere around them, so dramatic lighting differences between bright and dark areas cause exposure problems. Avoid positioning the camera where one side faces direct sun while the other is in deep shadow.
4. Minimize unnecessary camera movement. While modern 360 cameras have excellent stabilization, excessive shaking still degrades footage quality. Move smoothly and deliberately when walking with the camera.
5. Choose the right mount for each situation. Use a monopod for walking shots, a tripod for stationary scenes, and specialized mounts for activities like skiing or cycling. The wrong mount can ruin otherwise perfect footage.
6. Always be aware of stitch line positions. Every 360 camera has specific angles where the lenses meet and images combine. Avoid placing important subjects in these zones, as they may appear distorted or partially invisible.
7. Match resolution and frame rate to your needs. Shoot 5.7K or higher for detailed scenes you plan to reframe in post. Use 60fps or higher for action sequences to maintain smooth motion when viewers explore the footage.
How to Shoot 360 Video: Step-by-Step Workflow
Following a consistent workflow ensures you capture the footage you need without technical problems derailing your shoot. Here is the process I use for every 360 project.
Step 1: Pre-Shoot Preparation
Before heading out, format your memory cards in the camera rather than your computer. This ensures compatibility and reduces the chance of write errors during shooting. Check that your batteries are fully charged and pack spares. 360 cameras drain batteries quickly, especially when shooting in higher resolutions.
Scout your location if possible. Note where the light falls throughout the day and identify any areas with extreme brightness differences that could cause exposure challenges.
Step 2: Configure Camera Settings
For most situations, I recommend these starting settings: 5.7K resolution at 30fps for standard content, or 5.7K at 60fps for action sequences. Set color profile to standard unless you plan extensive color grading in post. Enable FlowState stabilization and horizon leveling if your camera supports them.
Indoor shoots require different considerations. Lower light means higher ISO settings, which introduces grain. If possible, add lighting or shoot during daytime when natural light streams through windows.
Step 3: Position and Shoot
Mount your camera and position it at roughly head height for a natural viewing perspective. Walk around the camera to verify your planned subjects fall outside the stitch zones. Start recording a few seconds before your main action begins to give yourself editing flexibility.
When moving with the camera, walk with your knees slightly bent to absorb shock. Keep your movements smooth and avoid sudden direction changes that can disorient viewers.
Step 4: Post-Shoot File Management
Back up your footage immediately after shooting. Create a folder structure that separates raw footage from working files and exports. Label clips with location and date to avoid confusion later when you have hundreds of files.
Common Mistakes to Avoid When Shooting 360 Video (2026)
Even experienced videographers make these errors when transitioning to 360. Understanding these pitfalls helps you avoid wasted shoots and frustration.
Stitch Line Problems
The most visible mistake in amateur 360 video is subjects appearing cut off or distorted at stitch lines. These are the angles where the camera combines images from different lenses. The problem worsens with closer subjects because the parallax effect increases. Always check your camera’s documentation for stitch line positions and keep important subjects at least 30 degrees away from these zones.
Subjects Too Close to Camera
360 cameras have a minimum focus distance, and objects closer than this appear blurry or distorted. More importantly, close subjects exaggerate the parallax effect between lenses, creating jarring visual artifacts. The general rule is maintaining at least 4 feet between the camera and any person or object you want to look natural.
Uneven Lighting
Because 360 cameras capture in all directions simultaneously, they cannot expose optimally for both bright and dark areas. A camera positioned with bright windows on one side and a dark interior on the other will produce compromised footage. Either add lighting to dark areas or reposition to balance the exposure across the sphere.
Excessive Camera Movement
While stabilization technology has improved dramatically, it cannot fix every movement issue. Fast walking, running, or vehicle travel over rough terrain creates jarring footage that makes viewers uncomfortable. When moving is necessary, slow down and use proper technique.
Horizon Leveling Issues
Tilted horizons are more noticeable in 360 video because viewers can look in any direction. What appears as a slight tilt becomes obvious when someone pans across the scene. Most modern cameras include automatic horizon leveling, but you should still strive to mount the camera level when shooting.
How to Edit 360 Video for Best Results In 2026?
Editing 360 video differs significantly from traditional video editing. Understanding these differences helps you produce polished final content.
Understanding the Stitching Process
Raw 360 footage comes from the camera as two or more separate video streams from each lens. Stitching software combines these into a single equirectangular projection that represents the entire spherical view as a flat image. Most modern cameras stitch in-camera, but higher-quality results often come from desktop software like Insta360 Studio or Adobe Premiere Pro with 360 plugins.
Reframing and Overcapture
One of the most powerful features of 360 video is the ability to reframe your shot during editing. You can export traditional flat video from your 360 footage, choosing what the viewer sees at any moment. This technique, sometimes called overcapture, lets you capture once and create multiple final videos with different framings.
The key to effective reframing is planning your camera placement with the final framing in mind. Position subjects where they will look good when you extract that portion of the sphere.
Export Settings and Quality
Export settings significantly impact both quality and file size. For YouTube, export at the highest resolution your source footage supports, typically 4K or higher for 360 content. Use the H.264 or H.265 codec with a bitrate between 50-80 Mbps for 4K output. Higher bitrates preserve detail but create larger files.
Always ensure your export includes the correct 360 metadata. Without this metadata, platforms like YouTube will not recognize the video as 360 and will display it as a distorted flat image.
360 Metadata Injection
360 videos require specific metadata that tells platforms how to display them. This metadata includes the projection type (typically equirectangular) and whether the video is monoscopic or stereoscopic. Most editing software adds this automatically when you select 360 export options. If your video does not display correctly on platforms, use a metadata injection tool like the 360 Video Metadata App from Google to add the required information.
Platform-Specific Upload Guide for 360 Video
Each social media platform handles 360 video differently. Understanding these differences ensures your content displays correctly and reaches the maximum audience.
YouTube 360 Video Requirements
YouTube offers the most robust 360 video support of any major platform. Your video must include proper 360 metadata for YouTube to recognize and display it correctly. Supported formats include MP4, MOV, and AVI with H.264 or VP9 codecs. YouTube supports resolutions up to 8K for 360 content, though 4K remains the practical standard for most creators.
Upload requirements include: equirectangular projection, monoscopic or stereoscopic 3D, spatial audio support, and proper metadata injection. After upload, YouTube typically takes several minutes to process the 360 version, during which the video may appear as a flat distorted image.
For best results on YouTube, create a custom thumbnail from your reframed footage rather than letting YouTube choose a frame from the equirectangular source. A compelling thumbnail significantly improves click-through rates.
Facebook 360 Video Specifications
Facebook supports 360 video but with more limitations than YouTube. Maximum resolution is 4K, and file size limits are stricter. Facebook also requires the metadata to be embedded in the file before upload.
Facebook displays 360 video in the news feed where users can drag to explore or tilt their phone to look around. The platform automatically generates a 360 indicator on the video so viewers know they can interact with it. For best results, keep your 360 videos on Facebook under 3 minutes, as longer content sees lower engagement in the feed format.
Instagram 360 Video Considerations
Instagram’s support for true 360 video is limited. The platform does not support interactive 360 viewing in the traditional sense. Instead, most creators post reframed content extracted from their 360 footage, often with creative camera movements that would be impossible with a standard camera.
For Instagram, export your 360 footage as standard 16:9 or 9:16 video with the reframed content. You can create dynamic content by animating the view direction during export, simulating camera movements that draw attention to different parts of the scene.
TikTok 360 Video Basics
TikTok currently does not support native 360 video playback. Creators on this platform exclusively use reframed exports from their 360 footage. The creative possibilities of 360 cameras still make them valuable for TikTok content because you can capture everything happening around you and choose the best angles later.
The invisible selfie stick effect works particularly well for TikTok content, creating a floating camera perspective that would be impossible with traditional cameras.
Thumbnail Best Practices for 360 Videos
Thumbnails for 360 videos require special consideration because the raw footage looks distorted in its equirectangular form. Never use the raw equirectangular frame as your thumbnail. Instead, export a reframed shot that shows your subject clearly without distortion.
Include text overlays or graphics that indicate the video is 360 content. Many viewers may not realize they can interact with the video without this visual cue. The thumbnail should represent the most compelling moment or view in your footage.
SEO Tips for 360 Videos
Optimizing 360 video for search follows similar principles to regular video SEO with a few additions. Include 360, 360-degree, VR, or virtual reality in your title and description. These terms signal to both search engines and viewers that your content offers an immersive experience.
Write detailed descriptions that explain what viewers will experience. Because 360 video captures everything, you have more content to describe than with traditional framed video. Mention specific landmarks, activities, or moments that make your video worth watching.
Frequently Asked Questions
Can I put 360 videos on YouTube?
Yes, YouTube fully supports 360-degree video. Upload your video with proper 360 metadata and YouTube will automatically recognize it as immersive content. Viewers can then drag their screen or move their device to look around in any direction. YouTube supports up to 8K resolution for 360 content, making it the best platform for sharing high-quality immersive video.
How to make a 360-degree video on YouTube?
To create a 360 video for YouTube, you need a 360 camera like an Insta360 or GoPro Max. Shoot your footage keeping subjects at least 4 feet from the camera, edit in software that supports 360 video, and export with proper 360 metadata embedded. Upload the file to YouTube like any other video, and the platform will process it as interactive 360 content within a few minutes.
Is Insta360 good for YouTube videos?
Insta360 cameras are excellent for YouTube content, especially for creators who want to capture immersive experiences or have the flexibility to reframe shots in post-production. The X4 and ONE RS models offer 5.7K resolution, excellent stabilization, and user-friendly software that makes producing YouTube-ready content straightforward. Many successful travel and adventure YouTubers use Insta360 cameras as part of their production toolkit.
Can you use a 360 camera for vlogging?
360 cameras work well for vlogging, particularly for travel and adventure content. The ability to capture everything around you means you never miss a moment, and you can choose your framing during editing. The invisible selfie stick effect creates unique perspectives impossible with traditional cameras. The main limitation is that close-up talking head shots do not work well due to minimum focus distance and stitch line issues, so you may want to supplement with a standard camera for those segments.
Conclusion
Shooting 360 video for social media and YouTube combines technical knowledge with creative storytelling in a unique way. The technology has matured to the point where anyone can produce professional-looking immersive content without a massive budget or years of training. The key is understanding how 360 cameras differ from traditional cameras and adapting your techniques accordingly.
Remember the fundamentals: keep your camera in the action, maintain distance from subjects, ensure even lighting, and always be aware of stitch line positions. Master these basics before attempting advanced techniques like the invisible selfie stick effect or complex reframing projects.
Start with short projects to build your skills before tackling ambitious shoots. Each 360 video you create teaches you something new about camera placement, movement, and the unique possibilities of immersive storytelling. With practice, you will develop an intuition for what works and what does not, allowing you to create increasingly compelling content that stands out in the crowded social media landscape of 2026.