Removing unwanted objects from photos used to mean hours of careful clone stamping and healing brush work. I remember spending entire afternoons cleaning up power lines from landscape shots or strangers from tourist photos. Photoshop changed everything with its AI-powered removal tools, and learning how to remove unwanted objects from photos using Photoshop Generative Remove has saved me countless hours of editing time.
In this guide, I’ll walk you through both the Remove Tool and Generative Fill methods for object removal. These two tools work differently, and knowing when to use each one makes a huge difference in your results. By the end, you’ll be able to clean up distractions, remove people, and erase unwanted elements from your photos with professional results.
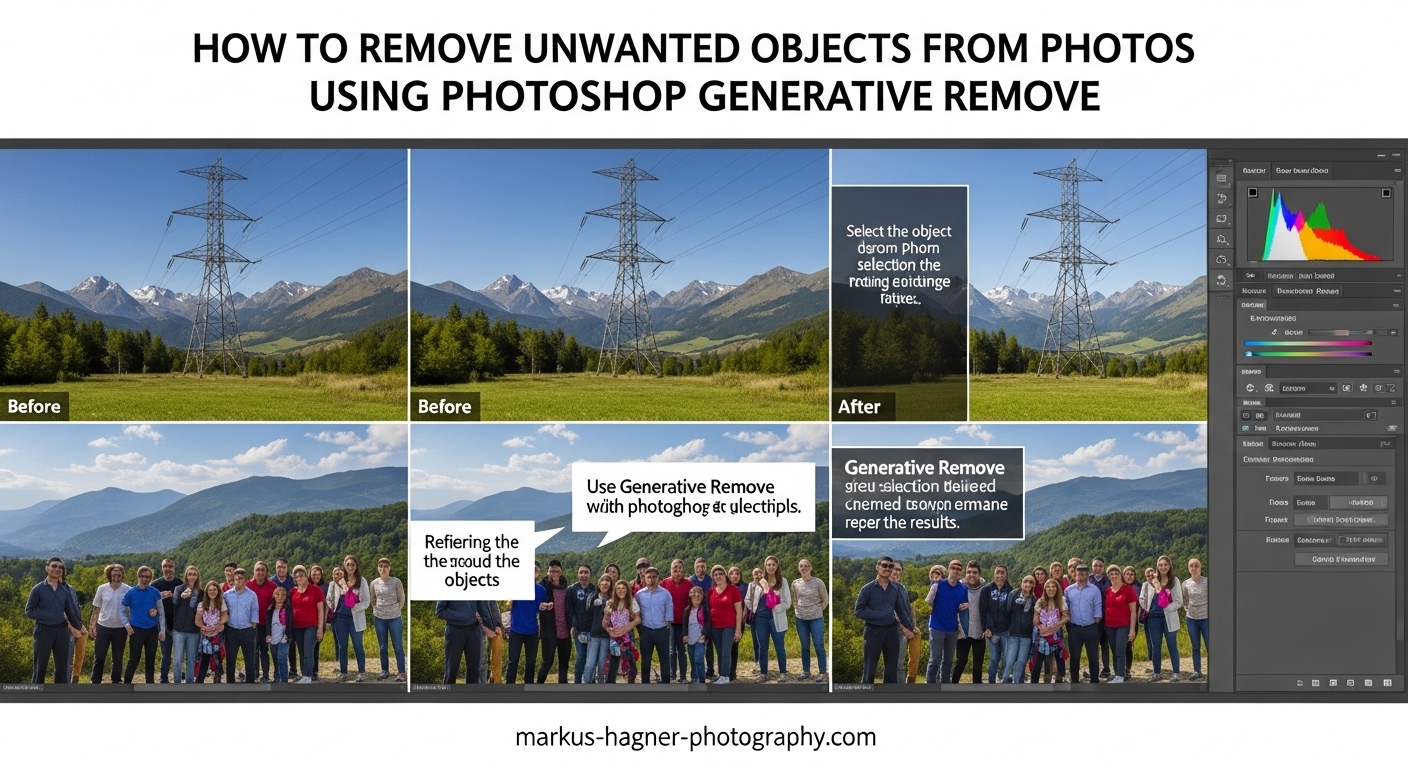
What is Photoshop Generative Remove
Photoshop Generative Remove refers to the AI-powered object removal features built into modern Photoshop. The technology uses Adobe Firefly, Adobe’s generative AI model, to analyze your image and intelligently fill in areas where you remove objects. There are two main tools for this purpose: the Remove Tool and Generative Fill.
The Remove Tool (the bandage icon in your toolbar) uses local AI processing to detect and remove small objects automatically. It works great for wires, cables, and small distractions. The tool analyzes surrounding pixels and generates replacement content that blends seamlessly with your image.
Generative Fill takes a different approach. It uses cloud-based AI to generate entirely new content based on your selection and any prompt you provide. When you want to remove objects, you simply leave the prompt blank and let the AI figure out what should replace the selected area. This works particularly well for larger objects or complex backgrounds.
Understanding Generative Credits
Here’s something that confuses many photographers: the Remove Tool does not use Generative Credits. It runs entirely on your computer using local processing. Generative Fill, however, does consume credits because it sends your image to Adobe’s cloud servers for processing. Adobe gives you a monthly allocation of credits with your Creative Cloud subscription, and they refresh each billing cycle.
This distinction matters for your workflow. If you’re working on a project with many small cleanups, the Remove Tool lets you work freely without watching your credit count. For complex removals that need Generative Fill, plan your edits to use credits efficiently.
How to Use the Remove Tool in Photoshop
The Remove Tool should be your first choice for most object removal tasks. It’s fast, works offline, and produces excellent results for small to medium-sized objects. I’ve used it to remove everything from power lines across mountain landscapes to stray tourists in city shots.
Finding the Remove Tool
You’ll find the Remove Tool nested with the Spot Healing Brush and Patch Tool in your toolbar. Look for the bandage icon, or press J on your keyboard to cycle through the healing tools until you see it. The icon shows a bandage with a small dotted line, distinguishing it from the standard healing brush.
When to Use the Remove Tool
The Remove Tool excels at removing small to medium objects with relatively simple backgrounds. Use it for:
- Wires and cables crossing your image
- Small background distractions
- Sensor dust spots
- Small groups of people in the distance
- Pimples and blemishes in portraits
- Trash or debris on the ground
Step-by-Step Remove Tool Tutorial
Step 1: Open your image and duplicate the background layer. Right-click your background layer and select Duplicate Layer. This creates a non-destructive workflow where you can always revert to the original.
Step 2: Select the Remove Tool from the toolbar. Press J to cycle to it, or click and hold the healing brush icon to reveal the Remove Tool.
Step 3: Adjust your brush size. Use the bracket keys [ and ] to resize your brush. Make it slightly larger than the object you want to remove for best results.
Step 4: Paint over the object you want to remove. Click and drag to cover the unwanted element completely. Release your mouse button and watch Photoshop work its magic.
Step 5: Review the result and undo if needed. If the removal doesn’t look right, press Ctrl+Z (Cmd+Z on Mac) to undo and try again. Sometimes painting in a different direction produces better results.
Step 6: Repeat for additional objects. The Remove Tool remembers your previous edits, so it often improves as you work on multiple objects in the same image.
Remove Tool Options
The Options Bar at the top gives you several useful controls. The Sample All Layers checkbox lets you work on a separate layer while sampling from all visible layers below. This is essential for non-destructive editing. Create a new blank layer, check Sample All Layers, and all your removals happen on that separate layer.
The Remove after each stroke option determines whether Photoshop processes your edit immediately or waits until you finish a complete brush stroke. I usually keep this enabled for faster feedback.
Using the Find Distractions Feature
Photoshop 2026 includes a handy feature called Find Distractions. Click the Find Distractions button in the contextual task bar (the floating bar that appears when you select the Remove Tool). Photoshop analyzes your image and highlights potential distractions like wires, people in the background, or other unwanted elements.
Click on any highlighted area to remove it instantly. This feature saves time when you’re not sure what needs cleaning up, and it often catches things you might have missed.
How to Use Generative Fill to Remove Objects
Generative Fill offers more power for complex removals. When the Remove Tool struggles with large objects or intricate backgrounds, Generative Fill steps in with its cloud-based AI processing. The key is understanding how to make selections that produce removal rather than replacement.
When to Use Generative Fill
Switch to Generative Fill when you need to remove:
- Large objects taking up significant portions of the frame
- People or objects against complex, textured backgrounds
- Elements where the surrounding area needs intelligent reconstruction
- Objects at the edge of your frame
The Selection Shape Secret
Here’s the most important tip I can share about Generative Fill: the shape of your selection matters enormously. Many photographers make tight selections around the object they want to remove, but this often causes the AI to generate a replacement object instead of removing it.
When you make a tight selection, the AI sees an object-shaped hole and tries to fill it with something similar. A loose selection that includes some surrounding background gives the AI more context. It understands you want that entire area to become background, not just filled with something new.
I learned this the hard way after countless frustrating attempts where Generative Fill kept replacing people with… other people. Making my selection loose and irregular fixed the problem immediately.
Step-by-Step Generative Fill Tutorial
Step 1: Select the object you want to remove. Use the Lasso Tool, Object Selection Tool, or any selection method you prefer. Remember to make a loose selection that extends beyond the object’s edges.
Step 2: Open the Contextual Task Bar. If it’s not visible, go to Window > Contextual Task Bar. You’ll see the Generative Fill option appear when you have an active selection.
Step 3: Click Generative Fill and leave the prompt blank. This is crucial. Don’t type anything in the prompt field. An empty prompt tells the AI to remove the selected content and fill it with appropriate background.
Step 4: Click Generate. Photoshop sends your image to Adobe’s servers for processing. This takes a few seconds depending on your internet connection.
Step 5: Review the three variations. Generative Fill creates three different results. Click through them in the Properties panel to choose the best one. You can also generate more variations if none work well.
Step 6: Commit to your choice. Once you find a variation you like, click elsewhere or press Enter to commit. The edit appears on a new layer, keeping your original intact.
Why Generative Fill Sometimes Adds Instead of Removes
If Generative Fill keeps generating new objects instead of removing the old one, check your selection. A tight selection that hugs the object’s outline is usually the culprit. Expand your selection outward by 20-30 pixels using Select > Modify > Expand, then try again.
Another common issue: your selection might include part of a recognizable object type. If you’re trying to remove a person but your selection looks person-shaped, the AI interprets this as “fill this person-shaped area with a person.” Expanding and making the selection more irregular solves this.
Generative Fill and Resolution
Generative Fill has resolution limitations you should know about. The AI processes selections at a maximum of around 1024 pixels. If you’re working with high-resolution images from modern cameras, large selections might produce lower-resolution results than the surrounding image.
For high-res work, I recommend making smaller selections and processing your removal in sections. This maintains better quality throughout. Alternatively, complete your removal, then use traditional tools like the Clone Stamp to touch up any obvious quality differences.
Remove Tool vs Generative Fill: When to Use Each
Choosing between these tools becomes second nature once you understand their strengths. Here’s a quick comparison to help you decide:
| Feature | Remove Tool | Generative Fill |
|---|---|---|
| Processing | Local (your computer) | Cloud-based (Adobe servers) |
| Internet Required | No | Yes |
| Uses Credits | No | Yes |
| Best For | Small objects, wires, spots | Large objects, complex backgrounds |
| Selection Style | Paint directly over object | Loose selection with margin |
| Speed | Instant | Few seconds per edit |
| Quality Control | Single result | Three variations to choose from |
My Typical Workflow
I start with the Remove Tool for quick cleanups. If I’m editing a landscape with power lines or a portrait with background distractions, the Remove Tool handles 80% of my object removal needs. It’s fast, works offline, and doesn’t touch my credit allocation.
When I need to remove something substantial, like an entire person from a group shot or a car from a street scene, I switch to Generative Fill. The ability to choose from multiple variations often produces better results for complex situations.
For the toughest cases, I combine both tools. I might use Generative Fill for the main removal, then clean up edges with the Remove Tool. This hybrid approach gives me the best of both worlds.
Troubleshooting Common Problems
Even with great tools, things don’t always go smoothly. Here are the most common problems I encounter and how to fix them.
Generative Fill Adds Objects Instead of Removing Them
This is the most frustrating issue, and it’s almost always a selection problem. Remember: loose selections work better than tight ones. Expand your selection outward and make it irregular rather than following the object’s outline precisely. Also ensure your prompt field is completely empty before clicking Generate.
Remove Tool Not Working
If the Remove Tool produces no results or strange artifacts, check a few things. First, make sure you’re working on the correct layer. The tool only affects the active layer unless Sample All Layers is enabled. Second, verify your brush is large enough to cover the object. Third, try a different area of the image to see if the problem is specific to that location.
Some users report the Remove Tool behaving erratically in certain Photoshop versions. If problems persist, try resetting the tool by right-clicking the tool icon in the Options Bar and selecting Reset Tool.
Low Resolution Results from Generative Fill
Large selections on high-resolution images can produce lower-quality output. Break your removal into smaller chunks rather than selecting a huge area at once. You can also process the image at a lower resolution, then upscale, though this isn’t ideal for professional work.
A better approach: complete your removal with Generative Fill, then use traditional retouching tools to blend the edges and fix any obvious quality mismatches. The Clone Stamp and Healing Brush still have their place in modern editing.
Results Look Artificial or Blurred
AI removal sometimes produces textures that don’t quite match the surrounding image. When this happens, I use a combination of techniques to improve the result. First, try a different variation if you’re using Generative Fill. Second, use the Clone Stamp at low opacity to blend edges. Third, consider using the Patch Tool to borrow texture from nearby areas.
Combining Tools for Difficult Removals
The most challenging removals often require multiple tools. I recently edited a photo where I needed to remove a person walking through a complex architectural background. Generative Fill handled most of it but left some awkward edges. I followed up with the Remove Tool for those edge areas, then finished with light Clone Stamp work to perfect the texture match.
Don’t feel locked into one tool. Think of them as a toolkit where you pick the right tool for each specific part of your edit.
Frequently Asked Questions
How to remove unwanted things from an image in Photoshop?
Use the Remove Tool for small objects like wires and spots, or Generative Fill for larger objects. Select the unwanted element, apply the tool, and let Photoshop’s AI intelligently fill in the background. The Remove Tool works best for quick cleanups, while Generative Fill handles complex removals requiring intelligent background reconstruction.
Which Photoshop tool is used to manually remove unwanted parts of an image?
Photoshop offers several tools for manual removal: the Remove Tool (bandage icon) for automatic AI-powered removal, the Spot Healing Brush for small blemishes, the Clone Stamp Tool for copying pixels from one area to another, the Patch Tool for larger areas, and Content-Aware Fill for complex backgrounds. The Remove Tool and Generative Fill represent the modern AI-powered options.
Does the remove tool in Photoshop use generative credits?
No, the Remove Tool does not use Generative Credits. It processes images locally on your computer using built-in AI capabilities. Only Generative Fill consumes credits because it sends your image to Adobe’s cloud servers for processing. This makes the Remove Tool ideal for projects requiring many small cleanups without worrying about credit limits.
How to cut out unwanted parts of a photo in Photoshop?
Use a selection tool like the Lasso, Object Selection, or Quick Selection tool to outline the unwanted area. For removal, make a loose selection that extends beyond the object’s edges. Then apply the Remove Tool by painting over the selection, or use Generative Fill with a blank prompt. The AI will remove the selected content and fill it with appropriate background.
Conclusion
Learning how to remove unwanted objects from photos using Photoshop Generative Remove transforms your editing workflow. The Remove Tool handles quick cleanups without touching your credit allocation, while Generative Fill tackles the complex removals that used to require hours of manual work.
Remember the key insights: use the Remove Tool for small objects and Generative Fill for large ones, make loose selections when using Generative Fill to avoid replacement instead of removal, and don’t hesitate to combine tools for difficult edits. These AI-powered features have become essential parts of my photography toolkit, and they’ll save you countless hours of retouching time.
Start with the Remove Tool on your next editing session. Once you see how quickly it handles wires, spots, and small distractions, you’ll wonder how you ever managed without it. Then experiment with Generative Fill for those bigger challenges, and you’ll have a complete object removal workflow that handles anything your photos throw at you.