When I first started photography, I left my camera on its default settings for years. Matrix metering handled most situations fine, but I kept getting frustrating results with backlit portraits and high-contrast landscapes. The faces were silhouettes. The snow was gray. Then I discovered how camera metering modes work, and suddenly I could control exposure in any lighting situation.
Understanding metering modes transformed my photography. Instead of hoping the camera would guess correctly, I learned to tell it exactly what I wanted. In this guide, I will explain each metering mode, when to use it, and share practical tips from my 15 years behind the lens.
What is Camera Metering?
Camera metering is how your camera measures the light in a scene to calculate the correct exposure settings. The built-in light meter reads reflected light bouncing off your subject and compares it to a standard reference point called 18% gray, also known as middle gray.
This 18% gray standard comes from the assumption that an average scene reflects about 18% of the light that hits it. Your camera tries to adjust shutter speed, aperture, or ISO so the scene matches this middle gray tone. Most of the time, this works well. But when your subject is much brighter or darker than average, the camera gets confused.
Snow scenes become gray instead of white. Black cats turn muddy gray. Backlit subjects become silhouettes. Understanding this fundamental limitation of reflected light metering explains why your camera sometimes gets exposure wrong.
The 18% Gray Concept Explained
Your camera does not actually know what it is photographing. It only sees light values. When you point it at a white wall, the meter says “this is too bright, I need to darken it.” Point it at a black wall, and it says “this is too dark, I need to brighten it.”
Both walls end up the same middle gray in your photo. This is why exposure compensation exists. You tell the camera, “No, this really is supposed to be white, add more light.” Or “This really is black, let less light in.”
Metering modes change how your camera samples light from different parts of the scene. Some look at the entire frame. Others focus on small areas. Choosing the right mode helps the camera make better initial exposure decisions.
Matrix Metering (Evaluative / Multi-Pattern)
Matrix metering divides your entire frame into multiple zones and analyzes the light in each one. The camera then compares this pattern to a database of thousands of reference scenes to determine the best exposure. Nikon calls this Matrix metering. Canon uses Evaluative metering. Sony, Fujifilm, and others use Multi-pattern or Multi-segment metering.
This is the smartest metering mode in modern cameras. The algorithms consider subject position, color, distance information from autofocus points, and even scene recognition. Recent cameras can identify faces, skies, and backlit situations automatically.
When to Use Matrix Metering
I use matrix metering about 85% of the time. It excels in:
Even lighting situations. Overcast days, open shade, and soft window light produce consistent results. The camera sees a balanced scene and exposes correctly.
General photography. Street photography, travel, and casual shooting benefit from letting the camera make quick decisions. You focus on composition while the camera handles exposure.
Landscapes with mixed lighting. When your scene contains both bright sky and darker foreground, matrix metering balances the exposure across all zones. It recognizes sky patterns and prevents overexposure.
Fast-moving subjects. Sports and wildlife photography often involve rapidly changing light. Matrix metering adapts instantly as your subject moves through different lighting conditions.
Matrix Metering Limitations
Despite its sophistication, matrix metering can struggle. Small bright objects against dark backgrounds may fool it. Think of a spotlight on a stage performer. The camera tries to balance the entire scene and may overexpose your main subject.
Extreme backlighting also causes problems. If your subject is in shadow while the background is bright sun, matrix metering averages everything and often underexposes the subject. This is when I switch to center-weighted or spot metering.
Center-Weighted Metering
Center-weighted metering reads light from the entire frame but gives 60-80% priority to the center area. The remaining 20-40% comes from the edges, which have less influence on the final exposure calculation. This mode assumes your main subject is somewhere near the middle of the frame.
Photographers used this mode extensively before matrix metering became sophisticated. It offers a middle ground between full-scene analysis and precise spot readings. Some cameras let you adjust the size of the center-weighted area in the menu settings.
When to Use Center-Weighted Metering
Center-weighted metering works best when your subject is centrally composed but the background lighting differs significantly.
Portraits with bright backgrounds. When photographing people against windows, bright walls, or sky, center-weighted metering prioritizes their face while still considering the background. The result is more predictable than matrix in these situations.
Street photography with high contrast. If you consistently place subjects in the center of your frame, center-weighted metering provides consistent exposure without the camera second-guessing based on background elements.
Concert and stage photography. Performers often stand in spotlights while the rest of the stage is dark. Center-weighted metering reads the lit performer while the dark surroundings have minimal impact.
Product photography. When your product fills most of the central frame, center-weighted metering gives you consistent readings without being influenced by the background setup.
Center-Weighted vs Matrix for Portraits
Many portrait photographers prefer center-weighted for consistent results. Matrix metering sometimes gets confused by bright clothing, light walls behind subjects, or reflective accessories. Center-weighted stays focused on the person.
However, modern face detection changes this equation. If your camera recognizes faces, matrix metering often prioritizes skin tones automatically. I still use center-weighted when shooting film or older digital bodies without face detection.
Spot Metering
Spot metering reads light from a very small area, typically 1-5% of the frame centered on your active autofocus point or the center of the viewfinder. This precision lets you measure specific tones in your scene and set exposure exactly where you want it.
Think of spot metering as pointing a handheld light meter at one specific area. Everything else in the frame is ignored. This makes spot metering the most precise mode, but also the one that requires the most skill to use correctly.
When to Use Spot Metering
Spot metering excels in challenging lighting where precise exposure matters more than convenience.
Backlit subjects. When your subject is in shadow against a bright background, spot metering lets you read light from their face only. The background will overexpose, but your subject will be properly exposed.
Small subjects in large frames. Bird photographers often face a small bird against a vast sky. Matrix or center-weighted metering reads mostly sky and underexposes the bird. Spot metering targets the bird directly.
High-contrast scenes. Scenes with extreme dynamic range benefit from spot metering the most important highlight where you want to preserve detail. This is the basis of the zone system approach to exposure.
Moon photography. The moon is essentially a bright object against black space. Spot metering reads the moon itself, giving you proper lunar detail instead of a blown-out white circle.
Spot metering technique. Point your spot meter at a middle-toned area for correct overall exposure. Meter a highlight and add two stops of exposure to keep it bright but detailed. Meter a shadow and subtract two stops to keep it dark but visible.
Spot Metering Challenges
Spot metering requires careful thought about where you meter. If you spot meter a white dress, the camera will try to make it gray. Meter a black tuxedo, and it lightens to gray. You must compensate based on the tone you measure.
This mode also demands stable composition. If you recompose after metering, your exposure reading may no longer match your subject. Many photographers use autoexposure lock (AE-L) to hold their reading while recomposing.
Partial Metering
Partial metering is primarily a Canon feature that sits between center-weighted and spot metering. It reads approximately 8-10% of the frame from the center, making it larger than spot metering but more focused than center-weighted.
This mode works well when spot metering feels too narrow but center-weighted includes too much background. Portrait photographers often prefer partial metering for faces that fill a moderate portion of the frame.
When to Use Partial Metering
Partial metering bridges the gap between precision and practicality.
Head and shoulder portraits. The partial metering area roughly matches a face in a standard portrait composition. You get face-specific exposure without the precision demands of spot metering.
Moderately backlit situations. When your subject is larger in the frame than spot metering covers, partial metering captures their full face while still excluding bright background.
Highlight-Weighted Metering
Highlight-weighted metering prioritizes preserving bright areas of your scene from overexposure. Instead of averaging to middle gray, this mode finds the brightest areas and ensures they retain detail. It works exceptionally well for high-contrast scenes where clipped highlights would ruin the image.
Nikon introduced this mode for wedding photographers who needed to preserve white dress detail. Other manufacturers have since added similar features under different names. Some cameras call it highlight priority or highlight protection.
When to Use Highlight-Weighted Metering
Wedding photography. White dresses against dark backgrounds often overexpose with standard metering. Highlight-weighted keeps the dress detail while shadows fall where they may.
Stage and concert photography. Spotlights create extreme contrast. Highlight-weighted prevents blown-out performer highlights while accepting dark backgrounds.
High-key scenes. Bright, light scenes with important highlight detail benefit from this mode. Snow scenes, white sand beaches, and pale subjects stay detailed instead of washing out.
Raw shooters who underexpose. Many photographers intentionally underexpose to protect highlights, then brighten in post-processing. Highlight-weighted metering automates this approach.
Metering Mode Quick Reference
Here is a quick guide for choosing the right metering mode for your situation:
Matrix/Evaluative: Use for 85% of situations. Best for general photography, landscapes, evenly lit scenes, and fast action. Trust your camera to make good decisions.
Center-Weighted: Use for portraits, street photography, concerts, and centrally composed subjects with different background lighting.
Spot: Use for backlit subjects, small subjects in large frames, moon photography, and high-contrast scenes where precise exposure matters.
Partial: Use for head-and-shoulder portraits and moderately backlit situations (Canon cameras primarily).
Highlight-Weighted: Use for weddings, concerts, high-key scenes, and any situation where preserving highlight detail is critical.
When to Use Each Metering Mode by Photography Type
Different photography genres have different metering requirements based on typical subjects and lighting conditions.
Portrait Photography
For portraits, I generally recommend matrix metering with face detection enabled on modern cameras. The camera recognizes skin tones and exposes faces correctly. For backlit portraits or situations where matrix gets confused by bright backgrounds, switch to center-weighted or spot metering on the face.
Wedding photographers often prefer highlight-weighted metering to preserve white dress detail. This is especially important when the bride stands against dark backgrounds that would otherwise trick standard metering into overexposure.
Landscape Photography
Matrix metering works well for most landscapes because it balances sky and foreground. The camera recognizes sky patterns and prevents the common problem of blown-out clouds. However, sunrise and sunset scenes with extreme dynamic range may require spot metering the brightest area where you want detail.
Some landscape photographers use spot metering with the zone system approach. They meter highlights, shadows, and middle tones, then decide which to prioritize based on their creative vision.
Wildlife and Bird Photography
Small birds against sky backgrounds almost always require spot metering. Matrix and center-weighted metering read too much sky and underexpose the bird. Spot metering on the bird itself, or on a middle-toned area of similar brightness, gives correct exposure.
Larger wildlife in varied habitats often works fine with matrix metering. The camera balances animal and environment appropriately. Use spot metering when the animal is backlit or significantly smaller than the frame.
Sports Photography
Sports photography typically uses matrix metering for its speed and adaptability. Athletes move through varying light conditions rapidly, and you cannot constantly adjust metering. Modern matrix systems recognize sports patterns and expose correctly for athletes in motion.
Indoor sports with dramatic spotlights may benefit from center-weighted or spot metering if your camera consistently underexposes subjects against dark backgrounds.
Street Photography
Street photography demands speed and spontaneity, making matrix metering the practical choice. You often cannot predict where your subject will appear or what lighting they will have. Matrix adapts instantly.
Some street photographers prefer center-weighted for consistent results. If you frequently shoot in the same neighborhoods with predictable lighting, center-weighted can provide more predictable exposures.
How to Change Metering Mode on Your Camera
Changing metering mode varies by camera brand and model, but the general process is similar across manufacturers.
Step 1: Look for a dedicated metering button, often marked with icons showing the metering patterns (a rectangle for matrix, a circle with a dot for center-weighted, and a small dot for spot). This button is typically on the top or back of the camera.
Step 2: Press the button while rotating the main command dial to cycle through available modes. The selected mode appears in your viewfinder, top LCD panel, or rear screen.
Step 3: If no dedicated button exists, access metering mode through the camera menu. Look under shooting settings or exposure settings. Some cameras also include metering mode in the quick menu accessed by a dedicated button.
Step 4: Check your viewfinder display. Most cameras show a small icon indicating the active metering mode. This helps you verify your selection without taking your eye from the viewfinder.
Nikon cameras typically have a dedicated metering button on the top left of the prism housing. Canon cameras often place it on the top right shoulder near the shutter button. Sony cameras usually include metering mode in the function menu accessed by the Fn button.
Exposure Compensation as a Metering Override
Even the best metering mode sometimes gets exposure wrong. Exposure compensation lets you override the camera’s decision by telling it to add or subtract light from the metered value.
When shooting snow scenes, add 1 to 2 stops of positive compensation. The camera wants to make white snow gray, so you must tell it to brighten the image. For black subjects, subtract 1 to 2 stops to keep true blacks instead of muddy gray.
Backlit situations often need positive compensation when using matrix metering. The bright background tricks the camera into underexposing your subject. Adding exposure brightens the subject to proper levels.
Using Exposure Compensation with Different Metering Modes
Matrix metering generally requires less compensation because the camera considers more information. Center-weighted and spot metering need more compensation because they read smaller areas and cannot adjust for context.
I use exposure compensation with matrix metering most often. The combination gives me smart automatic exposure with manual override for tricky situations. This is faster than constantly switching metering modes.
Some photographers leave their cameras on matrix metering permanently and use exposure compensation for everything. This approach works well for many situations, though spot metering still offers advantages for precise highlight and shadow control.
Does Metering Mode Matter in Manual Exposure?
In full manual mode, you set shutter speed, aperture, and ISO yourself. The metering mode does not change your exposure. However, it changes how your camera displays the exposure meter in the viewfinder.
The exposure meter shows how far your manual settings deviate from what the camera’s meter considers correct. With matrix metering, this deviation is calculated from the entire scene. With spot metering, it shows deviation for the small spot area only.
Many manual-mode photographers ignore metering mode entirely and use the histogram instead. The histogram shows actual captured data rather than predicted exposure, making it more reliable for manual exposure decisions.
Practical Tips for Learning Metering Modes
The best way to understand metering modes is practice. Here are some exercises that helped me master each mode:
Matrix metering exercise: Photograph the same scene in different lighting conditions without changing settings. Review how matrix metering adapts to each situation.
Center-weighted exercise: Place a subject in front of a bright window. Shoot with both matrix and center-weighted metering. Notice how center-weighted better exposes the subject while matrix may underexpose.
Spot metering exercise: Find a high-contrast scene with bright highlights and deep shadows. Spot meter different areas and observe how the exposure changes. This builds intuitive understanding of the 18% gray concept.
Highlight-weighted exercise: Photograph a white object against a dark background with both matrix and highlight-weighted metering. Compare which preserves more highlight detail.
Frequently Asked Questions
Does metering mode matter in manual mode?
Metering mode does not affect your actual exposure in manual mode since you control all settings. However, it changes what the camera’s exposure meter displays in your viewfinder. The meter shows how far your manual settings deviate from the metered value, and this calculation depends on your metering mode. Many manual shooters use the histogram instead of the meter for more reliable feedback.
What is the best metering mode for portraits?
Matrix metering with face detection enabled works best for most portrait situations on modern cameras. The camera recognizes skin tones and exposes faces correctly. For backlit portraits or bright backgrounds, switch to center-weighted or spot metering on the face itself. Wedding photographers often prefer highlight-weighted metering to preserve white dress detail.
What metering mode should I use for sports photography?
Matrix metering is the best choice for sports photography because it adapts quickly to changing light as athletes move across the field. You cannot constantly adjust metering during fast action, so let the camera’s intelligent metering handle exposure automatically. Indoor sports with dramatic spotlights may benefit from center-weighted metering if athletes consistently appear underexposed.
When should I use spot metering?
Use spot metering for backlit subjects, small subjects in large frames like birds against sky, moon photography, and high-contrast scenes where precise exposure matters. Spot metering reads a tiny area (1-5% of the frame), letting you measure specific tones. Remember to compensate based on what you meter: meter white and add 2 stops, meter black and subtract 2 stops.
What is the difference between matrix and evaluative metering?
Matrix and evaluative metering are the same concept with different brand names. Nikon calls it Matrix metering, Canon calls it Evaluative metering, and Sony, Fujifilm, and others use Multi-pattern or Multi-segment. All analyze the entire scene by dividing it into zones, comparing the light pattern to a reference database, and calculating optimal exposure. Modern versions include face detection and scene recognition.
Conclusion
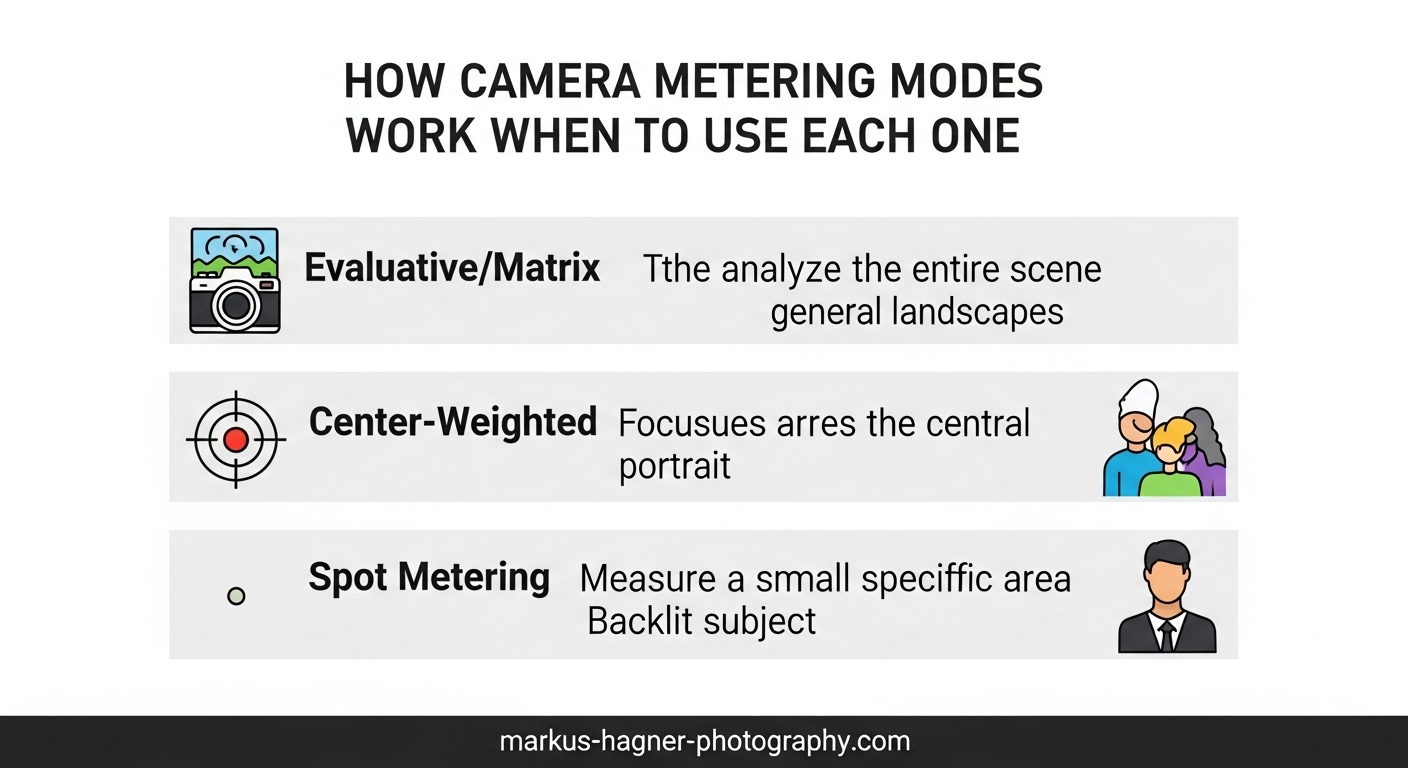
Camera metering modes control how your camera measures light and calculates exposure. Matrix or evaluative metering works for about 85% of situations by analyzing the entire scene intelligently. Center-weighted prioritizes your central subject. Spot metering gives you precise control over small areas. Highlight-weighted preserves bright detail.
The best way to learn metering modes is experimentation. Switch modes in challenging lighting and compare results. Over time, you will develop intuition for which mode suits each situation. And remember, your histogram often provides more reliable information than any metering mode. Use both tools together for consistently well-exposed photographs.