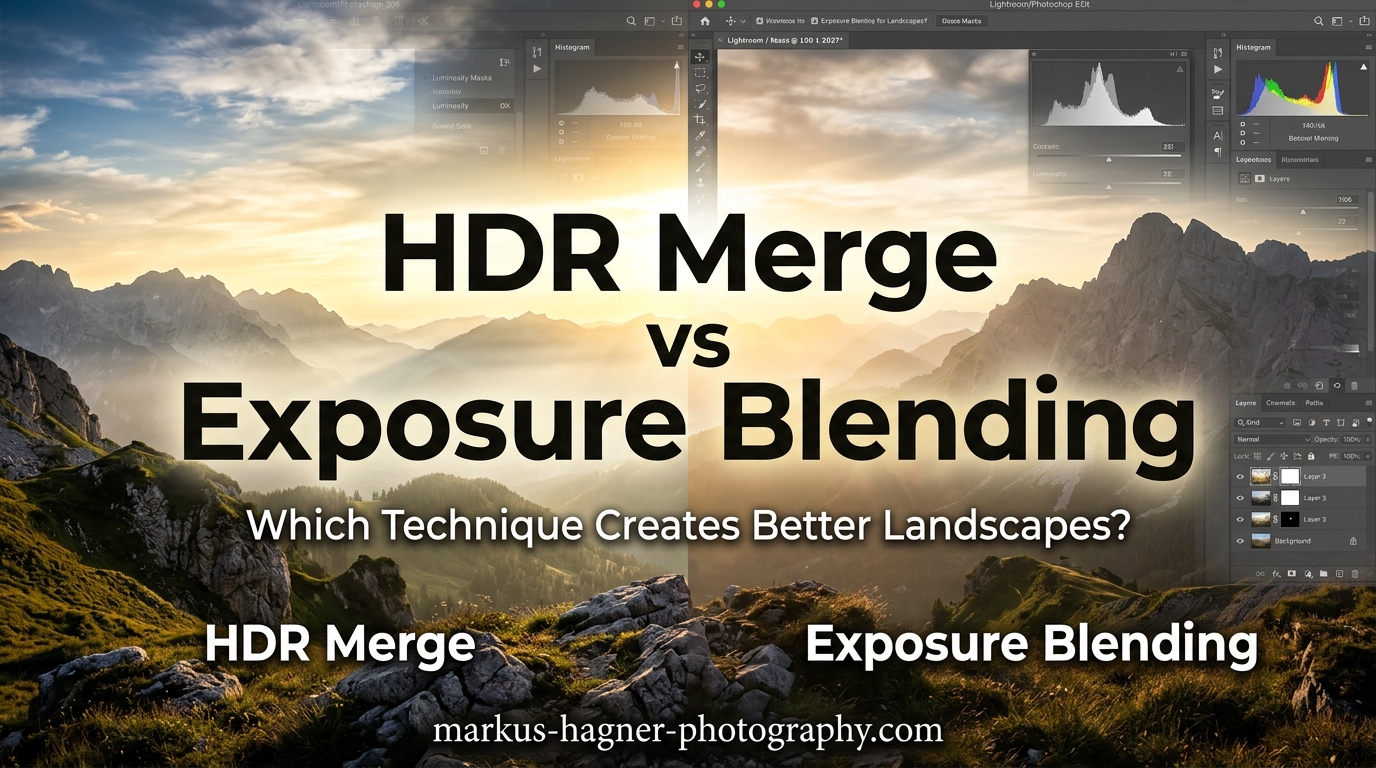
Capturing the full dynamic range of a sunrise over mountains or the interior of an ice cave requires more than a single exposure can deliver. That’s where the debate of HDR Merge vs Exposure Blending for landscape photography becomes essential knowledge for any serious photographer.
Both techniques combine multiple exposures to extend dynamic range beyond what your camera sensor can capture in a single shot. But they work differently and produce distinct results. HDR Merge uses automated tone mapping algorithms to blend exposures, while exposure blending gives you manual control over exactly which parts of each image appear in the final result.
After testing both methods extensively in my landscape work, I’ve found that neither is universally better. The right choice depends on your scene, your time constraints, and the look you want to achieve. This guide breaks down exactly when to use each technique and which software delivers the best results.
Quick Comparison: HDR Merge vs Exposure Blending
The fundamental difference comes down to automation versus control. HDR Merge analyzes your bracketed shots and makes blending decisions for you using tone mapping algorithms. Exposure blending puts you in charge of selecting which exposure works best for each area of the image.
| Product | Specifications | Action |
|---|---|---|
 Adobe Lightroom 1TB
|
|
Check Latest Price |
 Adobe Photoshop
|
|
Check Latest Price |
 Aurora HDR
|
|
Check Latest Price |
 Photomatix Pro 6
|
|
Check Latest Price |
 Corel PaintShop Pro 2023
|
|
Check Latest Price |
Here’s what this means in practice: HDR Merge processes your images in seconds but applies tone mapping that can create that characteristic “HDR look” many photographers want to avoid. Exposure blending takes longer but produces more natural results because you control the transitions between light and dark areas.
Understanding HDR Merge
HDR Merge combines bracketed exposures into a single high dynamic range image using automated tone mapping. The software analyzes the pixel data from each exposure and maps the full range of tones into a viewable image. This process happens automatically with minimal input from you.
The key advantage of HDR Merge is speed. In Lightroom, I can select my bracketed shots, choose Photo > Photo Merge > HDR, and have a merged DNG file in under 30 seconds. The software handles alignment, deghosting, and tone mapping all at once. For photographers processing hundreds of images from a shoot, this efficiency matters.
However, tone mapping is also the source of HDR’s reputation for over-processed results. The algorithm compresses the full dynamic range into something displayable on screen or in print. Push this too far and you get flat lighting, exaggerated contrast, halos around objects, and unnatural color saturation. Many photographers associate HDR with these problems rather than the technique itself.
Modern HDR software has improved significantly. Lightroom’s Merge to HDR produces much more natural results than earlier versions, and dedicated programs like Photomatix Pro offer extensive controls to avoid the “overcooked” look. The key is using tone mapping subtly rather than cranking settings to their maximum.
HDR Merge Workflow
The standard HDR workflow starts in camera. Set your camera to auto exposure bracketing (AEB) and capture 3, 5, or 7 shots at different exposure values. A typical setup uses 3 shots at -2, 0, and +2 EV. For extreme contrast scenes like sunrises, 5 shots at 1 EV intervals captures more range.
In post-processing, select your bracketed images in Lightroom and choose Photo Merge > HDR. The dialog offers options for auto-align (essential for handheld shots) and deghost amount (for scenes with moving elements like clouds or water). After merging, you get a 16-bit DNG file that responds well to standard editing adjustments.
One advantage I’ve discovered: AI Denoise works better on merged HDR files than on single exposures pushed to recover shadows. The merged file contains cleaner data from the properly exposed portions of each bracket, giving the AI better source material to work with.
HDR Merge Pros and Cons
Pros include speed (seconds vs minutes), automatic alignment and deghosting, works well for handheld brackets, creates a single editable file, and integrates smoothly into Lightroom workflows.
Cons include potential for unnatural “HDR look,” less control over specific areas, tone mapping may flatten contrast, halos can appear around high-contrast edges, and results vary significantly between software programs.
Understanding Exposure Blending
Exposure blending gives you manual control over combining exposures. Instead of automated tone mapping, you stack images as layers and use masks to reveal specific areas from each exposure. This technique is also called manual blending or hand blending.
The primary advantage is precision. When I blend exposures manually in Photoshop, I decide exactly where the transition between light and dark areas occurs. I can follow natural luminosity boundaries like horizon lines or use luminosity masks to make selections based on brightness values. The result often looks more natural because the transitions match what your eye expects to see.
The trade-off is time and complexity. A single image might take 10-30 minutes to blend properly, compared to 30 seconds for HDR Merge. You also need solid Photoshop skills including layers, masks, and ideally luminosity masks. For photographers processing large volumes of work, this time investment may not be practical.
Many professionals prefer exposure blending because it avoids the “HDR look” that clients often dislike. When done well, the final image shows no obvious signs of processing. It simply looks like a perfectly exposed photograph of an impossible scene.
Exposure Blending Workflow
Start with the same bracketed captures you’d use for HDR Merge. Open your exposures as layers in Photoshop, then auto-align them to correct for any camera movement between shots. The blending itself typically uses one of several approaches.
The simplest method uses a soft brush on a layer mask to paint between exposures. More advanced techniques use the Apply Image function to create precise luminosity masks, or dedicated luminosity mask actions and plugins. Each approach offers different levels of control over the blend.
For landscape work, I often blend just two exposures: one for the sky and one for the foreground. This keeps the process manageable while still capturing the full dynamic range. More complex scenes might require blending specific areas from 3-4 different exposures.
Exposure Blending Pros and Cons
Pros include complete control over the final result, natural-looking transitions, no tone mapping artifacts, can target specific areas precisely, avoids the “HDR look” entirely, and works well for creative compositing beyond exposure.
Cons include significant time investment, requires Photoshop proficiency, learning curve for luminosity masks, impractical for high-volume workflows, and requires tripod for best results.
Software Recommendations for HDR and Blending
Choosing the right software significantly impacts your results. Here are the top options for both HDR Merge and exposure blending workflows.
Adobe Lightroom 1TB
Adobe Lightroom 1TB | AI-assisted photo editor | 12-Month Subscription with auto-renewal |PC/Mac | Digital Download
Pros
- Quick Actions provide tailored suggestions
- Generative Remove powered by Firefly AI
- Lens Blur creates portrait effects
- Lightroom Classic included for desktop
- Cross-platform support
Cons
- Auto-renewal can cause activation issues
- Account linking problems between Amazon and Adobe
- Price increased considerably in 2025
Lightroom has become my go-to for HDR Merge because it produces natural results without leaving the application. The Merge to HDR function creates a 16-bit DNG that responds well to standard edits, and the AI Denoise works excellently on merged files. For photographers already in the Adobe ecosystem, this is the most efficient workflow.
The 2024 App Store Award winner recognition reflects how much Lightroom has improved. Quick Actions suggest edits based on image analysis, and the Generative Remove tool handles complex object removal. The 1TB cloud storage syncs across desktop, mobile, and web versions.
Adobe Photoshop
Pros
- Industry-standard for photo editing
- Create and enhance photographs and illustrations
- Design websites and mobile apps
- Powerful layer and mask system
- Extensive plugin ecosystem
Cons
- AI features limited compared to competitors
- Activation issues with Amazon purchases
- Download and installation problems reported
- Poor customer support for Amazon versions
For exposure blending, Photoshop remains the industry standard. The layer and mask system gives you complete control over combining exposures, and luminosity mask actions work seamlessly. If you’re serious about manual blending, Photoshop’s capabilities are unmatched.
The software handles everything from simple two-exposure blends to complex composites combining multiple techniques. Focus stacking, shutter speed blending, and creative compositing all work within the same application. The main downside is the subscription model and learning curve.
Aurora HDR
Pros
- Quantum HDR Engine analyzes millions of pixels
- HDR Smart Structure provides precise details
- No halos
- ghosting
- or chromatic aberration
- Photos retain better structure than Lightroom
- Supports popular plugins like Nik Collection
Cons
- High-end gaming PC recommended
- Windows 10 compatibility issues
- Program can freeze when using layers
- No photo stitching for panoramas
- Mixed customer service responsiveness
Aurora HDR specializes in HDR processing with dedicated controls that general-purpose editors lack. The Quantum HDR Engine produces results with excellent detail preservation and minimal artifacts. For photographers who want HDR-specific tools without the Adobe subscription, this is worth considering.
![Aurora HDR - HDR Image Enhancing Program [PC Download] customer photo 1](https://markus-hagner-photography.com/wp-content/uploads/2026/03/B07T28QC5M_customer_1.jpg)
The HDR Smart Structure feature adds detail without creating the artifacts that plague many HDR programs. However, the software demands significant computing power, and some users report stability issues on Windows systems.
Photomatix Pro 6
Pros
- Easy one-click HDR creation
- Two tone-mapping options available
- Excellent for landscape photography
- Plugin for Lightroom integration
- Batch mode for multiple images
- Automatic alignment of handheld photos
- Responsive customer support
Cons
- Results can look garish if not adjusted
- Learning curve for professional results
- May require additional Photoshop editing
- Interface only available in English
Photomatix Pro has been a staple of HDR photography since before it became mainstream. The software offers two tone-mapping approaches: detail enhancing for dramatic results and a global approach for more natural output. The batch processing capability makes it efficient for high-volume work.
The Lightroom plugin integrates smoothly into existing workflows, and the automatic alignment handles handheld brackets well. Users praise the responsive customer support and generous trial period. The main caveat is avoiding over-processing, which requires some practice.
Corel PaintShop Pro 2023 Ultimate
Pros
- Subscription-free one-time purchase
- Comprehensive creative suite included
- Full-featured editing with AI options
- AfterShot Lab for RAW editing
- HDR photo creation capabilities
- Supports Adobe PSD files
- Amazon Exclusive ParticleShop included
Cons
- Installation process can be difficult
- Missing DLL files reported
- Box contains activation card only
- Bundled software links not always included
- Learning curve for new users
PaintShop Pro offers a subscription-free alternative to Adobe products with HDR capabilities built in. The 2023 Ultimate edition includes a full creative suite with Painter Essentials 8, AfterShot Lab for RAW editing, and specialized workspaces for different photography types.
![Corel PaintShop Pro 2023 Ultimate | Powerful Photo Editing & Graphic Design Software + Creative Suite | Amazon Exclusive ParticleShop + 5 Brush Starter Pack [PC Key Card] customer photo 1](https://markus-hagner-photography.com/wp-content/uploads/2026/03/B0B5T2J8TG_customer_1.jpg)
For photographers who want HDR and general editing capabilities without ongoing costs, PaintShop Pro delivers solid value. The Sea-to-Sky Workspace specifically targets underwater and drone photography. Installation issues are the main complaint, but customer support generally resolves problems.
HDR Merge vs Exposure Blending: Head-to-Head
Let me break down how these techniques compare across key categories.
Speed: HDR Merge wins decisively. A merged file takes 30 seconds or less. Manual blending typically requires 10-30 minutes per image depending on complexity.
Control: Exposure blending offers complete control over every transition. HDR Merge makes automatic decisions that may not match your vision.
Natural Results: Exposure blending produces more natural-looking images when done well. HDR Merge can achieve natural results but requires careful settings and often additional editing.
Learning Curve: HDR Merge is beginner-friendly with minimal training. Exposure blending requires Photoshop proficiency and understanding of luminosity masks.
Moving Elements: HDR Merge includes deghosting tools that handle moving subjects automatically. Manual blending requires careful attention to alignment and may need additional work for moving elements.
Volume Processing: HDR Merge with batch processing handles hundreds of images efficiently. Exposure blending is impractical for high-volume workflows.
When to Use Each Technique
Use HDR Merge when you need speed, have many images to process, are working handheld, want a simple workflow, or the scene has moving elements like clouds or water.
Use Exposure Blending when natural results are critical, you have time for careful processing, the scene has complex luminosity transitions, you need precise control over specific areas, or you’re creating gallery-quality prints.
Sometimes neither technique is necessary. Modern sensors capture significant dynamic range in a single exposure. Before blending, check if you can recover highlights and shadows from one RAW file. If the data exists, single-exposure editing often produces the most natural results.
Common Mistakes to Avoid
Both techniques have pitfalls that can ruin your images.
Overdone tone mapping: The most common HDR mistake is pushing settings too far. Subtle adjustments preserve natural appearance.
Halos around subjects: These appear when tone mapping creates exaggerated contrast at edges. Reduce local contrast settings to eliminate them.
Flat lighting: Removing all shadows eliminates depth and dimension. Keep some shadows to maintain three-dimensional quality.
Ghosting artifacts: Movement between exposures creates ghosting. Use deghosting tools or manually blend the affected areas.
Ignoring natural light direction: Your blend should follow how light actually falls in the scene. Transitions that ignore natural light patterns look artificial.
Frequently Asked Questions
Should I use HDR for landscape photography?
Use HDR for landscape photography when the dynamic range exceeds what your camera can capture in a single exposure. This typically occurs during sunrise, sunset, or when shooting interiors with bright windows. If you can recover highlights and shadows from a single RAW file, HDR may not be necessary.
What are common HDR photography mistakes?
Common HDR mistakes include overdone tone mapping that creates unnatural colors, halos around high-contrast edges, flat lighting from removing all shadows, ghosting from movement between exposures, and loss of natural contrast. The key is applying HDR subtly rather than maximizing all settings.
What is the best shooting mode for landscape photography?
For landscape photography, use aperture priority or manual mode with auto exposure bracketing enabled. This gives you control over depth of field while capturing the full dynamic range. A tripod is essential for bracketing to ensure proper alignment between exposures.
Final Verdict
Neither HDR Merge nor exposure blending is universally better for landscape photography. The right choice depends on your specific needs, available time, and desired results.
For most photographers, I recommend starting with HDR Merge in Lightroom. It’s fast, produces increasingly natural results, and integrates into standard workflows. Save exposure blending for your most important images where the time investment justifies the additional control.
Many professionals use both techniques depending on the situation. Quick shots get HDR Merge. Portfolio images get manual blending. This hybrid approach maximizes both efficiency and quality.
The HDR Merge vs Exposure Blending for landscape photography debate ultimately comes down to this: HDR Merge prioritizes speed and convenience, while exposure blending prioritizes control and natural results. Choose based on what matters most for each image.