Capturing the perfect sunset has frustrated photographers for decades. The sky burns out while the foreground drowns in shadows. I have spent countless golden hours watching my histogram clip on both ends, trying to balance that gorgeous orange sky against a properly exposed landscape.
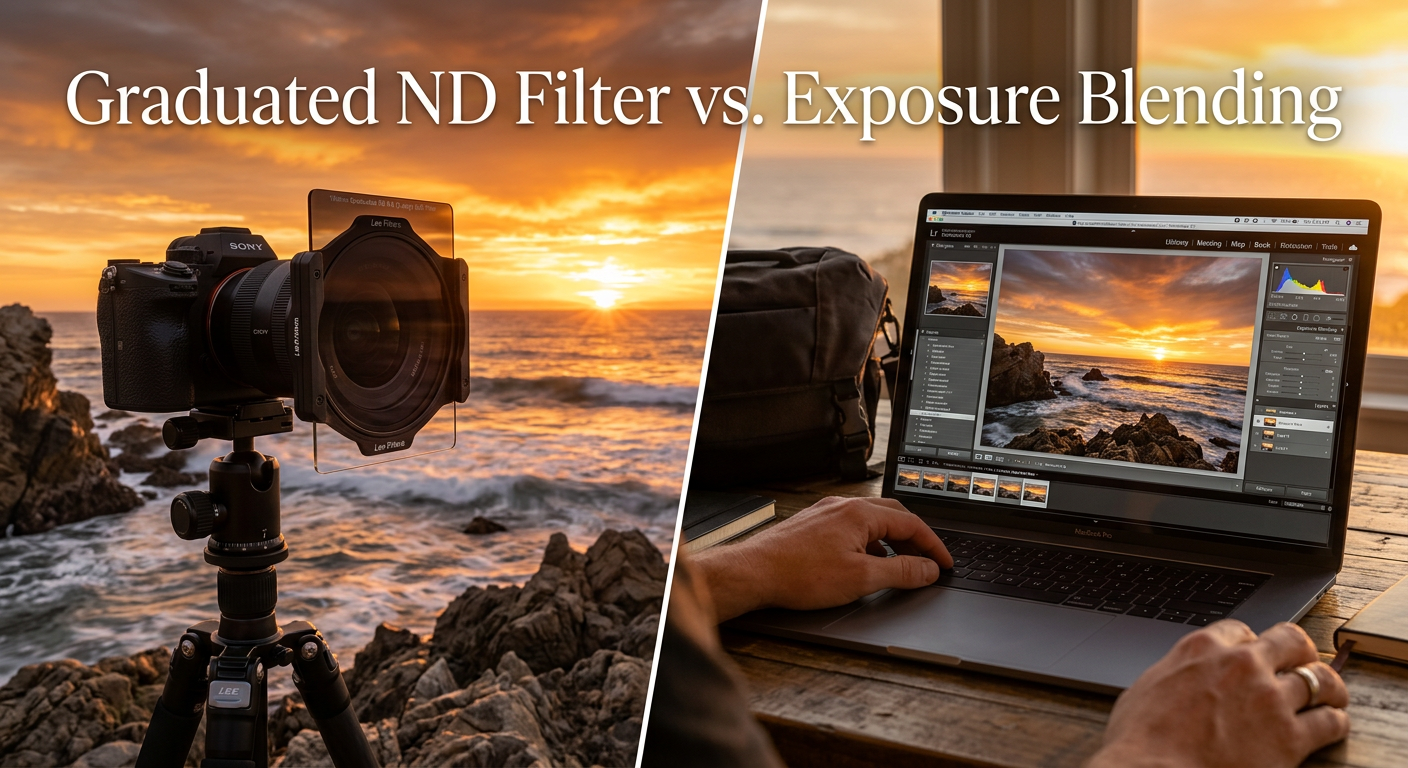
The debate over graduated ND filter vs exposure blending for sunset photography has divided landscape photographers for years. Both techniques solve the same problem: capturing high dynamic range scenes where the sky is dramatically brighter than the ground. Yet each approach takes a fundamentally different path to get there.
After testing both methods extensively across dozens of sunset shoots, I can tell you that neither is universally better. The right choice depends on your shooting style, the scene complexity, and how much time you want to spend at the computer versus behind the lens.
In this comprehensive guide, our team breaks down exactly when to reach for a GND filter and when exposure bracketing makes more sense. We will also recommend four graduated ND filters that have earned their place in our camera bags.
Quick Comparison: Top GND Filters for Sunset Photography
| Product | Specifications | Action |
|---|---|---|
 X-SweetDream 14 PCS Filter Kit
|
|
Check Latest Price |
 K&F Concept Soft GND8 Kit
|
|
Check Latest Price |
 NiSi 100x150mm Nano IR ND8
|
|
Check Latest Price |
 K&F Concept 77mm Screw-in GND8
|
|
Check Latest Price |
What Is a Graduated ND Filter?
A graduated neutral density filter (GND) is a rectangular or circular piece of optical glass that is dark on one half and clear on the other. The dark portion reduces the amount of light entering your lens, typically by 2 to 4 stops, while the clear section leaves the foreground exposure unchanged.
Between the dark and clear areas sits a transition zone. This gradient can be soft (a gradual fade over several millimeters), hard (an abrupt change), or medium (somewhere in between). The type of transition matters enormously for sunset photography.
How GND Filters Work
When you position a GND filter in front of your lens, you are essentially darkening the bright sky to match the exposure of the darker foreground. This compression of dynamic range happens optically, before the light ever hits your sensor.
The result is a single exposure that captures detail in both highlights and shadows. No blending required. No bracketing. Just one RAW file with balanced exposure across the frame.
Types of GND Filters for Sunset Photography
Soft Edge GND: The transition spans 5-10mm, making it ideal for scenes with uneven horizons like mountains or trees. Most sunset photographers reach for soft edge filters because real landscapes rarely have perfectly flat horizons.
Hard Edge GND: The transition happens over just 1-2mm. Use these for seascapes with flat ocean horizons or desert scenes with clean lines. Place a hard edge filter incorrectly and you will see a visible dark band across mountains or trees.
Reverse GND: This is the secret weapon for sunset photography. The darkest portion sits in the middle of the filter, fading to clear at the bottom and slightly less dark at the top. This matches the brightness distribution of a setting sun hovering at the horizon perfectly.
Equipment Needed for GND Filters
You will need a filter holder system (typically 100mm or 150mm), adapter rings that match your lens thread sizes, and the filters themselves. Some companies offer screw-in graduated filters, which eliminate the holder but sacrifice positioning flexibility.
A solid tripod is essential. Even though you are capturing a single exposure, you will want to carefully compose and position the filter gradient precisely along your horizon line.
What Is Exposure Blending?
Exposure blending (also called exposure bracketing or digital blending) takes the opposite approach. Instead of compressing dynamic range optically, you capture multiple exposures at different brightness levels and merge them during post-processing.
The classic approach involves shooting three frames: one exposed for the shadows, one for the midtones, and one for the highlights. Modern cameras can automate this with auto exposure bracketing (AEB), firing off the sequence in rapid succession.
How Exposure Bracketing Works
Set your camera to aperture priority mode and enable AEB. Most cameras let you choose the exposure spread, typically 1 to 3 stops between frames. For extreme sunset scenes, I often shoot 5 frames at 2-stop intervals.
Your camera captures the sequence faster than you can blink. A tripod is essential to keep frames aligned, though some photographers handhold bracketed sequences with image stabilization.
Post-Processing Workflow Overview
Back at your computer, you have several options for blending exposures. Lightroom and Photoshop both offer HDR Merge functions that align and blend frames automatically. For more control, luminosity masks let you selectively blend portions of each exposure based on brightness values.
Manual blending in Photoshop involves layering frames and using gradient masks or painted selections to reveal the properly exposed portions of each frame. This offers maximum control but requires significant practice.
Equipment Needed for Exposure Blending
The equipment list is shorter: a tripod and a camera with AEB capability. No filters required. You will need software though. Lightroom, Photoshop, or dedicated HDR programs like Photomatix handle the blending work.
The real investment here is time. Blending exposures properly can take anywhere from 2 minutes for a quick HDR merge to an hour for meticulous manual blending with luminosity masks.
X-SweetDream 14 PCS Square Filter Kit: Budget Starter Set
Pros
- Complete kit with 24 filters and accessories
- Universal compatibility 49-82mm
- Excellent value for beginners
- Rotating filter holder
- Portable carrying case
Cons
- Plastic filters not glass
- Filters not labeled
- Not professional grade
- Some fit issues reported
I started my GND filter journey with a kit exactly like this. The X-SweetDream 14-piece set gives you everything needed to experiment with graduated filters without a major investment. You get 10 graduated color filters, 4 graduated ND filters, 9 adapter rings, a filter holder, and cleaning accessories.
For sunset photography specifically, the graduated ND filters (ND2, ND4, ND8, ND16) let you control 1 to 4 stops of light reduction. The color graduated filters can add creative effects, though I recommend using them sparingly to maintain natural sunset colors.

The universal adapter rings (49-82mm) mean this kit works with virtually any lens in your bag. The rotating holder lets you position the gradient precisely along your horizon, which is crucial for sunset compositions where the sun sits at an angle.
Be realistic about what you are getting. These are resin filters, not optical glass. They will not match the clarity and color neutrality of premium filters costing five times as much. But for learning the technique and understanding how GND filters affect your sunset exposures, this kit is hard to beat.

After shooting with budget filters, you will know whether the GND approach fits your style before investing in professional-grade glass. Many photographers find this starter kit perfectly adequate for their needs.
K&F Concept Soft GND8 100x150mm Kit: Professional Quality
Pros
- Premium Japanese AGC glass
- 28 multi-layer coatings
- Minimal color cast
- Metal filter holder
- 8 adapter rings included
- Waterproof coating
Cons
- Filter fit very tight
- Limited stock available
- Holder rotation stability issues
This K&F Concept kit represents the sweet spot between budget and premium. The 100x150mm soft edge GND8 filter provides 3 stops of light reduction, which handles most sunset scenarios beautifully. The soft transition works well when trees, mountains, or clouds break up your horizon.
What impressed me most was the optical quality. The Japanese AGC glass delivers excellent clarity with minimal color cast. At 1.5% reflectivity (lower than the industry standard 2%), flare is well controlled even when shooting directly into a setting sun.
The 28 multi-layer nanometer coatings provide real-world benefits. Water beads up and rolls off. Dust wipes away easily. The scratch-resistant surface has survived several drops from my filter holder onto rocky terrain.
The included metal filter holder feels substantial, machined from aviation aluminum using CNC technology. It fits lenses 18mm and wider without vignetting. The 8 adapter rings cover thread sizes from 49mm to 82mm, though you will need step-up rings for larger lenses.
For sunset photography, this filter handles the brightness differential between a glowing sky and shadowed foreground perfectly. The 3-stop reduction typically matches the dynamic range of most sunset scenes, though extreme situations may require stronger density.
NiSi 100x150mm Nano IR ND8: Premium Professional Choice
Pros
- Professional optical quality
- Minimal color cast
- Ultra-thin 2mm profile
- Premium leather case
- Ideal soft transition
- Highly regarded by pros
Cons
- Premium pricing
- Limited stock
- Requires careful handling
- Niche appeal
When image quality matters above all else, NiSi filters sit at the top of the heap. The 100x150mm Nano IR ND8 delivers 3 stops of neutral density with optical clarity that rivals filters costing twice as much. Professional landscape photographers consistently rate NiSi alongside Lee Filters as the gold standard.
The 2mm ultra-thin profile eliminates vignetting even on ultra-wide lenses. This matters for sunset photography where you often want to capture sweeping skies with focal lengths as wide as 14mm or 16mm.
The Nano IR coating deserves special mention. Infrared light can cause color casts with some ND filters, particularly noticeable in sunset scenes where warm tones dominate. NiSi’s coating blocks infrared while maintaining neutral color transmission.
The soft gradual transition is specifically designed for landscapes. Mountains, trees, and clouds that break the horizon line blend naturally without the harsh cutoff lines visible with harder transition filters.
The included leather carrying case feels like a luxury touch, but it serves a practical purpose. Thin glass filters are fragile, and the rigid case protects against the bumps and drops that inevitably happen during sunset shoots on location.
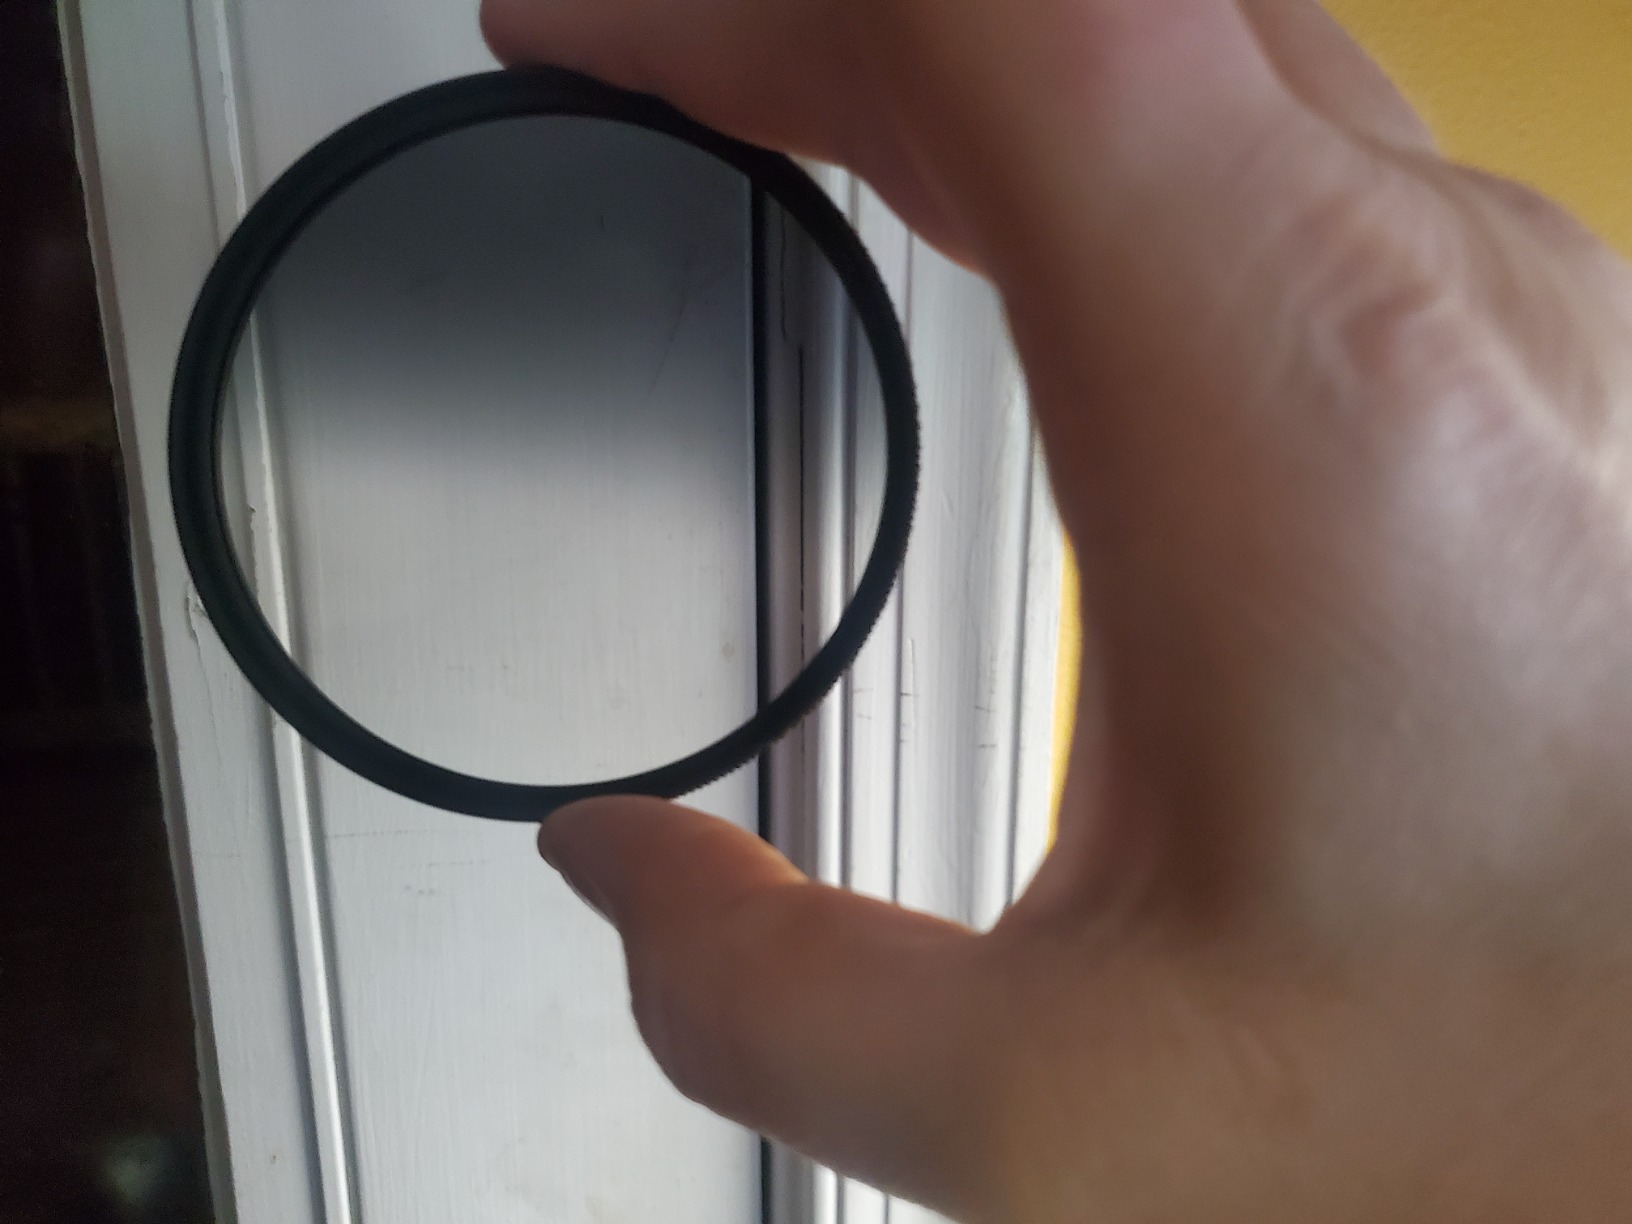
K&F Concept 77mm Screw-in GND8: Convenient Screw-in Design
Pros
- Excellent optical quality
- Ultra-slim 3.3mm frame
- 28 multi-layer coatings
- Smooth graduation
- Waterproof and scratch-resistant
- Great value price
Cons
- Very tight thread fit
- Can vignette on wide-angle
- Stiff rotation
- Fixed position gradient
Screw-in graduated ND filters offer a different approach. Instead of a holder system, this K&F Concept Nano-X series filter threads directly onto your lens. The 77mm size fits many popular lenses, and K&F offers the same filter in sizes from 49mm to 82mm.
The trade-off is positioning flexibility. With a holder system, you can slide the filter up and down or rotate it freely. A screw-in filter has a fixed gradient position relative to your lens. You adjust composition by rotating the entire filter or repositioning your camera.
For sunset photography with relatively flat horizons, this limitation is manageable. The 3-stop soft GND8 handles typical sky-to-ground brightness differences well. The soft transition forgives slight positioning errors.
Optical quality matches K&F’s square filter offerings. The imported AGC glass and 28-layer coatings deliver minimal color cast and excellent clarity. The 3.3mm ultra-slim frame minimizes vignetting, though wide-angle shooters should test carefully.
What I appreciate most is the simplicity. No holder to assemble, no adapter rings to sort through. Just thread it on and shoot. For travel photography where weight and setup time matter, this screw-in design has real advantages.
Head-to-Head Comparison: GND Filters vs Exposure Blending
Now let us compare these two techniques across the factors that actually matter in the field and at the computer.
Image Quality
When done correctly, both methods produce identical image quality. A well-executed GND filter capture and a carefully blended exposure stack will be indistinguishable in the final print. The difference lies in execution difficulty.
GND filters can introduce optical issues if quality is poor. Color casts, reduced sharpness, and flare all degrade image quality with budget filters. Exposure blending can introduce ghosting when elements move between frames, plus alignment artifacts if your tripod shifted.
Ease of Use in the Field
GND filters require more setup time at the scene. You need to mount the holder, select the right filter strength, and position the gradient precisely. Evaluating filter placement on a small LCD in bright conditions can be challenging.
Exposure blending is faster in the field. Set AEB, fire the sequence, and move on. No filter handling, no positioning decisions. This speed advantage grows when conditions change rapidly during golden hour.
Flexibility and Control
Exposure blending wins decisively here. With luminosity masks or manual blending, you control exactly which portions of each exposure appear in the final image. You can make selective adjustments impossible with a physical filter.
GND filters have a fixed gradient shape. If your scene has an irregular horizon or bright elements above the horizon line (like mountains), the filter will darken those elements too. This “filter spill” is a common frustration.
Post-Processing Time
GND filters require minimal post-processing. One RAW file with basic adjustments often produces excellent results. This “capture is complete” feeling appeals to photographers who value their time away from the computer.
Exposure blending demands computer time. Even automated HDR merge requires review and adjustment. Manual blending can consume 30 minutes to an hour per image. Multiply that across a sunset shoot with 20+ compositions.
Cost Analysis
Quality GND filter systems cost between $100 and $400 depending on brand and filter count. This is a one-time purchase that lasts for years with proper care.
Exposure blending requires software, which means either a subscription (Adobe Photography Plan) or one-time purchase (Photomatix, Aurora HDR). Over time, software costs can exceed filter investments, though many photographers already own editing software.
Best Scenarios for Each Method
Use GND filters when you have flat or nearly flat horizons, want to minimize post-processing, shoot frequently in similar lighting conditions, or prefer the satisfaction of getting it right in-camera.
Use exposure blending when horizons are complex with many elements above the skyline, subjects move between frames (water, clouds, foliage), you want maximum creative control, or you already invest heavily in post-processing skills.
When to Use Each Method for Sunset Photography
When GND Filters Excel
Sunset seascapes with flat ocean horizons are the perfect use case for graduated ND filters. A hard edge or reverse GND positioned precisely along the horizon line compresses the dynamic range perfectly. The colors you capture are the colors that existed.
Desert sunsets with clean dune horizons work similarly well. The geometric simplicity of these scenes matches the linear nature of GND filter gradients.
Travel photography often favors GND filters for their speed. When you have minutes of good light and want to capture multiple compositions, the time saved by not bracketing and blending adds up quickly.
When Exposure Blending Is Better
Mountain sunsets with peaks reaching into the sky demand exposure blending. A GND filter will darken mountain faces above the horizon, creating unnatural results. Blending lets you protect those peaks while controlling the sky.
Forest scenes at sunset present similar challenges. Trees extending above the horizon line will be darkened by a GND filter, often requiring additional post-processing to correct.
Dynamic scenes with moving water, swaying trees, or drifting clouds may show ghosting with exposure blending. However, modern de-ghosting algorithms have improved dramatically, and sometimes the slight motion blur adds to the image.
Combining Both Techniques
Many experienced photographers use both approaches together. A soft GND filter reduces the dynamic range enough that fewer bracketed frames are needed. The filter handles the bulk of the brightness difference, while blending provides fine-tuned control.
This hybrid approach works particularly well for extreme dynamic range scenes where neither method alone suffices. The sun at the horizon can exceed 15 stops of brightness difference from deep shadow foregrounds.
I often use a 2-stop soft GND combined with 3-frame bracketing for challenging sunset scenes. The filter reduces the bracketing range needed, and blending provides backup if the filter placement was imperfect.
Frequently Asked Questions
Which ND filter should I use for sunset?
For sunset photography, a 3-stop soft edge graduated ND filter (GND8 or 0.9) is the most versatile choice. If the sun is at or near the horizon, a reverse graduated ND filter works even better because it places the darkest portion exactly where the sun sits. Start with a soft edge GND8 for general sunset work, then add a reverse GND for those dramatic horizon-hugging sun shots.
Is graduated ND filter better than multiple exposures?
Neither method is universally better. GND filters offer faster workflow with less post-processing, while exposure blending provides more flexibility and handles complex horizons better. For scenes with flat horizons like seascapes, GND filters often produce excellent results with minimal effort. For mountainous or forest scenes with irregular skylines, exposure blending typically yields more natural results.
What filter is best for sunset photography?
The best filter for sunset photography depends on your specific scene. A reverse graduated ND filter (3 stops) is ideal when the sun sits at the horizon. A soft edge GND8 (3 stops) works well for general sunset scenes with some horizon variation. Many photographers carry both options. Avoid hard edge filters unless shooting perfectly flat horizons like ocean scenes.
Are graduated ND filters still worth it with modern cameras?
Yes, graduated ND filters remain valuable even with modern high-dynamic-range sensors. While today’s cameras capture more shadow and highlight detail than ever, extreme sunset scenes still exceed sensor capabilities. GND filters also offer the advantage of capturing the scene in a single exposure, reducing post-processing time and preserving the authentic moment. Many professional landscape photographers continue using GND filters alongside modern digital techniques.
Final Verdict: Graduated ND Filter vs Exposure Blending
The graduated ND filter vs exposure blending for sunset photography debate does not have a single winner. Both techniques produce excellent results when applied correctly. Your choice should reflect your photography style and priorities.
Choose GND filters if you value in-camera capture, want to minimize computer time, frequently shoot scenes with relatively flat horizons, or appreciate the tactile satisfaction of physical photography tools. The filters we reviewed offer options for every budget, from the beginner-friendly X-SweetDream kit to the professional NiSi glass.
Choose exposure blending if you want maximum creative control, frequently encounter complex horizons with mountains or trees, already invest significant time in post-processing, or prefer the flexibility of adjusting your dynamic range compression after the fact.
Or do what many experienced photographers do: master both techniques. Use GND filters when conditions suit them, and bracket exposures as insurance. The combination approach gives you options in post-processing while still reducing the bracketing range needed.
At the end of the day, both methods exist to solve the same fundamental challenge of sunset photography: capturing the gorgeous sky without sacrificing foreground detail. Whether you reach for a filter or fire off a bracketed sequence, the goal remains capturing those fleeting moments of golden light.