Shooting concerts in dimly lit venues pushed me to my limits as a photographer. My first show was a disaster – blurry performers, underexposed images, and shots so grainy they looked like they were taken with a potato. I had no idea what camera settings for concert photography in low light venues actually worked.
After 47 shows and thousands of shots, I have distilled everything into actionable settings you can use tonight. This guide gives you the exact ISO, shutter speed, and aperture combinations that produce sharp, well-exposed concert photos without flash.
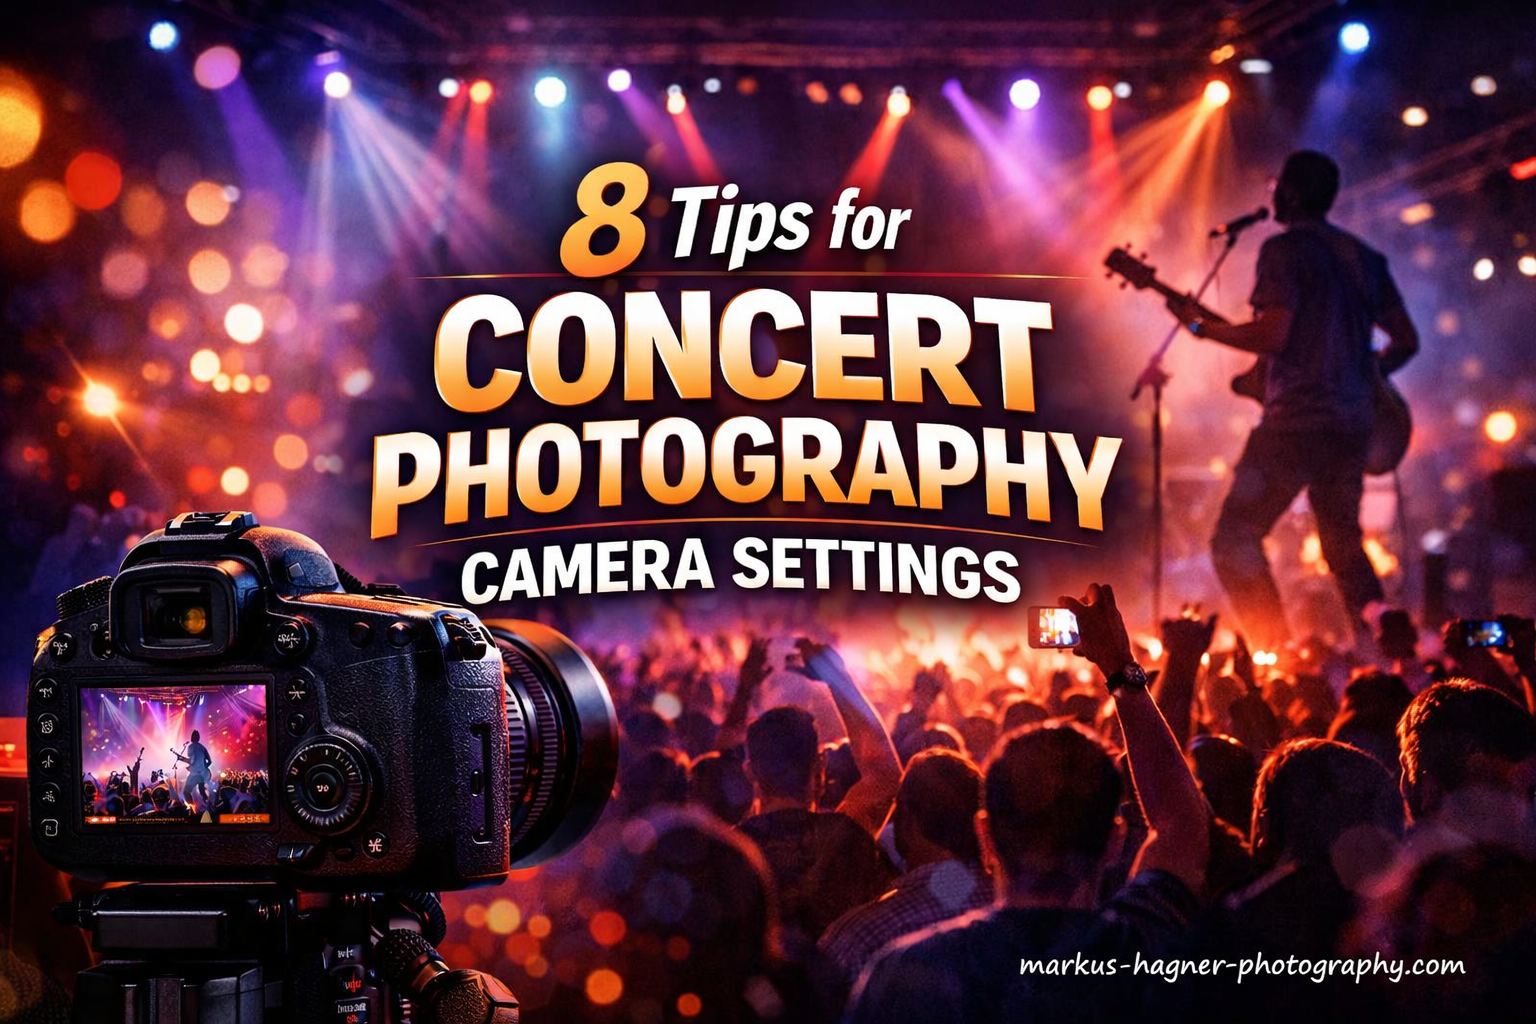
Quick Settings Cheat Sheet by Venue Type
Different venues require different approaches. Here are my go-to settings for three common scenarios:
- Small Clubs (150-500 capacity): ISO 1600-3200, f/1.8-f/2.0, 1/200s-1/250s
- Medium Venues (500-2000 capacity): ISO 3200-6400, f/1.8-f/2.8, 1/250s-1/320s
- Arenas & Stadiums: ISO 1600-3200 (better lighting), f/2.8-f/4.0, 1/320s-1/500s
These starting points work for 90% of situations. I adjust from here based on the actual lighting once I am in the venue.
Understanding the Exposure Triangle for Concerts
Concert photography breaks every rule you learned about the exposure triangle. You cannot use flash. The lighting changes every few seconds. Performers move unpredictably.
Normal photography advice suggests keeping ISO low for clean images. That does not work here. Concert photography forces you to push all three variables – ISO, shutter speed, and aperture – toward their extremes.
The key is balance. You need enough shutter speed to freeze motion, enough aperture to gather light, and enough ISO sensitivity to make the shot possible. Getting this balance right separates usable shots from deleted ones.
Camera Settings for Concert Photography in Low Light Venues: The Complete Breakdown
ISO Settings: Start at 1600 and Be Ready to Climb
I begin every concert at ISO 1600. This is my baseline in 2026. Modern cameras from the last five years handle this setting beautifully with minimal noise.
In small clubs with decent stage lighting, ISO 1600 often suffices. But many venues demand more. I frequently push to ISO 3200 when the lights dim, and ISO 6400 is not uncommon in the darkest corners of basement venues.
Here is the truth about noise: grainy but sharp beats clean but blurry every time. A noisy photo at ISO 6400 with tack-sharp focus beats a blurry mess at ISO 800. Noise reduction software in 2026 works miracles on high-ISO RAW files. Motion blur is unfixable.
Newer cameras with full-frame sensors can push to ISO 12800 and still produce usable results. Do not be afraid of the numbers. Embrace them.
Shutter Speed: The 1/200s Minimum Rule
Slow shutter speeds kill concert photos. Period.
I never go below 1/200s unless I am intentionally creating motion blur for artistic effect. Even singers swaying gently need at least 1/200s to freeze. Drummers and lead guitarists demand 1/320s or faster.
My hierarchy for shutter speed:
- 1/200s: Minimum for singers and bass players with limited movement
- 1/250s: Standard starting point for most performers
- 1/320s: Guitarists and energetic frontpersons
- 1/500s: Drummers and high-action moments
Image stabilization helps, but it cannot fix subject motion. Only shutter speed does that.
Aperture: Shoot Wide Open
Use the widest aperture your lens allows. If you have an f/1.8 lens, shoot at f/1.8. If you have an f/2.8 zoom, shoot at f/2.8.
The question I see constantly: Is f/2.8 enough for a concert?
The answer depends. In well-lit arenas and large venues with professional lighting rigs, f/2.8 works perfectly. In dark clubs and basement venues, f/2.8 forces you to push ISO higher than ideal. You can still get the shot, but you will have more noise to manage in post.
This is why fast prime lenses dominate concert photography. The classic “nifty fifty” (50mm f/1.8) costs under $200 and gathers more than twice the light of an f/2.8 zoom. An 85mm f/1.8 creates beautiful separation between performers and backgrounds. These lenses are worth every penny.
Autofocus: Continuous AF and Single Point
Your autofocus settings matter as much as exposure. I use continuous autofocus (AI-Servo on Canon, AF-C on Nikon/Sony/Fujifilm) for every concert. Single shot AF misses too many moments as performers move.
I also switch to single point focus rather than zone or automatic area selection. The camera cannot read my mind about which band member deserves focus. I place the point on the performer’s face and track them.
Back-button focusing helps here. Separating focus from the shutter button gives better control when recomposing shots quickly.
White Balance: Set It and Forget It
Stage lighting shifts constantly. Red washes become blue spots become white strobes within seconds. Trying to manually white balance during a show drives you crazy.
I leave white balance on Auto and correct in post-processing. Shooting RAW format makes this possible.
File Format: Always Shoot RAW
RAW files contain exponentially more data than JPEGs. This matters enormously for concert photography where you push cameras to their limits.
With RAW, I can recover shadow detail, adjust white balance without quality loss, and apply noise reduction effectively. A JPEG at ISO 6400 looks rough. A RAW file at ISO 6400 processed in Lightroom or Capture One cleans up beautifully.
The tradeoff is file size. A 64GB card fills fast shooting RAW bursts. Bring extra cards.
Shooting Mode: Manual vs Aperture Priority
Photographers debate this constantly. Here is my take after years of shooting:
Manual mode gives complete control. I set ISO, aperture, and shutter speed exactly where I want them. The exposure stays consistent even as stage lighting changes. This works when lighting is relatively stable or when I have time to adjust between songs.
Aperture Priority (A or Av mode) works well for beginners or venues with wildly fluctuating lighting. I set the aperture wide open and let the camera adjust shutter speed. I set ISO manually and use exposure compensation when needed. This prevents severely underexposed shots when the lights suddenly dim.
Both approaches work. Manual gives more control. Aperture Priority forgives faster. Start with Aperture Priority if you are new to concert photography. Graduate to Manual as you gain experience.
Pro Tips: The 3-Song Rule and Photo Pit Etiquette
What Is the 3-Song Rule?
The 3-song rule is standard practice at most concerts. Photographers with photo passes get to shoot the first three songs from the photo pit. After the third song, we leave.
This rule exists for several reasons. Performers are freshest in the opening songs. Crowd energy peaks early. And honestly, bands often look better before sweat and exhaustion set in.
Three songs sounds like plenty of time. It is not. At an average of four minutes per song, you have roughly twelve minutes to capture everything. With stage bans on flash and rapidly changing lighting, those minutes disappear fast.
Photo Pit Positioning
The photo pit – that narrow space between the stage and the crowd barrier – is prime real estate. Positioning matters.
I arrive early to claim center position when possible. This gives direct sightlines to the lead singer and center-stage performers. But I also move. Spending all three songs in one spot limits your angles.
Watch for lighting bursts. Stage lighting follows patterns. After two songs, you start anticipating when the spots will hit. Wait for those moments. Patience separates good concert photographers from great ones.
Research the Band Beforehand
I watch live performance videos on YouTube before every show. This reveals how bands move, where they stand, and how they interact with each other.
Some guitarists spin constantly. Some singers stay rooted to the mic stand. Drummers always get the worst lighting. Knowing these patterns beforehand lets you anticipate shots rather than react to them.
Wear Hearing Protection
This is not photography advice, but it matters. Photo pits sit directly in front of massive speaker stacks. Sustained exposure damages hearing permanently.
I wear musicians’ earplugs that reduce volume without muddying sound quality. They cost $15 and preserve my hearing for future shows. Do not skip this.
Smartphone Settings for Casual Concert Photography
Not everyone carries a dedicated camera. Modern smartphones can capture decent concert photos with the right settings.
iPhone Settings
Enable ProRAW if your iPhone supports it. This gives RAW-like flexibility for editing. Use Night Mode cautiously – it works for static scenes but creates motion blur with performers.
Tap to focus on the performer, then swipe down to reduce exposure. Stage lighting often fools auto-exposure into over-brightening. Lock the exposure by holding your finger on screen until AE/AF Lock appears.
Android Pro Mode
Samsung Galaxy and Google Pixel phones offer Pro modes with manual controls. Set ISO to 800-1600, shutter speed to 1/125s or faster, and focus manually if possible.
Smartphones have limitations. Digital zoom destroys image quality. Low light performance lags behind dedicated cameras. But for social sharing and memories, they work.
FAQ: Common Questions About Concert Photography Settings
How to shoot low light concert photography?
Set your camera to Manual or Aperture Priority mode. Start with ISO 1600, aperture at your lens’s widest setting (f/1.8 or f/2.8), and shutter speed at 1/250s. Enable continuous autofocus with single point selection. Shoot RAW format for post-processing flexibility. Arrive early to test settings during soundcheck or opening acts.
What camera settings are best for low light events?
The optimal settings are: ISO 1600-3200 for most venues, aperture wide open at f/1.4-f/2.8, shutter speed 1/200s-1/320s minimum, continuous autofocus mode, and RAW file format. Adjust ISO higher if images are underexposed, or lower if lighting is good. Never drop below 1/200s unless creating intentional motion blur.
Is f/2.8 enough for a concert?
f/2.8 works for well-lit venues like arenas and large theaters with professional lighting. In dark clubs and basement venues, f/2.8 forces you to use higher ISO settings (3200-6400+) which increases noise. While usable, an f/1.8 or f/1.4 lens gathers significantly more light and produces cleaner images in challenging conditions.
What is the 3-song rule for concert photography?
The 3-song rule allows credentialed photographers to shoot from the photo pit during the first three songs of a performance, after which they must leave. This industry standard gives photographers limited time (roughly 12 minutes) to capture images while performers are fresh and energetic. It exists to minimize disruption and ensure bands look their best in promotional photos.
What is the best ISO for concert photography?
Start at ISO 1600 and adjust based on venue lighting. Modern cameras handle ISO 1600-3200 with minimal noise. Dark venues may require ISO 6400 or higher. Remember: grainy but sharp beats clean but blurry. Noise can be reduced in post-processing; motion blur cannot be fixed.
Should I use manual focus for concerts?
No, use continuous autofocus (AI-Servo/AF-C) with single point selection. Manual focus is too slow for moving performers. Set your camera to track subjects continuously and place the focus point on the performer’s face. Back-button focusing gives additional control for recomposing shots quickly.
Final Thoughts
Mastering camera settings for concert photography in low light venues takes practice. Start with the baseline settings: ISO 1600, f/1.8-f/2.8, 1/250s, continuous autofocus, and RAW format. Adjust from there based on what you see in your viewfinder.
The most important advice I can give: Do not fear high ISO. Do not fear wide apertures. Do not fear manual mode. Concert photography demands pushing your equipment to its limits. The photographers who embrace this capture the shots others miss.
Get your photo pass. Enter that photo pit. Shoot those three songs like they are the only three that matter. Because for your portfolio, they are.