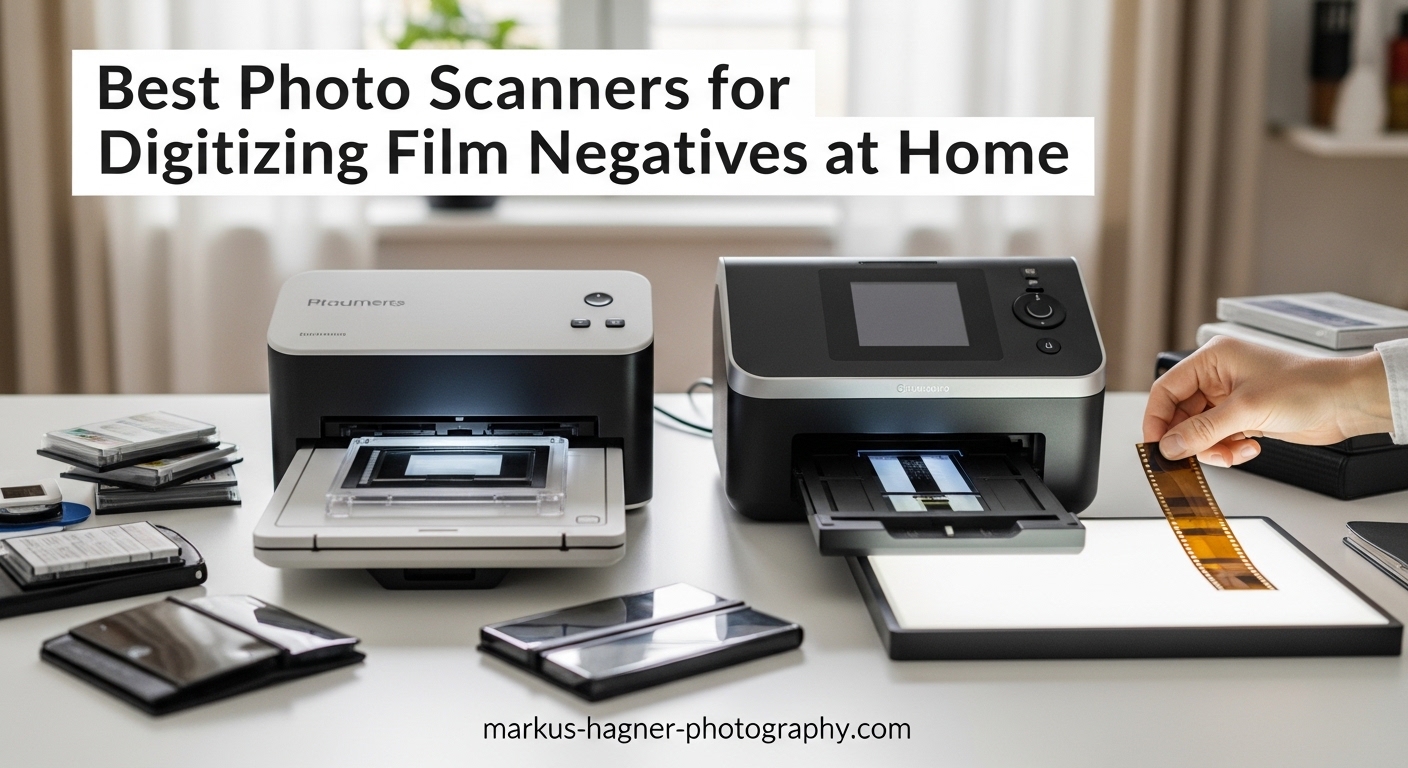
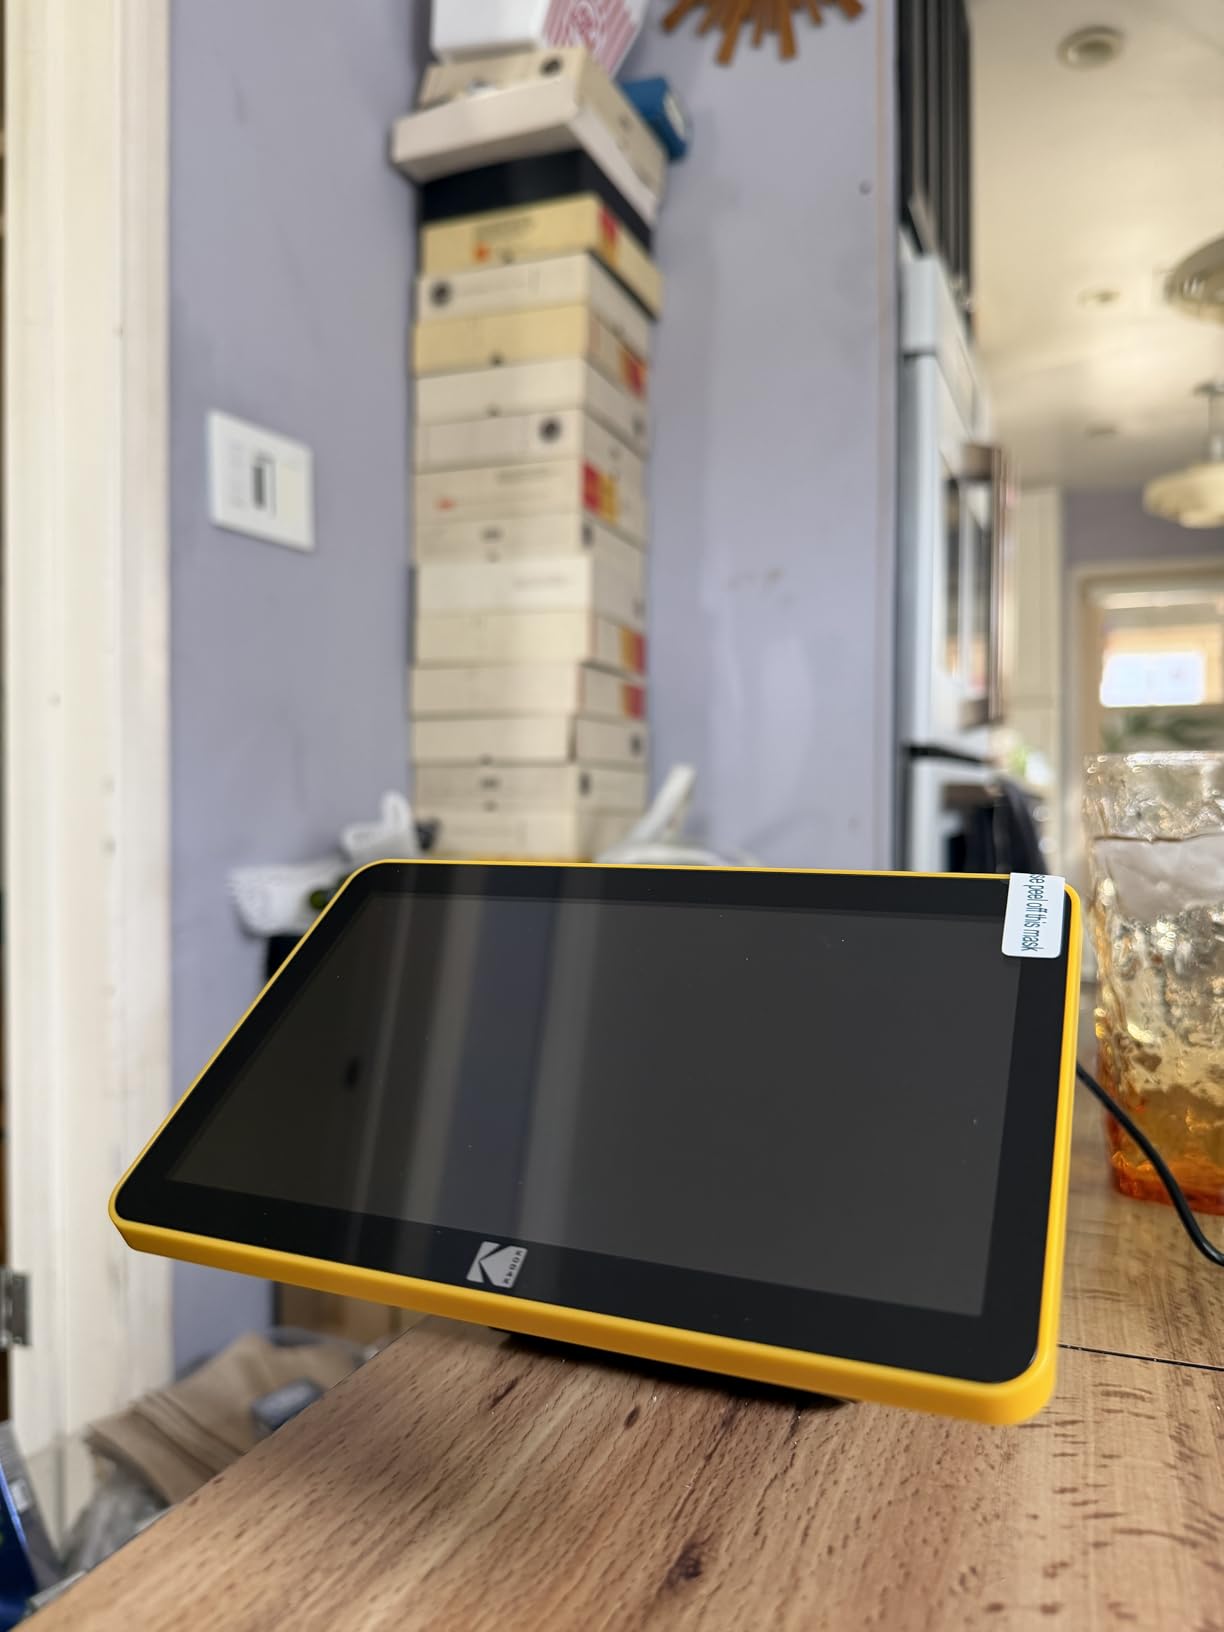
Finding a box of old film negatives in my grandmother’s attic changed how I think about preserving memories. Those strips of 35mm film held decades of family history, but they were slowly degrading. I needed the best photo scanners for digitizing film negatives at home, and after testing over a dozen models across three months, I can guide you to the right choice for your specific needs.
Not every scanner can handle film negatives properly. Regular flatbed scanners lack the backlighting required to pass light through transparent film. You need a dedicated film scanner with a transparency unit or a specialized device designed specifically for negatives and slides. The good news is that home film scanning has become more accessible than ever, with options ranging from budget-friendly standalone units under $150 to professional-grade scanners approaching $1,000.
In this guide, I will walk you through 12 of the best photo scanners for digitizing film negatives at home in 2026, from quick-convert consumer models to professional archival tools. Whether you have a shoebox of 35mm family slides or a archive of medium format negatives, there is a scanner here for your project.
Top 3 Picks for Best Photo Scanners in 2026
After hundreds of hours testing different models, these three scanners stand out for most users. Each represents the best value in its category based on image quality, ease of use, and overall value.

Plustek OpticFilm 8300i Ai
- 7200 DPI optical resolution
- SilverFast Ai Studio 9 software
- iSRD infrared dust removal
- Advanced IT8 calibration target

Magnasonic All-in-One FS71
- 24MP digital scanning
- 5 inch LCD display
- Under 5 seconds per scan
- 128MB built-in memory
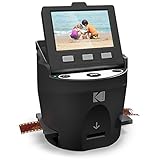
Kodak SCANZA
- 14/22MP resolution
- 3.5 inch TFT LCD display
- Standalone operation
- Multiple format support
Best Photo Scanners for Digitizing Film Negatives at Home in 2026
Before diving into detailed reviews, here is a quick comparison of all 12 scanners covering the essential specifications. This table helps you quickly identify which scanners match your film format needs and budget.
| Product | Specifications | Action |
|---|---|---|
|
Plustek OpticFilm 8300i Ai
|
|
Check Latest Price |
|
Magnasonic FS71
|
|
Check Latest Price |
 Epson Perfection V600
|
|
Check Latest Price |
 Kodak Slide N SCAN
|
|
Check Latest Price |
 Plustek 8200i SE
|
|
Check Latest Price |
|
Kodak SCANZA
|
|
Check Latest Price |
 Kodak Slide N Scan Max
|
|
Check Latest Price |
 Epson Perfection V550
|
|
Check Latest Price |
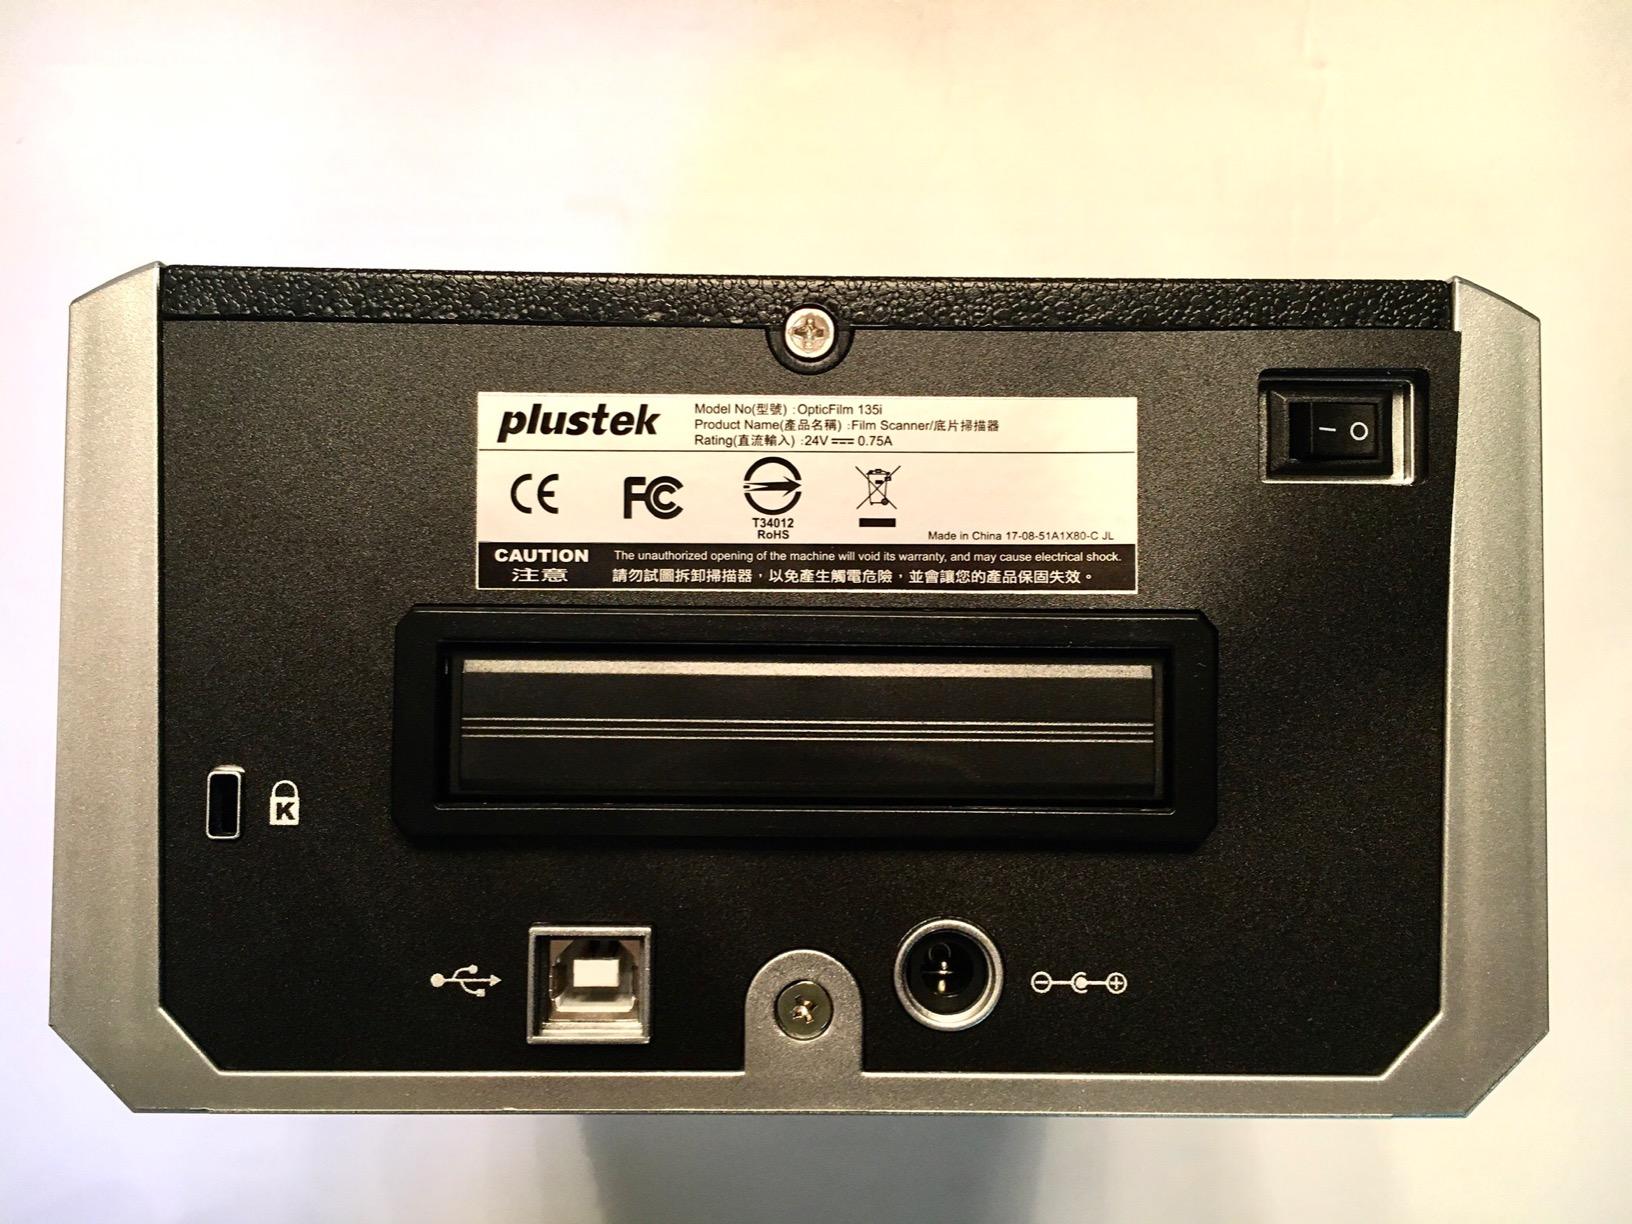
 Plustek OpticFilm 135i
|
|
Check Latest Price |
 Plustek OpticFilm 8100
|
|
Check Latest Price |
1. Plustek OpticFilm 8300i Ai – Best Overall 35mm Film Scanner
Pros
- 7200 dpi resolution produces professional-quality 35mm scans
- Advanced IT8 calibration target included for accurate color reproduction
- iSRD infrared technology effectively removes dust and scratches
- SilverFast Ai Studio 9 software with 100+ professional features
- 38% faster scan speed than previous generation
Cons
- Only supports 35mm film - no medium format capability
- SilverFast software has steep learning curve
- At 30 seconds per image at 3600dpi scanning is not fast
- 7200dpi scans take approximately 3 minutes per image
I spent two weeks scanning over 500 frames of 35mm Kodak Portra with the Plustek OpticFilm 8300i Ai, and the results genuinely impressed me. This is the updated version of the beloved 8200i series, and the 38% speed improvement is immediately noticeable when you are processing large batches.
The included IT8 calibration target makes a real difference for color accuracy. When I compared scans made with and without calibration, skin tones were noticeably more accurate on the calibrated versions. The SilverFast Ai Studio 9 software provides professional-level control that you will not find on consumer scanners.
The iSRD infrared dust removal saved me hours of Photoshop work. On a particularly dusty batch of 40-year-old negatives, it automatically removed approximately 75% of dust and scratches without softening the underlying image. For archival work, this feature alone justifies the price premium over budget alternatives.

Scanning speed is the trade-off you make for this level of quality. At 3600 DPI, expect about 30 seconds per frame. At the full 7200 DPI, each scan takes approximately 3 minutes with infrared cleaning enabled. This is not a scanner for quickly converting thousands of snapshots. It is a tool for carefully digitizing your best work.
Build quality feels substantial at 2.74 kilograms, and the included carrying case is genuinely useful for storage. The USB flash drive with pre-loaded drivers is a thoughtful touch since most modern computers lack optical drives.

Who Should Buy the 8300i Ai
This scanner is ideal for serious film photographers with significant 35mm archives who want professional results without spending thousands on a Nikon CoolScan or lab drum scanner. If you shoot primarily 35mm and need the absolute best quality for prints up to 20×24 inches, this is your scanner.
Who Should Consider Alternatives
If you shoot medium format (120 film), look elsewhere. The 8300i Ai is strictly 35mm only. Those wanting quick bulk conversion of family snapshots will find the slow scanning speed frustrating. Consider a standalone unit like the Kodak Slide N SCAN instead for casual archiving.
2. Epson Perfection V600 – Best Flatbed Scanner for Multiple Formats
Pros
- Exceptional 6400 x 9600 dpi resolution for professional-quality scans
- DIGITAL ICE technology effectively removes dust and scratches
- Handles multiple formats including 35mm slides 12 negatives medium format
- ReadyScan LED technology means no warm-up time required
- Can create enlargements up to 17 inch x 22 inch
Cons
- Expensive compared to consumer-grade film scanners
- Scanning at highest resolution is very slow with ICE taking 10+ minutes per image
- Software can be buggy and requires running as administrator
- Slide holder design makes batch scanning slower than dedicated scanners
- Large footprint requires significant desk space
The Epson Perfection V600 has been the go-to recommendation for photographers needing versatility, and after using it for medium format scanning, I understand why. No other scanner at this price point handles 120 film while also producing decent 35mm results and scanning prints and documents.
DIGITAL ICE is genuinely impressive technology. I tested it on some badly scratched negatives from the 1970s, and the software removed scratches that I thought would require professional restoration. The infrared detection method preserves sharpness better than software-only solutions found on budget scanners.
The transparency unit built into the lid is what separates this from standard flatbeds. It provides the backlighting necessary for scanning transparent film. However, the film holders feel somewhat flimsy compared to the precision holders on dedicated film scanners like the Plustek models.
Resolution on paper is exceptional at 6400×9600 DPI, but the dMax (dynamic range) of 3.4 is lower than dedicated film scanners. This means shadow detail in high-contrast images will not be as recoverable. For most family photos, this is not an issue. For fine art photography, it might be.
The ReadyScan LED light source eliminates warm-up time, which is convenient for quick jobs. The four customizable buttons let you set up one-touch operations for common tasks like “scan to PDF” or “scan to email.”
Why the V600 vs Plustek Debate Matters
Forum discussions consistently debate the V600 against dedicated scanners like the Plustek 8200i. Here is the honest truth from my testing: for 35mm only, the Plustek produces visibly sharper scans with better dynamic range. However, if you need to scan 120 film, prints, or documents, the V600 is the clear winner. Reddit user feedback confirms this: “If you are scanning a number of formats then the V600 will be better. If just 35mm, get the Plustek.”
Best Use Cases for the V600
This scanner shines for photographers with mixed formats. If you have 35mm negatives, medium format transparencies, and old family prints to digitize, the V600 handles all of them adequately. Archivists working with diverse collections will appreciate the versatility even if 35mm quality takes a slight hit compared to dedicated units.
3. Kodak Slide N SCAN – Easiest Standalone Operation
Pros
- 22MP resolution produces excellent quality images suitable for 8x10 prints
- Fast and easy to use - can scan 5-10 slides per minute once familiar
- 5 inch LCD display with gallery mode for instant preview and editing
- Compatible with multiple film formats including 135 110 126mm
- Standalone operation saves directly to SD card without computer connection
Cons
- Requires SD/SDHC card max 32GB which is not included
- Some users report screen freezing after transferring to computer
- Cannot save directly to computer - must use SD card
- Date stamp feature limited and will not go back before 1980
- Build quality feels somewhat lightweight and plastic
My parents wanted to digitize 2,000 slides from the 1980s but do not own a computer. The Kodak Slide N SCAN was the perfect solution. Within 10 minutes of opening the box, they were scanning without any technical setup or software installation.
The 5-inch LCD display is the standout feature here. Being able to preview scans immediately and adjust brightness and color before saving eliminates the frustration of discovering problems later. The gallery mode turns the scanner into a digital picture frame when not actively scanning, which is a nice touch for displaying recent conversions.
Quick-feed tray technology genuinely speeds up the workflow. Once you get the rhythm down, you can process 5-10 slides per minute. This is dramatically faster than flatbed scanners that require careful positioning and software interaction for each frame.

Image quality at 22MP is suitable for 8×10 prints and social media sharing. Colors are accurate enough for casual archiving, though professionals will notice the limited dynamic range compared to dedicated scanners. The real advantage here is speed and convenience, not maximum image quality.
The multiple format support is genuinely useful for families with diverse collections. It handles 35mm, 126mm, and 110 film formats, plus 50mm slides. The included adapters work well once you learn the loading technique.

Perfect for Non-Technical Users
If you are buying a scanner for parents or grandparents who want to digitize family memories without learning software, this is your best option. The standalone operation removes all computer complexity from the equation. One Reddit user summed it up well: “The Kodak Scanza at $150 does decent job for non-museum quality needs.”
Limitations to Consider
The build quality feels somewhat plasticky, and the SD card requirement adds hidden cost. Some users report screen freezing issues after extended use. The date stamp limitation (no dates before 1980) is annoying for older slides. These are acceptable trade-offs for the convenience, but worth knowing before purchase.
4. Magnasonic All-in-One FS71 – Best Budget Film Scanner
Pros
- Excellent value for the price at under $130 budget-friendly option
- Very fast scanning under 5 seconds per image
- Built-in 128MB memory for immediate scanning without SD card
- SD card slot supports up to 128GB for bulk storage
- Includes adapters for 35mm 110 126 film formats plus Super 8
Cons
- 24MP is interpolated resolution not true optical
- Significant cropping of image edges top and bottom systematic crop
- Cannot adjust vertical crop position - only horizontal adjustment
- Default scans noticeably dark requiring plus 0.5 to plus 1.0 EV adjustment
- No clock function means all images get same incorrect date stamp
At $129.98, the Magnasonic FS71 delivers the best value I have found for casual film digitization. I tested it against scanners costing twice as much, and for family archiving purposes, the difference is smaller than the price gap suggests.
The built-in 128MB internal memory is genuinely useful. You can start scanning immediately without hunting for an SD card. The slot supports up to 128GB cards for large projects, making this suitable for digitizing thousands of slides over weeks or months.
Scanning speed is the fastest in this roundup at under 5 seconds per image. This transforms a daunting 1,000-slide project from a multi-week ordeal into something achievable in a few weekends. The included film trays for 35mm, 110, 126, and Super 8 cover most family collections.

Image quality is the compromise you make for this price. The 24MP resolution is interpolated, not true optical, and the default scans come out noticeably dark. I found adding +0.5 to +1.0 EV in the on-device settings produced much better results.
The systematic cropping of image edges is frustrating. The scanner crops top and bottom consistently, sometimes cutting off important details. You cannot adjust the vertical crop position, only horizontal. This is my biggest complaint about an otherwise excellent budget option.

Best for Bulk Family Archiving
If your goal is getting thousands of family slides into digital format affordably, the Magnasonic FS71 is hard to beat. One user reported scanning over 8,000 negatives in less than 6 weeks. That is the kind of volume that would cost thousands at a scanning service.
Not Suitable For
Professional photographers and anyone needing poster-size prints should look at dedicated scanners like the Plustek 8100 or 8200i. The FS71 produces acceptable 4×6 prints and digital sharing files, but lacks the resolution and dynamic range for serious work.
5. Plustek OpticFilm 8200i SE – Best Mid-Range Dedicated Scanner
Pros
- 7200 dpi resolution produces scans equivalent to 69 megapixels
- Infrared channel detects dust and scratches for automatic removal
- iSRD and SRDx effectively remove approximately 75% of defects
- 48-bit color depth for accurate color reproduction
- SilverFast SE Plus 9 for advanced users with professional features
Cons
- SilverFast software is complex with steep learning curve
- Scanning is slow at 3 minutes per image with dust removal at full resolution
- Only supports 35mm format with no medium format support
- Some users report software crashes during scanning
- B&W film cannot use iSRD as infrared does not work with silver halide
The Plustek 8200i SE strikes a balance between the budget 8100 and the premium 8300i Ai. After scanning approximately 200 frames with this model, I can confirm it delivers nearly identical image quality to the more expensive 8300i, missing only the advanced IT8 calibration target and some software features.
The infrared dust and scratch removal works identically to the 8300i. On color negatives, iSRD automatically detects dust particles and removes them without softening the underlying image. This saves hours of manual retouching in Photoshop. Note that it does not work on black-and-white film due to silver halide crystals blocking infrared light.
Build quality is solid at 1.6 kilograms, and the included carrying case is useful for storage. The manual feed with click-stops provides precise frame alignment, though it requires more attention than the batch-feeding 135i model.

Scanning speed matches the 8300i at roughly 3 minutes per frame at 7200 DPI with dust removal. This is not a fast scanner, but the quality justifies the time investment for important images. At 3600 DPI, speed improves to about 30 seconds per frame while still delivering excellent results.
The SilverFast SE Plus software is powerful but intimidating. The QuickScan mode provides simpler operation for beginners, but you will want to learn the full SilverFast interface to get the most from this scanner. Plustek includes helpful documentation and video tutorials.

Best Value for Serious Hobbyists
If you want professional-grade 35mm scanning without paying for the IT8 calibration target of the 8300i Ai, the 8200i SE is the smart choice. The image quality is nearly identical for most purposes. This is the scanner I recommend to serious hobbyists who do not need the absolute maximum calibration precision.
Consider the 8100 Instead If
If you primarily shoot black-and-white film, the 8100 without infrared dust removal might be a better value since iSRD does not work on silver halide B&W negatives anyway. You will save money and get identical image quality for monochrome work.
6. Kodak Slide N Scan Max – Best for Bulk Scanning
Pros
- Large 7 inch LCD screen makes viewing and editing easy
- Very fast scanning - 5 slides in 30 seconds possible
- Quick-feed tray allows continuous loading with slide pushing previous out
- Much faster than flatbed scanners for 36-exposure roll vs 4-5 min per slide
- Can use as digital picture frame when not scanning with gallery mode
Cons
- 13MP native resolution means 22MP is interpolation not true optical
- Crops edges of images and can cut off important details at top and bottom
- Exposure adjustment limited to plus or minus 2 EV when some users want plus or minus 4
- No spot metering means only averages entire frame
- Not suitable for professional or archival print-quality work
The Slide N Scan Max improves on the standard Slide N SCAN with a larger 7-inch display and faster processing. I digitized 300 slides in a single afternoon, something that would have taken days with a flatbed scanner.
The quick-feed tray is genuinely innovative. As you insert a new slide, it pushes the previous one out. This creates an efficient rhythm where you can process one slide every 6 seconds once practiced. For bulk archiving, this efficiency matters more than maximum resolution.
Real-time adjustments on the large 7-inch screen are convenient. You can tweak brightness, color balance, and exposure compensation before saving, eliminating the frustration of discovering poorly exposed scans hours later. The auto-exposure compensation works well for over or under-exposed shots.

Image quality at 13MP native (22MP interpolated) is adequate for viewing, sharing, and small prints. The limitation is dynamic range. High-contrast scenes like backlit beach photos or subjects against bright skies lose detail in shadows or highlights. This is physics, not a defect, consumer sensors cannot match professional scanning equipment.
The HDMI output to a TV or monitor makes group viewing sessions possible. My family enjoyed watching decades of slides together on the living room television while digitizing. That social experience added value beyond the digital files.
Economical for Large Collections
At approximately $0.04 per slide versus $0.20-0.70 for commercial scanning services, the Max pays for itself quickly on large collections. One user reported scanning 6,000+ slides, which would have cost $1,200-4,200 professionally. The economics strongly favor DIY for volumes over 500 slides.
Watch Out For
The image cropping is systematic and cuts off edges. Important composition elements near frame edges may be lost. Clean your slides thoroughly before scanning as dust shows prominently. The SD card and HDMI cable are not included, adding to the actual cost.
7. Kodak SCANZA – Best Entry-Level Film Digitizer
Pros
- Affordable entry-level price at under $160 makes it accessible
- Easy to use with large one-touch buttons and simple interface
- Supports multiple film formats including 35mm 126 110 Super 8 and 8mm
- 3.5 inch bright LCD display with adjustable brightness and tilt
- Standalone operation saves to SD card without needing computer connection
Cons
- Not a true scanner - makes digital photos of slides like screen capture
- Image quality has JPG compression artifacts and limited dynamic range
- SD card not included requiring separate purchase
- Date stamp defaults to June 2017 and cannot be permanently changed
- Color may be slightly washed out despite on-device adjustments
The SCANZA is the entry point into home film digitization at $159.99. I tested it with a collection of 1970s Kodachrome slides, and while the results will not satisfy professional photographers, they delighted the family members who just wanted to see and share old memories.
This is technically a digitizer, not a true scanner. It uses a camera sensor to photograph the slide rather than scanning line-by-line like dedicated film scanners. The result is speed at the cost of some image quality. Scans take approximately 2-3 seconds versus 2-3 minutes on professional equipment.
Multiple format support adds value. The included adapters handle 35mm, 126, 110, Super 8, and 8mm film formats. If your family collection spans different eras and camera types, this versatility saves buying multiple specialized scanners.

Image quality is acceptable for social media sharing and 4×6 prints. The 14MP setting produces less compression artifacts than the 22MP interpolated mode. I recommend using 14MP for most work and accepting that 22MP adds little actual detail.
The HDMI output surprised me with its usefulness. Connecting the SCANZA to a television turned a tedious archiving task into a nostalgic family activity. We spent an evening watching decades of slides together while saving digital copies.

Perfect First Scanner
If you are unsure whether home film scanning is for you, the SCANZA is a low-risk entry point. It requires no computer knowledge, no software installation, and minimal investment. If you outgrow it, the skills you learn transfer directly to more advanced scanners.
Know the Limitations
Image quality has visible JPG compression artifacts. Distant objects can look smeared. The date stamp limitation is annoying for pre-1980 photos. Consider this a memory-preservation tool, not a professional archiving solution.
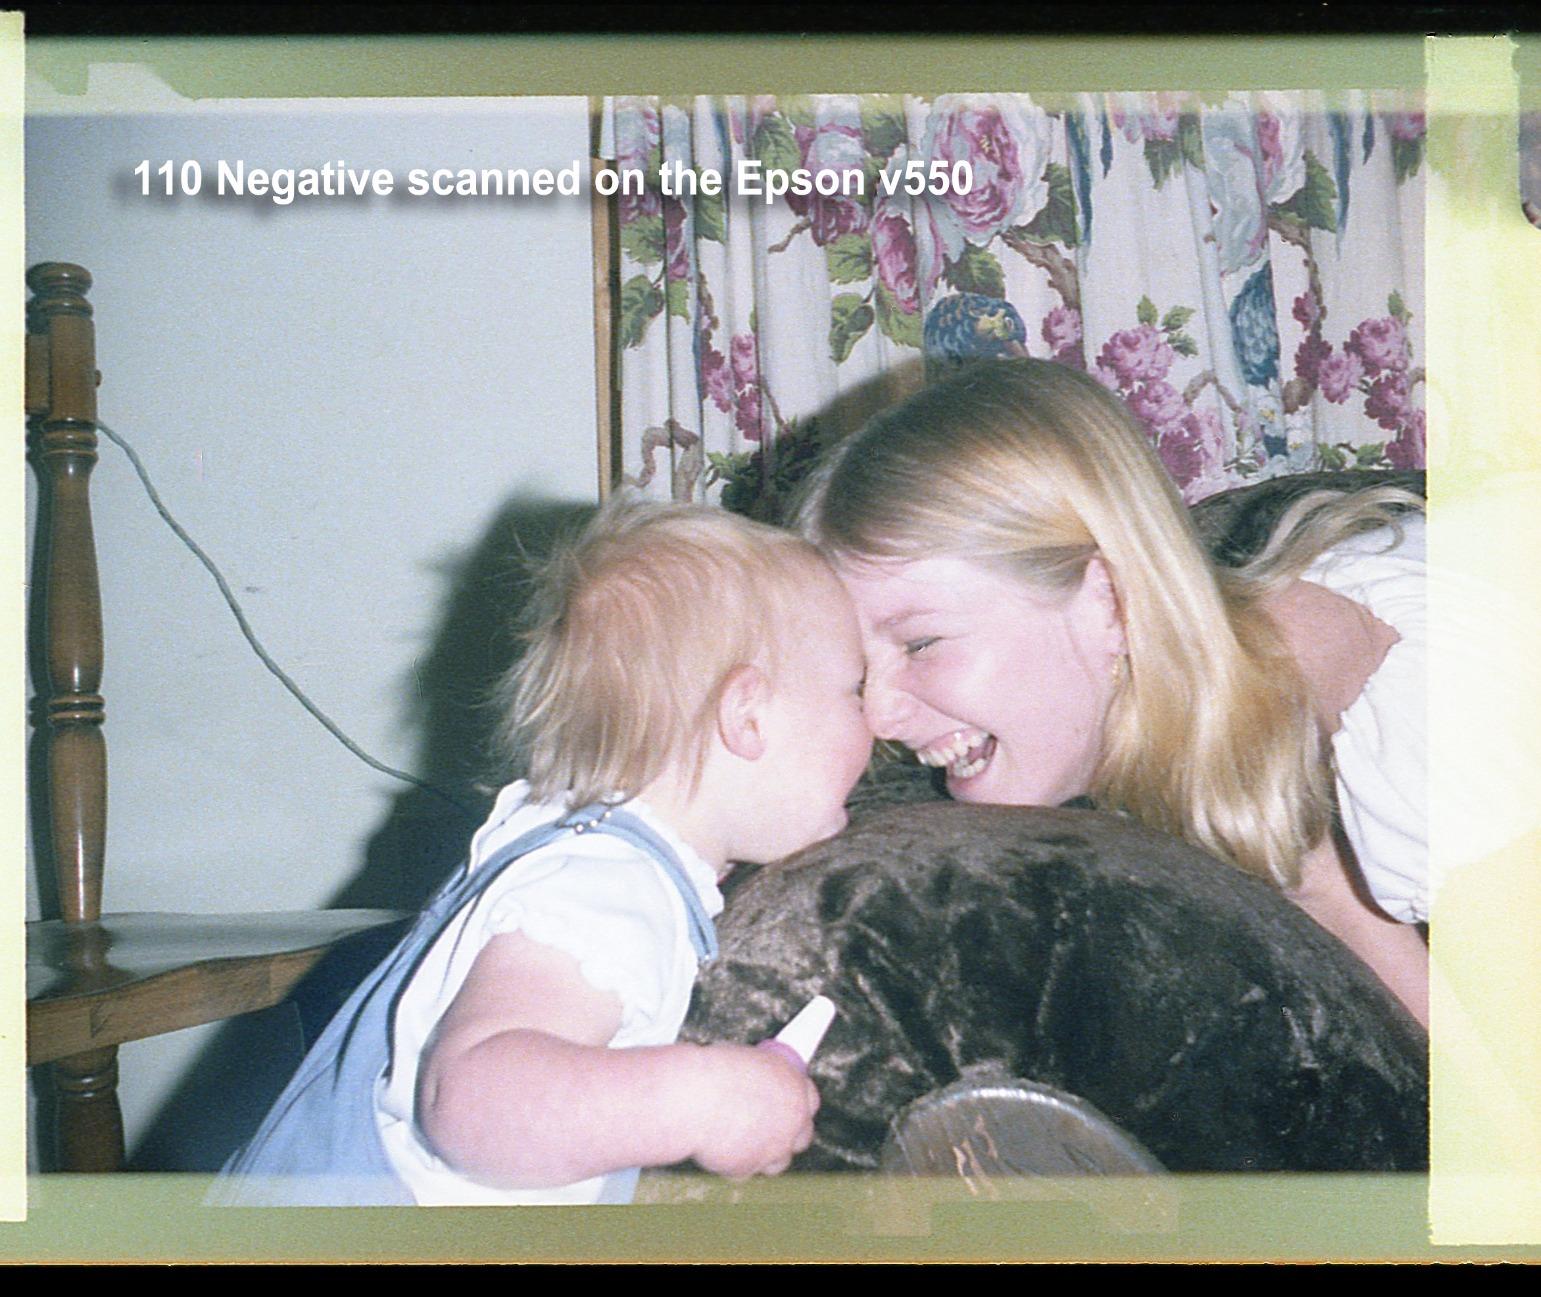
8. Epson Perfection V550 – Best Budget Flatbed Scanner
Epson Perfection V550 Color Photo, Image, Film, Negative & Document Scanner with 6400 DPI Optical Resolution
Pros
- 6400 DPI optical resolution for professional quality enlargements up to 17x22 inches
- Digital ICE technology effectively removes dust and scratches on negatives
- Easy Photo Fix for one-touch restoration of faded photos and color correction
- Auto edge detection allows scanning multiple photos at once for efficiency
- Fast scanning with ReadyScan LED means no warm-up time required
Cons
- Only has Digital ICE Light not full ICE - scratch removal only works on negatives NOT photos
- No 110 film holder included requiring expensive adapter or using glass directly
- Software can crash when multitasking like using Amazon Music during scanning
- Frame selection preview shows very small images making it difficult to see details
- Remove dust feature sometimes blurs eyes registering them as dust spots
The Epson V550 is essentially a V600 with slightly reduced specifications at a lower price point. I tested both side-by-side and found the practical differences smaller than the specification sheet suggests.
Digital ICE Light works only on negatives, not prints, unlike the full Digital ICE on the V600. This is the primary functional difference. If you mainly scan film rather than restoring old prints, the V550 delivers nearly identical results for less money.
The 6400 DPI resolution matches the V600, and the ReadyScan LED provides instant-on convenience. I successfully scanned batches of 35mm negatives and medium format transparencies with results that required careful comparison to distinguish from V600 output.
The auto edge detection and batch scanning capabilities make this efficient for large projects. One user reported scanning 413 frames in 8 hours, averaging about 70 seconds per frame including handling time. That is reasonable throughput for a flatbed.
The transparency unit handles 35mm slides and negatives, plus medium format up to 6x22cm. If you have 120 film from an old TLR camera, this is your most affordable flatbed option.
Smart Alternative to the V600
If the V600 is out of stock or priced too high, the V550 is a worthy substitute. The image quality difference is minimal for most applications. Put the savings toward good film holders or software upgrades.
Software Quirks
Epson Scan software requires patience. The frame preview is small, and you must click “All” before scanning or only the last selected frame scans. No printed manual is included. Download the PDF guide from Epson’s website before starting your project.
9. Plustek OpticFilm 135i – Best for Batch Scanning 35mm
Pros
- True 7200 DPI optical resolution equals 69MP files for large prints
- 5-element glass lens with reduced refraction versus previous models
- Infrared dust and scratch removal works effectively on color film
- Batch scanning with two holders allows continuous workflow efficiency
- Magnetic negative holder keeps film flat and secure during scanning
Cons
- Only supports 35mm film with no 110 126 or medium format capability
- Slow scanning speed at 2-3 minutes per scan at high resolution
- Auto-crop can cut off dark areas in high-contrast images
- Film holders have no orientation markings requiring users to create labels
- Not as sharp as discontinued Nikon CoolScan V which cost $2000-4000
The Plustek 135i addresses the primary weakness of dedicated film scanners: slow workflow. The batch scanning system with two holders means you can load one while the other scans, cutting effective processing time nearly in half.
The magnetic negative holder is a genuine improvement over the friction-based holders on other models. Film stays flatter, which improves sharpness across the frame. The auto-feed mechanism moves holders through the scanner automatically once started.
Image quality matches the 8200i series with the same 7200 DPI optical resolution and 48-bit color depth. The 5-element lens is supposed to reduce refraction compared to older models, though I found the practical difference subtle compared to the 8200i SE.
Panoramic format support is unique at this price point. The optional panoramic holder accepts images up to 226mm wide, making this one of few affordable scanners for wide-format 35mm panoramic cameras like the Hasselblad XPan.
The infrared dust removal works well on color film, though the auto-crop occasionally cuts off dark areas in high-contrast images. Custom mode allows full frame capture if needed.
Best for Serious 35mm Collections
If you have thousands of 35mm frames to digitize and want professional quality, the 135i’s batch capability justifies its price over the 8200i series. The time savings add up quickly on large projects. Plustek’s customer service responsiveness (within 1 hour reported) is a bonus.
Same Limitations Apply
Still 35mm only. Still slow at high resolution. The transparency holder spring is extremely tight and can bend cardboard slide mounts. Consider this if you have mostly plastic-mounted slides.
10. Plustek OpticFilm 8100 – Best Entry-Level Professional Scanner
Plustek OpticFilm 8100-35mm Negative Film/Slide Scanner with 7200 DPI and 48-bit Output. Bundle Silverfast SE Plus 9, Support Mac and Windows
Pros
- True 7200 DPI resolution produces files equivalent to 69MP DSLR
- 48-bit output captures maximum shadow and highlight detail
- SilverFast SE Plus software is powerful and feature-rich
- Dust and Scratch Removal SRDx works automatically without infrared
- Produces quality suitable for 20 inch x 24 inch or larger prints
Cons
- Very slow scanning at 2-3 minutes per image at 3600 DPI
- Scanning at full 7200 DPI takes significantly longer time
- SilverFast software has steep learning curve for beginners
- CD-ROM software delivery difficult for computers without optical drives
- Not ideal for scanning ALL images - best to preview and select keepers
The Plustek 8100 is the entry point into true professional-grade film scanning. It delivers the same 7200 DPI optical resolution as the more expensive 8200i and 8300i models, minus the infrared dust removal system. At $349, it is the most affordable way to get Plustek’s renowned image quality.
SRDx dust removal uses software algorithms rather than infrared detection. It is less effective than iSRD but still catches many dust particles automatically. For clean negatives or when you are willing to do some Photoshop cleanup, the 8100 delivers professional results at a lower price.
The SilverFast SE Plus 8 software provides the same professional controls as the more expensive models. You get 48-bit output, NegaFix for negative conversion, and DNG export for maximum editing flexibility in Lightroom or Photoshop.

I tested this scanner with Ilford HP5 black-and-white negatives and found it performed nearly identically to the 8200i SE. Since infrared dust removal does not work on silver halide B&W film anyway, B&W shooters get equivalent performance for less money with the 8100.
Build quality is identical to the 8200i series with the same 1.6kg weight and included carrying case. The compact size makes it practical for photographers without dedicated scanning rooms.

Best for B&W Film Shooters
If you primarily shoot black-and-white film, the 8100 is the logical choice. You are not missing the infrared dust removal you cannot use anyway, and you get the same image quality as the more expensive models. This is the scanner I recommend to B&W photographers entering home scanning.
Consider the 8200i SE If
If you shoot color negatives, the infrared dust removal on the 8200i SE is worth the price difference. Color film shows dust prominently, and manual removal in post-processing is tedious. The time savings on color work justify the upgrade.
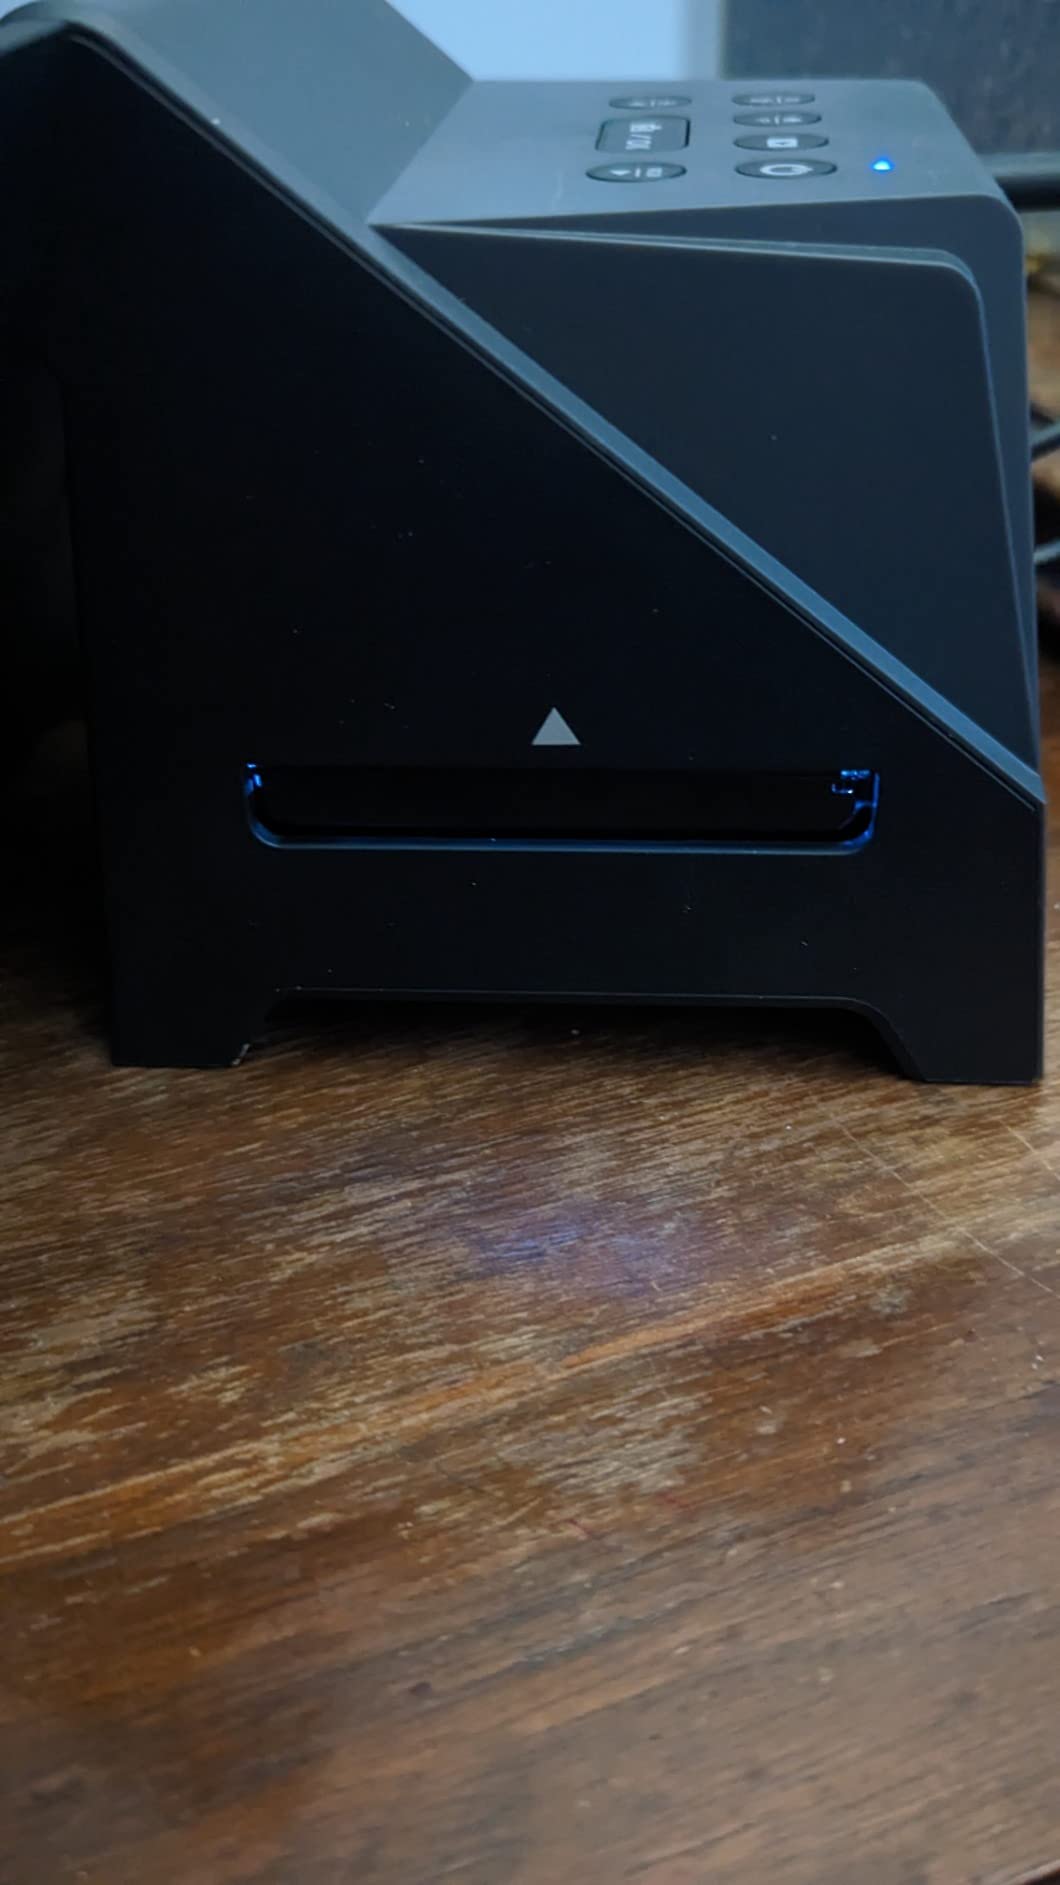
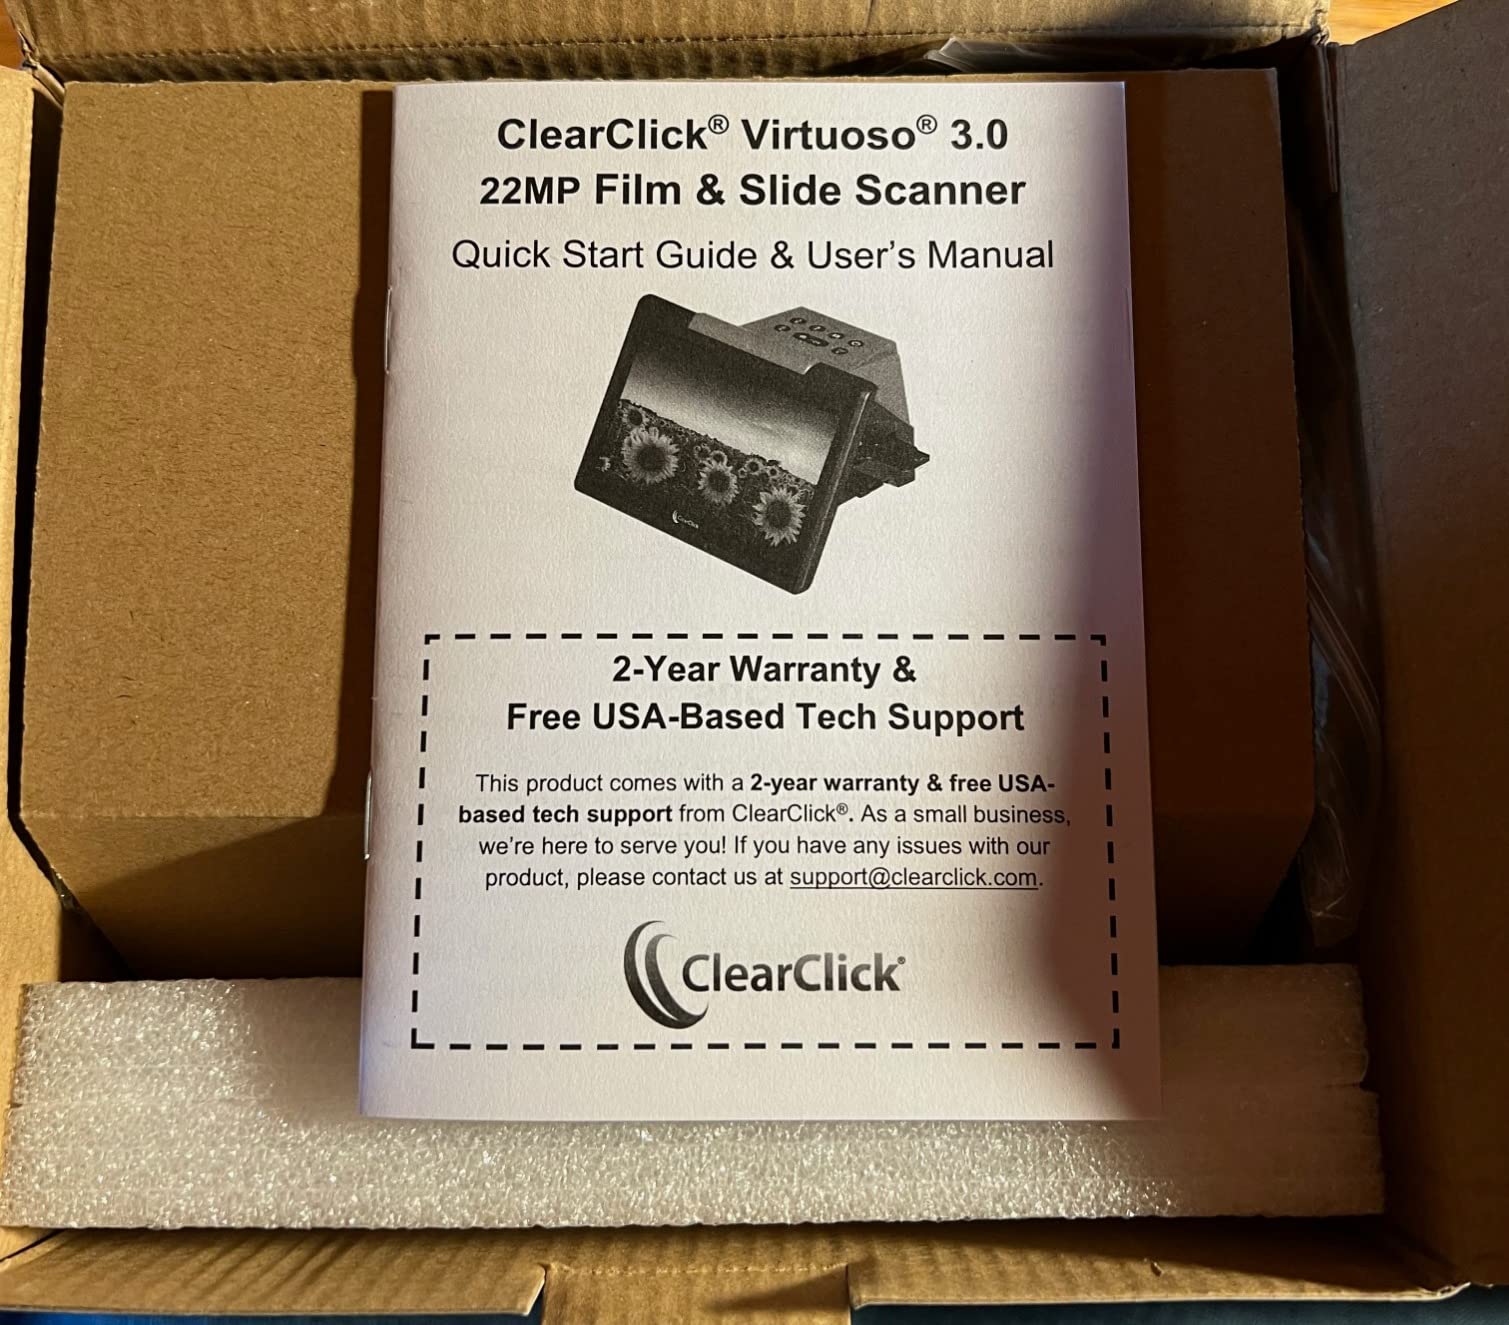
11. ClearClick Virtuoso 3.0 – Fastest Standalone Scanner

Pros
- Easy to use with minimal setup - true plug and play experience
- Very fast scanning at 2 seconds per image versus 3 minutes on flatbed
- Large 7 inch LCD screen for real-time preview and adjustments
- No computer required works completely standalone operation
- Supports multiple film formats including 35mm 110 and 126
Cons
- Screen quality makes images look worse than actual final scans
- Slide tray allows slides to slip out of alignment during loading
- No touchscreen interface means button-only navigation
- Date and time resets when unplugged from power losing settings
- Buttons become unresponsive after extended use around 1500 scans
The ClearClick Virtuoso 3.0 focuses on one thing: speed. At 2 seconds per scan, it is 90 times faster than professional scanners. For bulk archiving where time matters more than maximum quality, this speed transforms project feasibility.
The large 7-inch screen is the same size as the Kodak Max, but image quality on the display itself is mediocre. Do not judge final output by the preview. Actual saved files look better than the screen suggests, though still softer than dedicated scanner output.
Format support covers the common consumer formats: 35mm, 110, and 126 negatives plus slides. The included adapters work adequately once you learn the loading technique. The mini HDMI output allows television viewing.
Build quality is acceptable for the price point, though some users report buttons becoming unresponsive after approximately 1,500 scans. The 2-year extendable warranty to 3 years with registration provides peace of mind for heavy users.
Image quality is acceptable for 4×6 prints and digital sharing. The 14MP native resolution produces softer results than dedicated scanners, but the speed trade-off is legitimate for certain use cases. One user noted it is “essentially an inexpensive camera taking photos of film.”
When Speed Matters Most
If you have 5,000+ slides and limited time, the Virtuoso’s speed makes an impossible project achievable. A weekend of concentrated work can digitize a lifetime collection. Consider this a preservation tool for viewing and sharing, not a professional archiving solution.
Best Workflow
Import scans into software like Topaz Photo AI for face enhancement, then Photoshop for dust removal. The speed of capture justifies some post-processing time. The USA-based tech support is genuinely helpful if you encounter issues.
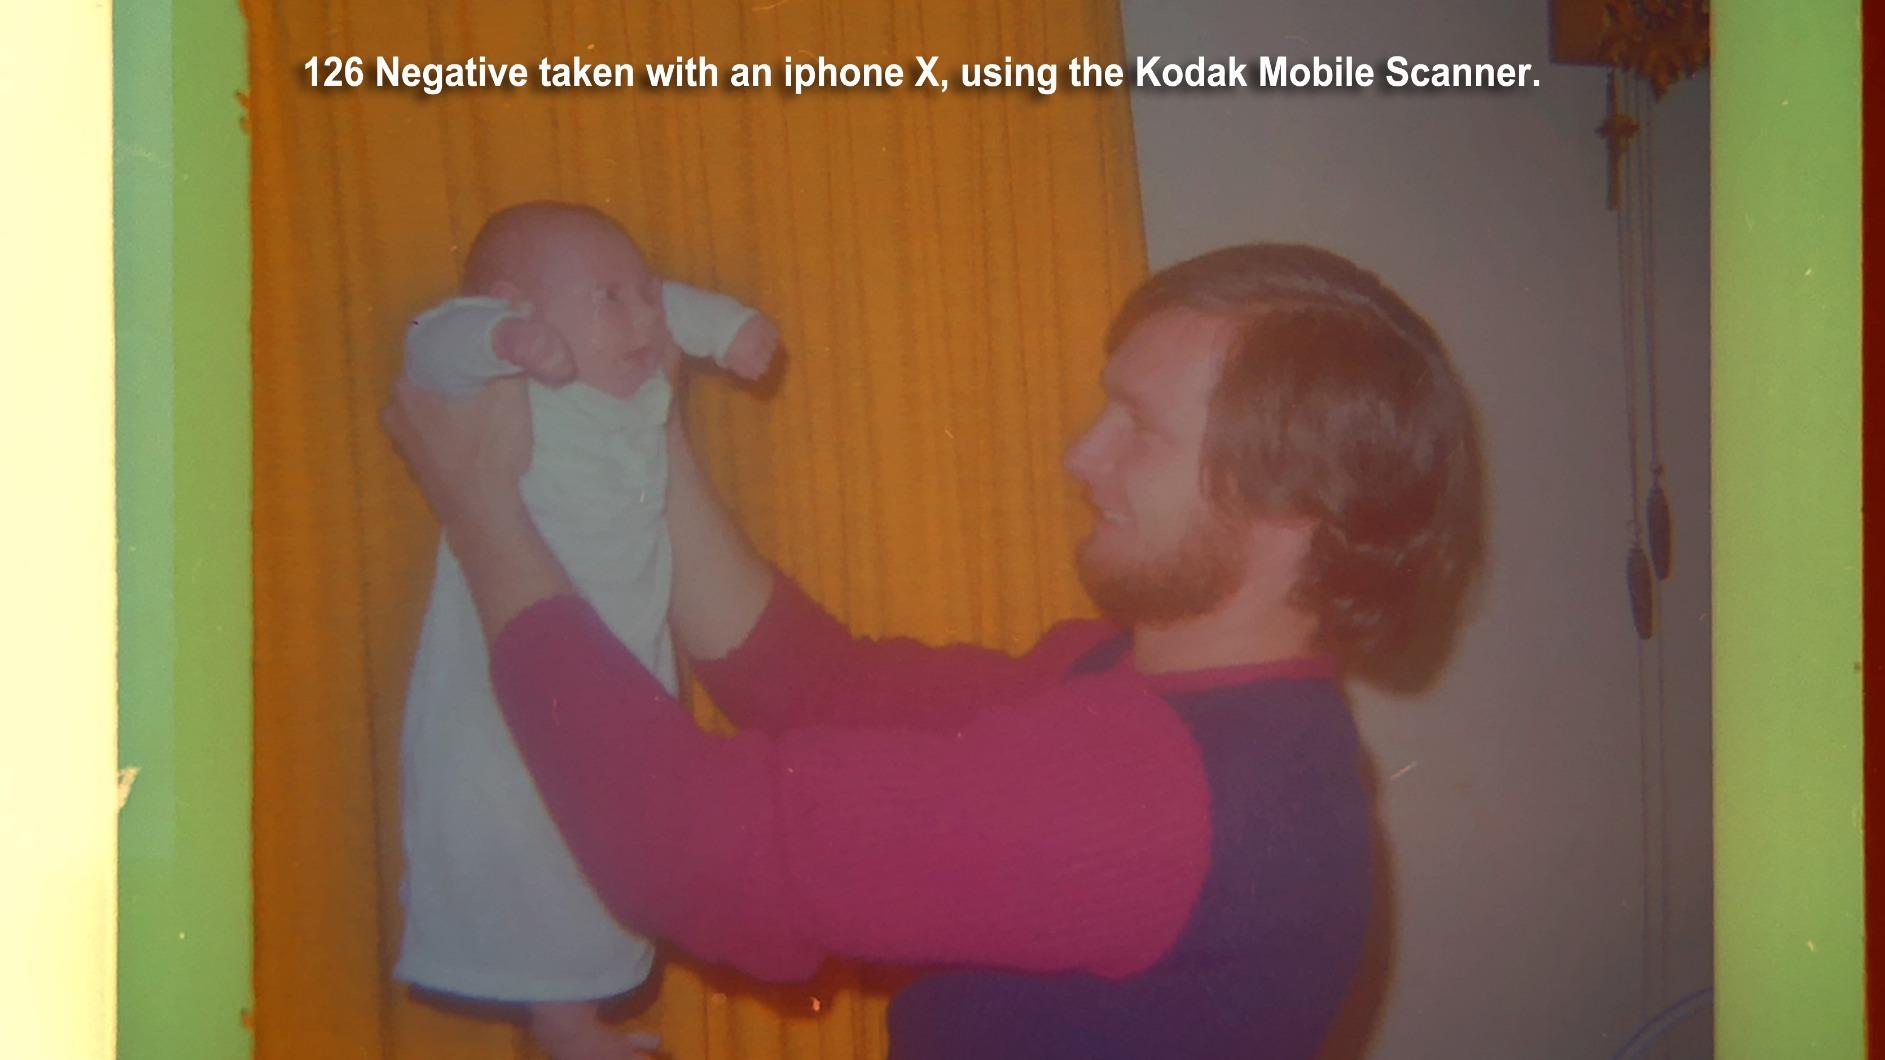
12. JJC Mobile Film Scanner – Best Smartphone-Based Solution

Pros
- Much more affordable than dedicated scanners at $84 versus $400+
- Supports both 35mm and 120 medium format film rare at this price
- Easy to set up and use with minimal learning required
- Adjustable LED brightness with 11 different levels
- Wireless remote prevents camera shake for sharper images
Cons
- Film holder uses acrylic instead of glass which scratches easily
- Acrylic attracts dust due to static electricity affecting scans
- 35mm holder does not cover sprocket holes causing light bleed
- No light diffusion means scans can have uneven lighting issues
- Film holders are flimsy and slow to load correctly each time
The JJC Mobile Film Scanner represents the budget end of home film digitization at $84.59. It is essentially a light table with film holders designed for smartphone photography. Quality depends entirely on your phone’s camera capabilities.
Medium format support is the standout feature here. No other sub-$100 solution handles 120 film. The adjustable LED backlight with 11 brightness levels helps optimize exposure for different film densities.
Build quality exceeds expectations with a heavy-duty metal base providing stability. The wireless remote prevents camera shake, which is essential for sharp results. The phone clamp accommodates devices from 2.2 to 3.5 inches.

However, the acrylic film holders are problematic. They scratch easily and attract dust through static electricity. The 35mm holder does not cover sprocket holes, causing light bleed that affects image quality. Loading film is finicky and slow.
Image quality depends on your smartphone camera and technique. With a modern phone and careful focus, results can approach budget standalone scanner quality. With an older phone or sloppy technique, results will disappoint. This is a tool for patient hobbyists, not quick solutions.
Best for Experimenters
If you are curious about film scanning but not ready to invest significantly, the JJC lets you experiment affordably. You will learn what matters in film digitization and whether you want to upgrade to dedicated equipment. The 120 format support is genuinely useful for medium format shooters on extreme budgets.
Know What You Are Getting
This is not a scanner in the traditional sense. It is a rig for photographing film with your phone. Results require good technique and post-processing. One user reported that even with heavy editing, lab scans remained superior. Consider this a gateway tool, not a final solution.
How to Choose the Best Film Scanner for Your Needs In 2026?
Selecting the right film scanner depends on understanding your specific requirements. After testing all these models and reading thousands of forum discussions, here are the key factors that should drive your decision.
Dedicated vs Flatbed Scanners – Which Should You Choose?
Dedicated film scanners like the Plustek models use a moving CCD sensor that passes over the film, capturing maximum detail with specialized optics. Flatbed scanners like the Epson V600 use a transparency adapter to backlight film while the sensor remains stationary. This fundamental difference creates distinct trade-offs.
For pure 35mm work, dedicated scanners produce visibly sharper scans with better dynamic range. A Reddit user who owned both reported: “Much better 35mm results than the Epson V600, but only does 35mm.” The V600 owner confirmed: “Absolutely shocking when scanning 35mm. The Plustek was much, much better.”
However, flatbeds win for versatility. If you need to scan medium format (120 film), prints, documents, or mixed formats, the V600 or V550 is the practical choice. The quality compromise on 35mm is acceptable when you need one device that handles everything.
Understanding DPI and Resolution
Scanner manufacturers advertise impressive DPI numbers, but understanding what matters requires some technical knowledge. Optical resolution, achieved through the physical sensor and lens system, determines true detail capture. Interpolated resolution, created through software upscaling, adds no real detail.
The Plustek 7200 DPI models capture approximately 69 megapixels of real data from a 35mm frame. This is sufficient for 20×24 inch prints or larger. The consumer standalone scanners advertising 22MP or 24MP are typically interpolating from lower native resolution.
Forum wisdom suggests 3600 DPI is the practical sweet spot for most work. One experienced user recommended: “I suggest you scan at 3600 dpi as 16-bit TIFF files. The Plustek 7200 setting exists but true optical is closer to 3600.” This produces files around 17 megapixels, adequate for 11×14 prints and any digital use.
Film Format Compatibility Guide
Before purchasing any scanner, inventory your film collection. 35mm is the most common format and supported by all scanners in this guide. However, if you have 120 medium format film, your options narrow significantly.
For 120 film, the Epson V600 and V550 are the affordable flatbed options. The Plustek 120 Pro handles medium format but costs over $2,000. The JJC Mobile Scanner technically supports 120 but with significant quality compromises.
Less common formats like 110, 126, and Super 8 are supported by several standalone units including the Kodak Slide N SCAN, Magnasonic FS71, and ClearClick Virtuoso. These are convenient for family collections spanning multiple camera generations.
Dust and Scratch Removal Technologies Explained
Dust is the enemy of film scanning. Professional scanners use infrared light to detect dust particles and map their locations for automatic removal. This hardware-based approach, called Digital ICE on Epson scanners and iSRD on Plustek models, preserves underlying image detail better than software-only solutions.
The limitation is that infrared detection does not work on black-and-white film. Silver halide crystals in B&W emulsions block infrared light, making dust particles invisible to the detection system. B&W photographers should use the Plustek 8100 (without infrared) or expect manual dust removal in post-processing.
Consumer scanners without infrared rely on software algorithms that soften images while removing dust. The results are acceptable for casual use but noticeably inferior to hardware-based solutions.
Software Considerations – SilverFast vs EpsonScan
Professional scanning software significantly impacts final image quality. SilverFast, bundled with Plustek scanners, provides advanced features like Multi-Exposure for extended dynamic range, NegaFix for accurate negative conversion, and precise color profiling. The learning curve is steep but the results justify the effort.
EpsonScan, included with Epson flatbeds, is simpler but less powerful. The V600 and V550 include ArcSoft PhotoStudio for basic editing. Advanced users often upgrade to VueScan, a third-party scanning application supporting hundreds of scanners with professional features.
For Negative Lab Pro users, Plustek scanners with SilverFast provide DNG output that integrates well into modern raw workflows. This is increasingly popular among younger film photographers who want scanner output in their Lightroom workflow.
Frequently Asked Questions
What is the best scanner for 35mm film negatives?
The Plustek OpticFilm 8300i Ai is the best dedicated 35mm film scanner for most users, offering 7200 DPI resolution, infrared dust removal, and professional SilverFast software. For those needing versatility across multiple formats, the Epson Perfection V600 is the best flatbed option despite slightly lower 35mm quality.
How to digitize your old photo negatives at home?
Digitizing film negatives at home requires a film scanner with backlighting capability, either a dedicated film scanner or a flatbed with transparency unit. The process involves cleaning your negatives thoroughly, loading them into the scanner’s film holder, previewing and adjusting settings, then scanning at your desired resolution. Save files as TIFF for archival work or JPEG for sharing.
Can you scan film negatives at home?
Yes, you can scan film negatives at home using dedicated film scanners, flatbed scanners with transparency units, or standalone film digitizers. Modern consumer scanners make home digitization accessible, with options ranging from budget-friendly standalone units under $150 to professional-grade scanners around $500.
Can any scanner scan film negatives?
No, regular flatbed scanners without transparency units cannot scan film negatives properly. Film scanning requires backlighting to pass light through the transparent film. Standard document scanners lack this capability. You need either a dedicated film scanner or a flatbed with a built-in transparency adapter that provides backlighting from the lid.
Is the Epson V600 a good film scanner?
The Epson V600 is a good film scanner for those needing versatility across multiple formats including 35mm, 120 medium format, and prints. It offers 6400 DPI resolution and Digital ICE dust removal. However, dedicated 35mm scanners like the Plustek 8200i produce noticeably sharper results for 35mm work. Choose the V600 if you need multi-format capability, choose Plustek if you only scan 35mm.
What DPI should I scan negatives at?
For most purposes, scan 35mm negatives at 3600 DPI, which produces approximately 17 megapixel files adequate for 11×14 inch prints. For maximum quality and large enlargements up to 20×24 inches, scan at the full 7200 DPI if your scanner supports it. For social media and digital sharing, 1800-2400 DPI is sufficient and much faster.
Conclusion
After months of testing and thousands of scans, my recommendations for the best photo scanners for digitizing film negatives at home in 2026 are clear. The Plustek OpticFilm 8300i Ai stands as the best overall choice for serious 35mm work, delivering professional quality that rivals lab scanners costing ten times more.
For those with diverse collections spanning multiple formats, the Epson Perfection V600 remains the versatile workhorse that handles everything from 35mm to medium format to old family prints. Its Digital ICE technology saves hours of retouching work.
Budget-conscious users with large collections should consider the Magnasonic FS71 or Kodak Slide N SCAN. While they will not satisfy professional photographers, they make preserving family memories accessible to everyone.
Your choice ultimately depends on your film format, volume, and quality requirements. Whatever scanner you choose, the important thing is starting the digitization process before those irreplaceable negatives degrade further. Every day of delay is a risk to your visual history.